Following on from last week’s filmmakers commentary, today I’ve posted the cast commentary for Stop/Eject on YouTube. It features Georgina Sherrington, Oliver Park and Therese Collins all chatting about the film as it unrolls before their eyes. Click the annotations in the video to access a commentary-less version if you haven’t seen Stop/Eject before.
Month: January 2016
Stop/Eject with Filmmakers Commentary
My award-winning short fantasy-drama Stop/Eject is just coming to the end of its festival run, and soon I’ll be publishing a breakdown of that run, how much it cost and how many festivals it got into. But in the meantime, here’s the director and producer’s commentary which Sophie Black and I recorded at the Cannes Film Festival in 2013.
If you haven’t seen the film, you can watch it without commentary below.
Next week I’ll be posting the cast commentary with Georgina Sherrington, Oliver Park and Therese Collins.
10 Tips for Meetings
Late last year I secured a great feature film job as DP, on the basis of a personal recommendation followed by a meeting with the director which went really well. Making a good impression at a meeting like this is clearly crucial. But although such meetings are essentially job interviews, they are much less formal and rely much more heavily on the director and DP having similar tastes. Here are a few tips to help you give your next one your best shot.
- Be prepared. This means reading the script and any other documents provided, ideally more than once if you have the time and you’re serious about wanting the job. Look up the director’s previous work to get a sense of their tastes.
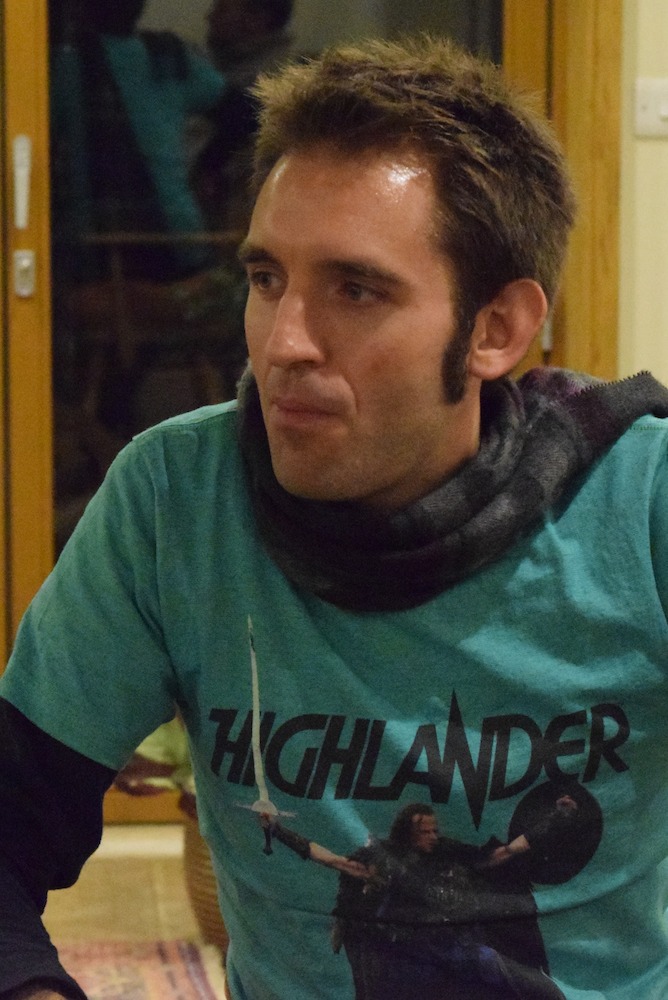
- Dress to impress. What you wear to a meeting can influence its outcome, just as wearing a smart suit to a traditional job interview can. During the shooting of the feature, the director commented that the Highlander t-shirt I wore to the meeting reassured him that my cinematic tastes were broadly in line with his own.
- Be willing to travel. If you don’t live in London, you’re going to have to travel there for most meetings. Don’t complain about it, don’t even mention it if you can avoid it. But also don’t do it if you have doubts about the quality of the production and what it’s going to do for your career.
- Bring showreel footage. The director will likely have seen your showreel before you meet, but it doesn’t hurt to bring additional clips or stills that are particularly relevant to this project. In my feature meeting, frame grabs from Ren: The Girl with the Mark helped demonstrate what I could do with a period setting.
- Bring some creativity to the table. Put some reference images together to show the visual ideas that came to your mind when you read the script, and how you think the cinematography of the project could be approached. I found an image of some monks with a shaft of light coming in the window that perfectly summed up how I saw the feature, and the director really responded to it.
- Be flexible. Be prepared to listen to the director’s vision and bounce off their ideas.
- Bring people and/or kit to the table. What do you have access to that puts you ahead of other applicants? Often in the micro-budget world this will be your camera, or maybe a drone or a jib, but once you get into the realm of more reasonable budgets, directors and producers appreciate skilled crew more. The feature director really wanted to use a lot of steadicam in the film, so before being offered the job I contacted a talented steadicam op I knew and got an expression of interest from him which I was then able to go back to the director with. I think this was a big part of the reason I got the job.
- Be OK with the budget. If it’s late enough in preproduction that the crew fees and the kit hire budget are fixed, don’t grumble about them. All you will achieve is to make the director think you’re going to be difficult to work with. Instead cite examples of how you achieved great results with similarly limited resources in the past.
- Don’t be cheap. Offer to pay for the drinks. I’d probably take it as a bad sign if the director allowed me to, but offer nonetheless!
- Follow up. We all think of great things we should have said when we’re halfway home. Send an email with those extra thoughts, any links you may have discussed in the meeting, and a thank you for their time taken in meeting you.
Black-screen & White-screen: The Best Kept Secrets in Compositing

When it comes to shooting elements for VFX, green-screen gets all the press. But certain kinds of elements can be tricky to key well, and sometimes it’s not the right look. In the last few days Kate Madison and I have needed to shoot last-minute elements for some shots in Ren: The Girl with the Mark, and we turned to monochromatic backgrounds.
Why? How does it work? Well certainly you can key out black or white just like you’d key out green, but the most powerful way to use these backgrounds is not with keying at all, but by a bit of basic maths. And don’t worry, the computer does the maths for you.
If you’ve ever used Photoshop, you’ll have noticed some layer modes called Screen and Multiply. Final Cut Pro has the same modes (it also has Add, which to most intents and purposes is the same as Screen) and so do all the major editing and FX packages.
Screen adds the brightness of each pixel of the layer to the layer underneath. Since black has a brightness of zero, your black screen disappears, and the element in front of it is blended seamlessly into the background image, with its apparent solidity determined by its brightness.
Multiply, as the name suggests, multiplies the brightness of each pixel with the layer underneath. Since white has a brightness of one, and any number multiplied by one is that same number, your white screen vanishes. Whatever element is in front of your screen is blended into the background image, with darker parts of the element showing up more than lighter parts.
One of the elements Kate and I needed to shoot was a flame, to be comped onto a torch. We lit a torch and clamped it to a stand, shooting at night with the pitch black garden in the background. It was the work of moments to comp this element into the shot using Screen mode.

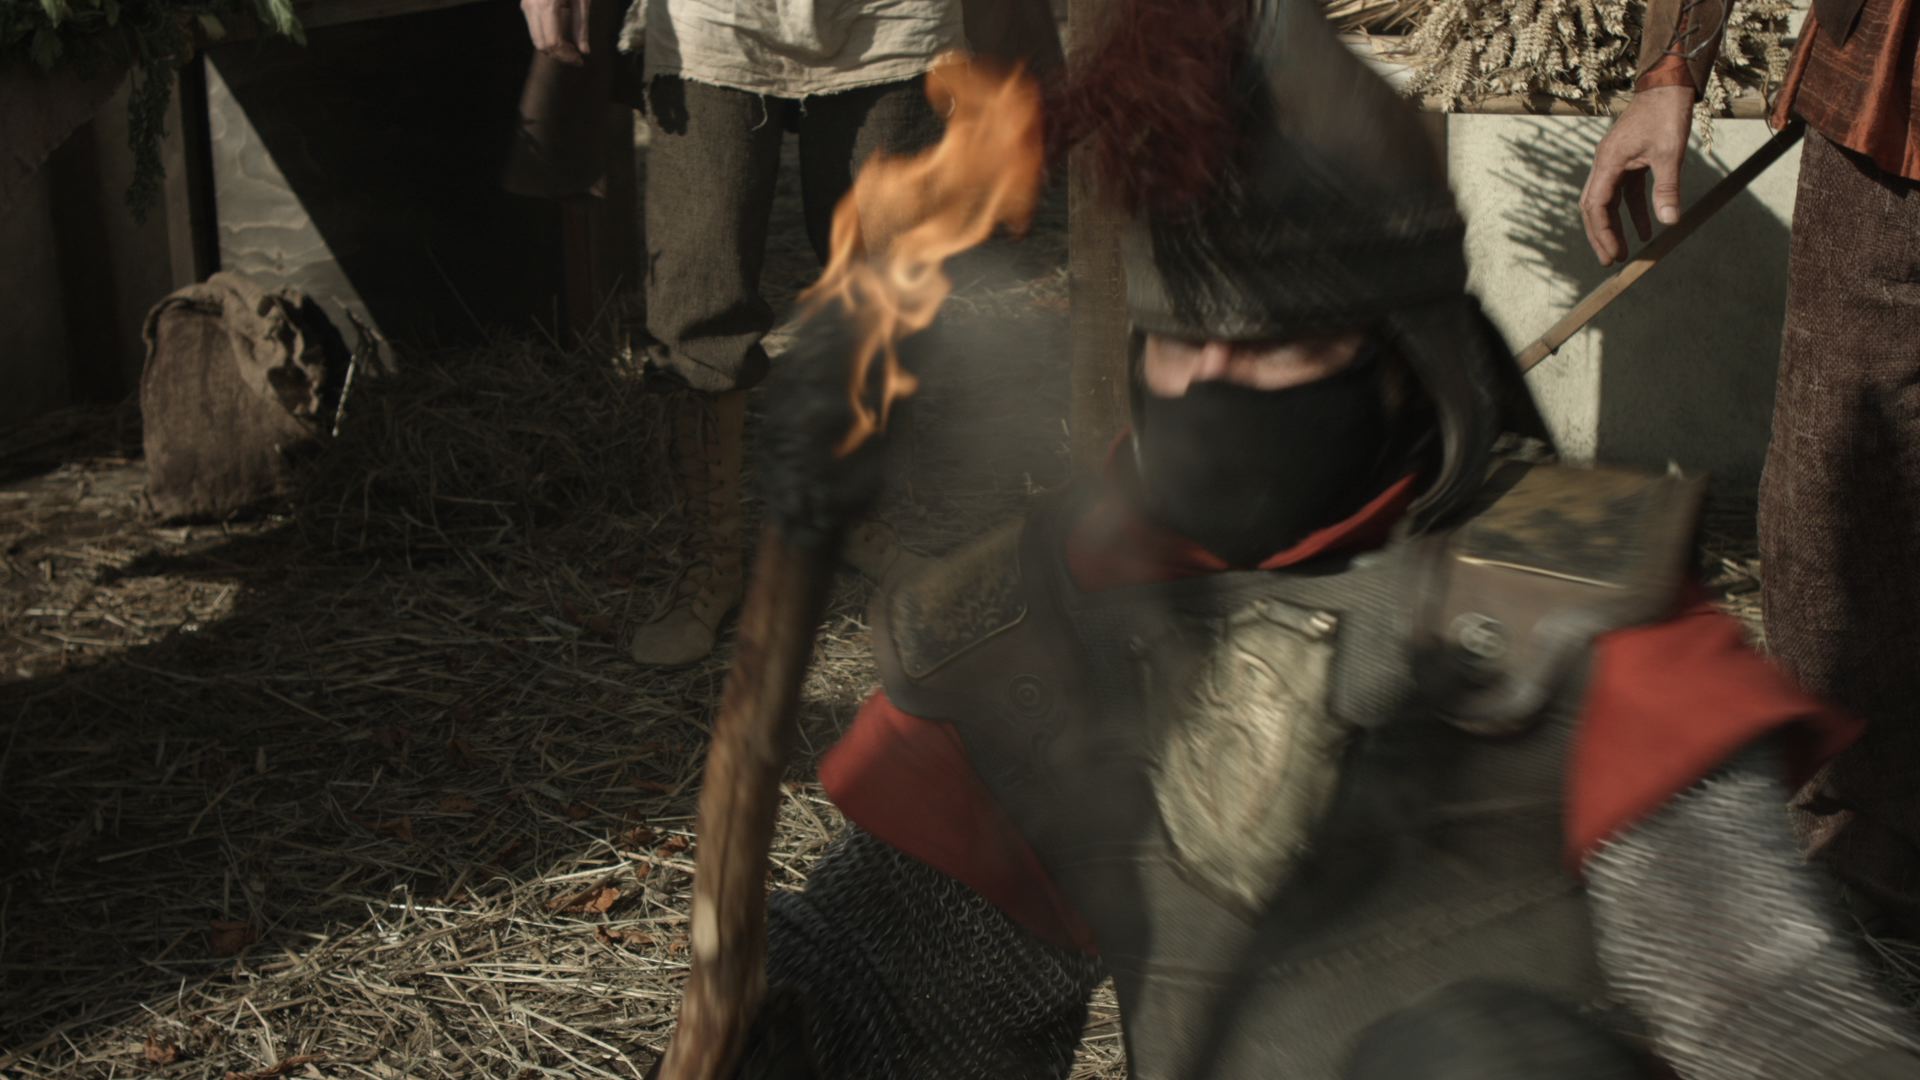
Fire is the perfect partner for black-screen shooting, because it generates its own light and it’s not solid. Solid objects composited using Screen/Add or Multiply take on a ghostly appearance – perfect for, er, ghost effects – but not ideal in other situations; because of the way Screen mode works, anything that’s not peak white will be transparent to some degree.
We shot some fast-moving leaves and debris against black, but only the high level of motion blur allowed us to get away with it. In fact, if you know you’re going to have a lot of motion blur, black-screen might be the ideal method, because it will be tricky to get a clean key off a green-screen.

Other things that work well against black-screen are sparks, smoke and water/rain, again because they’re not solid. If you want to add rain or snow to a shot, black-screen is the way to go – check out my post about that here.
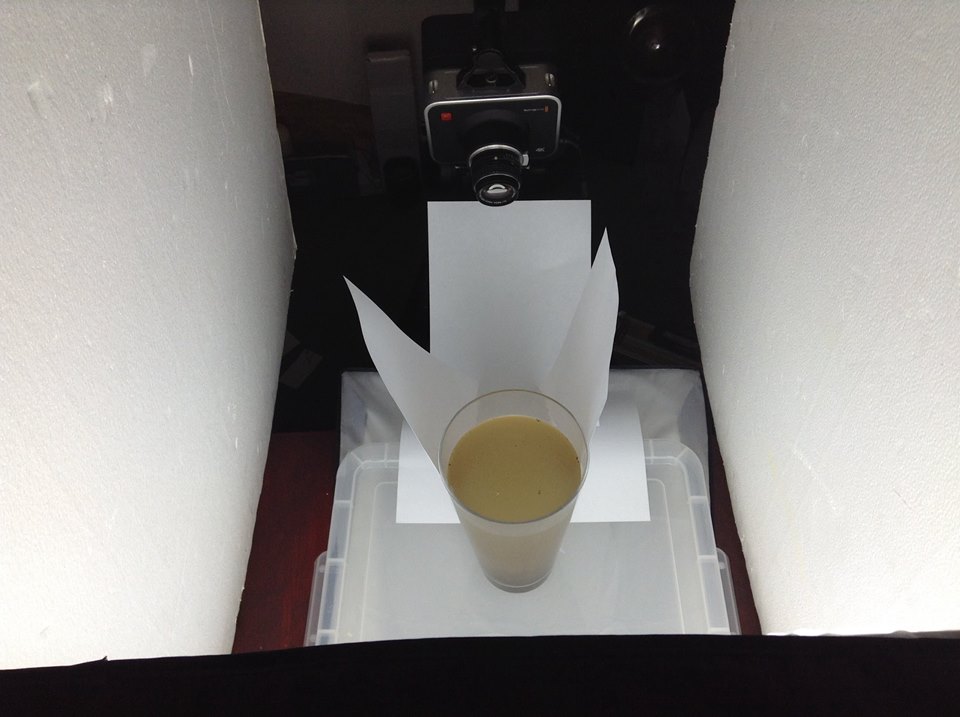
Yesterday Kate and I needed to shoot a whirlwind element. One of the VFX team suggested swirling sand in a vase of water. After a few experiments in the kitchen, we ended up using dirt from the garden. We used fluorescent softboxes for the background, ensuring we got a bright white background, and made weird arrangements of white paper to eliminate as many of the dark reflections in the vase as we could.
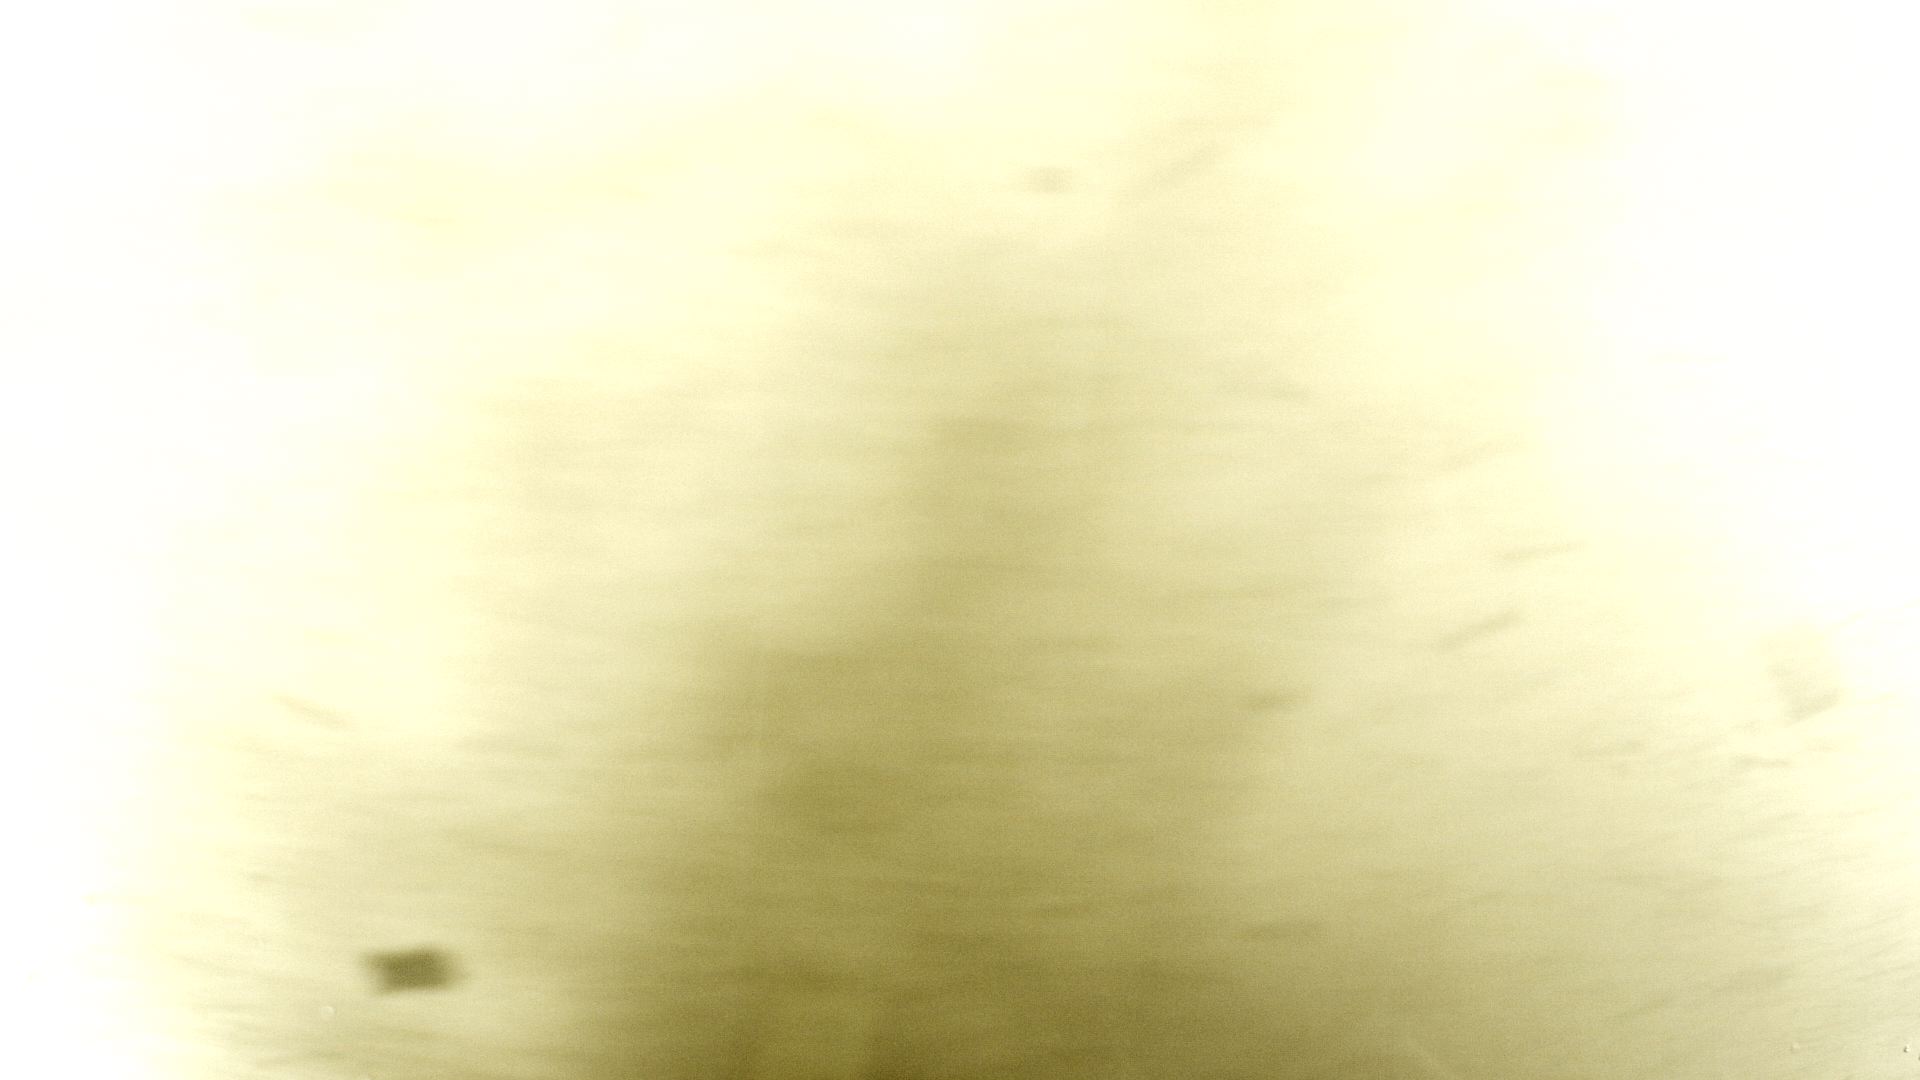
A few weeks back we shot hosepipe water against black, inverted it and used Multiply to superimpose it as blowing dirt.
With a little thinking outside the box, you can shoot all kinds of elements against white or black to meet your VFX needs. I’ll leave you with this featurette I made in 2006, breaking down the various low-tech FX – many of them black-screen – that I employed on my feature film Soul Searcher.