5 Ways to Use Astera Tubes

Astera Titan Tubes seem to be everywhere at the moment, every gaffer and DP’s favourite tool. Resembling fluorescent tubes, Asteras are wireless, flicker-free LED batons comprised of 16 pixels which can be individually coloured, flashed and programmed from an app to produce a range of effects.

Here are five ways in which I used Titan Tubes on my most recent feature, Hamlet. I’m not being sponsored by Astera to write this. I just know that loads of people out there are using them and I thought it would be interesting to share my own experiences.


1. Substitute fluorescents

We had a lot of scenes with pre-existing practical fluorescents in them. Sometimes we gelled these with ND or a colour to get the look we wanted, but other times it was easier to remove the fluorescent tube and cable-tie an Astera into the housing. As long as the camera didn’t get too close you were never going to see the ties, and the light could now be altered with the tap of an app.

On other occasions, when we moved in for close-ups, the real fluorescents weren’t in an ideal position, so we would supplement or replace them with an Astera on a stand and match the colour.


2. Hidden behind corners

Orientated vertically, Asteras are easy to hide behind pillars and doorways. One of the rooms we shot in had quite a dark doorway into a narrow corridor. There was just enough space to put in a vertical pole-cat with a tube on it which would light up characters standing in the doorway without it being seen by the camera.


3. Eye light

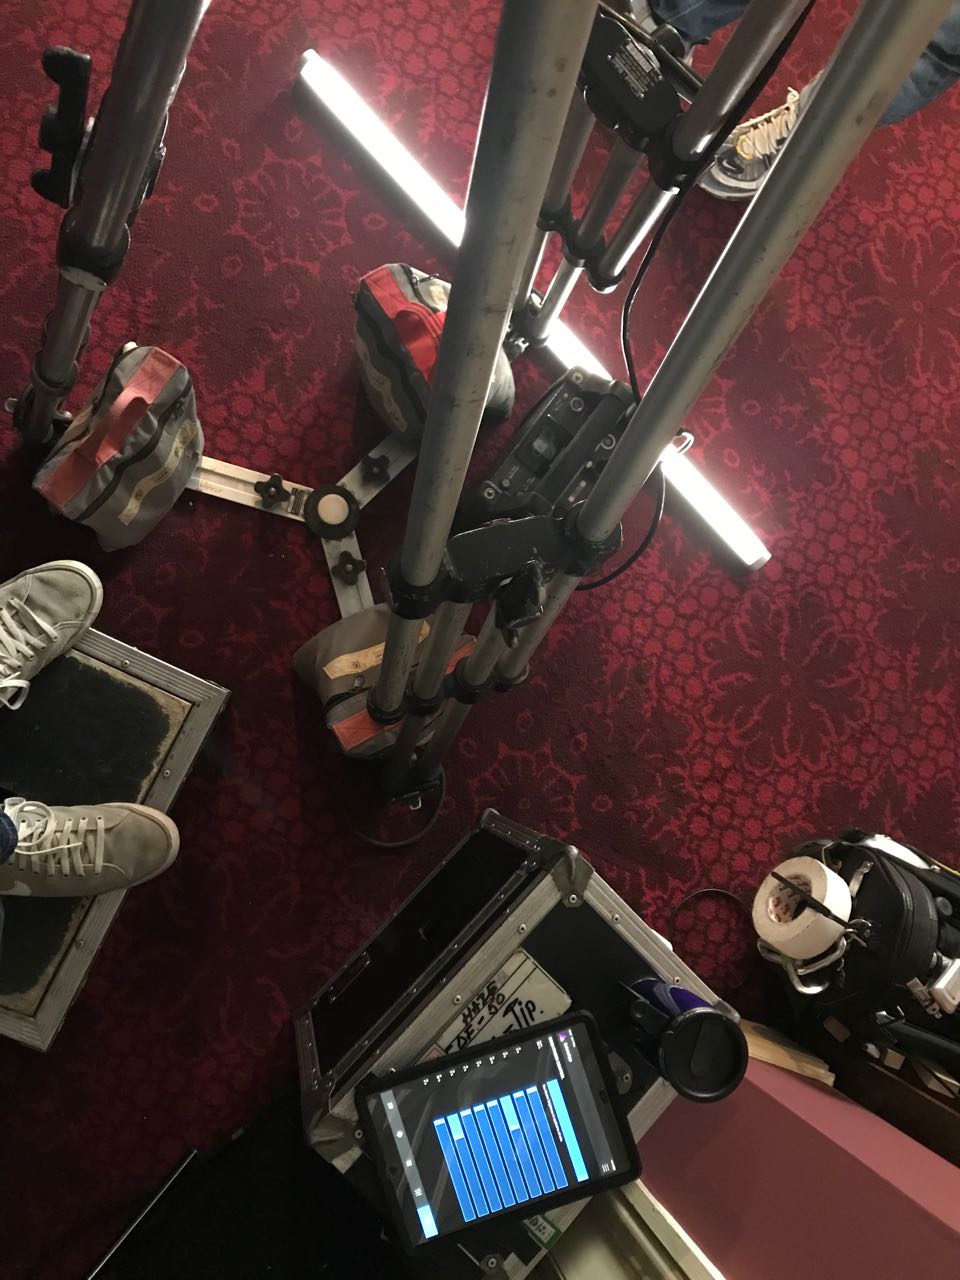
Ben Millar, Hamlet‘s gaffer, frequently lay an Astera on the floor to simulate a bit of floor bounce and put a sparkle in the talent’s eye. On other occasions when our key light was coming in at a very sidey angle, we would put an Astera in a more frontal position, to ping the eyes again and to wrap the side light very slightly.


4. rigged to the ceiling

We had a scene in a bathroom that was all white tiles. It looked very flat with the extant overhead light on. Our solution was to put up a couple of pole-cats, at the tops of the two walls that the camera would be facing most, and hang Asteras horizontally from them. Being tubes they have a low profile so it wasn’t hard to keep them out of the top of frame. We put honeycombs on them and the result was that we always had soft, wrappy backlight with minimal illumination of the bright white tiles.


5. Special effects

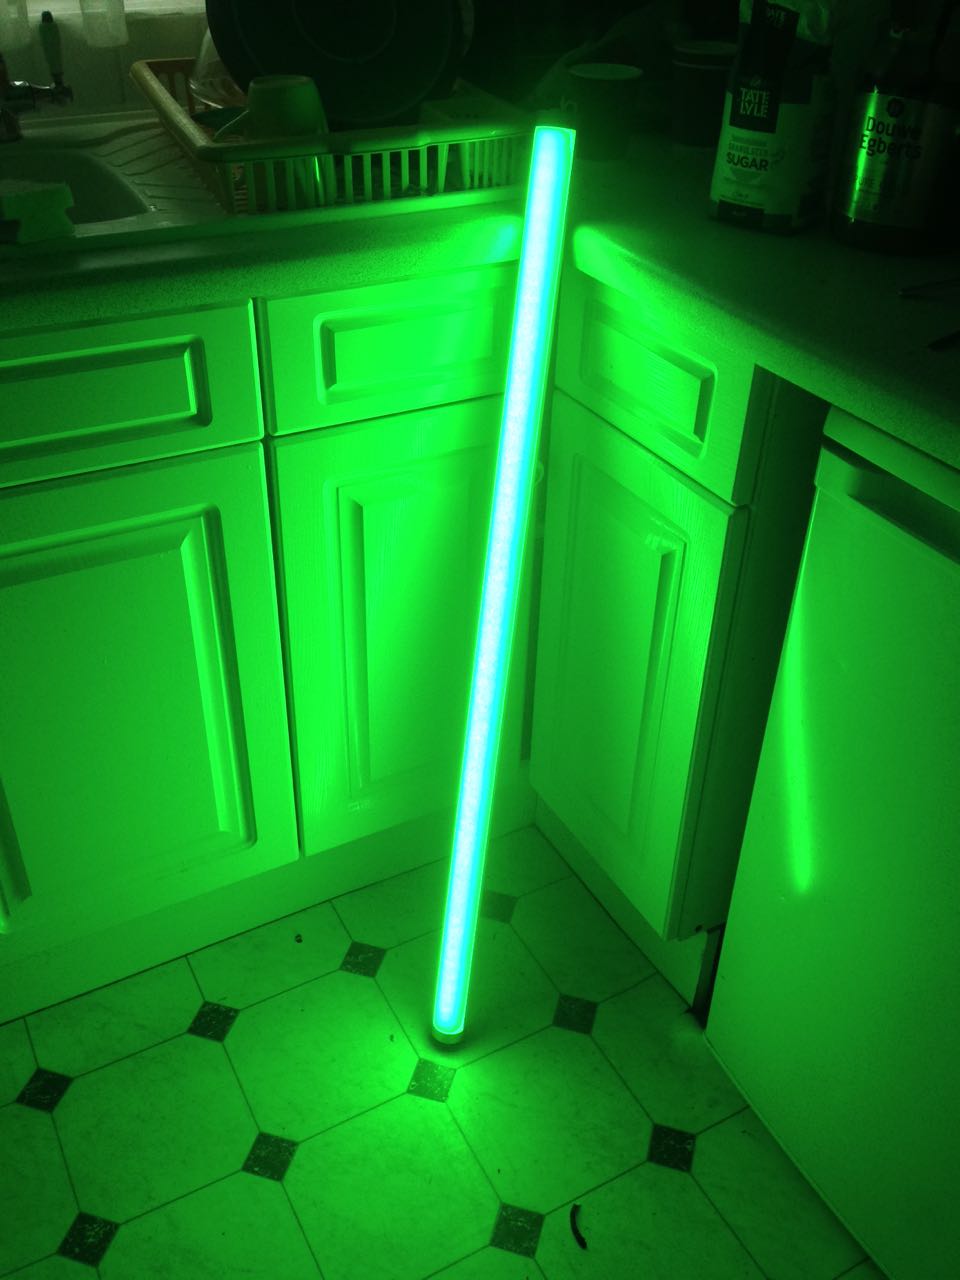
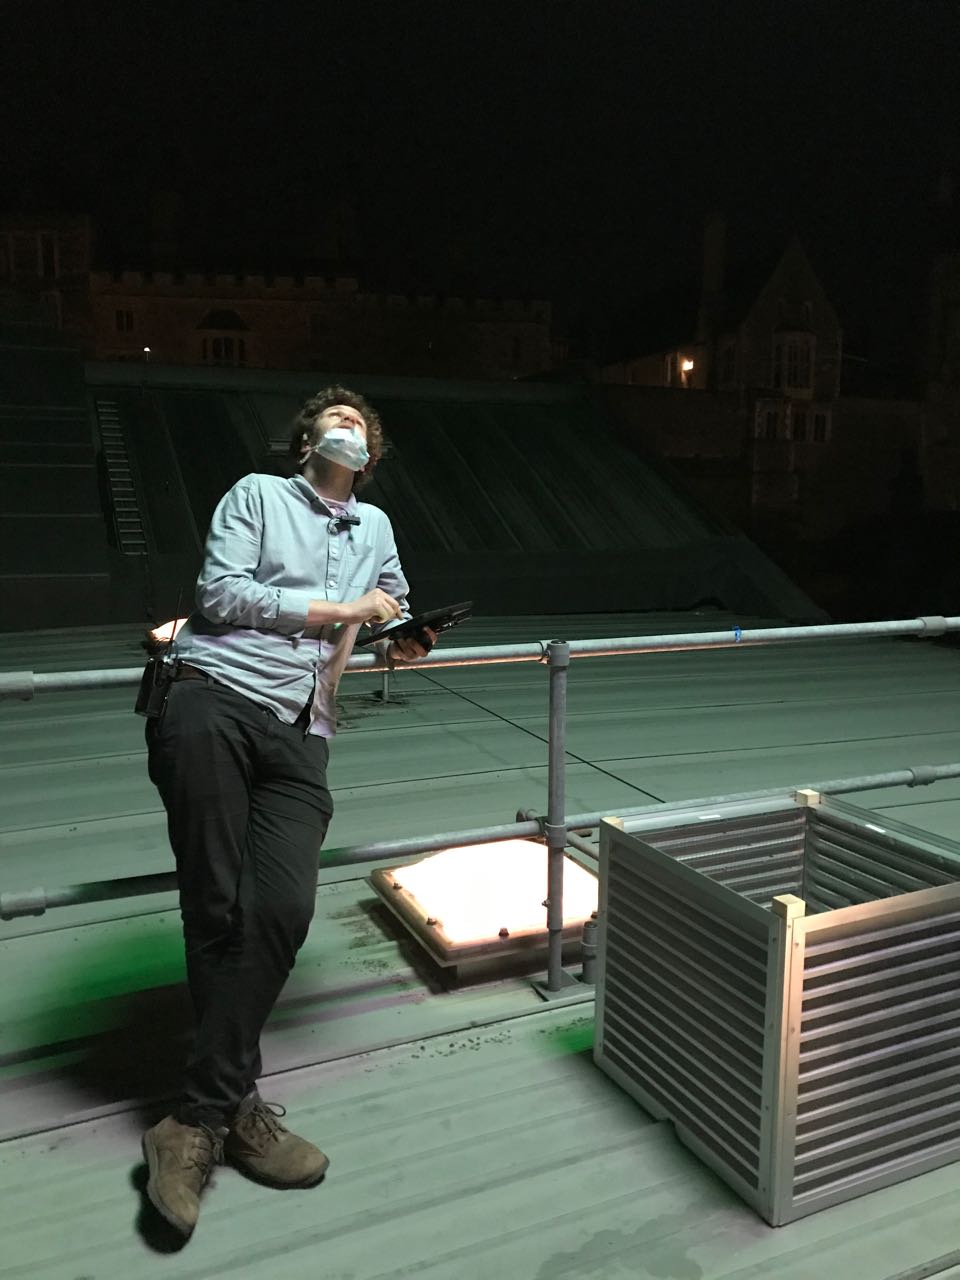
One of the most powerful things about Titan Tubes is that you can programme them with your own special effects. When we needed a Northern Lights effect, best boy Connor Adams researched the phenomenon and programmed a pattern of shifting greens into two tubes rigged above the set.

On War of the Worlds in 2019 we used the Asteras’ emergency lights preset to pick up some close-ups which were meant to have a police car just out of shot.

There are all kinds of other effects you could use the tubes for. There is a good example by DP Rowan Biddiscombe in this article I wrote for British Cinematographer.

5 Ways to Use Astera Tubes

5 Ways to Fake Firelight

Real SFX run a fishtail on the set of “Heretiks”

Firelight adds colour and dynamism to any lighting set-up, not to mention being essential for period and fantasy films. But often it’s not practical to use real firelight as your source. Even if you could do it safely, continuity could be a problem.

A production that can afford an experienced SFX crew might be able to employ fishtails, V-shaped gas outlets that produce a highly controllable bar of flame, as we did on Heretiks. If such luxuries are beyond your budget, however, you might need to think about simulating firelight. As my gaffer friend Richard Roberts once said while operating an array of flickering tungsten globes (method no. 3), “There’s nothing like a real fire… and this is nothing like a real fire.”


1. Waving Hands

The simplest way to fake firelight is to wave your hands in front of a light source. This will work for any kind of source, hard or soft; just experiment with movements and distances and find out what works best for you. A layer of diffusion on the lamp, another in a frame, and the waving hands in between, perhaps?

Visit my Instagram feed for loads more diagrams like this.

One of my favourite lighting stories involves a big night exterior shot from The First Musketeer which was done at the Chateau de Fumel in the Lot Valley, France. We were just about to turnover when a bunch of automatic floodlights came on, illuminating the front of the chateau and destroying the period illusion of our scene. We all ran around for a while, looking for the off switch, but couldn’t find it. In the end I put orange gel on the floodlights and had someone crouch next to each one, wiggling their hands like a magician, and suddenly the chateau appeared to be lit by burning braziers.


2. Wobbling Reflector

This is my go-to technique – quick, easy and effective. It’s demonstrated in my Cinematic Lighting course on Udemy and also in this episode of Lensing Ren:

All you need is a collapsible reflector with a gold side, and an open-face tungsten fixture. Simply point the latter at the former and wobble the reflector during the take to create the flickering effect.


3. Tungsten Array

If you want to get more sophisticated, you can create a rig of tungsten units hooked up to a dimmer board. Electronic boxes exist to create a flame-like dimming pattern, but you can also just do it by pushing the sliders up and down randomly. I’ve done this a lot with 100W tungsten globes in simple pendant fittings, clipped to parts of the set or to wooden battens. You can add more dynamics by gelling the individual lamps with different colours – yellows, oranges and reds.

John Higgins’ 2MW firelight rig from “1917”

Larger productions tend to use Brutes, a.k.a. Dinos, a.k.a. 9-lights, which are banks of 1K pars. The zenith of this technique is the two megawatt rig built by gaffer John Higgins for Roger Deakins, CBE, BSC, ASC on 1917.


4. Programmed L.E.D.

Technological advances in recent years have provided a couple of new methods of simulating firelight. One of these is the emergence of LED fixtures with built-in effects programmes like police lights, lightning and flames. These units come in all shapes, sizes and price-ranges.

Philip Bloom’s budget fire-effect rig on location for “Filmmaking for Photographers”

On War of the Worlds: The Attack last year, gaffer Callum Begley introduced me to Astera tubes, and we used their flame effect for a campfire scene in the woods when we were having continuity problems with the real fire. For the more financially challenged, domestic fire-effect LED bulbs are cheap and screw into standard sockets. Philip Bloom had a few of these on goose-neck fittings which we used extensively in the fireplaces of Devizes Castle when shooting a filmmaking course for Mzed.


5. L.e.D. Screen

A logical extension of an LED panel or bulb that crudely represents the pattern of flames is an LED screen that actually plays video footage of a fire. The oil rig disaster docu-drama Deep Horizon and Christoper Nolan’s Dunkirk are just two films that have used giant screens to create the interactive light of off-camera fires. There are many other uses for LED screens in lighting, which I’ve covered in detail before, with the ultimate evolution being Mandalorian-style virtual volumes.

You don’t necessarily need a huge budget to try this technique. What about playing one of those festive YouTube videos of a crackling log fire on your home TV? For certain shots, especially given the high native ISOs of some cameras today, this might make a pretty convincing firelight effect. For a while now I’ve been meaning to try fire footage on an iPad as a surrogate candle. There is much here to explore.

So remember, there may be no smoke without fire, but there can be firelight without fire.

5 Ways to Fake Firelight

5 Tips for Shooting Water

As well as the general principles of cinematography like three-point lighting, short key and so on, there are specific principles that apply to certain situations only. Since these situations don’t always come up, it can take a little longer to develop a mental toolkit to get the best out of them. One such situation is shooting water – scenes by riversides, on beaches, beside swimming pools or in bathrooms. What are the tricks you can use to get the most cinematic look?


1. Use a circular polarising filter

4952a23d13929fe1903f601843a9ef4d
Without (left) and with (right) a polarising filter

A polarising filter cuts out all light waves except those travelling in a certain plane. Since reflections are usually only in a single plane, by rotating a circular polariser filter until you hit the right angle, you should be able to reduce the reflections you’re seeing. This can have an impact on how water appears on camera. On an overcast day, a CP will allow you to reduce the reflections of the grey sky, making the water look clearer and bluer.


2. Get sparkly

All the evidence you need that shooting towards the sun is good.
Shooting towards the sun provides both lovely backlight and sparkles on the river in this shot from Stop/Eject.

Water will always look prettier, particularly large bodies of it, if the sun is sparkling on it. How do you capture this on camera? Use the principle that the angle of incidence equals the angle of reflection, the same principle you use when positioning a bounce board. As with all day exteriors, shooting at the correct time of day is critical. You want the sun to bounce off the surface of the water and into your lens, which means being on the opposite side of the water to the sun, with the camera facing the sun. Use a top flag on your matte box (a.k.a. “top chop” or “eyebrow”) to prevent lens flare if you so wish.

img_1527


3. Get rippling light

Using a paddling pool and a par can to create a rippling light effect on The Little Mermaid. Note the black fabric as per tip 4 below.
Using a paddling pool and a par can to create a rippling light effect for close-ups on The Little Mermaid.  Note the black fabric as per tip 4 below. At the white end of the paddling pool you can see the stool where the talent sat.

The same principle can be applied to capture rippling light effects on walls, faces, etc. This time you want the sun, or artificial light source, to bounce off the surface of the water and hit your subject. You can suggest an off-camera body of water when there is none by carefully positioning a fish tank, paddling pool or similar in relation to the light and your subject.


4. Kill the bottom bounce

img_1529

Beware that not all the light will bounce off the surface of the water. Some will pass through it, bounce off the bottom of the pool and then hit your subject. If the bottom of the pool isn’t a dark colour, this unmoving bounce light will overpower the rippling light coming off the surface. Lay duvetyne or other black fabric on the bottom of the pool so that the only bounce is from the surface.


5. Fake it

A grip standing by to fake rippling watery light on The Little Mermaid
Grip Sawyer Oubre standing by to fake rippling watery light on The Little Mermaid

If you need to create a rippling light effect without using water, you can fake it with a sheet of blue gel on a frame in place of the water surface. Wobble the frame slightly (only slightly, or the sound department will start to yell at you) and the gel will ripple in the frame, creating a similar effect to water. Thanks to my key grip on The Little Mermaid, Jason Batey, for introducing me to this technique.

Another way to simulate watery light is to bounce a lamp off silver paper or fabric which is being rippled by a fan. More on this technique here.

What about shooting UNDER water? Just one tip for that: hire an underwater DP.

5 Tips for Shooting Water