“Above the Clouds”: February 2017 Pick-ups

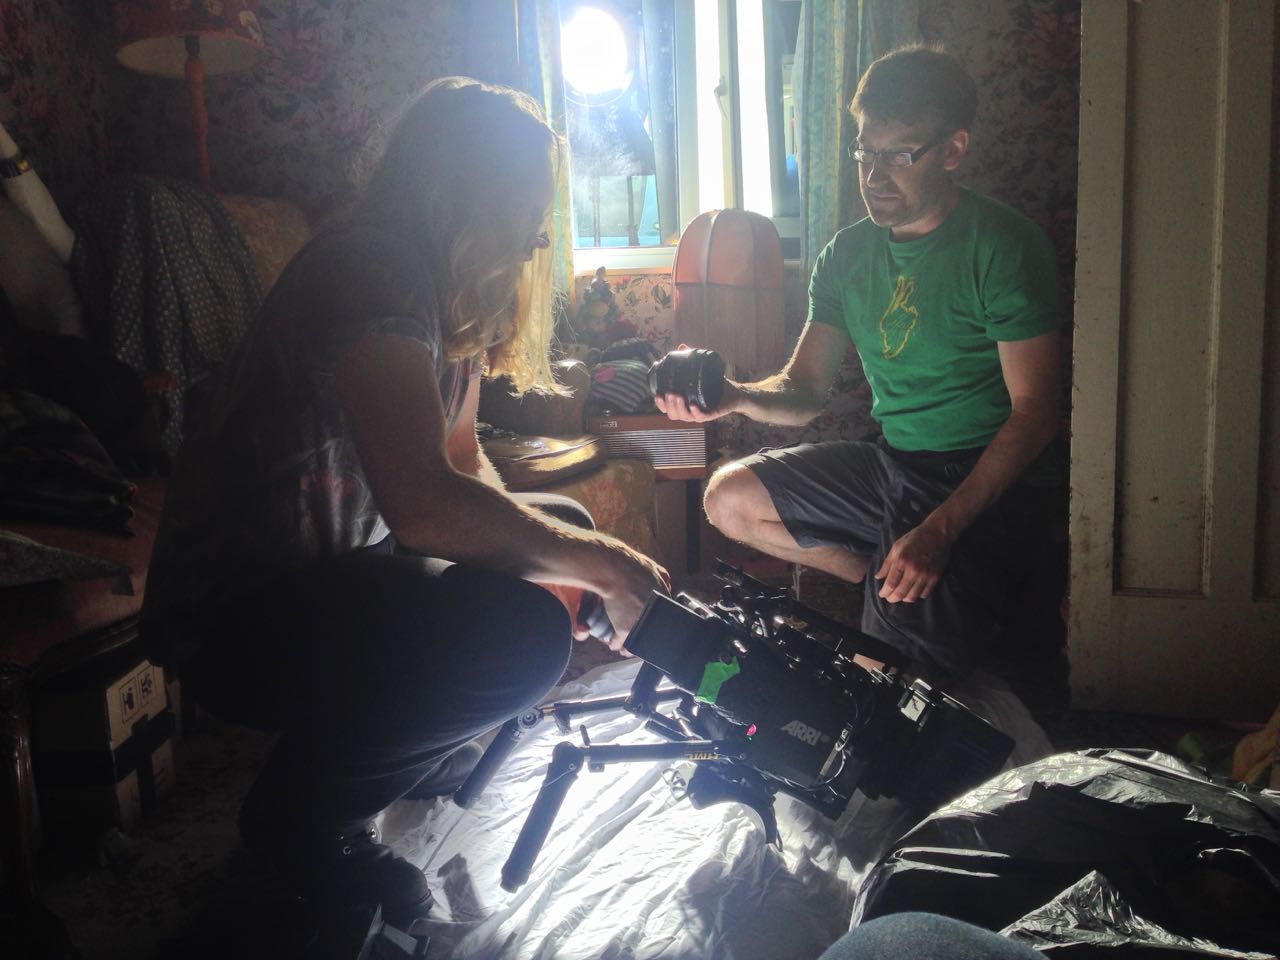
Last weekend saw many of the crew of Above the Clouds reunite to shoot the remaining scenes of this comedy road movie. Principal photography was captured on an Alexa Mini during summer 2016 on location in Kent, on the Isle of Skye, and at Longcross Studio in Buckinghamshire, with additional location shooting on a Blackmagic Micro Cinema Camera in October.

The outstanding scenes were to be photographed on stage, at Halliford Studio in Shepperton, this time on an Arri Amira. The Amira uses the same sensor as the Alexas, allowing us to match the look from principal photography in the most cost-effective way. With the addition of a Premium license, the camera is capable of the same ProRes 4444 recording codec as the Alexas too. As per last summer, our glass was a set of Arri/Zeiss Ultra Primes, with a half Soft FX filter to take the digital edge off.

Director Leon Chambers designed and built the set himself, sending me photos of a scale model well in advance. He was also specific about certain lighting cues and states that were required across the two sets and six scenes we would be recording to complete the movie. Based on this information, I concocted a lighting plan, which I communicated to Halliford’s in-house gaffer Micky Reeves by Photoshopping stock images of lamps onto Leon’s set model photos.

Last Saturday was devoted to pre-lighting the sets, mainly the kitchen, while construction work continued on the second set.


Day 24 / Sunday

We begin with a morning scene. A 5K fresnel serves as a low sun, streaking across the back wall of the set (see my post about lighting through windows). Even with this direct light four stops over, the natural bounce off the set isn’t enough to bring actor Philip Jackson – with his back to the window – up to key. Micky rigs a Dedo firing into a soft silver bounce just out of frame to solve the problem.

Also coming through the window are two 4×4 kinos, rigged on goalposts above the window. Their daylight tubes reflect off the blinds, serendipitously creating the illusion of a blue sky “outdoors”, where in fact there is only a wall and a white backdrop.

Philip exits into the hallway and disappears from view, supposedly to go out through the front door. No door exists. Instead there is a flag which spark Amir Moulfi rotates in front of a 2K, creating a momentary oblong of light in which Philip’s shadow appears.

The next scene follows on from an exterior captured last October at dusk, when the natural light was soft, flat and cool in colour, cheated even cooler with the white balance. This failing daylight is to be the only source of illumination now in the kitchen set, until Philip enters and turns on the lights. This is the main reason that the daylight 4×4 kinos outside the window were rigged. A third kino from the direction of the front door is added, plus a small LED reporter light to pick an important prop out of the shadows.

Lead actress Naomi Morris enters, silhouetted against the windows. Then Philip enters and hits the lights. Simultaneously, Amir flips a breaker on a lunchbox, activating a hanging practical fixture above the breakfast bar and the 5K which that practical motivates.

Generally I don’t like toplight. It throws the eyes – those windows to the soul… or windows to the performance – into shadow. But with the hanging practical in shot, whatever I was going to use to beef it up had to be somewhat toppy or it wouldn’t make sense. I considered space-lights and Jem balls, but in consultation with Micky I ultimately picked a 5K with a chimera, coming in at a 45 degree back/toplight angle. As you can see from the photos, this looks almost comically large. But large and close means soft, which is what I want. It had to be soft enough to wrap both actors when they faced each other across the bar.


But why such a large lamp? Why not use a 2K, like Micky suggested yesterday? Bitter experience has always taught me to go with a bigger unit than you think you need, particularly if you’re softening it, and particularly if it’s going to take a while to rig. (The 5K was hung from another goalposts set-up.) We ended up dimming the 5K to 50% and scrimming it down a stop and a half. But having too much light like that is easy to deal with. If we had put up a 2K and it wasn’t bright enough, we would have to have taken the whole thing down and re-rigged with a 5K. And even if the 2K had seemed sufficient to begin with, blocking can often take actors into unexpected, dark corners of the set. Being able to turn up a dimmer a couple of notches to handle that kind of situation is very useful.

Besides the 5K, there are a few other sources playing: some 300W hairlights, a pup bouncing off the side of a cupboard to bring up the area around the cooker, a China ball in the hallway, and Leon’s Rosco LitePads serving as practical under-cabinet down-lighters.


Day 25 / Monday
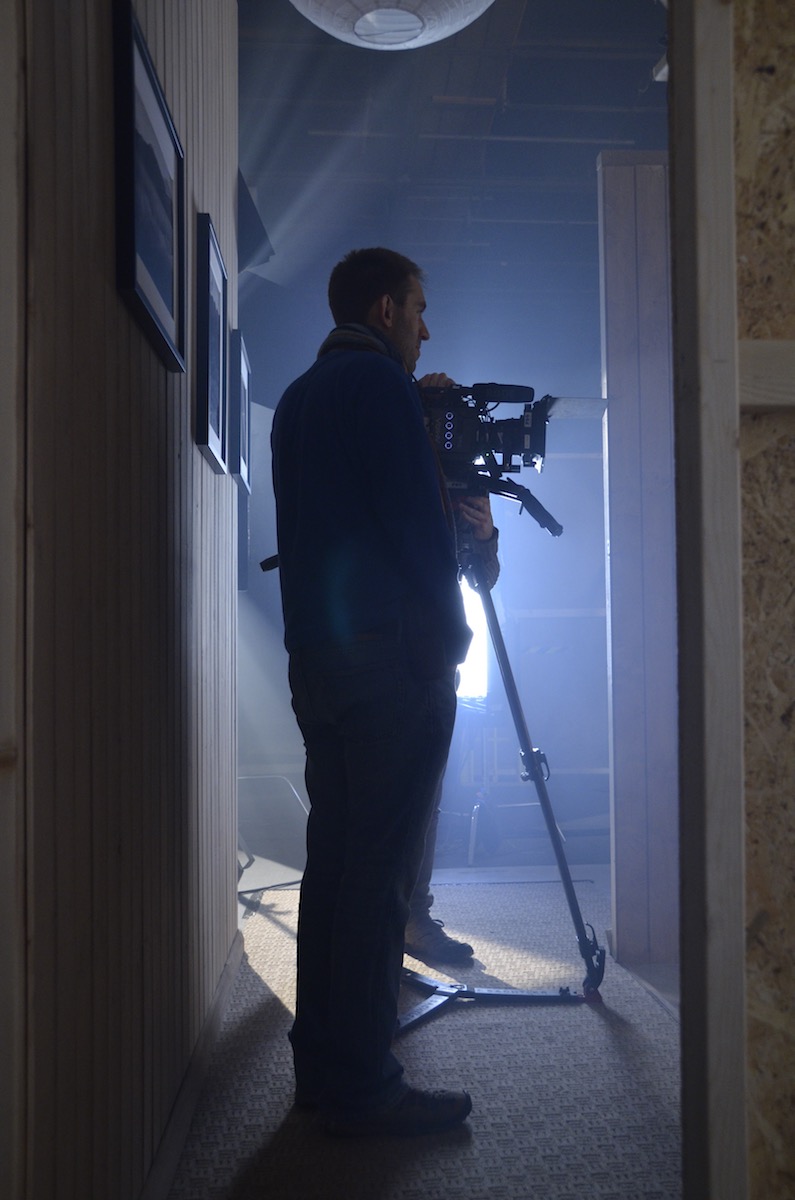
I probably shouldn’t say what today’s set is, because it’s a little bit of a spoiler. There are some lighting similarities to the kitchen: again we have a character flicking a light switch, bringing on two hanging overhead practicals and a 2K with a chimera to beef them up.

A practical lamp on a desk was supposed to be turned on during the scene as well, but we all forget until it’s too late. It would have bounced off the desk and given Philip a little eye-light, and at first I regret losing this. But soon I realise that it is more appropriate for the scene not to have that level of refinement, for the lighting to be a little raw. The toppy, “broken key” angle of the chimera’s light works well for this tone too.

We wrap just before noon, releasing Naomi to high-tail it to Oxford to appear on stage in a musical this evening. Eventually there will be second-unit-style GVs and establishing shots to do, but there will only be three or four of us for that. For the cast and most of the crew, today brings Above the Clouds to an end, eight months after the camera first rolled.

See all my Above the Clouds posts here, or visit the official website.
“Above the Clouds”: February 2017 Pick-ups

Lighting I Like: “Outlander”

In the final episode of Lighting I Like, I discuss perhaps one of the most beautiful pieces of cinematography I’ve ever seen in television: the “Dance of the Druids” from the premiere episode of Outlander. A Starz series available on Amazon Prime in the UK, Outlander tells the story of a nurse from 1945 who accidentally travels back in time to 1743 when she visits some standing stones in the Scottish Highlands.

Since making this episode, I’ve read The Making of Outlander by Tara Bennett, so I now know that this scene was in fact shot on location. The book quotes director John Dahl as follows:

For the scene where Frank and Claire go out there first thing in the morning, we filmed all the stuff at dark. We actually had a gigantic light on a crane, and that’s how we made our sunrise come up. I feel like that one scene really helped us make it look more like rugged Scotland. I think it’s one of the most beautiful sequences that I’ve gotten to film in the last few years.

For more on the sunset scene in Ren: The Girl with the Mark which I mention at 1:55, read my post Ren: Night for Day” or see episode five of Lensing Ren.

I hope you enjoyed this first season of Lighting I Like. Time permitting, I’ll be back later in the year with more episodes.

Lighting I Like: “Outlander”

Lighting I Like: “Life on Mars”

This week’s edition of Lighting I Like focuses on a scene from Life on Mars, my all-time favourite TV show. Broadcast on the BBC in 2006 and 2007, this was a police procedural with a twist: John Simm’s protagonist D.I. Sam Tyler had somehow travelled back in time to the 1970s… or was he just in a coma imagining it all? Each week his politically correct noughties policing style would clash with the seventies “bang ’em up first, ask questions later” approach of Philip Glenister’s iconic Gene Hunt.

I must get around to doing a proper post on colour theory one of these days, but in the meantime, there’s a bit about colour contrast in this post. And you can read more about using practicals in this post.

I hope you enjoyed the show. The sixth and final episode goes out at the same time next week: 8pm GMT on Wednesday, and will feature perhaps the most stunning scene yet, from the Starz series Outlander. Subscribe to my YouTube channel to make sure you never miss an episode of Lighting I Like.

Lighting I Like: “Life on Mars”

Lighting I Like: “The Crown”

It’s Wednesday, and that means it’s time for another episode of my YouTube series Lighting I Like. This one is about The Crown, one of the most beautifully shot shows of 2016.

You can read more about how the cinematography reflects the burden of the wearing the Crown in my post “How The Crown Uses Broad Key Lighting to Evoke Tradition“.

There are also examples from The Crown in my recent post on using shafts of light through windows.

I hope you enjoyed the show. Episode five goes out at the same time next week: 8pm GMT on Wednesday, and will cover a scene from my all-time favourite TV series, Life on Mars. Subscribe to my YouTube channel to make sure you never miss an episode of Lighting I Like.

Lighting I Like: “The Crown”

Lighting I Like: “Harry Potter and the Philosopher’s Stone”

The third episode of my YouTube cinematography series Lighting I Like is out now. This time I discuss a scene from the first instalment in the Harry Potter franchise, directed by Chris Columbus and photographed by John Seale, ACS, ASC.


You can find out more about the forest scene from Wolfman which I mentioned, either in the February 2010 issue of American Cinematographer if you have a subscription, or towards the bottom of this page on Cine Gleaner.

If you’re a fan of John Seale’s work, you may want to read my post “20 Facts About the Cinematography of Mad Max: Fury Road.

To read about how I’ve tackled nighttime forest scenes myself, check out “Poor Man’s Process II” (Ren: The Girl with the Mark) and Above the Clouds: Week Two”.

I hope you enjoyed the show. Episode four goes out at the same time next week: 8pm GMT on Wednesday, and will cover a scene from episode two of the lavish Netflix series The Crown. Subscribe to my YouTube channel to make sure you never miss an episode.

Lighting I Like: “Harry Potter and the Philosopher’s Stone”

Lighting I Like: “Ripper Street”

The second episode of Lighting I Like looks at a scene from the season four premiere of Victorian crime drama Ripper Street, available on Amazon Prime in the UK.

On closer inspection, the “tungsten fill” I mention in the video is more of a soft tungsten toplight – perhaps a Chimera Pancake – rigged to the ceiling in the centre of the room. When Jackson exits at 2:00 you can see him walk under it.

Here’s some further reading if you want to know more about using practicals, and candlelight in particular:

5 Tips for Working With Practicals

Candlelight – how I tackled multiple candlelight scenes in my first period production, The First Musketeer, including a video blog from the set.

I hope you enjoyed the show. Episode three goes out at the same time next week: 8pm GMT on Wednesday, and will cover a scene from the 2001 movie Harry Potter and the Philosopher’s Stone. Subscribe to my YouTube channel to make sure you never miss an episode.

Lighting I Like: “Ripper Street”

“Lighting I Like” Launches

The first episode of my new YouTube series is out. Lighting I Like discusses some of the best and most interesting illumination I’ve seen in film and TV, including how and why I think it’s been done. The first show is about a scene from season two episode four of Daredevil – and beware there is a spoiler.

After recording these shows, and while editing them, I spotted more things about the lighting in the clips. For example, in this Daredevil scene I noticed that there is a backlight tucked just behind the building on the right of frame. This backlight isn’t hitting the actors because a fire escape is shadowing them, but it’s giving that golden glow to the rain and street in the background. It must be gelled with something like Mustard Yellow to match the existing street lamps.

I hope you enjoyed the show. Episode two goes out at the same time next week: 8pm GMT on Wednesday, and will cover a scene from the season four premiere of Ripper Street.

“Lighting I Like” Launches

5 Tips for Working with Practicals

As the sensitivity and dynamic range of cameras has increased, practicals have become a more and more important and popular tool in the cinematographer’s arsenal. A practical is any light source that appears in the frame. It could be a fluorescent strip-light, a table lamp, car headlights, candles, a fireplace, an iPad, fairy lights, street lamps, a torch, a security light… any light that could be realistically found in the place where your scene is set.

Here are five pieces of advice I’ve put together from my own experiences working with practical lights.


1. Liaise continually with the director and art department.

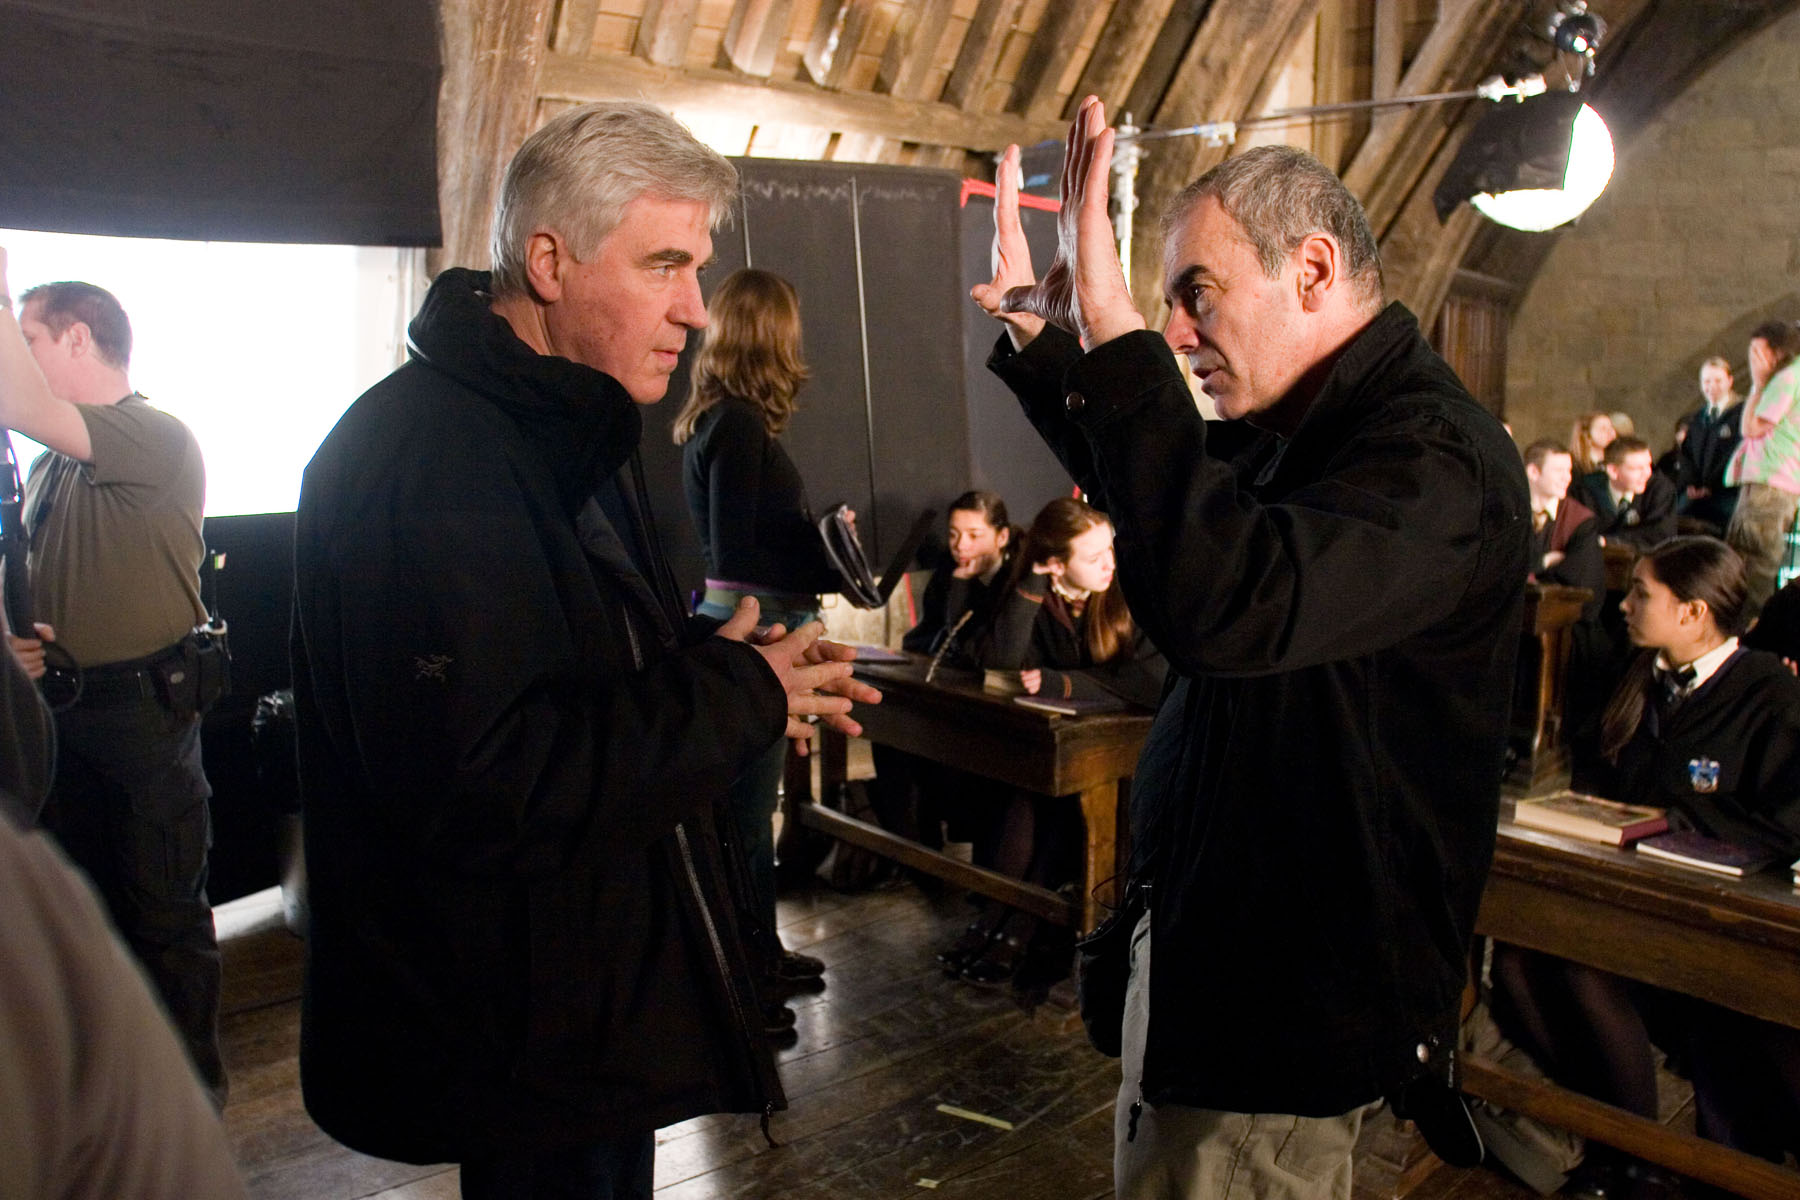
Production Designer Stuart Craig and Cinematographer Slawomir Idziak PSC confer on the set of Harry Potter and the Order of the Phoenix.

Although the bulb, wiring and power supply are the responsibility of the lighting department, the fixture itself falls under the purview of the art department. A good production designer will be thinking of light sources from the very beginning of their set design process. This is the start of a conversation which will continue throughout preproduction, as you the DP ask for fixtures in certain positions to make the set and actors look good, and the designer either says yes or asks for compromises so as not to ruin the aesthetics or believability (or budget!) of their design. The places a DP wants light sources in order to get the best modelling of the talent are often not the places a real human being would choose to install a light source in their home/office/dungeon etc. Some designers will demand realism and fight you on these decisions; others are open to artistic license. Either way, you must respect the symbiotic relationship between your two departments and do your best to reach a solution that works for both of you.

Keeping the director in the loop is also very important. When it comes to lighting, practicals are one of the things most likely to cause disagreement between the director and DP. You may have spent an hour lighting the set to be motivated by the candles all around, only for the director to walk onto set and say that they feel it makes no sense within the story for someone to have lit the candles in this scene. At which point, if you can’t change the director’s mind, you will find yourself hastily relighting the set while the 1st AD shakes their head in despair.


2. Sometimes it’s as simple as turning it on.

A Serious Man (DP: Roger Deakins CBE, ASC, BSC)

Earlier in my career, whenever I saw a practical, I felt that I had to set up a movie light somewhere out of frame in order to beef up the amount of light apparently coming from that practical. And traditionally, this is indeed the way DPs have worked, because film stocks weren’t sensitive enough to get an acceptable exposure from typical practicals like table lamps. Or it was impossible to find a level for the practical where it was bright enough to expose the talent but dim enough that the lamp itself didn’t read on camera as an ugly, over-exposed white blob.

But today’s digital cameras have a wider dynamic range, making it much easier to expose both the source and the subject acceptably. So ask yourself, do you really need that movie light? Roger Deakins, the world’s most celebrated living cinematographer, says he commonly lights his sets now with predominantly practical sources. Take a look at your scene without any additional lights, and only add extra sources if your practical’s illumination isn’t reaching the distance it needs to.

And practicals don’t even need to light the talent. Sometimes you have a scene perfectly well illuminated with other sources, but turning on a practical in the background just adds the icing on the cake. It may not illuminate anything but a small pool immediately around itself, but that little pool of orange light might add colour contrast, production value and interest. I’ve often seen daylight interior scenes on TV or in movies where bright shafts of “sunlight” are blasting in through a window, and no-one would realistically need to turn an artificial light on, but nonetheless several table lamps are glowing away in the background – because it looks great!


3. Always use dimmers.

As I’ve already said, finding that perfect brightness for your practical can be a delicate balancing act, so always have your crew put practicals on dimmers (a.k.a. “squeezers”) to make it easy to find that right level. Besides, practicals often look best with a warmer colour temperature, and you can get that by dimming them down, if they’re tungsten, adding to the cosy feel.


4. Keep other sources off the practical.

One of the reasons practicals look good is because they create contrast in the frame: a bright patch spreading out into darkness. If other light is falling on the practical, this effect will be washed out and reduced. If the other source is bright, it may even make the practical look like it’s not switched on. (Just like if you take a torch outside in daylight and turn it on, it doesn’t look like it’s on at all because the sun is so overpowering.)

If possible, other sources should be flagged so that they don’t hit the practical. This is something that an experienced gaffer will often have done as a matter of course.


5. Dim the camera side of the practical.

O Brother, Where Art Thou? (DP: Roger Deakins CBE, ASC, BSC)

Even with the wide dynamic range of today’s cameras, the flame or bulb of a practical may still look unpleasantly bright on camera. To deal with this, depending on the design of the fixture, you may be able to hide a small piece of ND gel inside it on the camera side. If properly arranged, this will cut the light travelling directly into the camera lens, but not the light shining in other directions and illuminating the talent.

Alternatively, the glass case of a lantern can be sprayed black on the camera side. The paint will not be picked up by the camera because there will still be a lot of light coming through it, but it should cut enough brightness to eliminate lens flare and reduce highlight clipping.


I hope these tips are helpful next time you shoot with practicals. Happy lighting, and merry Christmas!

5 Tips for Working with Practicals

5 Ways to Use Hard Light Through a Window

The first step in lighting a daytime interior scene is almost always to blast a light through the window. Sometimes soft light is the right choice for this, but unless you’re on a big production you simply may not have the huge units and generators necessary to bounce light and still have a reasonable amount of it coming through the window. So in low budget land, hard light is usually the way we have to go.

Now, I used to think that this hard window light had to hit the talent’s faces, otherwise what’s the point? But eventually I learnt that there are many things you can do with this light….


1. Light the talent directly.

This is what I always used to do. The problem is that the light will be very harsh. If there is a good amount of natural light coming in through the window too, that might soften the look enough. If not, slipping a diffusion frame in front of the light will take the edge off the hardness. And it depends which way the talent is facing. If the hard light is backlighting or edging them, the effect might well be beautiful.

prison2
Ren: The Girl with the Mark, S1 E4, director: Kate Madison, DP: Neil Oseman
Hard side light from an Arri M18 outside the window, combined with a 4x4 kino from a 3/4 angle inside the room
The Gong Fu Connection, director: Ted Duran, DP: Neil Oseman


2. Light part of the talent directly.

This is a nice way to get the best of both worlds. You hit their clothes with the hard light, maybe a bit of their chin too; it creates contrast, brings out the texture in the costume, and adds dynamics because as the talent moves, the edge of the hard light will move around on them. To light the parts which the hard source doesn’t hit you can use bounce, or a kinoflo Window Wrap.

ren4-commander-house
Ren: The Girl with the Mark, S1 E4, director: Kate Madison, DP: Neil Oseman
Ren: The Girl with the Mark (Mythica Entertainment, dir. Kate Madison)
Ren: The Girl with the Mark, S1 E2, director: Kate Madison, DP: Neil Oseman


3. Light the floor.

Arrange the light so it hits the floor, creating a skip bounce. Unless the floor’s a very dark colour, the light will bounce back up and light your talent softly from below. While some people are afraid of the “monster” look of lighting from below, it can often produce a very beautiful look. It’s well worth exploring. Alternatively, bounce the hard window light off a wall to create a soft side light.

Manure, director: Michael Polish, DP: M. David Mullen
This photo from the set of Above the Clouds (director: Leon Chambers) shows a white sheet which I laid on the floor to skip-bounce the HMI outside the window. Some of its effects can be seen on Rupert's face (right)!
This photo from the set of Above the Clouds (director: Leon Chambers) shows a white sheet which I laid on the floor to skip-bounce the HMI outside the window.


4. Light the background.

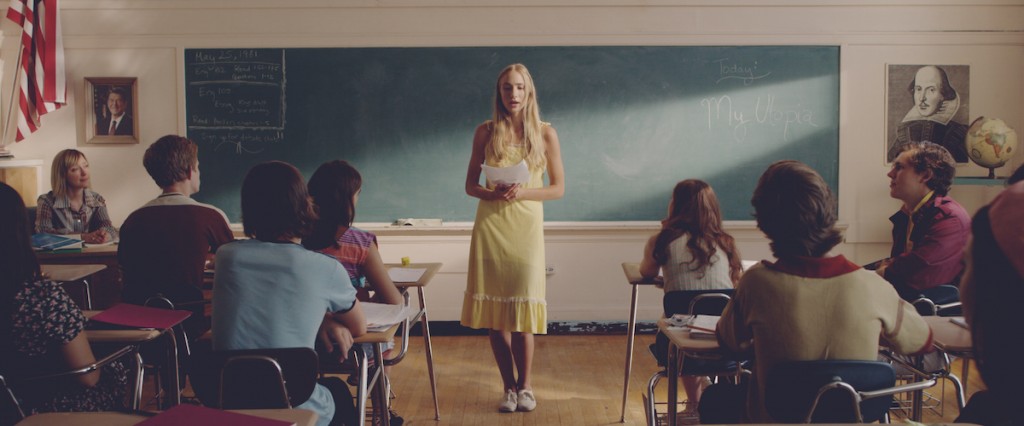
A hot splash of “sunlight” on the background is a common way to add interest to a wide shot. It can show off the production design and the textures in it, or help frame the talent or separate them from the background.

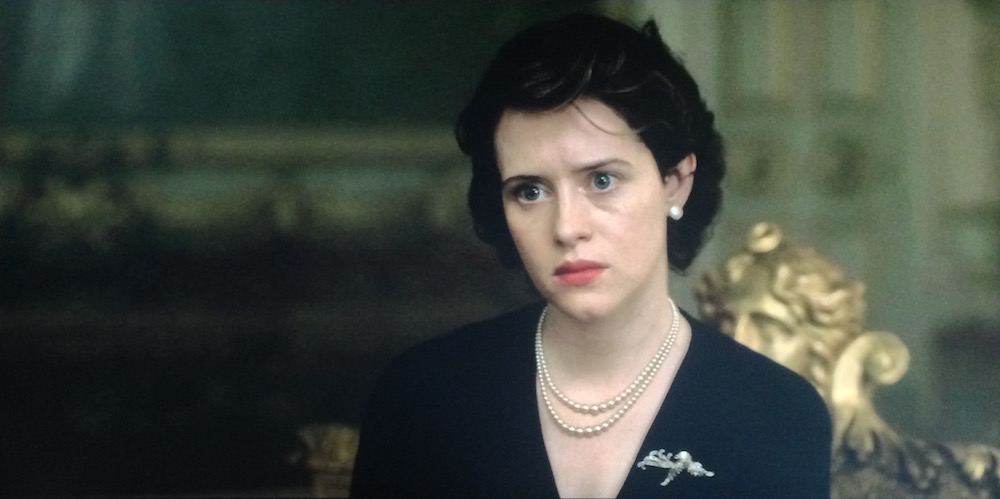
The Crown, S1 E10 "Gloriana", dir.
The Crown, S1 E10 “Gloriana”, director: Philip Martin, DP: Ole Bratt Birkeland
My Utopia, director: Patrick Moreau, DP: Joyce Tsang


5. Light nothing.

Sometimes the most effective way to use a shaft of light through a window is simply as background interest. Volumize the light using smoke, and it creates a nice bit of contrast and production value in the scene. Silhouetting characters in front of the beam can be very effective too. 

33_GuardRoomWide1
Ren: The Girl with the Mark, S1 E4, director: Kate Madison, DP: Neil Oseman
Big Sur, director: Michael Polish, DP: M. David Mullen


Any that I’ve missed? What are your techniques for lighting through windows?

5 Ways to Use Hard Light Through a Window

How “The Crown” Uses Broad Key Lighting to Evoke Tradition

Earlier this year I blogged about a visit to the National Portrait Gallery, studying the lighting in traditional portraits. I noted that, contrary to the current cinematographic trend for short key lighting, almost all of those paintings used broad key. And while watching the high-end Netflix series The Crown this week, I noticed the same thing. Why might this be?

Short key (left) vs. broad key (right). Photos from SLR Lounge

First of all, a reminder: a short key is a key light on the side of the face away from camera, while a broad key hits the side of the face towards camera. Short key is generally preferred amongst cinematographers because it gives better “modelling” – i.e. a better sense of the shape of the face – and focuses the viewer ON the face, rather than the ear and the side of the head. A broad key, meanwhile, presents less shadow to the camera, and arguably shows the hairstyle and the shape of the head better – which may be reasons for the preponderance of broad key in classical portraiture, which were more concerned with overall appearance than with emotion/performance.

An array of broad key paintings at the National Portrait Gallery

But I don’t believe these direct pros and cons were the primary motivation in cinematographer Ole Bratt Birkeland’s decision to use broad key lighting in a crucial scene from The Crown.

The central themes of the series, which dramatises the early life of the Queen, are tradition and duty. Queen Mary often reminds her granddaughter Queen Elizabeth II of the long and noble lineage of the English royal family, a weight of history and responsibility which Elizabeth keenly feels. “The crown must always win,” Mary intones in the trailer.

In episode 4 the young Queen seeks advice, desperate to ensure she does not tarnish the monarchy’s centuries-old reputation. To symbolise this burden, Birkeland evokes the imagery of traditional portraiture – the subjects of which were always high-born individuals, often royals. Consider this frame grab from the scene, beneath an official portrait.

mw58197

img_1647

See how the light models the face the same way in both images? Note also the absence of backlight in the frame grab, another feature common to traditional paintings, which typically relied on a single window light source. Elizabeth’s dark hair blends into parts of the dark background.

Combined with the timeless regal production design, this lighting subtly places the Queen within the frame of an official portrait, trapping her within the overwhelming tradition of the monarchy. Can I say for certain that Birkeland did this deliberately? No, but I’d be very surprised if he hadn’t looked at royal portraits while prepping the show, and I’d be equally surprised if they hadn’t at least influenced him unconsciously.

Either way, this is a first-rate example of the power of cinematography to enhance theme and narrative by guiding the viewer to make subconscious associations. If you haven’t seen The Crown, I can highly recommend it; it’s not just the cinematography that’s top notch.

How “The Crown” Uses Broad Key Lighting to Evoke Tradition