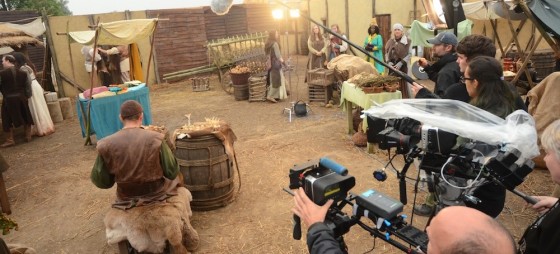
Despite my big plan to quit editing last year, I somehow ended up cutting nearly all the behind-the-scenes material for Ren, including a dozen YouTube videos and 30-odd exclusive set diaries which have just been released for sale. Guess I just have a fondness for BTS stuff.

So here are some tips for editing BTS videos for the web. Many of these apply equally to any talking-head-based documentary.
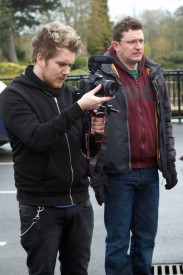
- Plan for it before the shoot by lining up a competent BTS camera crew and being clear about the kind of material you need. Here are some tips for shooting B-roll.
- Start the edit by creating a new timeline and putting in some text generators with category headings you think you’ll want to cover, e.g. “plot”, “characters”, “casting”, “action scenes”, “concluding remarks”.
- Watch through all the interview material. Every time you hear something you think you can use, dump it on the timeline after the relevant text.
- Play back your timeline. You’ll immediately see that some of the material you’ve included is dull or repetitious. Whittle down the material until your timeline is only a little longer than you intend the finished piece to be. (I suggest 2-3 minutes should be your target length for a web piece.)
- Pay attention to your in and out points. Don’t cut while someone is drawing breath – cut before or after. Beware of breathing time if you’re hacking someone’s sentences around. If your editing makes a couple of words sound unnaturally close together, interpose a few frames of atmos or silence. If you cut someone off in the middle of a sentence, firstly be sure the intonation doesn’t make it sound cut off, then add in some silence or atmos before the next clip, and paper over the edit with B-roll as the interviewee’s face will often give away that they’re not finished speaking.
- Speaking of papering over the talking heads with B-roll, it’s time to do that now. I often start with the obvious stuff. Clearly shots of the fight scenes being rehearsed need to go over the actors talking about fight scenes. Then I’ll move onto the less obvious stuff – an actor talking about their character might go with almost any shot of that actor on set, so I’ll see what’s left at the end.
- Avoid cutting in the middle of quick movements – an arm going up, a head turning- unless that action will be continued in the next shot. This goes for the talking heads too – don’t cut on or close to a blink. Also avoid cutting on an emphasised or particularly loud syllable, because this too will jar.
- Take out the text generators and replace them with a few seconds of B-roll that doesn’t have any interview sound under it. This gives you dividers between topics without blatantly signposting them, and allows the audience a breather. You could bring up the audio on the B-roll, or put in a bit of music. Usually it’s best for this B-roll to serve as an introduction to the topic that’s up next. For example, if the next topic is “what it was like working with the director”, kick it off with B-roll of the director explaining the next scene to the actors. After hearing him or her talk for a sentence or so, fade down the audio and bring in the interview sound.
- Get some music from somewhere like incompetech.com, if your composer hasn’t started work yet, and cut opening and closing montages of B-roll to it.
- Put in your lower thirds and opening and closing titles. If the video’s going on You Tube, it’s a good idea to allow for annotations linking viewers to other videos on your channel. Do not put in credits – sorry, but no-one cares who made this.
- Watch the whole thing through and try to take out another 10-30 seconds. Remember, pace is everything. Do not give people the slightest excuse to stop watching.
- Do a colour correction pass so everything matches.
- Go through again balancing the audio. People start their sentences loudly and get quieter as their lungs deflate, so counter this by ramping the audio up over the course of the sentence. Use EQ filters if necessary to counter tinny or boomy sound, or reduce hiss or wind noise. See this Nofilmschool article for some handy audio tips. If any of the audio cuts are popping or clicking, put on a 1 frame cross fade. If you don’t have decent speakers, do this on every cut because you won’t know which ones are dodgy.
- If any of the speech is still hard to make out – and remember that your viewers haven’t heard it a million times like you have – then subtitle it.
- Watch it one last time to check everything’s smooth, then compress and upload it. You’re done!
If you’ve found this post useful, please consider supporting Ren by purchasing or sharing the trailer for the Daily Diary videos. Buyers get the first 7 videos now and the remaining 29 when the series is released this summer. They’re all different, some following the above pattern and others being much more candid, fly-on-the-wall affairs. There are plenty of bloopers, interviews and filmmaking tips to be enjoyed throughout. Or check out our free behind-the-scenes videos on YouTube.