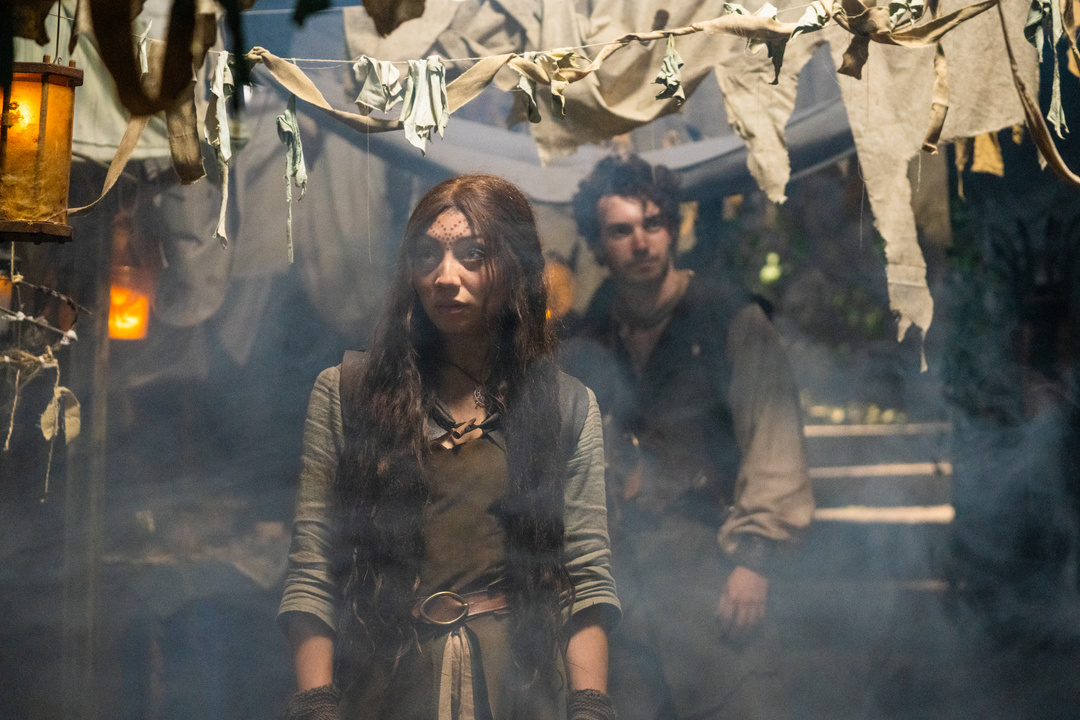
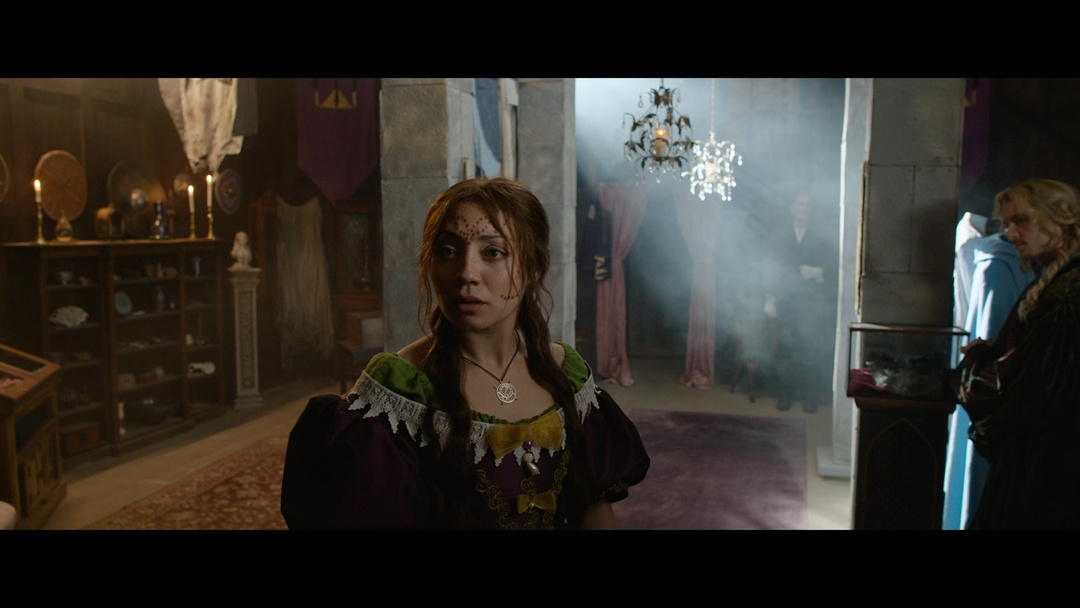
Neiloseman.com has barely been updated for three-and-a-half years because I’ve been busy showrunning Ren: The Girl with the Mark, a fantasy web series. My involvement with that series has now come to an end, sadly. At least that has given me the chance to update a few things around here.
While making Ren I was blogging about once a month on the Patreon page which I set up for it. Now that page is defunct, I have integrated all the blog posts into this site so that they don’t just disappear into the digital ether. (You can most easily access them through the category links for Season Two and Season Three.)
This is a completely new blog post about things that have happened in Ren Land since the Patreon page closed in March…
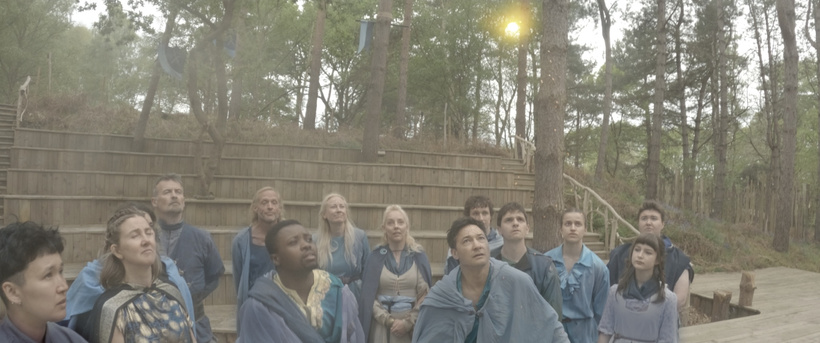
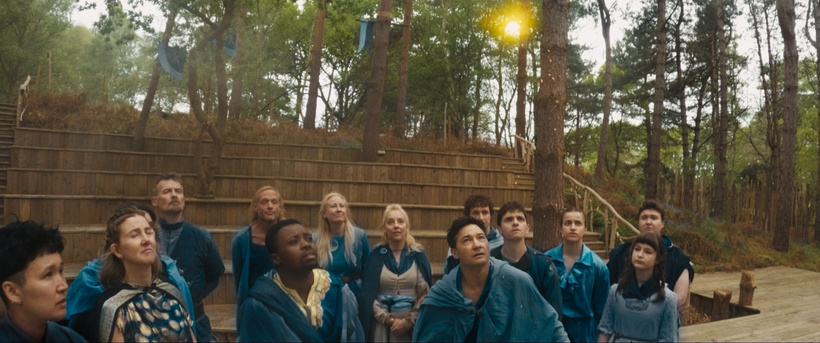
Season Three released weekly on YouTube 4/4/26-2/5/26. Viewing figures have been healthy, and of particular note is the drop-off of audience from the first to last episode. This happens to every series; people try it out at the beginning, and it’s simply not for everyone, so later episodes get fewer eyeballs. Whereas Season One has an 80% drop-off, Season Two has 50% and Season Three has got it down to only 30%, indicating that most people who start the season enjoy it enough to see it through.
The comments have been overwhelmingly positive, confirming my own feelings that we got the storytelling and character development to a really good place by this season. Just a couple of examples plucked off the top of episode 305’s comments:
The character growth of Ren and Hunter have been stellar this season! I’ve loved every minute of it
– @ruthzeigler
It only gets better. I adore the ethos behind the production and funding, but I can’t help feeling it deserves a much larger silver screen audience. It really is that good
– @max.fleming1045
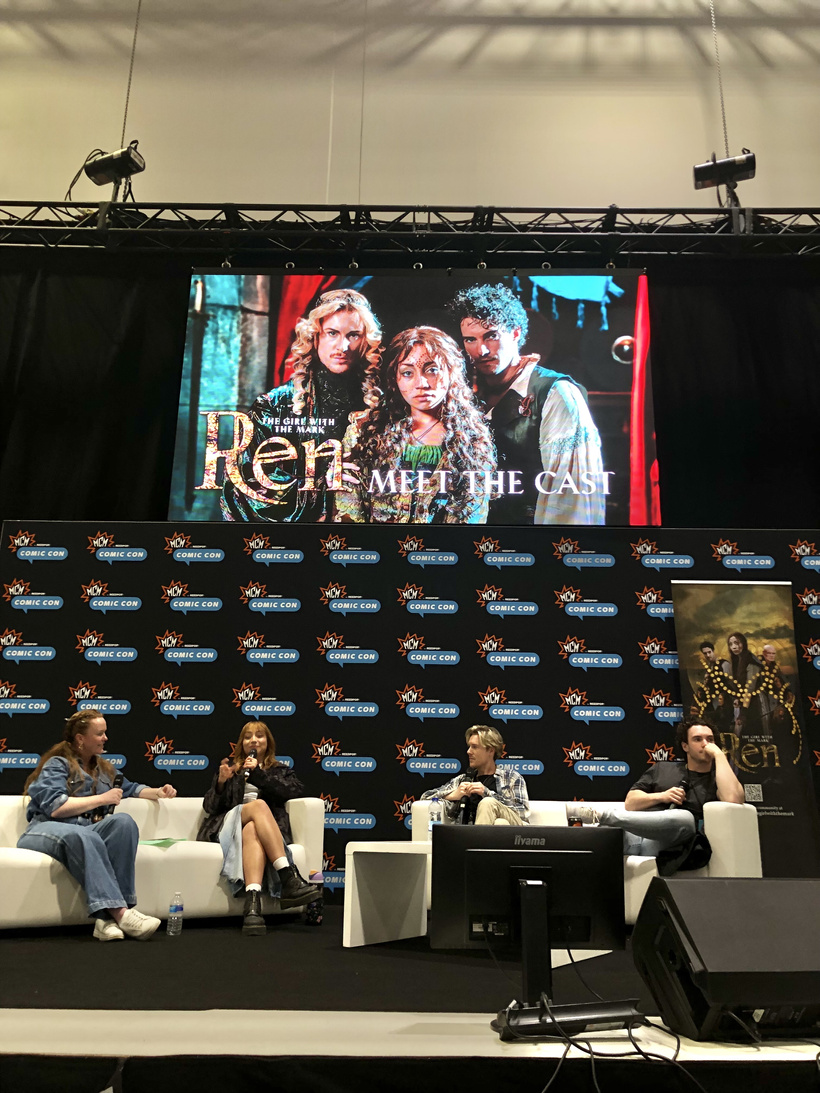
In May we had a panel on the Live Stage at MCM Comic Con London. We screened the first two episodes of Season Three, then held a brief Q&A with Alexander Hackett (Hunter), Florian Hencher (Tomas) and the two directors (Alan Hay and Sherice Griffiths). Again the feedback was great, and it was a lovely opportunity to catch up with some of the cast and crew, including a couple who hadn’t made it to the premiere in March.
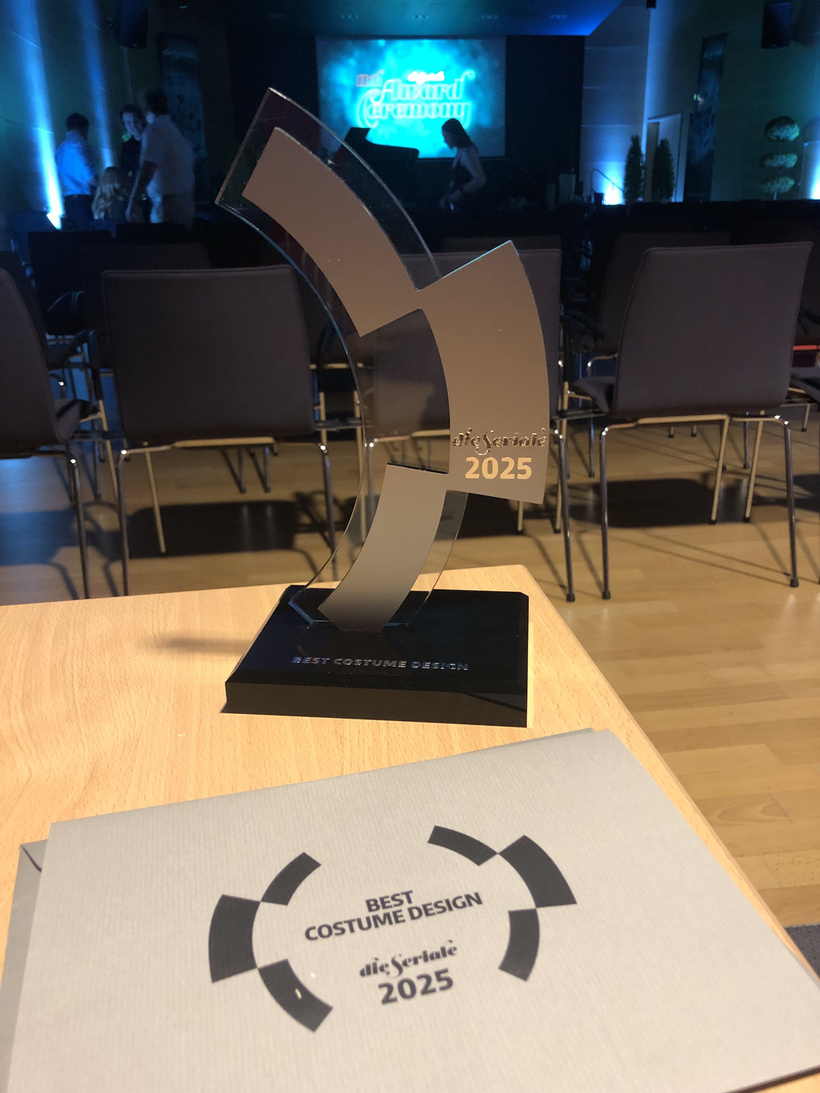
Die Seriale
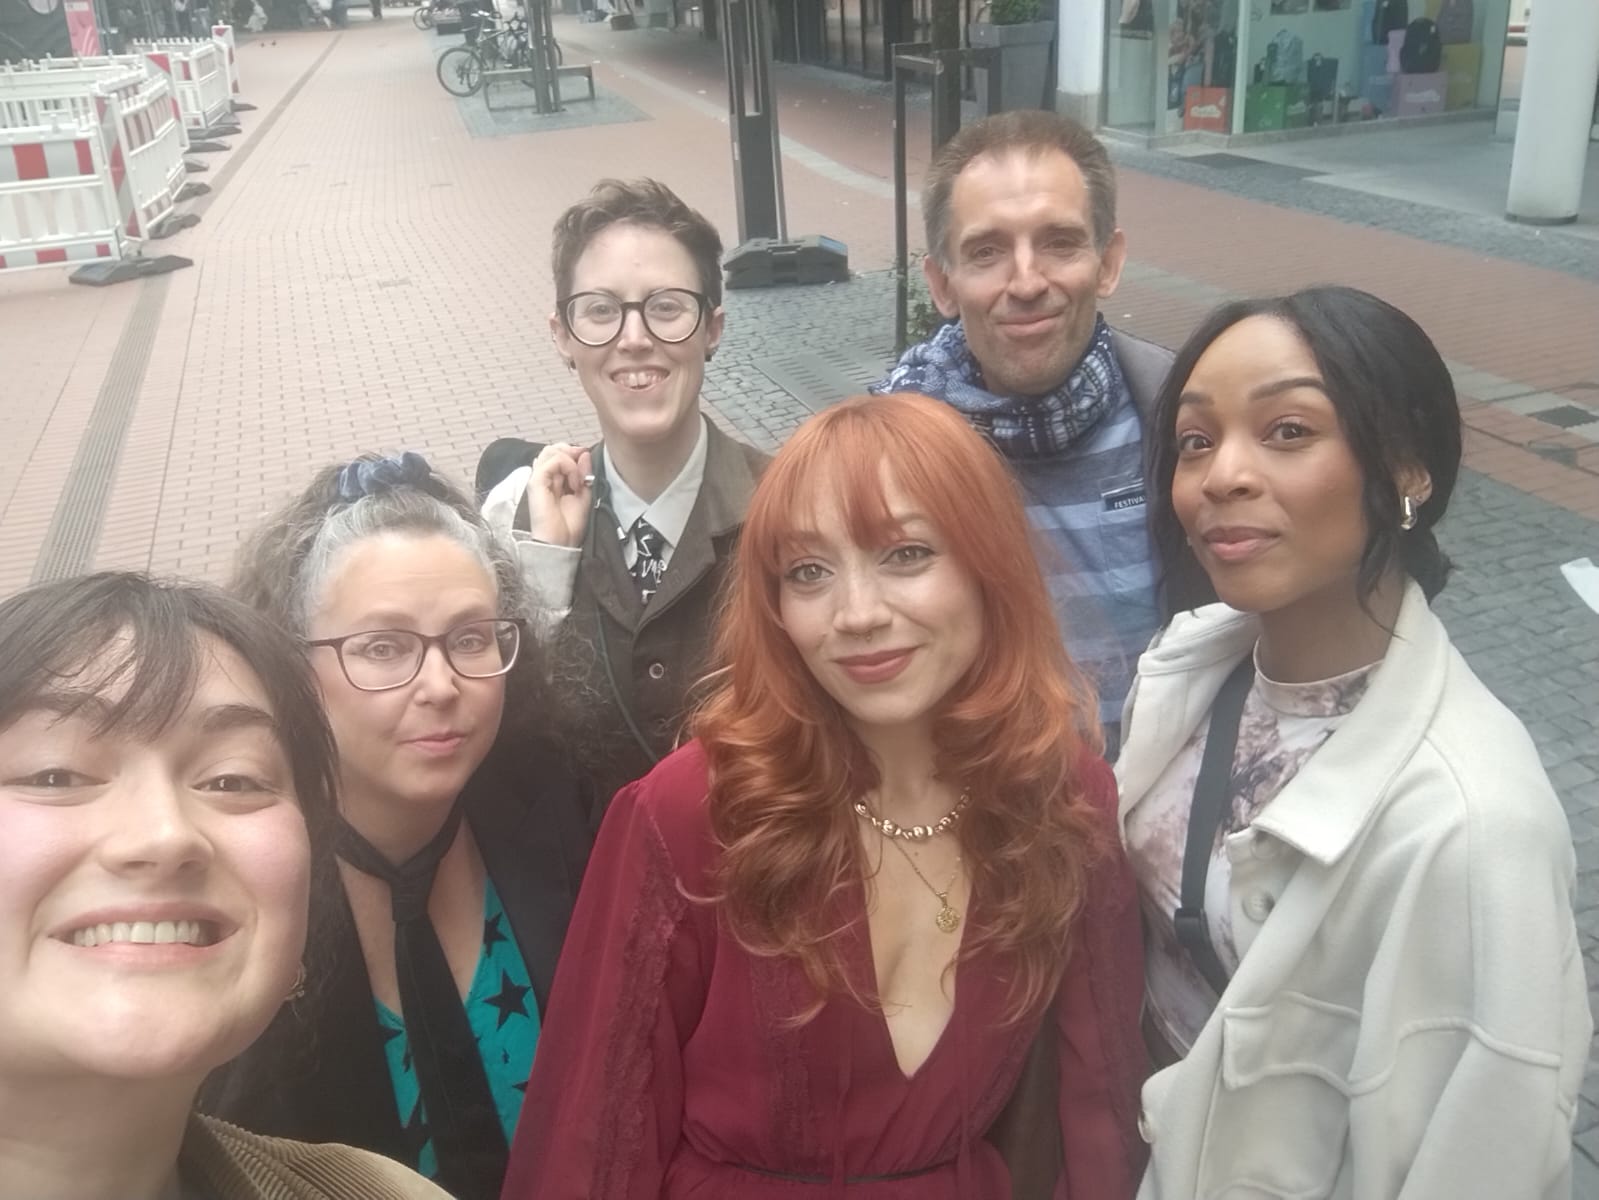
The next reunion was at die Seriale earlier this month. That’s a German web series festival held in Gießen, near Frankfurt. Both of the first two seasons of Ren won Best Costume Design there in the past, and the vibe of the festival is really friendly and fun. Having attended last year, I was delighted to be joined this year by Oriana Charles (nominated for Best Leading Performance as Ren), Helen Fullerton (Sol), LaToya Harding (Commander Tharkan), Ash Finn (nominated for Best Production Design) and Hannah Sofia Young (nominated for Best Costume Design). Also nominated was composer Rob Westwood, and we were in the running for Best Series too.
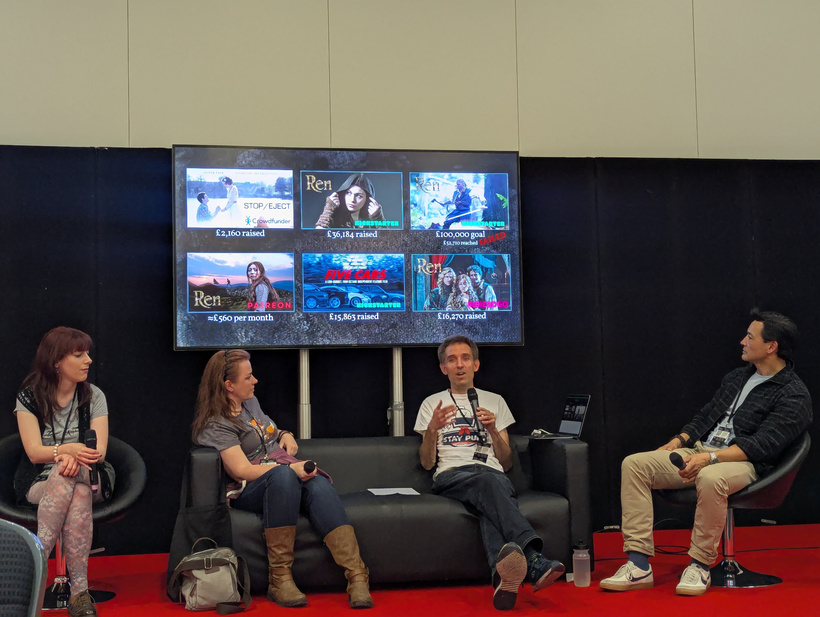
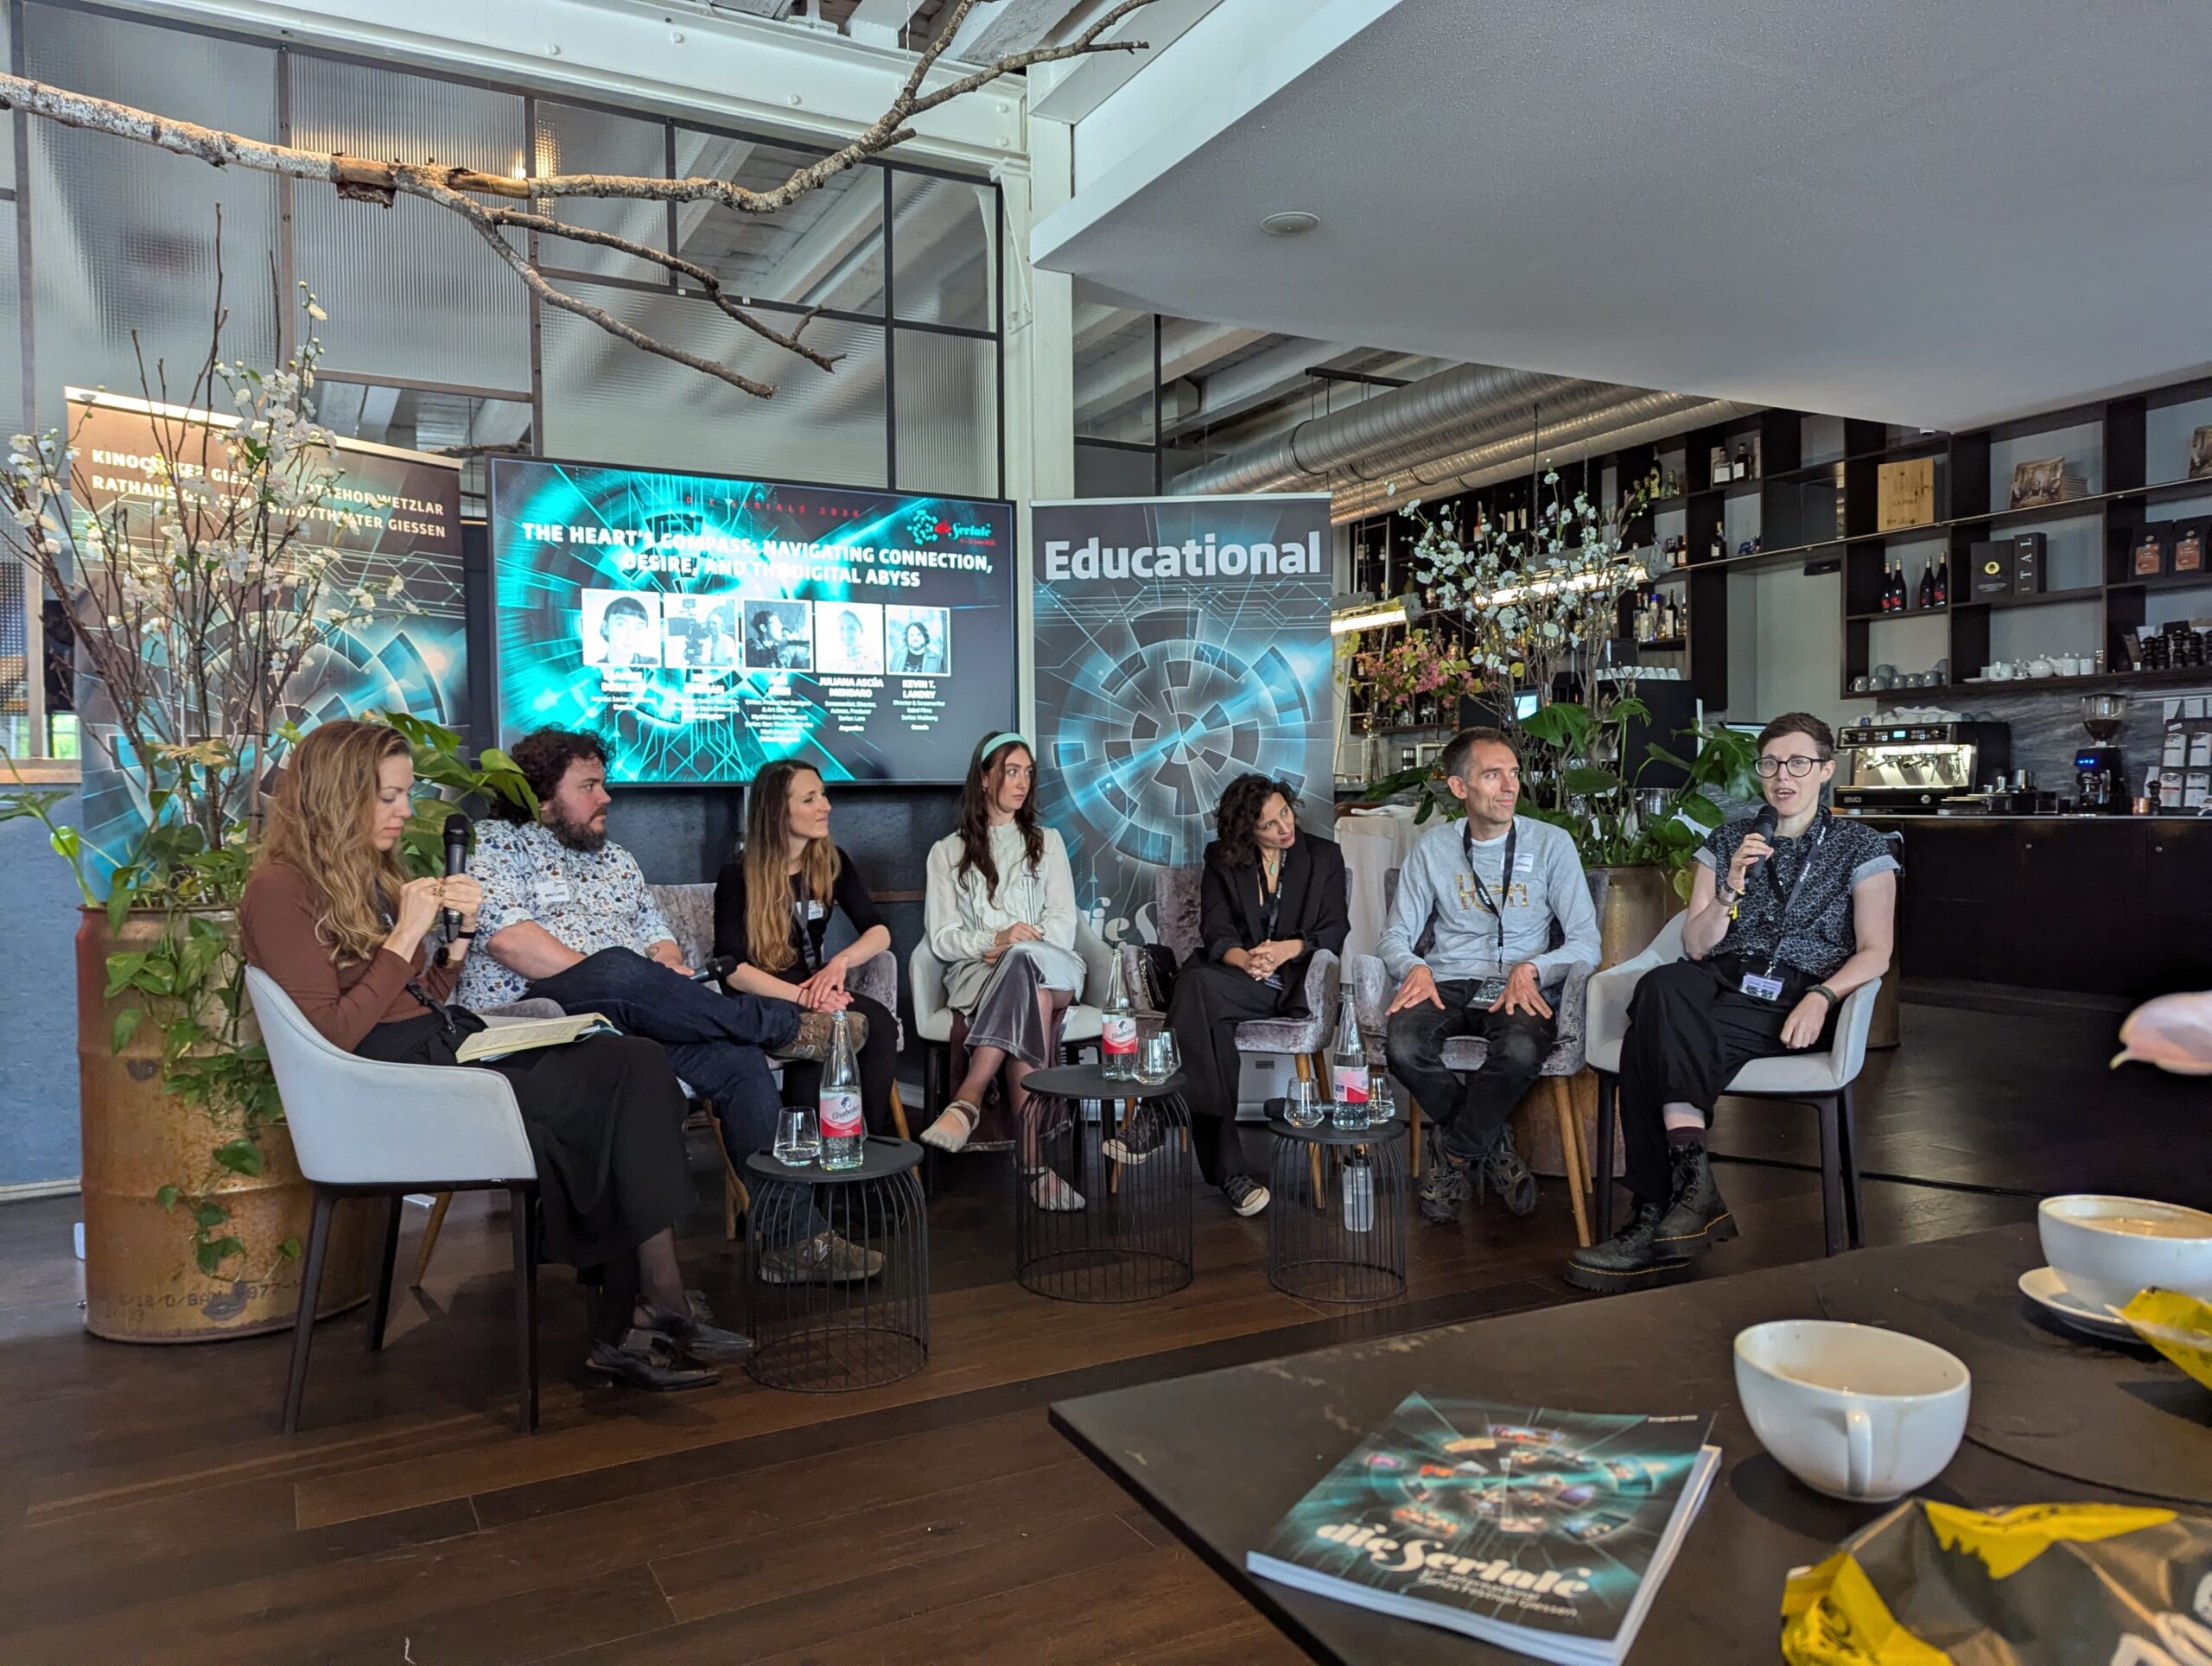
The six of us had a great time at die Seriale. The opening night’s outdoor screening was quite wet, but umbrellas and blankets were provided, along with some excellent cheesy bread and Prosecco. The next morning found Ash and me on a panel called “The Heart’s Compass”, a fairly vague theme which was just an excuse for us all to talk about writing and making our series. Ash made some particularly resonant comments about how Ren challenges Othering.
As the festival went on, the nights became later and later. After the screenings finished, usually around 11pm, there would be food laid on at a local bar or restaurant, and then at 1am – or sometimes as late as 3am – there would be a move to another bar. We always skipped the second bar and went back to our apartment to chat over mugs of hot honey water.
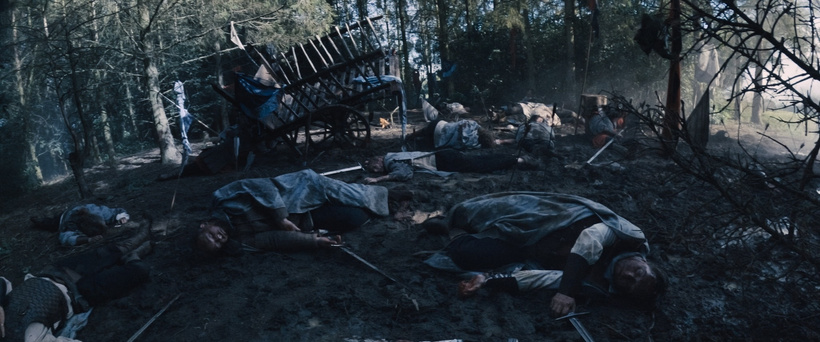
Ren screened on the Saturday evening. I’d picked 303 (Season Three, episode 3) because I felt it gave the best flavour of the series. I doubt most of the audience had a clue what was going on (I regret not supplying German subtitles, although the festival didn’t require them), but perhaps it intrigued them enough to search out the rest of the series online.
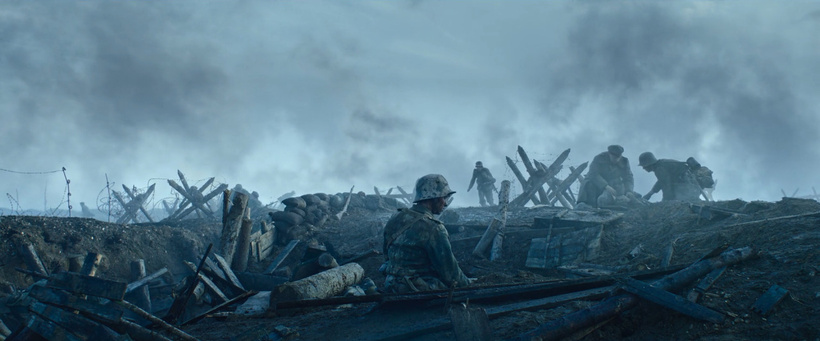
The other series screened were incredibly diverse: from a documentary about vets to a two-minute time travel thriller, from a slow and creepy piece about a concentration camp train in World War II to a manic cartoon about a boy with a magic Super-8 camera (both using generative AI with dubious results), from no-budget vertical dramas shot on phones to network-funded TV episodes. I do not envy the judges.
The glamorous awards ceremony took place at Gießen’s rathaus (town hall), with the start delayed so that some attendees could watch a World Cup match that had gone into extra time. We were over the moon to win Best Original Score for Rob Westwood, closely followed by Best Production Design for Ash Finn. After all the work Ash put in, that was especially well deserved. Best Series was awarded to Respire Fort, the two-minute time travel thriller.
On the way home we managed to get the wrong train to the airport, then get an Uber which dropped us at the wrong terminal, but it was all part of the fun. We were all quite sad to go our separate ways again, knowing that future festivals may be the only reasons for the Ren family to reunite again.