Day 12 – 19/4/21
“More matter with less art”
The two-day weekend allowed us all a much-needed recharge. A few of us hired bikes on Sunday and cycled up the river to Maidenhead, where we found an idyllic field to have a picnic in. Bliss.

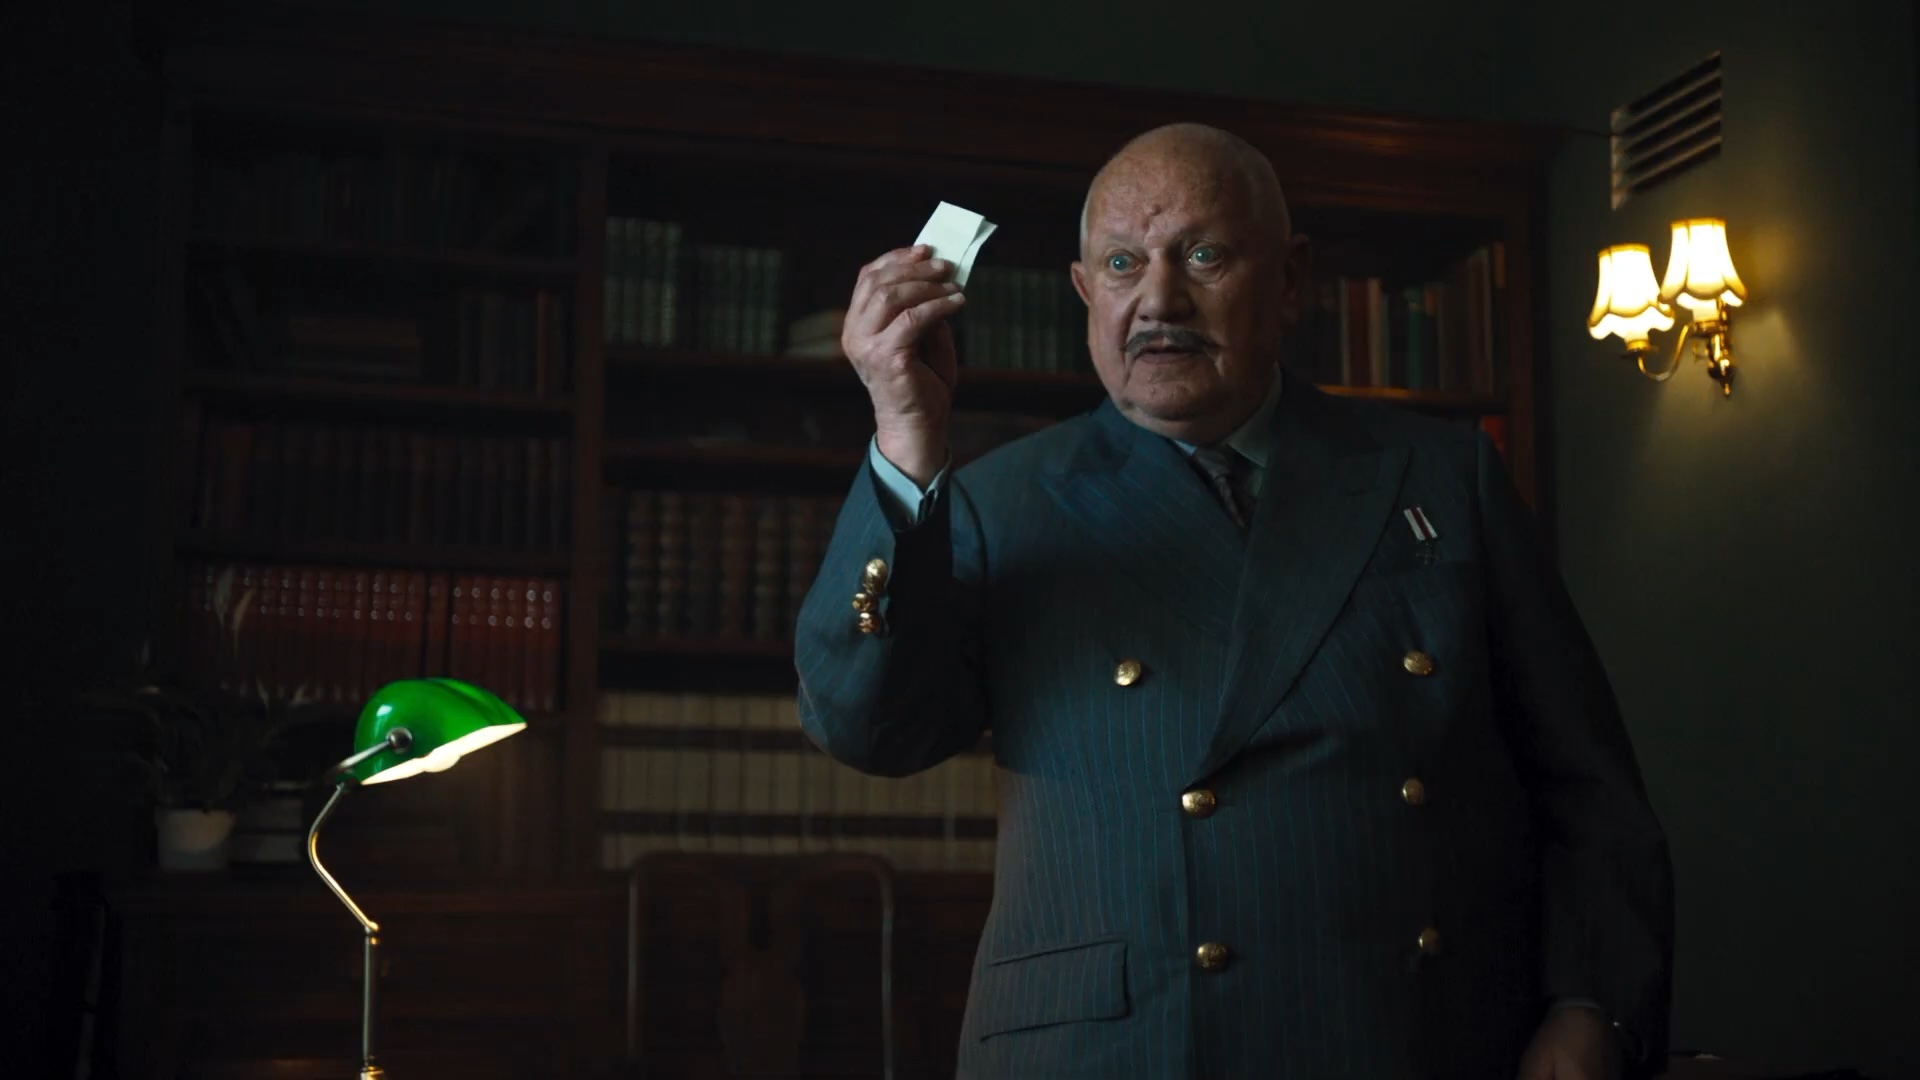
Monday saw us tackling all of the scenes in what Sean dubbed “the Oval Office” – the office of Claudius the king. First up was a big day scene with a few pages of text and multiple characters coming in and out. One of my references for this scene was The Man in the High Castle, specifically a scene in Hitler’s office where the sunlight smashes into the floor and bounces back up to light Rufus Sewell. The real sun was indeed pounding through the window of the Oval Office, but not from a high enough angle to produce much floor bounce. Since we were on the third floor and we didn’t have the budget for a scissor lift or cherry-picker, we had to live with what the natural light was doing. I set my ISO to 1600 to hold more highlight detail outside, then stacked .9 and .3 NDs so that I could keep the lenses wide open as usual. Ben wanted to keep the room’s many practicals (desk lamps, table lamps and wall sconces) off for this scene, but it looked a little too flat without them – a little too much like we hadn’t done anything! Apart from a Litemat sneaked into a corner to extend the daylight, and a Fomex in another corner to extend one of the practicals, we really hadn’t done anything else on the master shot! For the coverage we brought the Litemat in closer. At lunch we were forced to wrap the scene, despite having only the bare minimum of coverage in the can. I wasn’t very happy about it, but we could not afford to fall any further behind schedule.
After lunch we shot an evening scene, with just a little natural light playing and our main source being an Aladdin with unbleached muslin boomed over the centre of the room. Being only half a page, we were able to knock the scene off very quickly, to everyone’s surprise!
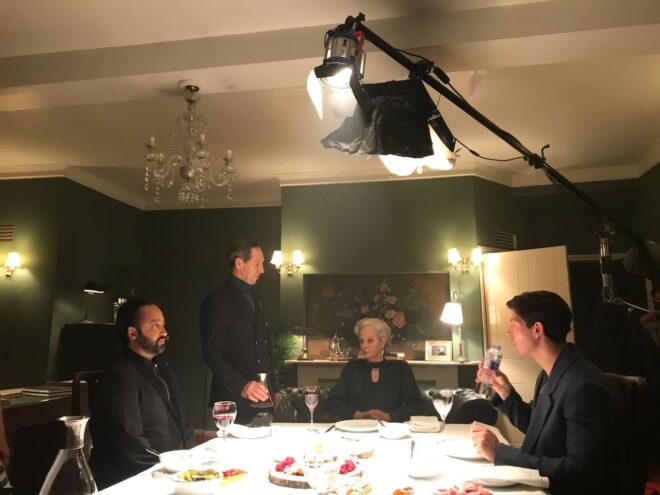
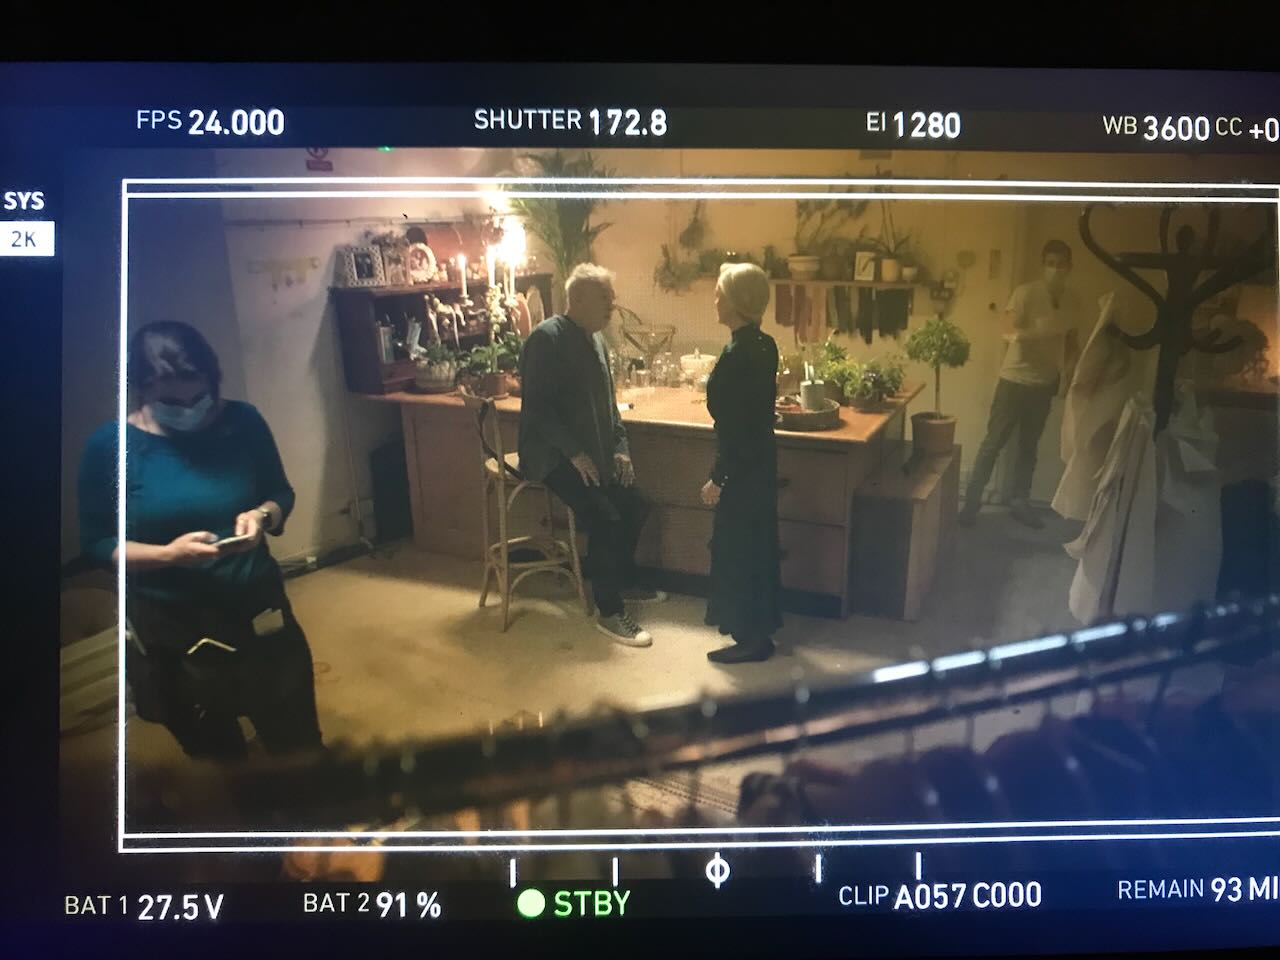
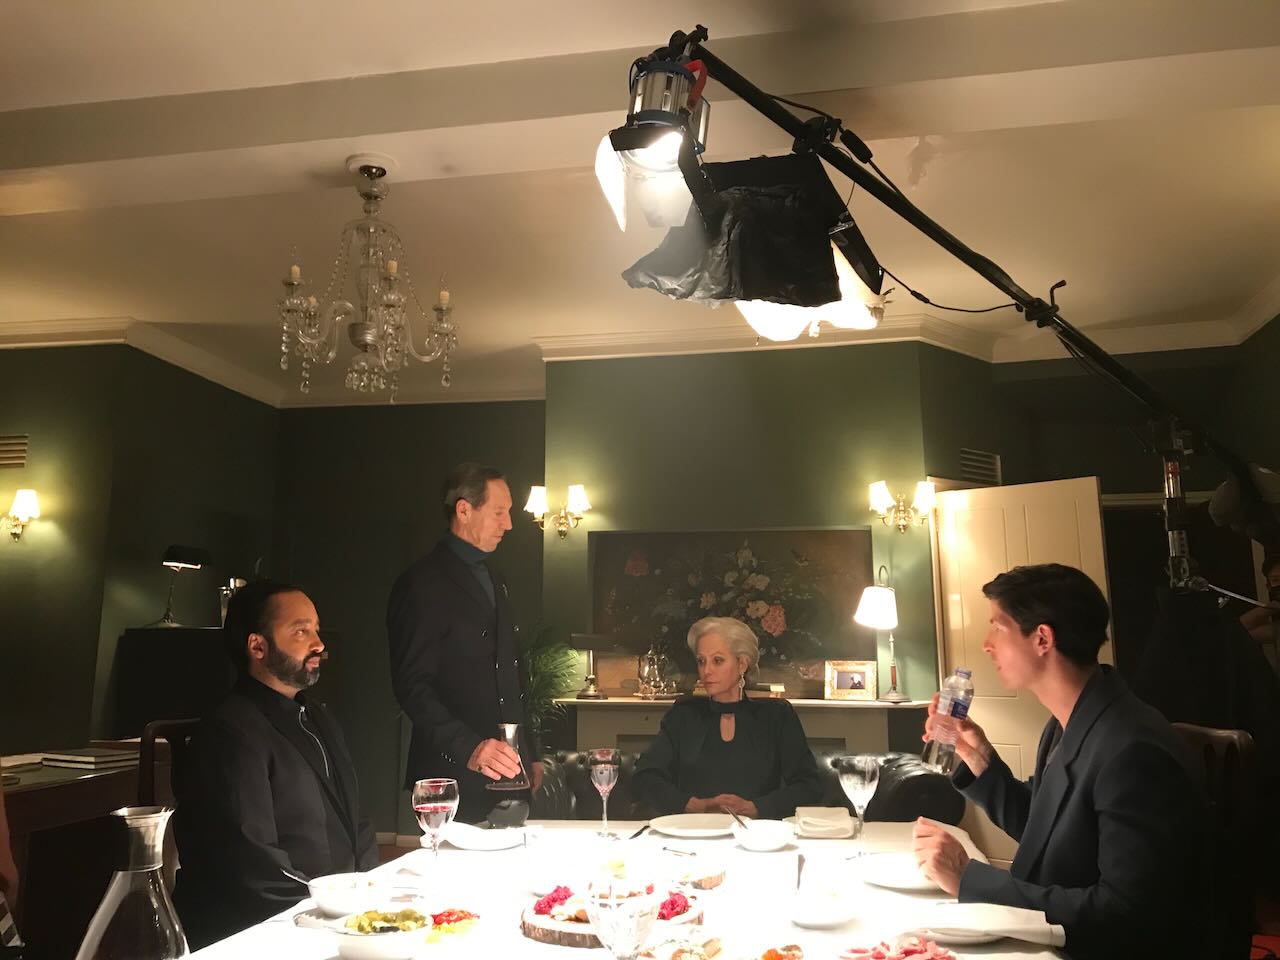
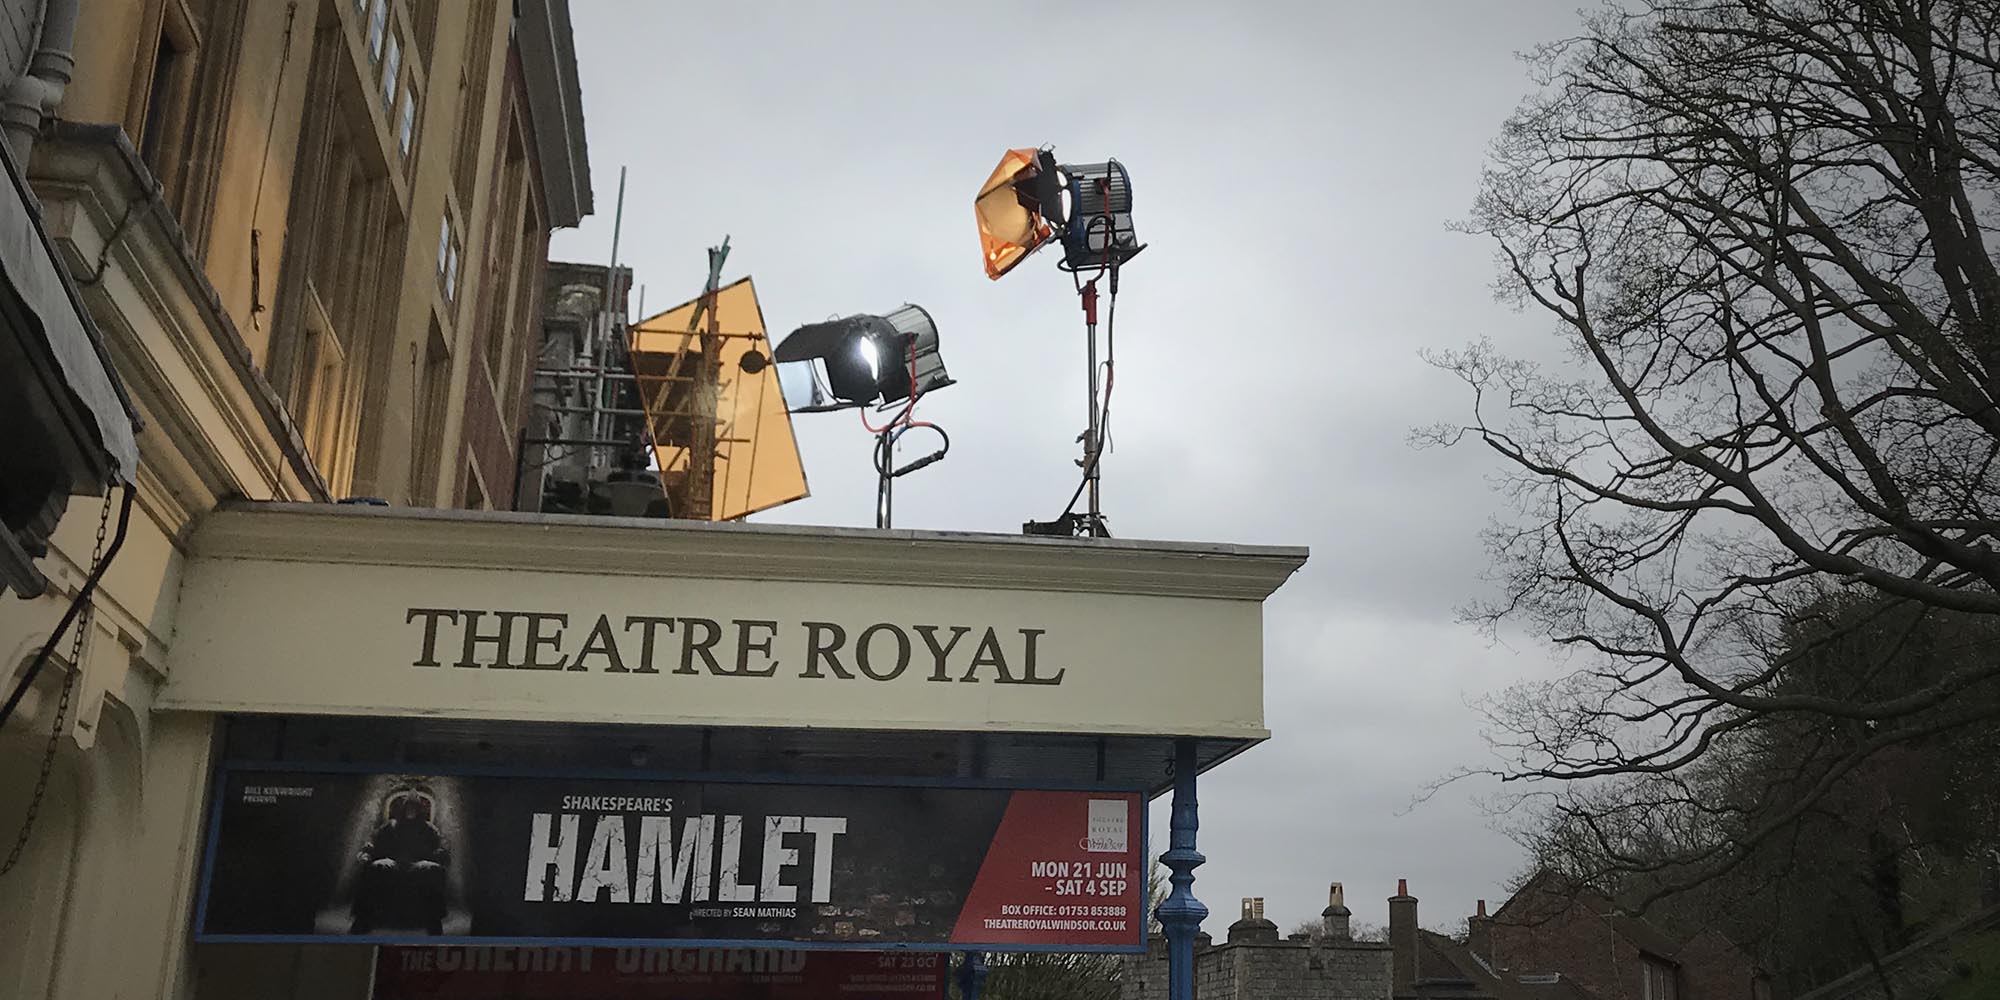
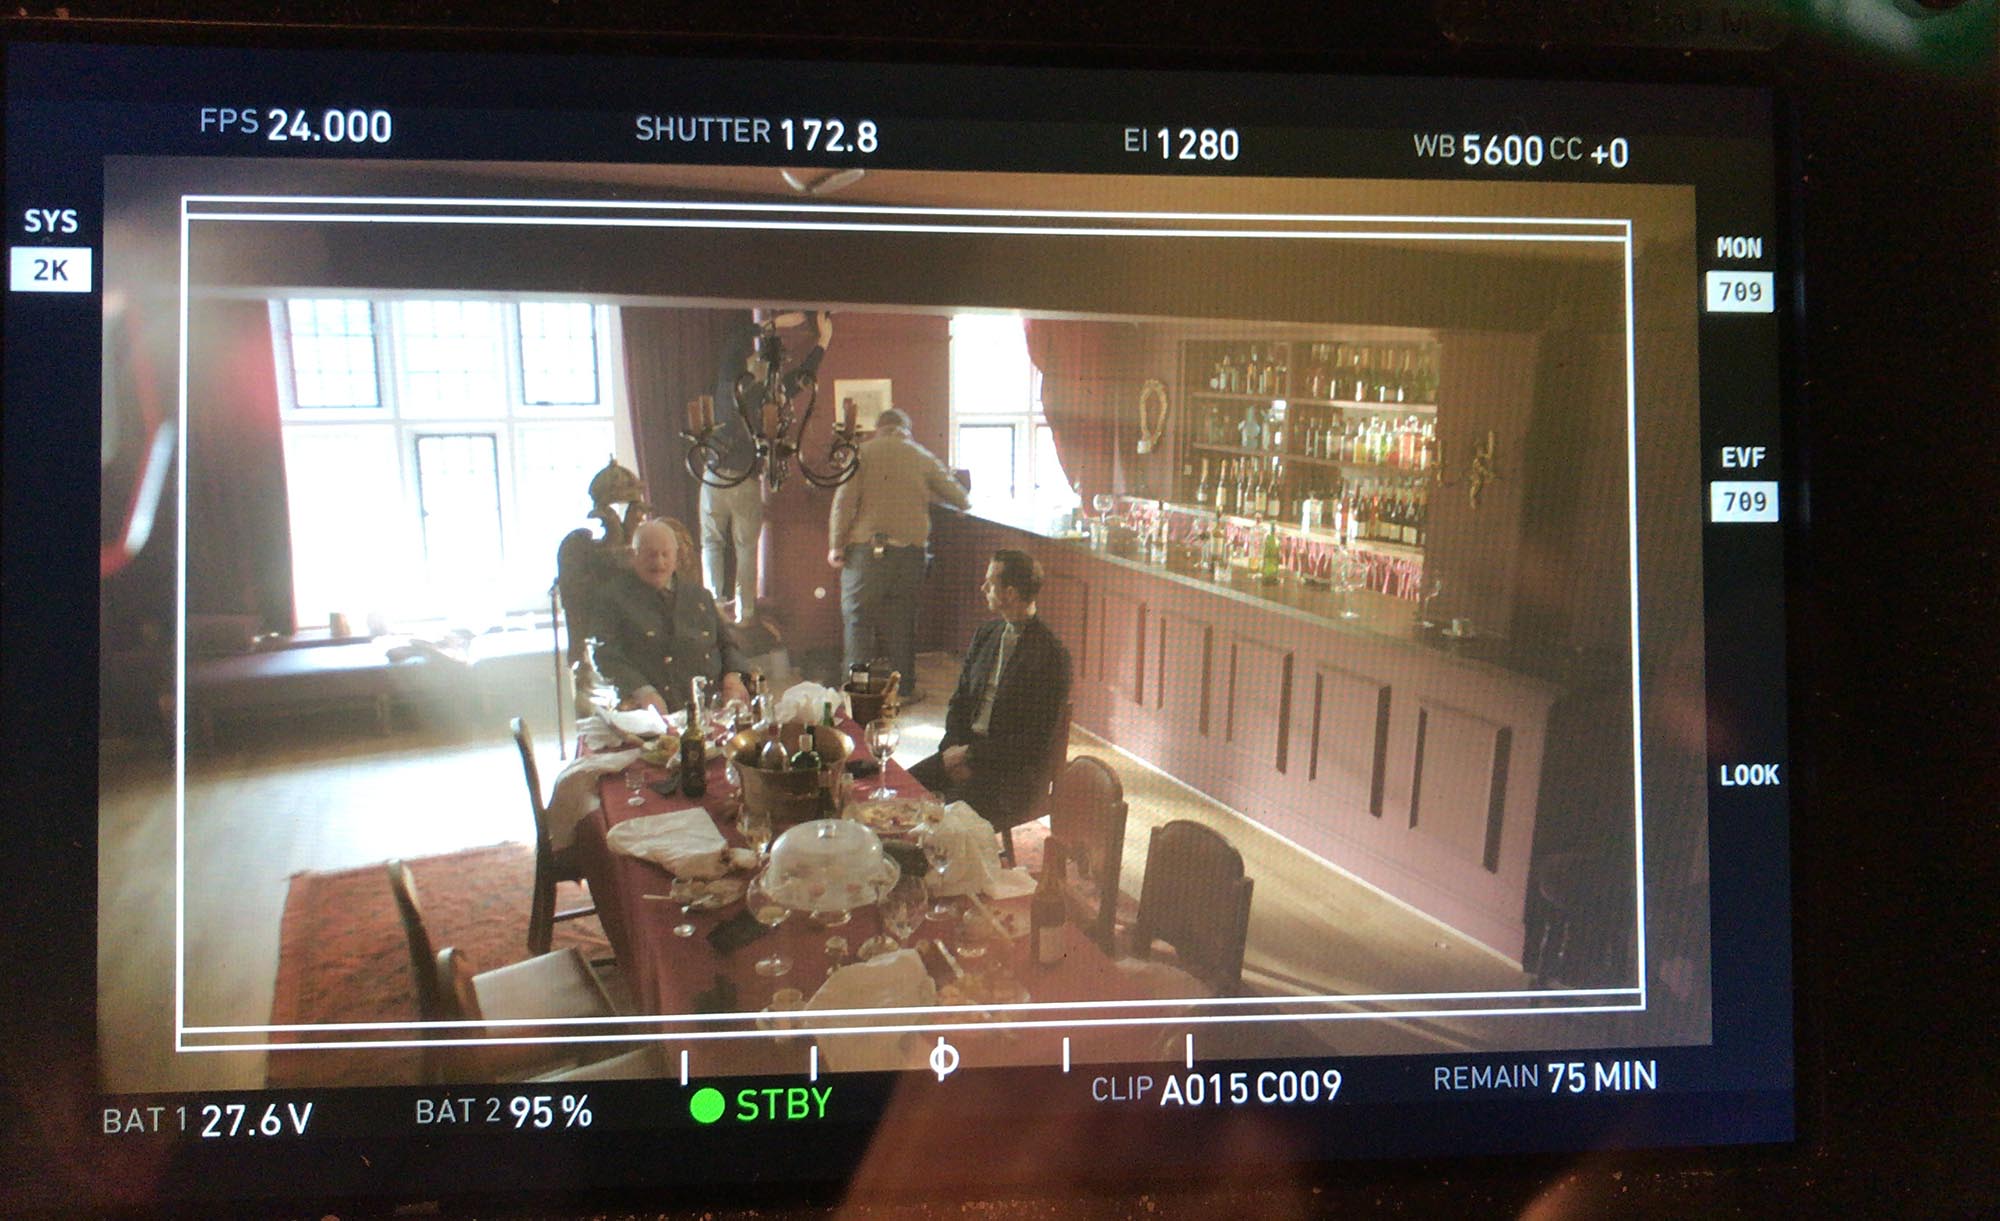
Finally we had a supper party scene set at night. The art department put a white cloth on the table, and Ben suggested firing a 650W fresnel down into it as well as the Aladdin, so that most of the light on the four characters would come up from below, and the Aladdin would just serve as fill. The result was absolutely beautiful. All the practicals gave us lovely backgrounds, and we brought up a dark corner by placing a warm Astera tube on the floor behind a pot plant. When we faced towards the window for the reverses, the castle was now visible across the road, thanks to a 2.5K HMI stationed on the theatre’s first floor canopy, firing through a frame of muslin. (We’re really using the muslin on this job!) The castle wall reflected about two and a half stops under key according to my spot meter, which looked pretty realistic on camera. (Key was T3.7 at ISO 800-1280 for this scene; I shot it all on the zoom. I would have stuck at 1600 ISO but the backgrounds in the room were looking a bit bright and the wall sconces weren’t dimmable, so Ben suggested stopping down and bringing up the Aladdin and 650. Rather than stopping down I stayed wide open and reduced the ISO from 1600 to 800. Then when we reversed to see the window I went back up to 1280 to get a bit more from the castle.)
Day 13 – 20/4/21
“The time is out of joint”
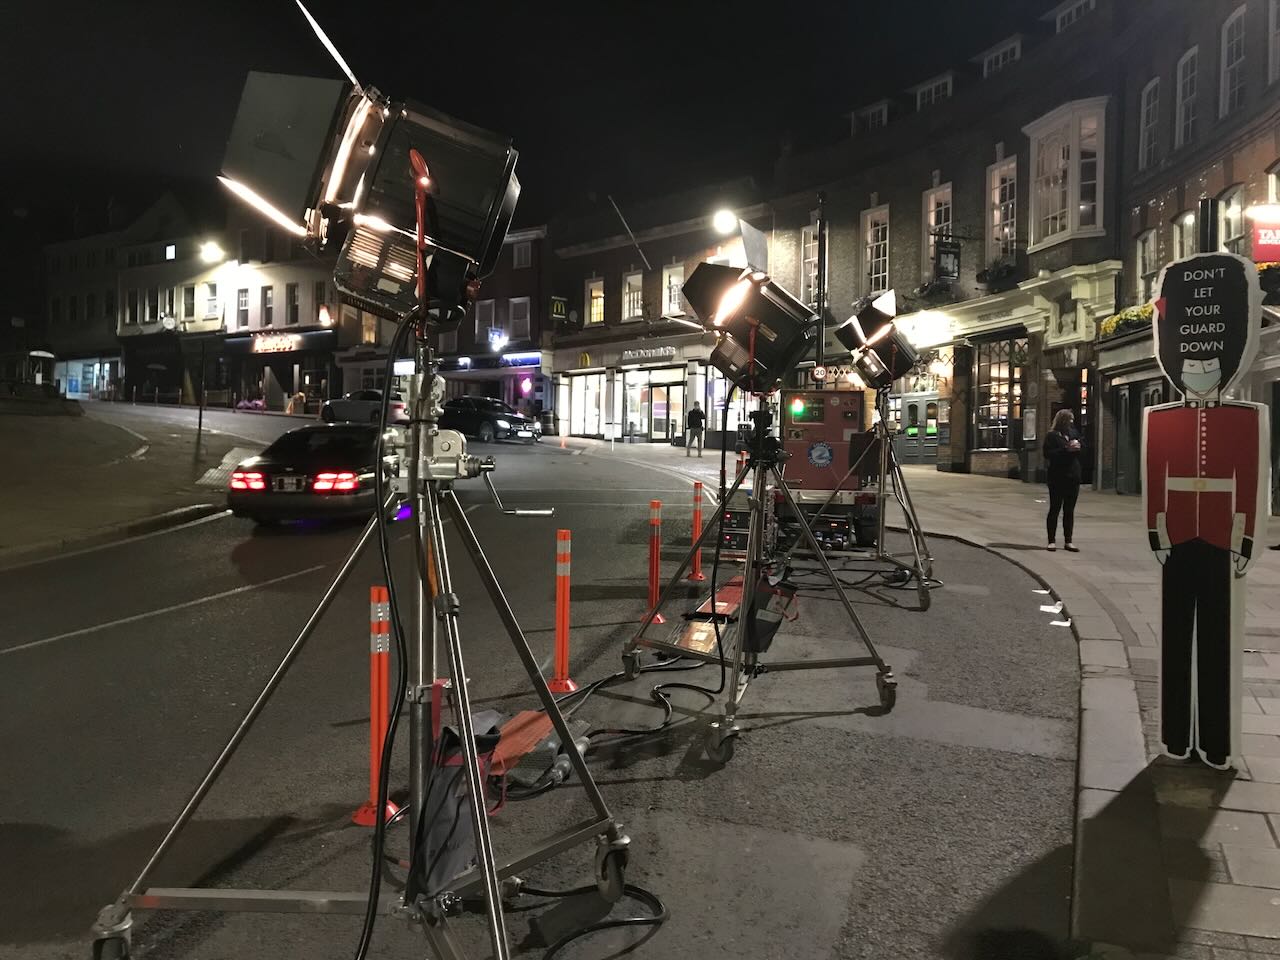
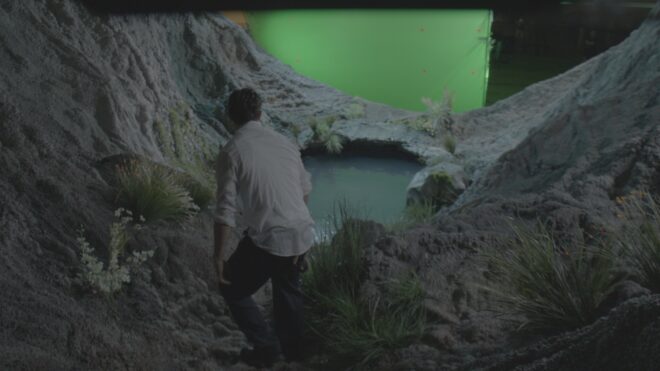
This was one of the biggest days in the schedule for logistics, safety, and lighting, as well as a crucial part of the story: Hamlet meeting the ghost of his murdered father on the battlements of Elsinore – or, in our version, on the rooftop of the theatre with the battlements of Windsor Castle looming in the background. It was our first and only night exterior shoot.
There were three consecutive scenes to shoot, which we did in reverse order. The first to go before the camera was set just before sunrise, so we shot it day-for-dusk, completing the last set-up just after sunset at 8:15pm. I used the Easy Rig to allow me to look straight down on part of the spiral staircase fire escape where we were shooting, then pan with Horatio and Marcellus as they ran up the stairs and into a 2-shot. This was natural light only, with a .9 and .6 ND in the matte box, and a white balance of 4500K to give that cool, dawn feel. Next we shot Hamlet’s reverse, and here we added a 2K inside the building for his exit into it, and turned on an existing practical emergency light which helped to give the feeling of the daylight being dim. As the spiral staircase was sandwiched between two buildings the characters were naturally shadowed, which helped a lot. After an insert on their hands as they took a blood oath, we ran the camera four storeys down to the street to get a dramatic low angle wide of the staircase and Horatio and Marcellus running up it. By this time the sky was starting to darken and the emergency lights were at a nice level compared with the remaining daylight.

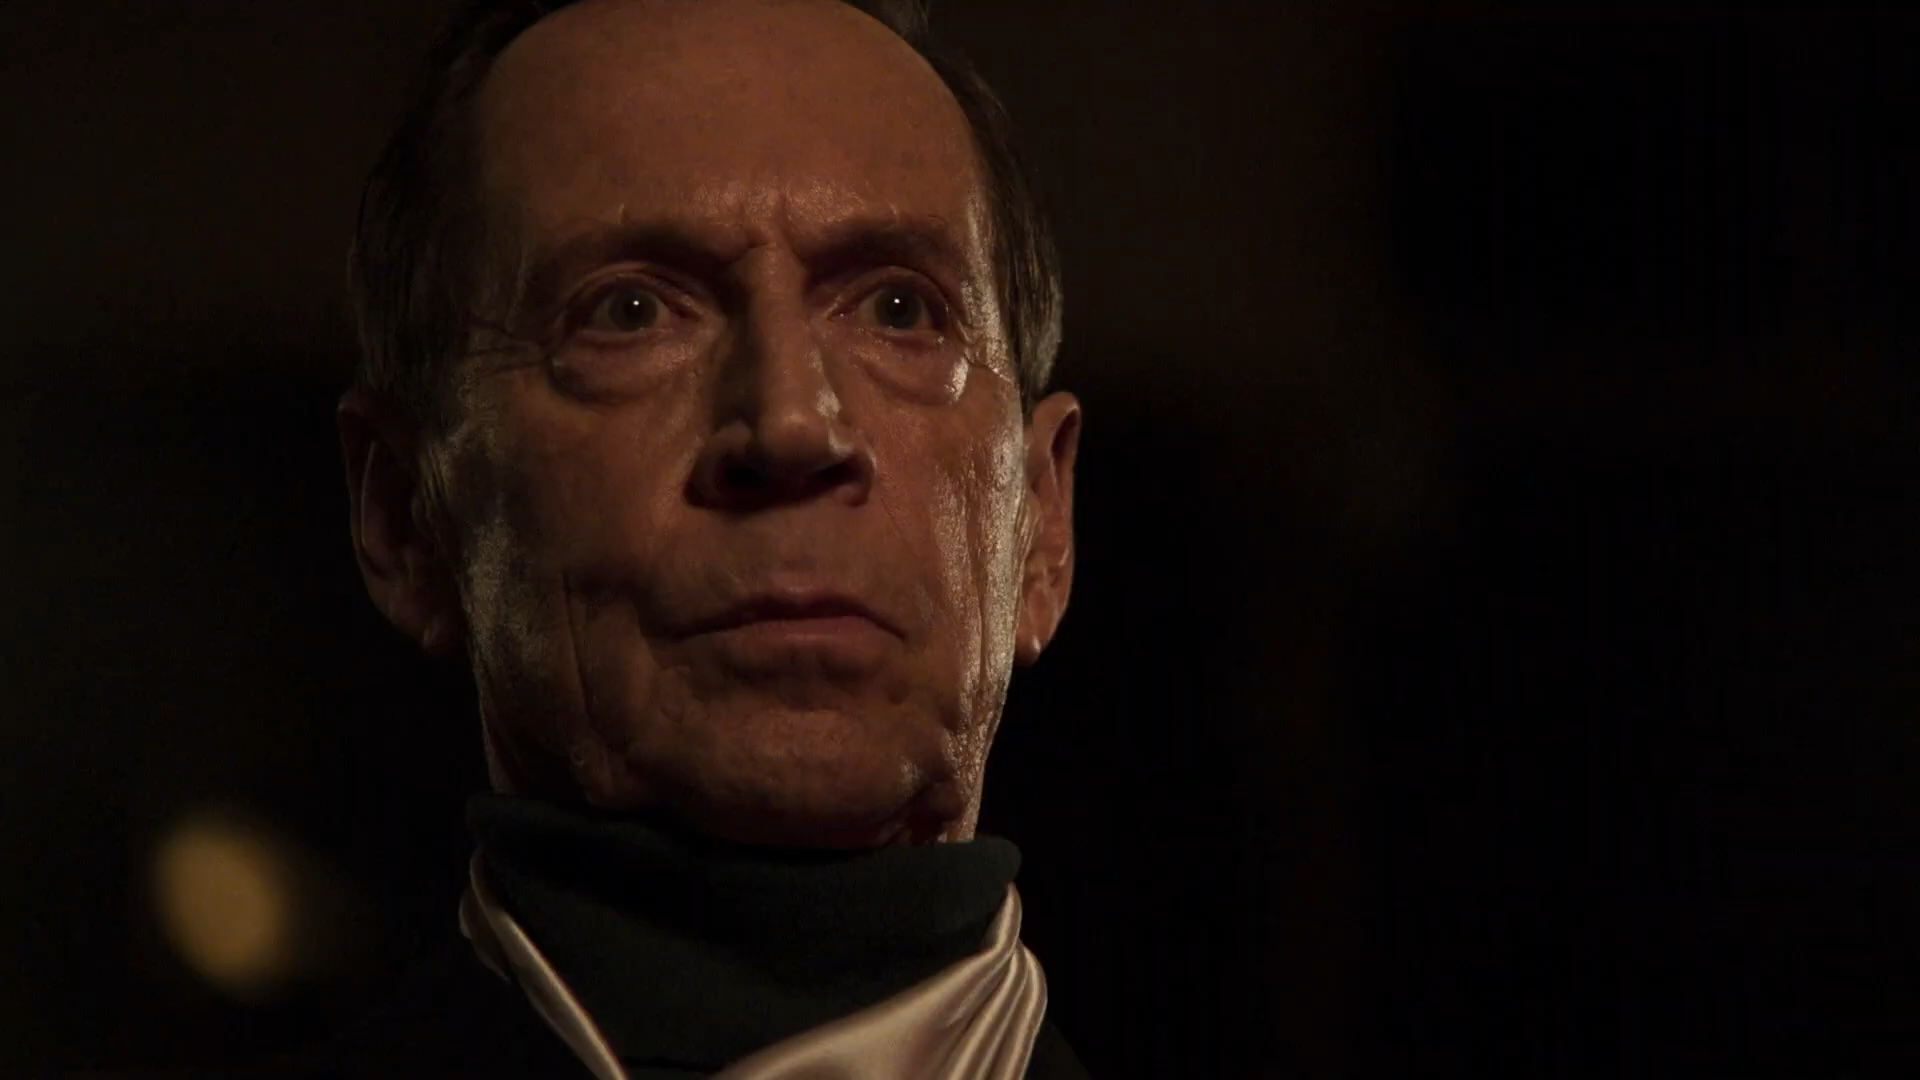
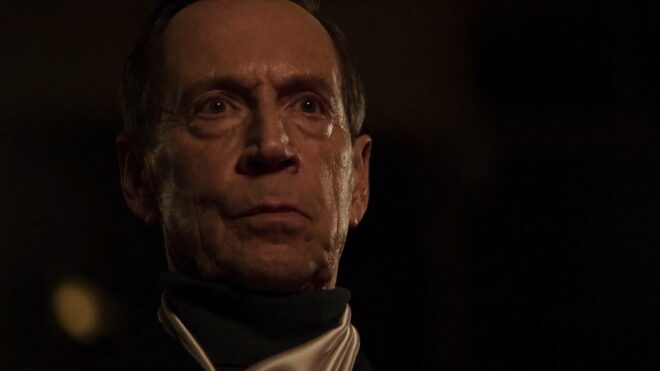
Then it was up to the rooftop for Hamlet’s encounter with the Ghost (played by Francesca Annis). Health and safety concerns had led the producers to have a scaffolding staircase built over the narrow ladder which had been the only access during our recces. This made it much easier to get equipment and people up there! Ben, Connor, Bruce, the spark dailies Nathan and Joey and the two members of the theatre’s LX staff who were helping them had spent several hours and most of the previous day pre-lighting the scene. Six 10K tungsten fresnels were set up in the street (requiring two gennies) to light Windsor Castle, while a Litemat 8 was rigged from scaffolding to top-light the main area of action on the roof. Next to it were two Astera tubes which Connor had programmed to produce interactive light for an Aurora Borealis effect that will be added in post. Underneath the roof’s four skylights were Geminis with a warm, dynamic program to suggest a raucous party happening inside the building. There was also a 2K on a walkway lighting a neighbouring building site. The art department had built a sort of chimney or air conditioning vent which concealed a smoke machine, motivating a supernatural mist. We kept the Ghost just in front of the top-light so that it would become backlight, but Hamlet was then quite flatly and frontally lit by it – not ideal, but there was little else we could do.
The first scene of the roof sequence, but the last to be filmed, took place mainly at the foot of the scaffolding staircase, which looked amazing with the illuminated castle behind it and the Ghost standing at the top against billows of backlit smoke. We’d had bulkheads installed on the wall next to the staircase, and a Gemini was placed behind a pair of doors cracked open, again suggesting the party going on inside. The final source was a Litemat on another part of the roof (accessible only by Will from the theatre in a safety harness!) which provided ambience in one direction and backlight in the other. I came up with a clever shot to show off the scale and slowly walk down some steps to push in on Hamlet, Horatio and Marcellus and then tilt up to show the Ghost, but it never quite worked as well as I wanted to because the tilt was so extreme and the weight of the camera made it very hard to balance at that angle. It didn’t help that I was pretty tired by that point! Anyway, we picked up the moments that didn’t work in other angles, then shot the reverse and wrapped comfortably on time, which made everyone very happy!
Day 14 – 21/4/21
“Now is the very witching hour of night”
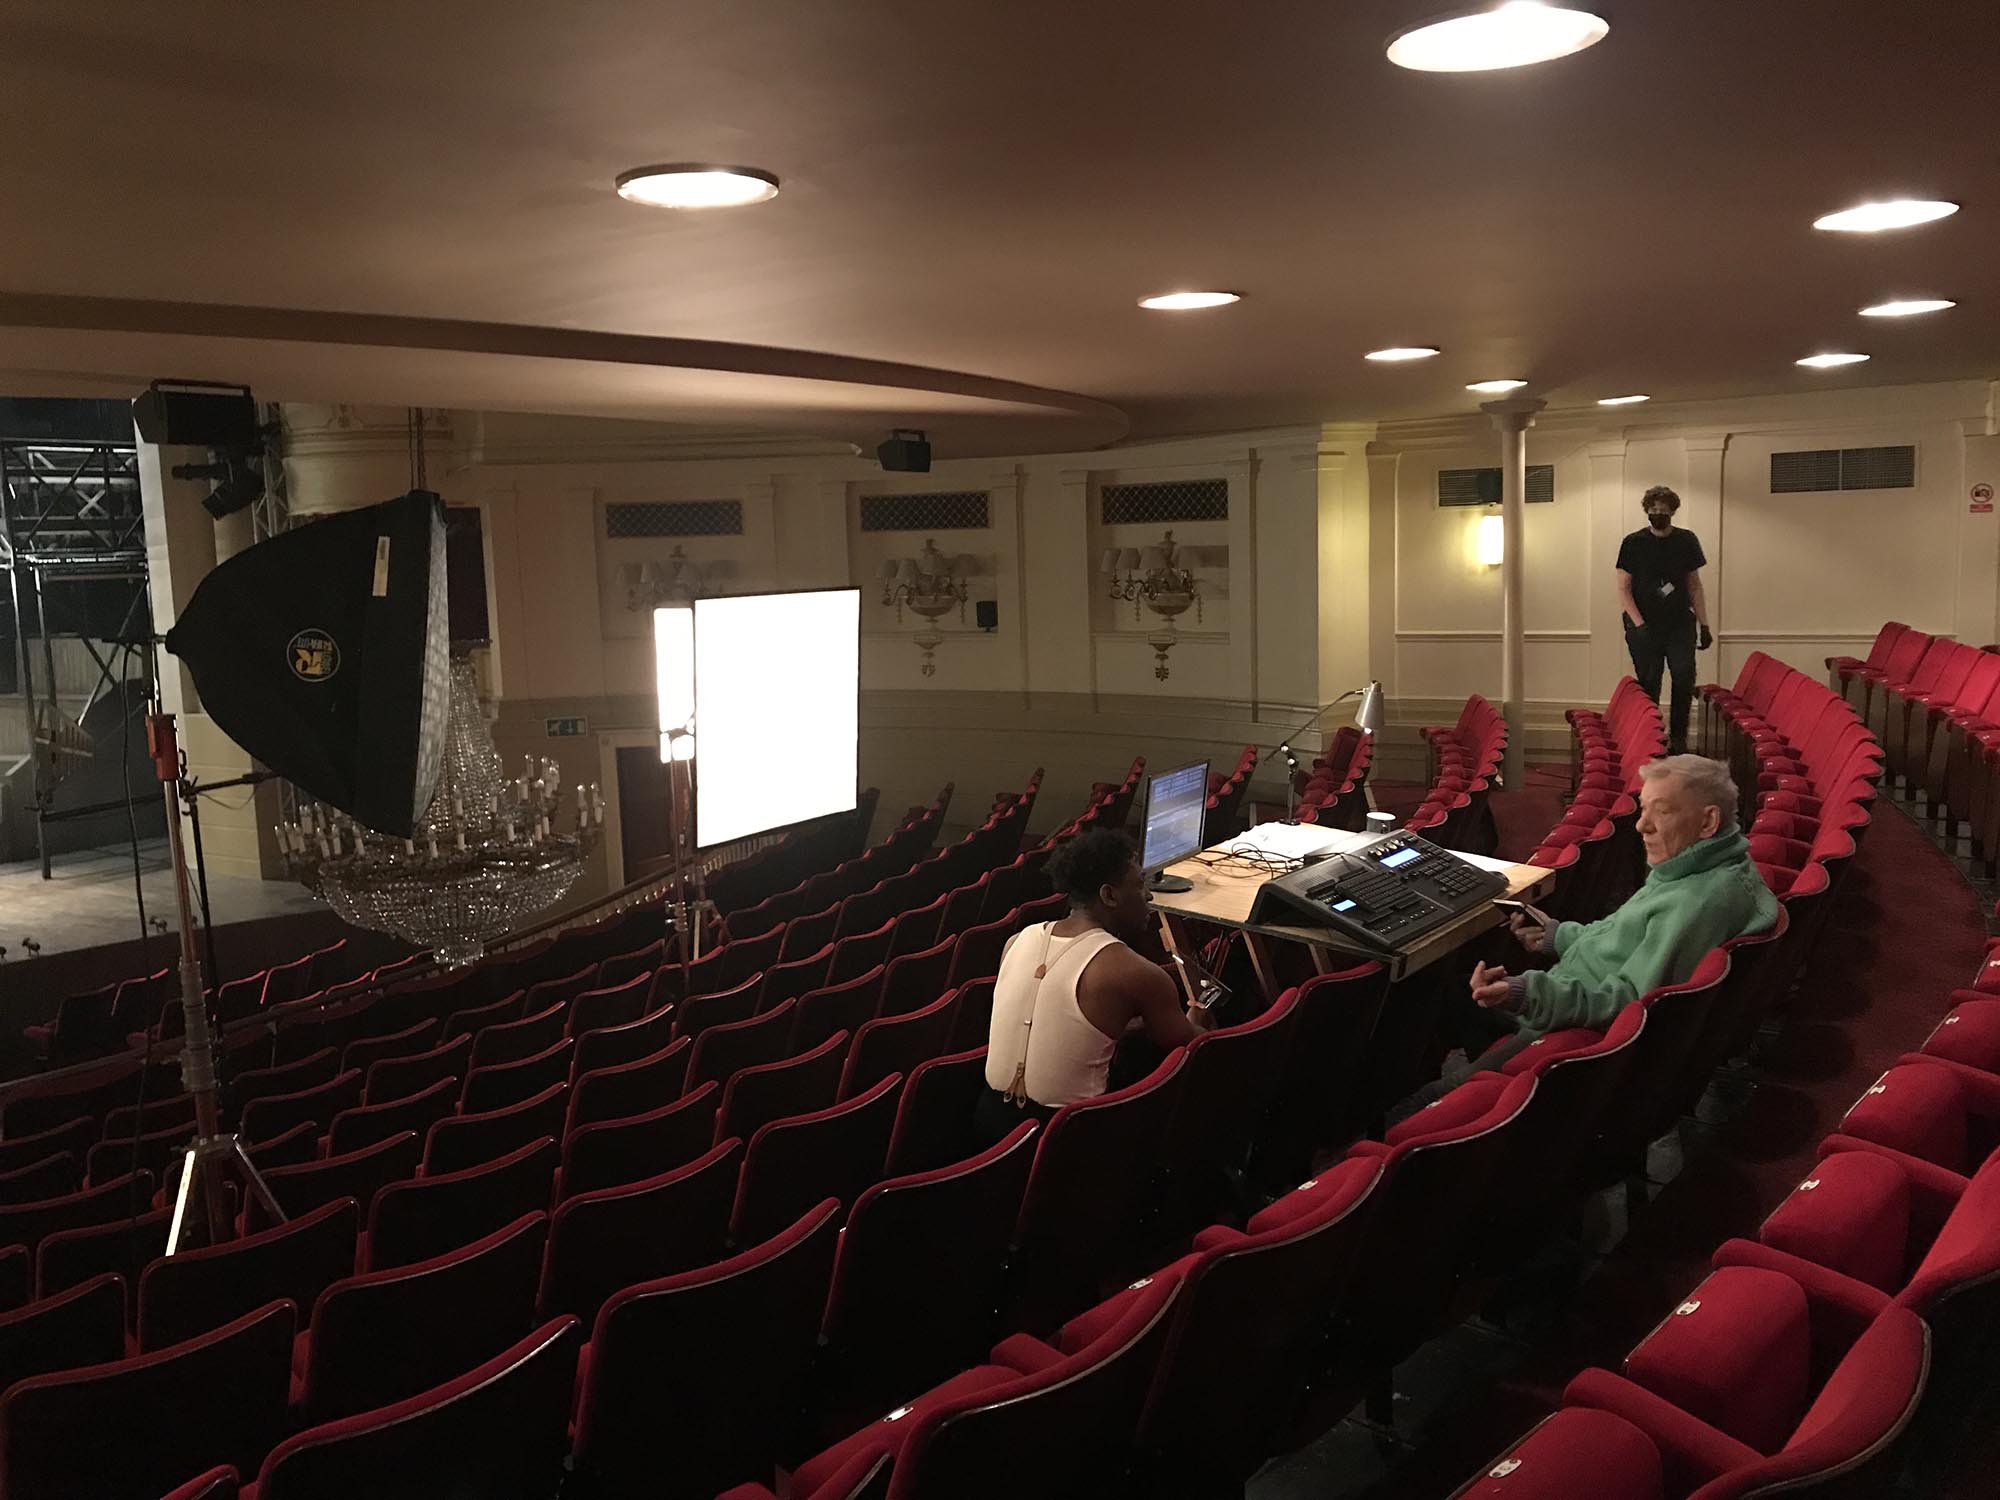
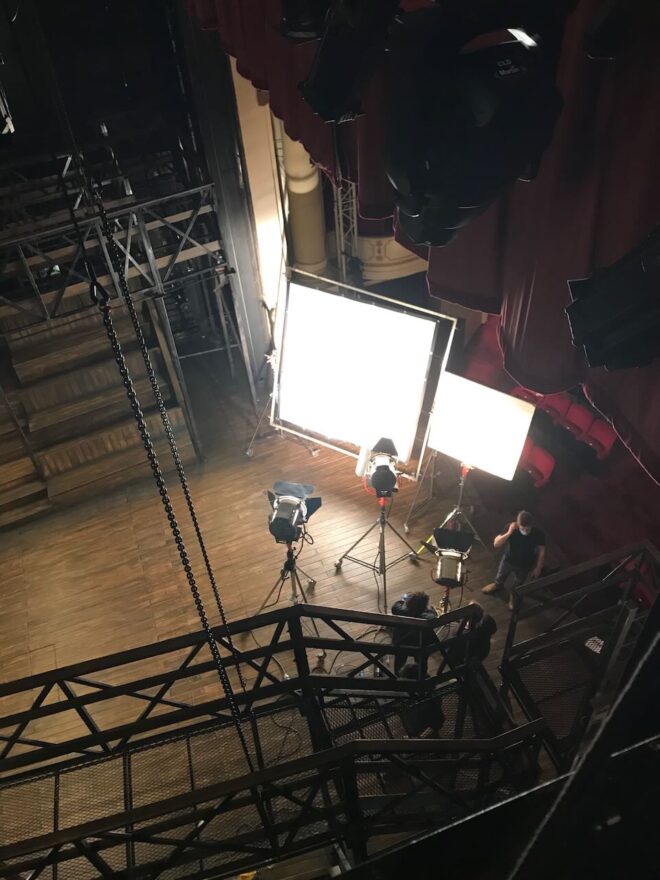
Back in the auditorium (it seems so long since we were last there!) we shot the aftermath of the play within the play. It needed to be bright because it follows on directly from the conscience-pricked king calling for “Lights, lights!” We used the chandelier as a key for some shots, adding a Litemat or a Rifa for others.

After lunch we shot a oner in which Hamlet soliloquizes while shutting down the lights on the stage and in the auditorium. This took a bit of rehearsal and cueing with Zoe and with Tilly who was operating the lighting desk. We added some Astera tubes and a small LED to make sure Hamlet was still dimly visible when everything went out.
That completed our call sheet for the day, and we spent the last few hours on reshoots and pick-ups. We revisited day 3’s first scene, changing up the blocking a little and using the wheelchair dolly and handheld shots to increase the energy, then we grabbed a missing shot from the next scene.
Day 15 – 22/4/21
“My thoughts be bloody, or nothing worth”
We started on and near the stage, with a scene in which Gertrude – having run all the way down the back staircase from her room at the top of the theatre – finds Claudius in conference with Guildenstern in a box. I decided to turn all the house lights off to give it the mood of secrecy required, motivating most of the light from the fluorescents on the stage (but beefing it up with a Litemat and an Astera for eye-light). Inside the box were another couple of tubes to provide backlight and fill, motivated by a practical table lamp. As usual we stuck closely to the storyboards, shooting steep angles up to the box and down from it onto Gertrude, a focus pull from Gertrude to Claudius and Guildenstern in the foreground, then a shot-reverse through the doorway as Claudius issues orders to Rosencrantz and Guildenstern.
We continued into the next scene, where Claudius walks briskly down the corridor from the box with Voltemand. This was shot on the wheelchair dolly, both leading and following the characters. Ben added a Fomex wrapped in muslin for the final position, but otherwise we relied on the existing overhead practicals and emergency-light practicals, the former re-globed and diffused, the latter gelled with Straw and ND.
After lunch we shot Gertrude’s actual run down the staircase, a fun (if somewhat strenuous) scene which quite simply involved me running down three or four storeys with the Alexa XT after Jenny Seagrove. I stopped down to T4 and a third, the smallest aperture of the shoot so far, in order that the existing florries she ran past wouldn’t be too bright. This meant pounding a couple of 5Ks into a bounce board on the stage so that Claudius and the box would be sufficiently lit when I emerged into the auditorium. The only other lighting was the straight blacking out of a fire escape window (as the scene was meant to be night), black-wrapping part of one florry that was making the start of the run super bright, and turning off one florry to create a patch of darkness. I used the 18mm and didn’t look in the viewfinder much, instead concentrating on where I was going and guessing the framing. My experiences in Exit Eve (which had a lot of staircase scenes) reminded me to pan in advance of going around corners to keep Gertrude in shot. The result was very cool, especially the dark section which was lightly hazed and featured a distant florry reflecting off the floor.
Finally we moved up to the flies, shooting first from a small platform accessible only by ladder, which required getting the camera up to it on a rope. We motivated the lighting from the stage, firing two or three 5Ks into ultrabounce, which resulted in the cast moving through soft shadows of the fly-ropes. Back in the prep the theatre LX team had installed extra florries on the fly floor in addition to the two extant ones, especially for this scene, but we ended up taking out the tubes and cable-tying Asteras in their place, which we set to a low level with Quarter Plus Green virtual gel. I deviated from the shot-list for the coverage, finding a new and interesting shot where – using the Easy Rig – I crabbed the camera from one side of the ropes to the other. On one set-up we rolled Horatio’s camcorder, getting his POV of Hamlet, Rosencrantz, Guildenstern and the Captain from the stage.
Day 16 – 23/4/21
“Lights, lights!”
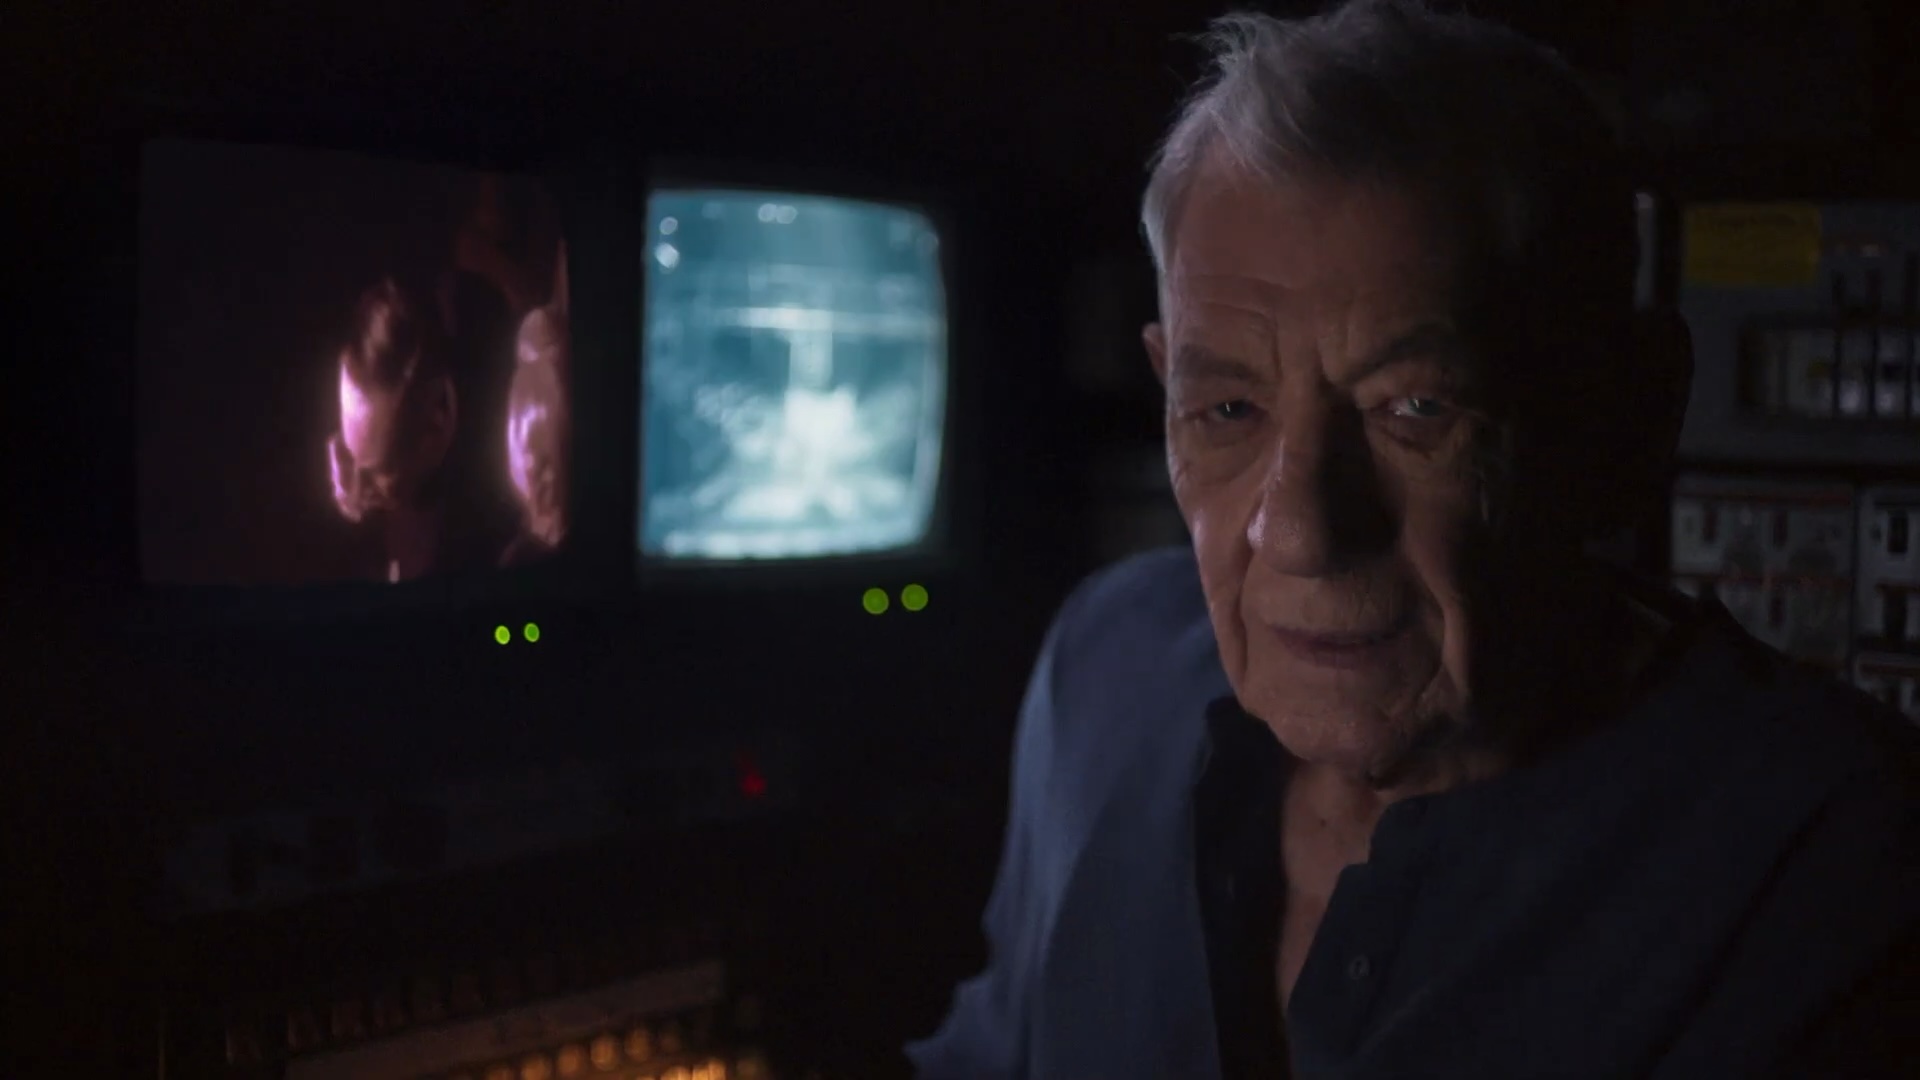
A complicated shot to start with, winching up the chandelier as I zoomed through it to Hamlet and Horatio at the lighting desk beyond. Ben placed an Astera on the desk to beef up the monitor light, and a Fomex to beef up the tungsten practical lamp. Other than a couple of 2Ks bouncing through doorways, we relied on existing wall sconces and down-lighters for the zoom shot. For closer coverage we added a Rifa as a key for the two Hs, but when the action moved over next to the wall the sconces did all the work for us, though Ben did add some tungsten bounce from the stage to give a touch of backlight.
After lunch a second camera came into play. The producers had requested this after becoming concerned about the schedule slipping. Using two cameras is not a magic wand to double your coverage; it doubles your sound problems and your lighting problems and makes every lens choice and lamp position a compromise to keep things out of the other camera’s frame. I decided that today was one of a very small number of the remaining days on which it could be used successfully. I asked Max to operate it, as he’d been watching all the footage as he wrangled it, so he was familiar with the style. A new B-camera 1st AC and trainee were brought in for the day, while trainee Lulu stepped up to 2nd the B-camera.
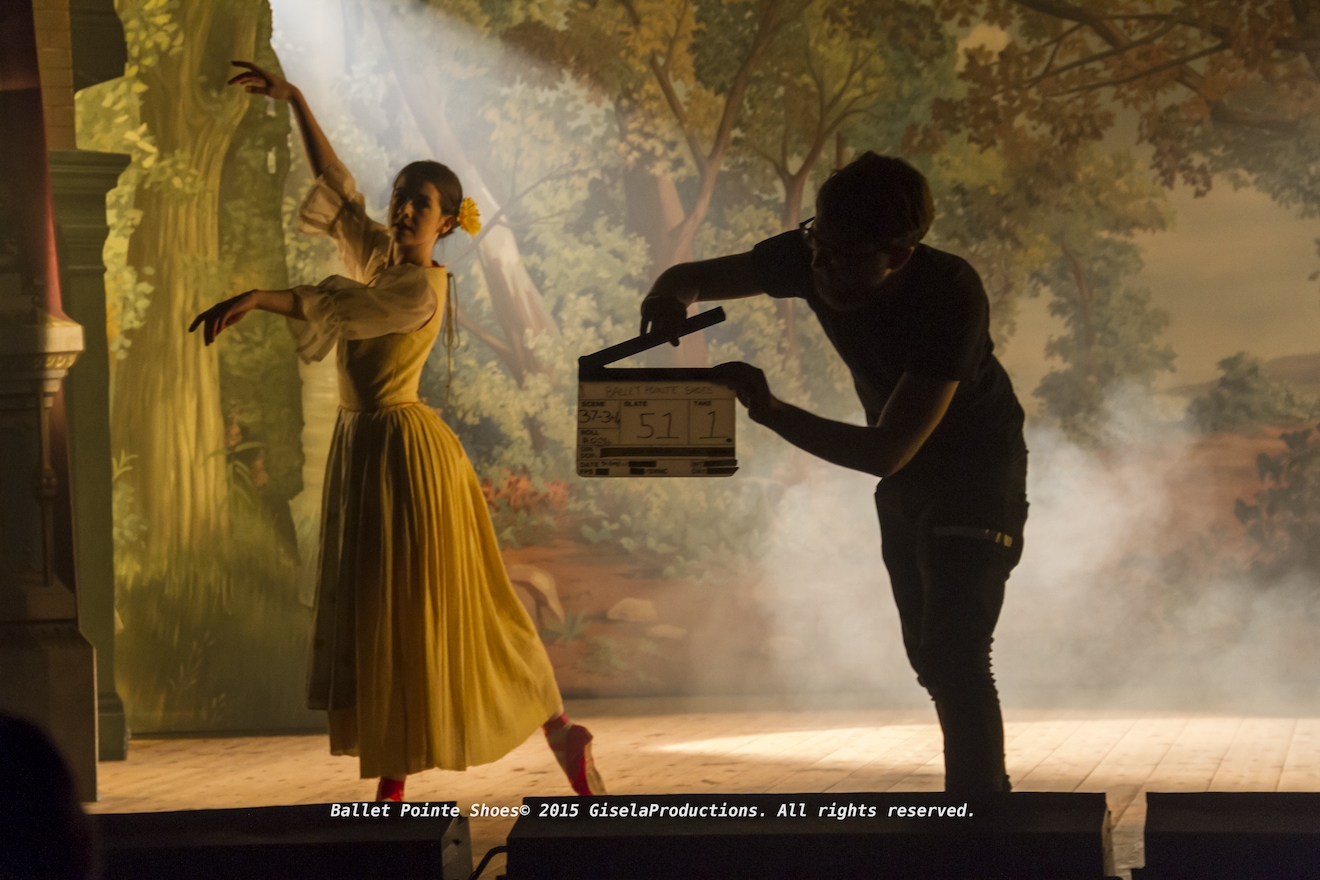
Our first dual camera set-up – to which we added Horatio’s camcorder rolling, for extra shits and giggles – was reactions of Claudius and Gertrude to the play within the play, with Max getting a single on the latter while I started on a two-shot and zoomed in to an ECU of the former. But first the dance part of the play had to be rehearsed so that Zoe could plan the theatrical lighting for it; then Ben and Connor were able to programme the same colours into two Astera tubes that were bounced onto Claudius and Gertrude. A dim Gem ball and a couple of 300W kickers were added, while the house down-lighters were turned on at about 10% to look like emergency lights in the background.
Later we flipped around to shoot the dance itself, at 18mm and 75mm simultaneously, before cross-shooting Hamlet and Ophelia through the dancers and over their shoulders to the dancers. Finally we captured a pick-up of the glaring lights coming up on Hamlet, for which we ensured that one of Zoe’s lights was pointed right down the lens to flare it. After wrapping most of the crew we grabbed a GV on B-camera of the curtains lowering in preparation for the play.
Day 17 – 24/4/21
“Now cracks a noble heart”
The morning was spent finishing scene 79, capturing reactions to the duel and re-shooting Hamlet’s death. Then we set up for the film’s final scene, 80, in which Norway’s impressive prince Fortinbras arrives in the blood-soaked Danish court. This involved the street door in the scene dock opening, dazzling light flooding in, and Fortinbras emerging from it. To achieve this effect we dimmed all the lighting in the dock, stage and auditorium so that we were wide open (T2.2) and at ISO 1600 to correctly expose it. The daylight outside was then 11 or 12 stops over (fortunately it was a sunny day) and most detail was eradicated, though passing cars and pedestrians were still discernible and will have to be removed in post. Ben enhanced the daylight effect by clamping a matt silver bounce board above the door and firing a 2.5K HMI into it, and I made the light glow a bit by shooting with a 1/2 Soft FX filter. When Fortinbras and Horatio sat down on the edge of the stage to talk, we closed the street door for sound and relied solely on the HMI to create the effect. As there was almost no light coming from the auditorium, Ben set up an Ultrabounce in front of the men and the theatre crew fired one of their spotlights into it, filling in the faces.
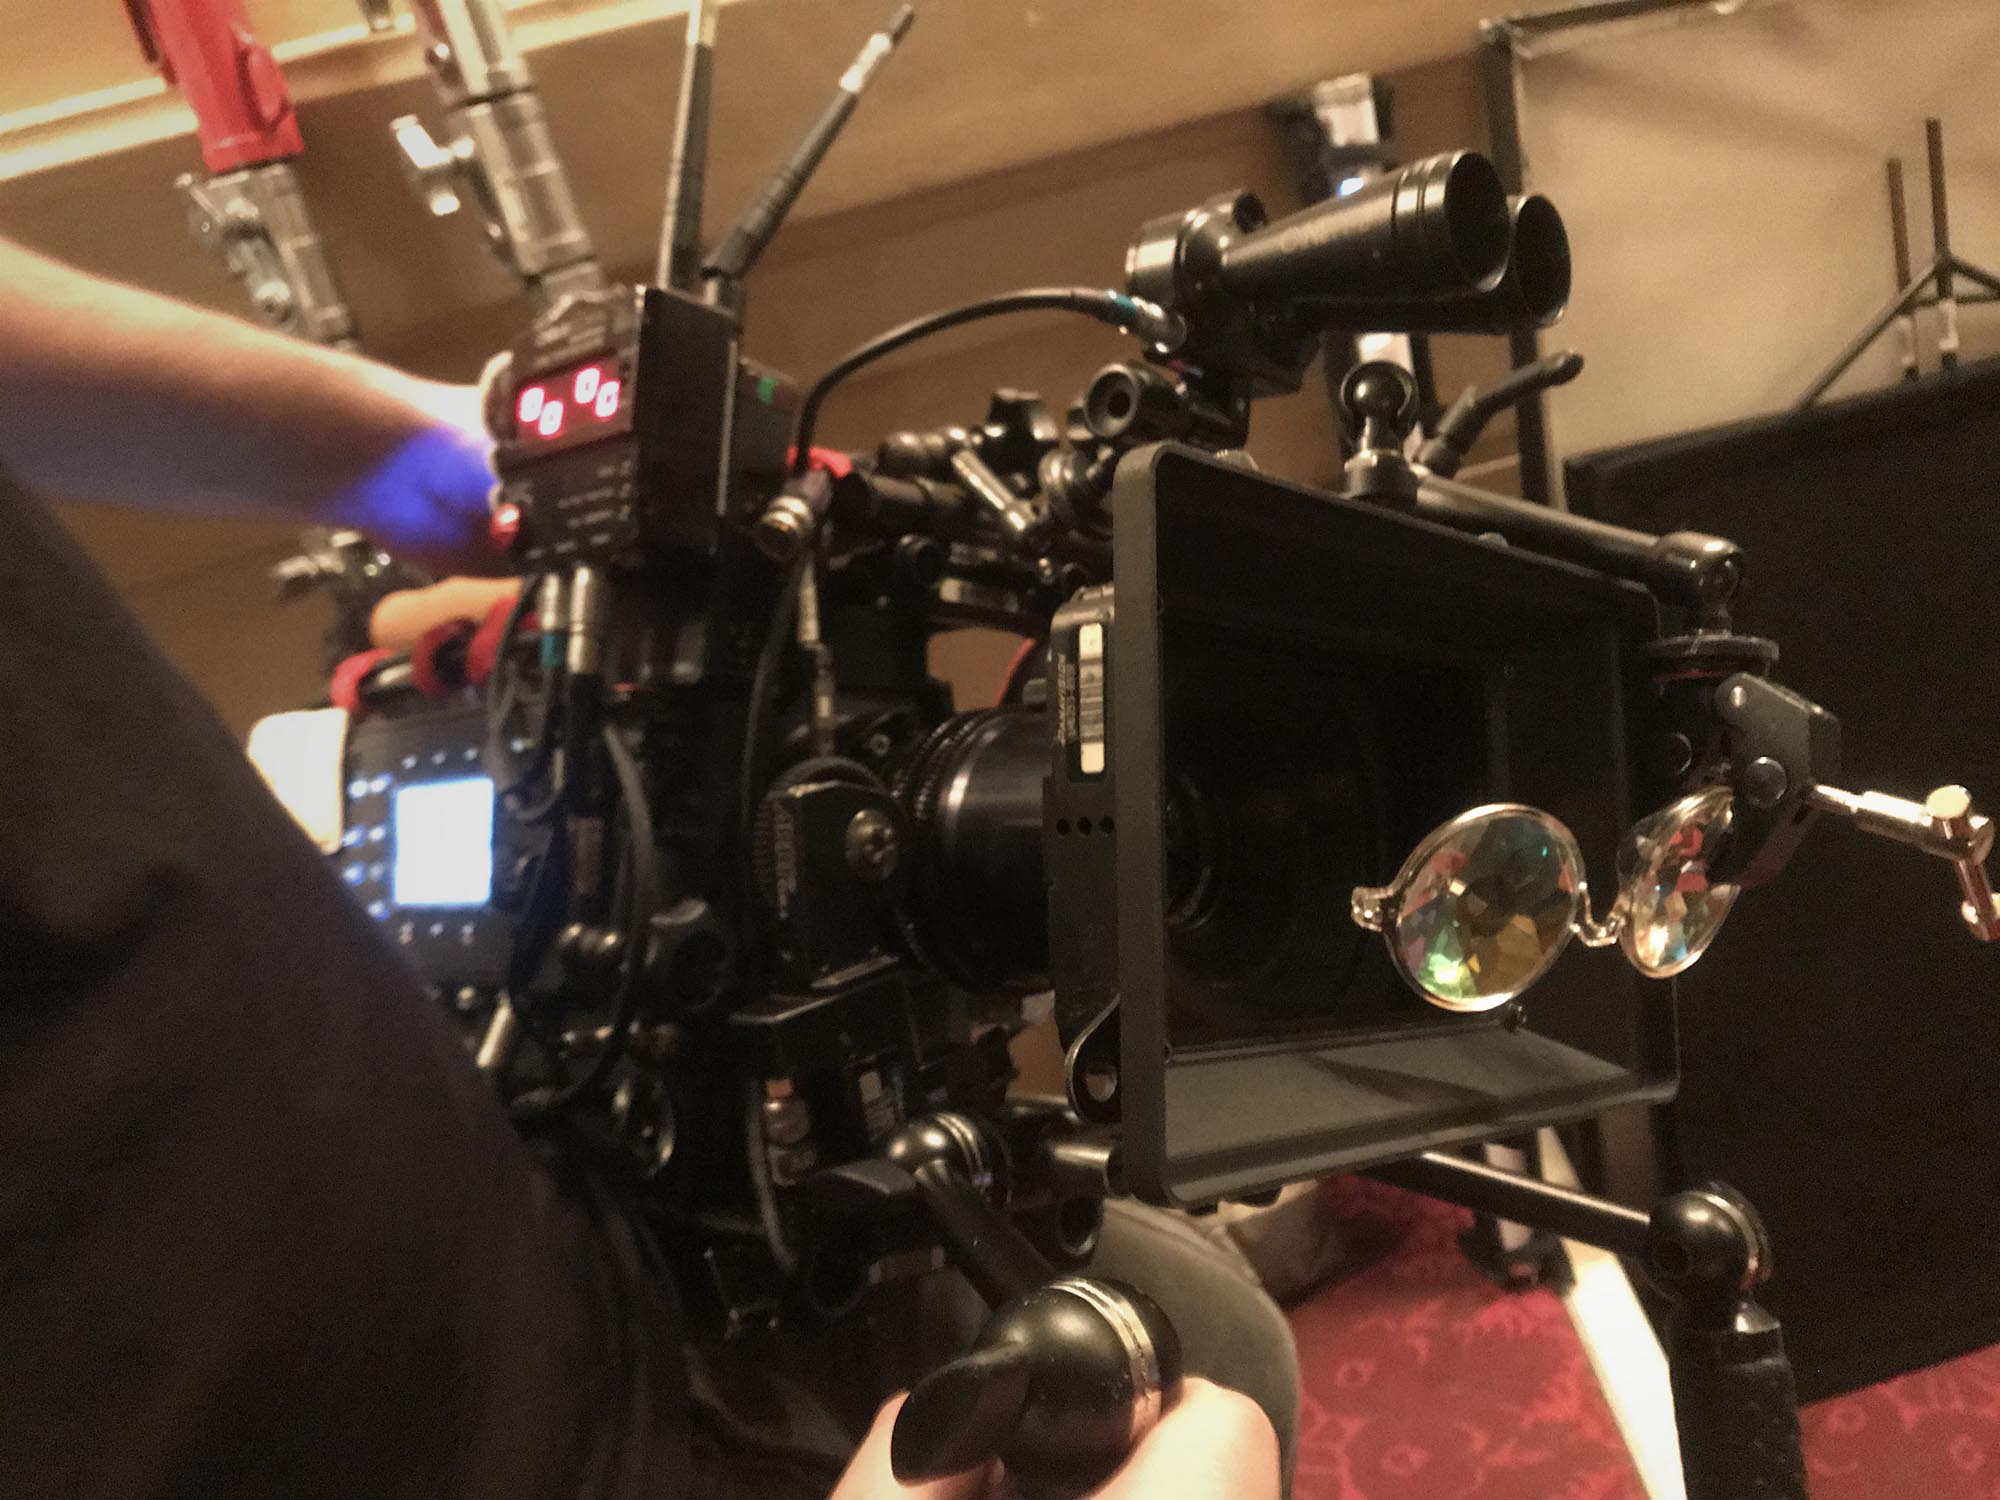
Our last task for the week was to return to the paint shop to pick up what we had missed on day 11. The flashbacks were quick and fun to shoot. We reduced the par cans and changed the colour of the Asteras uplighting the paint-splattered wall to give a different feel. I shot with the prism across the bottom left corner of the frame, which helped to keep Hamlet looking mad and mysterious, and a beautiful effect was created when Ophelia was composing her song, whereby both her face and her hand making notations on the music score were visible simultaneously. Unfortunately we were forced to wrap before getting everything we needed to complete the main paint shop scene, so we will be going back there at some point.