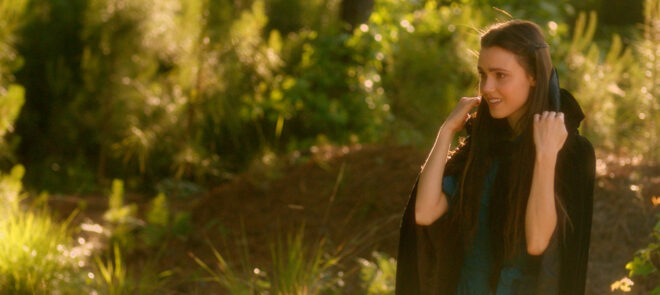
Natural light can be beautiful, but it is not easy for a cinematographer to work with. Continuity, dynamic range, hardness and intensity are all potential challenges.
The most obvious difficulty with natural light is that it is forever changing. It can do stunning and unexpected things, but if you don’t move quickly it’s gone. Anyone who’s ever filmed a sunset scene and had the director push for another take after the perfect light has gone knows the disappointment it can bring.
Preparation is key. Previewing the sun path using an app like Helios Pro or Sun Seeker is essential, as is working out the blocking to make the best use of the light. For The Little Mermaid I shot a sunset scene with three actors up to their waists in the Atlantic Ocean. I had to make sure, through rehearsals on dry land, that they would end up with their backs to the sun so that I would be shooting towards it.
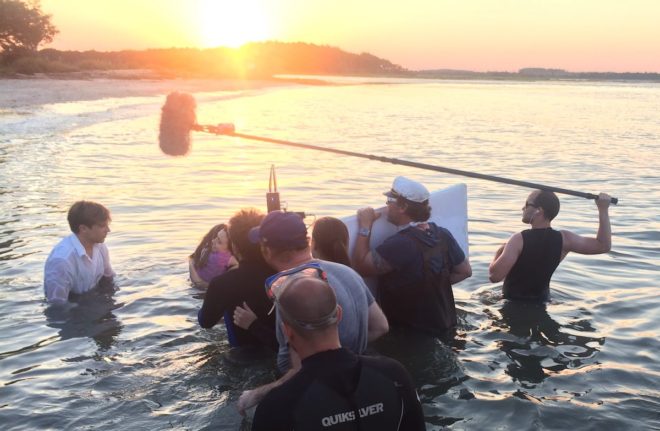
I also had a grip next to me with a poly-board to bounce some of the sunlight back into the actors’ faces. This brings us to dynamic range, the fact that there may be too much or too little difference between the brightest and darkest areas. Too much contrast is common with exteriors under direct sun, or interiors with small windows or dark walls. Too little is often the case with overcast exteriors, or interiors with large windows or white walls.
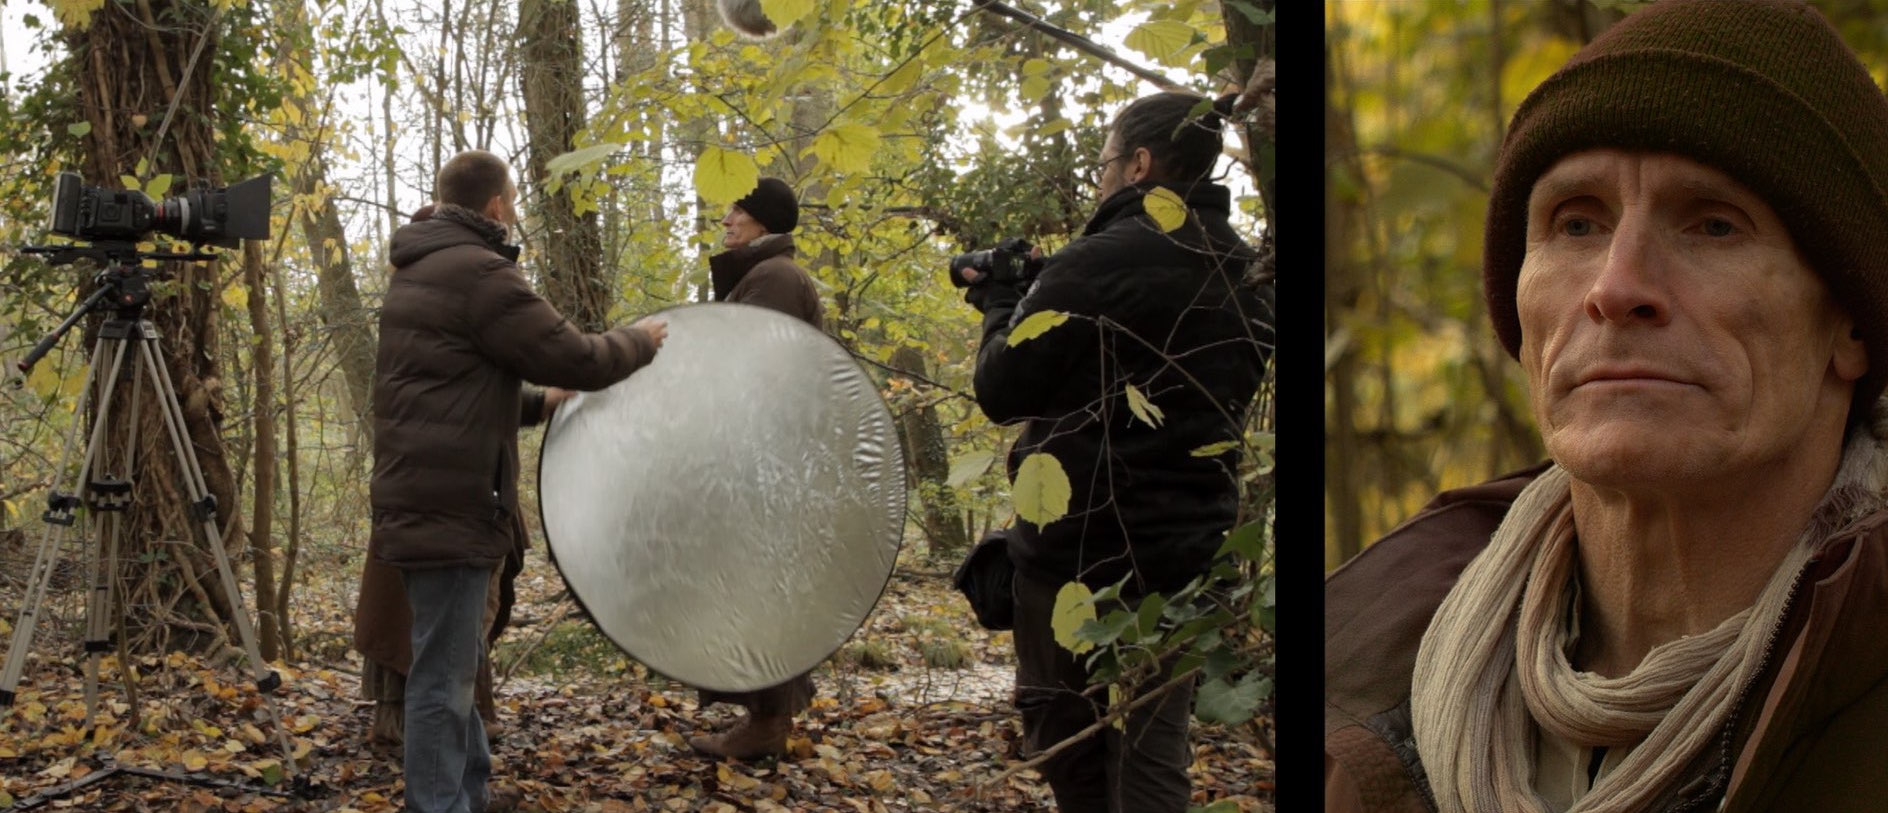
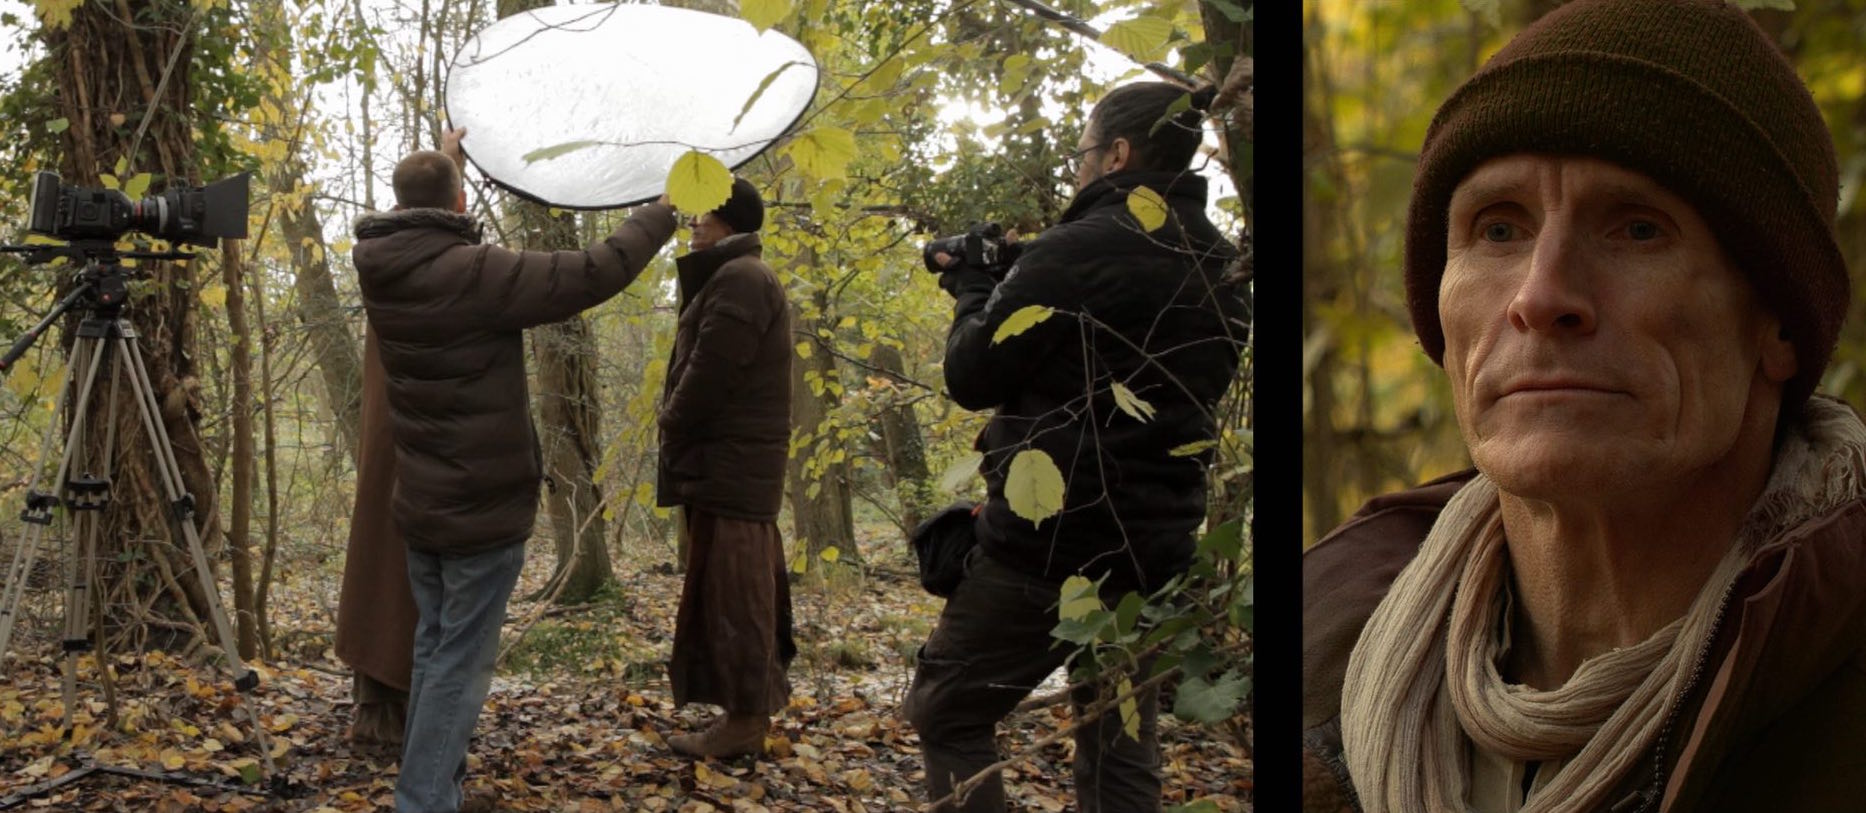
As in my Mermaid example, shadows can be filled in using a reflector, be that the 5-in-1 collapsible kind that are widely and cheaply available, a white poly-board, a frame of Ultrabounce or even a white bedsheet. These will be much less effective indoors, where you may well need to add an artificial fill light, perhaps bounced off the ceiling.
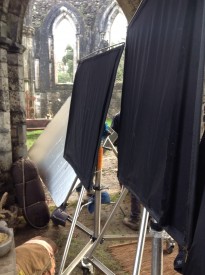
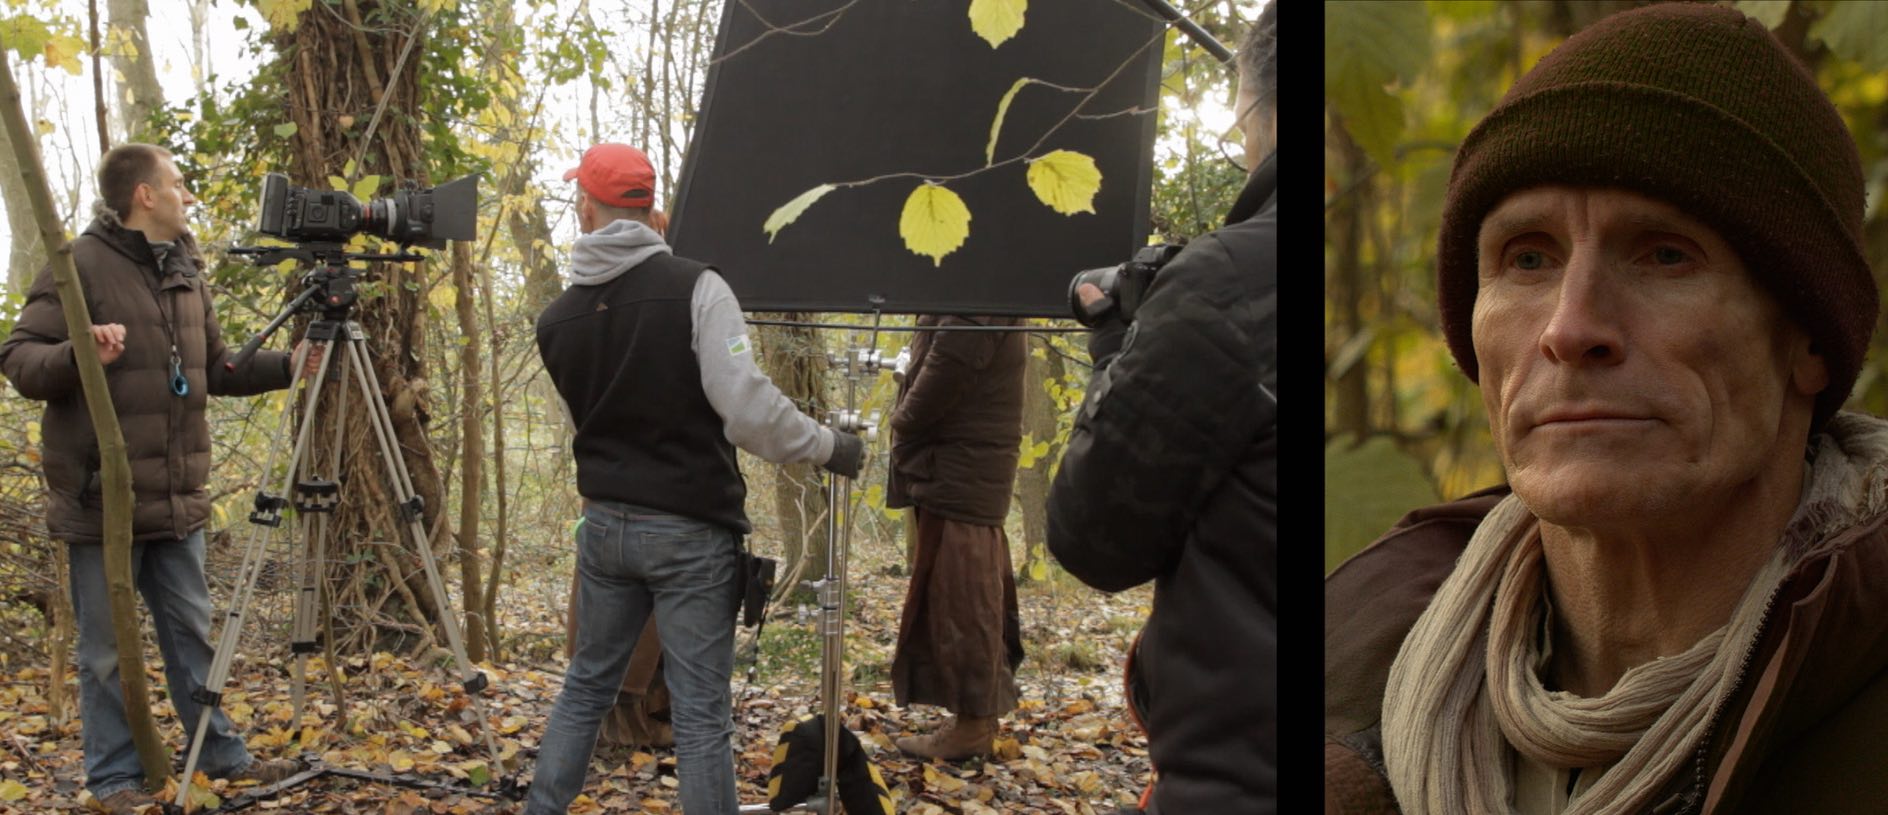
If the light is too flat, contrast can be reduced using negative fill. Anything black can be used for this – a flag, a bedsheet, or the black side of a poly-board or 5-in-1 reflector. Typically this is placed to cut the light on the side of the talent’s face nearest camera to get the most shape in the image.
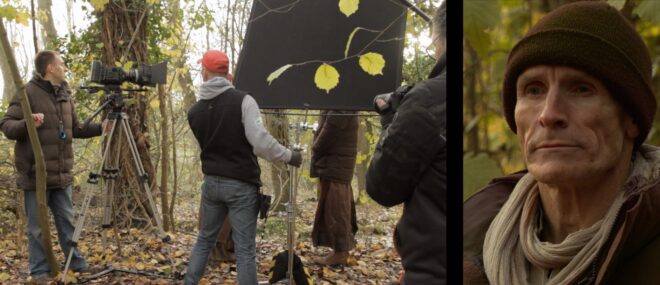
Direct sun is often too hard to be flattering, particularly in closer shots. The solution is to introduce some kind of diffusion between the actor and the sun. This could be anything from a shower curtain to a 12×12’ frame of Full Silk. 5-in-1 reflectors can be stripped down to a translucent white disc that works well for tight shots.
Indoors the trouble with natural light is that there might not be enough of it. If you like what it’s doing but just need more, try setting up a soft artificial source outside the window. A bigger production will often use 12K or 18K HMIs firing into Ultrabounce, but that requires a serious rental budget and a big generator. A smaller HMI pushing through a diffusion frame won’t be quite as soft but will be much cheaper.
If that’s not possible either, the next best thing is a soft source like an LED panel rigged indoors above the window. By having the source indoors you will lose the natural shaping of the light that the window frame gives you, but some of this can be regained by fitting a honeycomb or egg-crate.
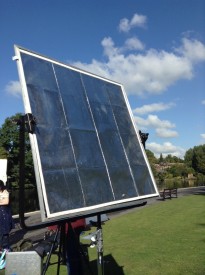
Another option is to place a hard reflector – essentially a mirror on a C-stand – outside the window and angle it to reflect the brightest part of the sky, or even direct sun, into the room. The great news for anyone working on a tight budget is that any old mirror will do, so long as you can find a way to position and angle it conveniently.
The opposite problem is one all DPs have to tackle at some point – namely direct sun coming into a room and moving across it, spoiling continuity. Choosing a north-facing location will save a lot of trouble here, otherwise flags will need to be rigged and regularly adjusted as the sun moves, unless you can move quickly enough to shoot everything before the light has noticeably changed.
Natural light can be one of the biggest challenges for a cinematographer, but also one of the greatest gifts and highest goals to emulate.
