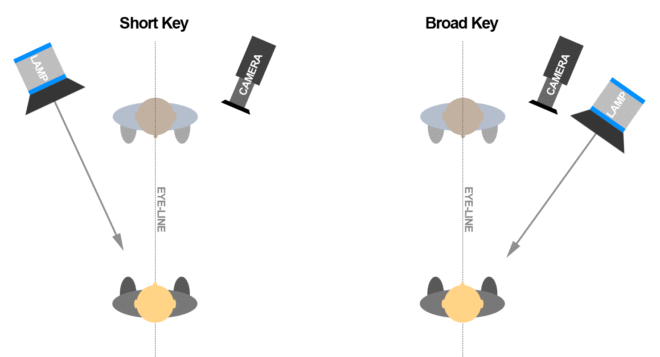
If you’re starting out in your cinematography career, or maybe stepping up from camera operation, lighting can be daunting. How do you know where to put your lights? If you’re working to the Three Point Lighting system, the backlight is self-explanatory, and the fill will often be ambient and directionless, but you may still be left wondering where to put your main light source, your key.
Fortunately there is a very simple rule of thumb, known as short key. In simple terms, a short key light is one which is on the opposite side of the subject’s eye-line to the camera. Let’s delve into what this means and why it’s so common. In fact, once you understand what a short key is you’ll be forever spotting examples of it in film and TV – you’ll be staggered at how often it’s used.
It’s easiest to think of short key from the perspective of the actor. The camera is in front of us and off to one side, because very rarely do actors look down the lens, and the key light is in front of us and off to the other side. It’s called short key because the side of our face that it hits is the side away from camera. The opposite of short key is broad key, where the light is on the same side of us as the camera, thus lighting the “broad” side of our face, the side presented to camera. Note that the light can be either side of the camera, it’s which side of our eye-line it’s on that’s important.
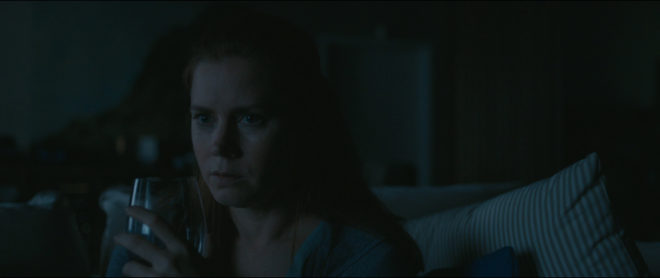
Short key follows the general cinematography principle that light is more interesting when it comes in from the side and behind, rather than from close to camera. It’s preferred by most DPs in most situations because it produces more dimensionality and contrast than broad key. By hitting the side of the face away from camera, a short key leaves shadow on the closer side, creating mood and interest. It brings out the shape of the nose and cheeks. It leaves the ear and side of the head darker, concentrating attention on the face and consequently the performance.
Under the umbrella of short key we can still vary the angle tremendously to affect the mood. If we place the key severely to the side, so none of its illumination reaches the camera side of the actor’s face, and use a very low level of fill, we create a strong, uncompromising look.
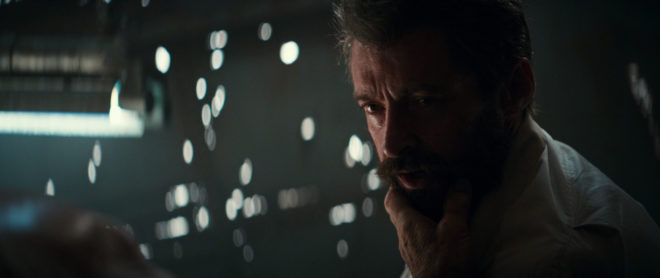

If we place the key closer to front-on, and soften it with diffusion so that it wraps around the camera side of the face, we create a more comfortable, flattering look.
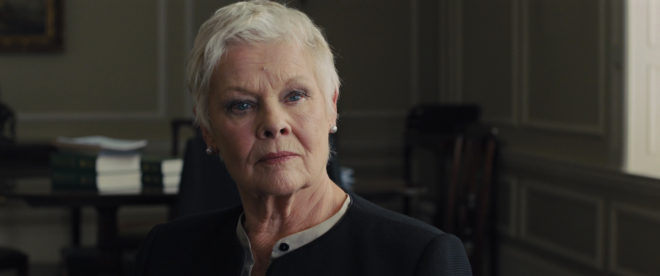

We can also raise the lamp to shade the eye sockets, Godfather style, lower it to create a campfire ghost story look, or place it anywhere in between.
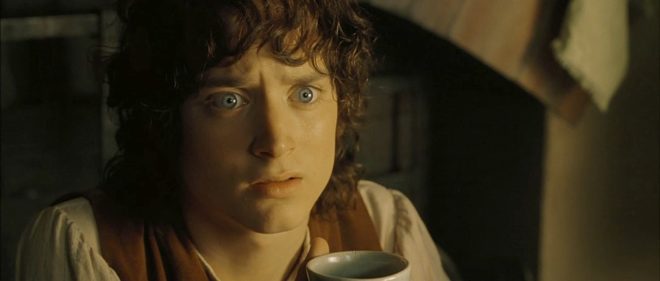
Broad key is less desirable amongst cinematographers, often resorted to only when short key cannot be reconciled with motivating the sources authentically. However, that doesn’t mean that it’s bad or that it can’t be used deliberately and creatively. Here’s just one example of broad key being used extremely effectively.

Short key though is the dominant, ubiquitous style of lighting. It is often the first thing a DP considers when walking onto the set: where can I put the key light in order to hit the short side of the talent? Or conversely, where can I put the camera so that it’s on the opposite side to the light?
If we’re dealing with fixed light sources like windows, or shooting outdoors – we’ll exploit the sun-path or even request that the blocking be altered to ensure a short key. It can go such a long way to making an image cinematic.
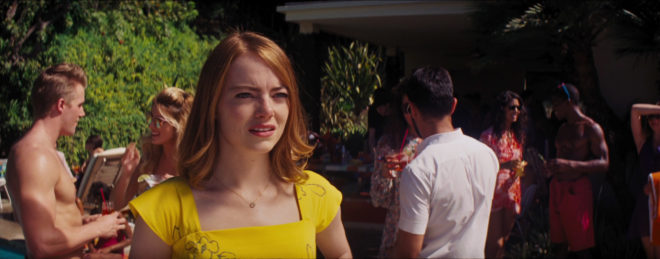
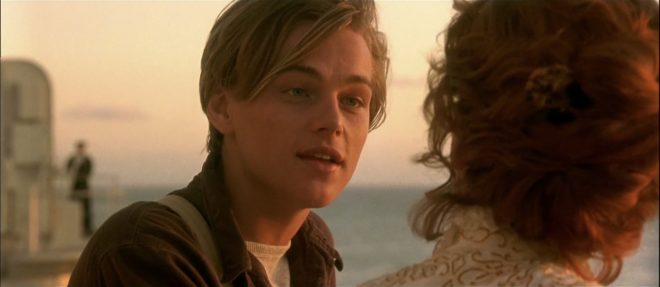
In standard dialogue scenes with two characters facing each other, a technique called cross-backlighting is commonly used to short key both characters and provide backlight too. Check out my post on cross-backlighting for more info.
So next time you watch TV or a movie, look out for short key lighting; I guarantee you’ll see it everywhere.
The frame grabs in this post are from The Cinematographer Index. Check out this very useful resource showcasing great cinematography, and donate a few quid if you can.
