The History of Virtual Production

Virtual production has been on everyone’s lips in the film industry for a couple of years now, but like all new technology it didn’t just appear overnight. Let’s trace the incremental steps that brought us to the likes of The Mandalorian and beyond.

The major component of virtual production – shooting actors against a large LED screen displaying distant or non-existent locations – has its roots in the front- and rear-projection common throughout much of the 20th century. This involved a film projector throwing pre-recorded footage onto a screen behind the talent. It was used for driving scenes in countless movies from North by Northwest to Terminator 2: Judgment Day, though by the time of the latter most filmmakers preferred blue screen.

Cary Grant films the crop duster scene from “North by Northwest”

The problem with blue and green screens is that they reflect those colours onto the talent. If the screen is blue and the inserted background is clear sky that might be acceptable, but in most cases it requires careful lighting and post-production processing to eliminate the blue or green spill.

Wanting to replace these troublesome reflections with authentic ones, DP Emmanuel Lubezki, ASC, AMC conceived an “LED Box” for 2013’s Gravity. This was a 20’ cube made of LED screens displaying CG interiors of the spacecraft or Earth slowly rotating beneath the characters. “We were projecting light onto the actors’ faces that could have darkness on one side, light on another, a hot spot in the middle and different colours,” Lubezki told American Cinematographer. “It was always complex.” Gravity’s screens were of a low resolution by today’s standards, certainly not good enough to pass as real backgrounds on camera, so the full-quality CGI had to be rotoscoped in afterwards, but the lighting on the cast was authentic. 

Sandra Bullock in “Gravity’s” LED box

Around the same time Netflix’s House of Cards was doing something similar for its driving scenes, surrounding the vehicle with chromakey green but rigging LED screens just out of frame. The screens showed pre-filmed background plates of streets moving past, which created realistic reflections in the car’s bodywork and nuanced, dynamic light on the actors’ faces.

Also released in 2013 was the post-apocalyptic sci-fi Oblivion. Many scenes took place in the Sky Tower, a glass-walled outpost above the clouds. The set was surrounded by 500×42’ of white muslin onto which cloud and sky plates shot from atop a volcano were front-projected. Usually, projected images are not bright enough to reflect useful light onto the foreground, but by layering up 21 projectors DP Claudio Miranda, ASC was able to achieve a T1.3-2.0 split at ISO 800. Unlike those of Gravity’s low-rez LED Box, the backgrounds were also good enough to not need replacing in post.

The set of “Oblivion” surrounded by front-projected sky backgrounds

It would take another few years for LED screens to reach that point.

By 2016 the technology was well established as a means of creating complex light sources. Deepwater Horizon, based on the true story of the Gulf of Mexico oil rig disaster, made use of a 42×24’ video wall comprising 252 LED panels. “Fire caused by burning oil is very red and has deep blacks,” DP Enrique Chediak, ASC explained to American Cinematographer, noting that propane fires generated by practical effects crews are more yellow. The solution was to light the cast with footage of genuine oil fires displayed on the LED screen.

Korean zombie movie Train to Busan used LED walls both for lighting and in-camera backgrounds zipping past the titular vehicle. Murder on the Orient Express would do the same the following year.

The hyperspace VFX displayed on a huge LED screen for “Rogue One”

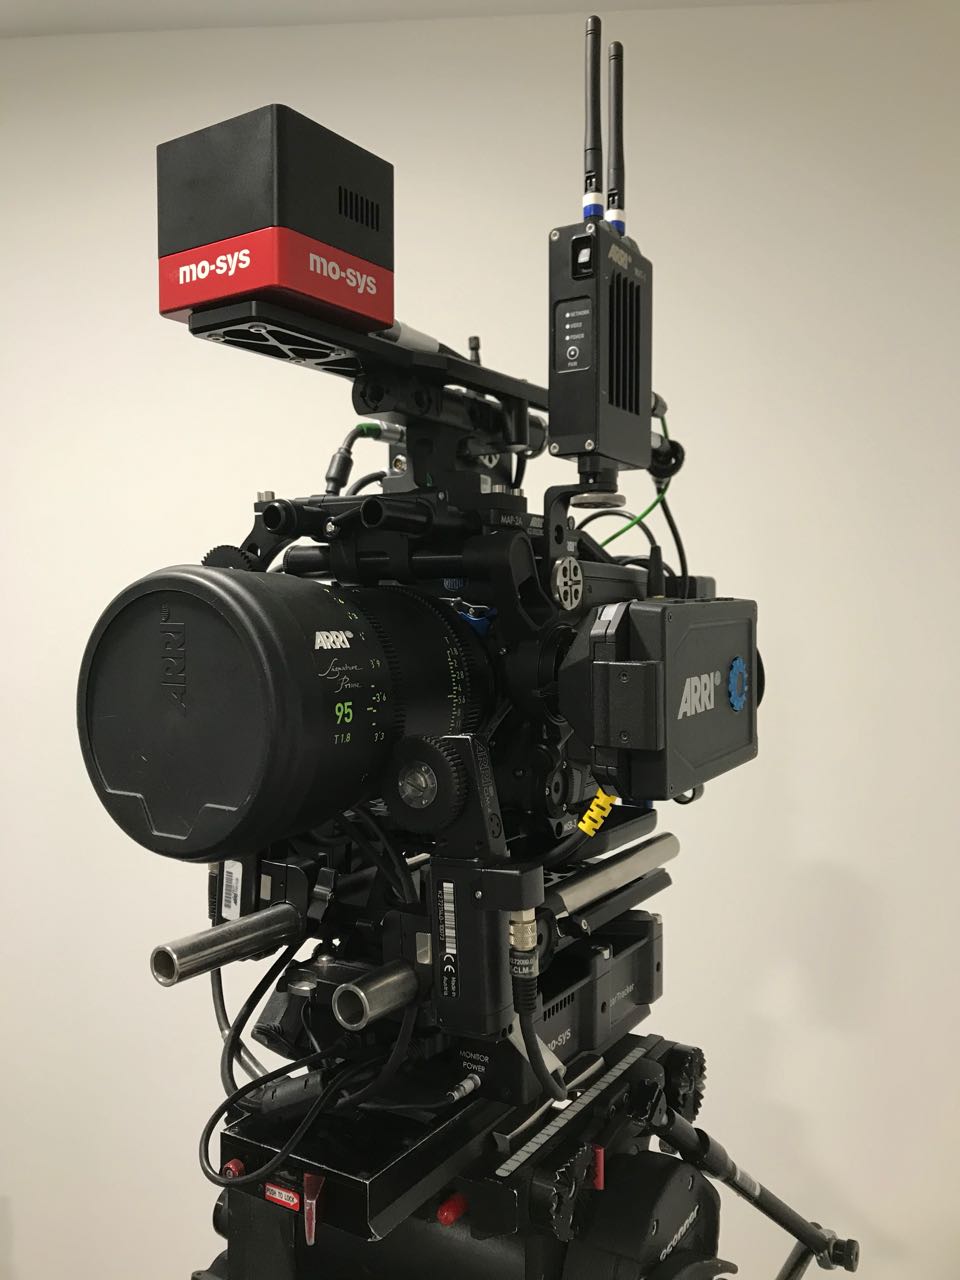
Meanwhile, on the set of Rogue One, vehicles were travelling a little bit faster; a huge curved screen of WinVision Air panels (with a 9mm pixel pitch, again blocky by today’s standards) displayed a hyperspace effect around spacecraft, providing both interactive lighting and in-camera VFX so long as the screen was well out of focus. The DP was Greig Fraser, ACS, ASC, whose journey into virtual production was about to coincide with that of actor/director/producer Jon Favreau.

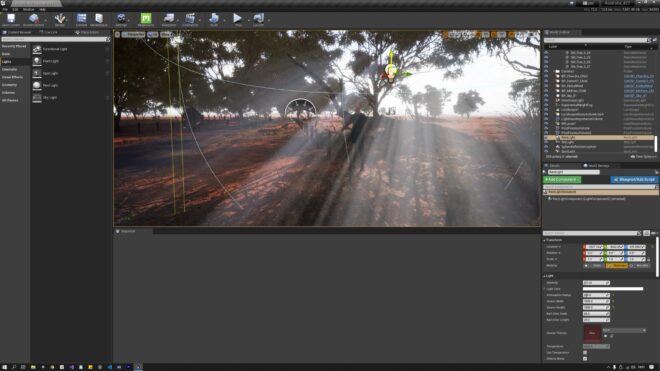
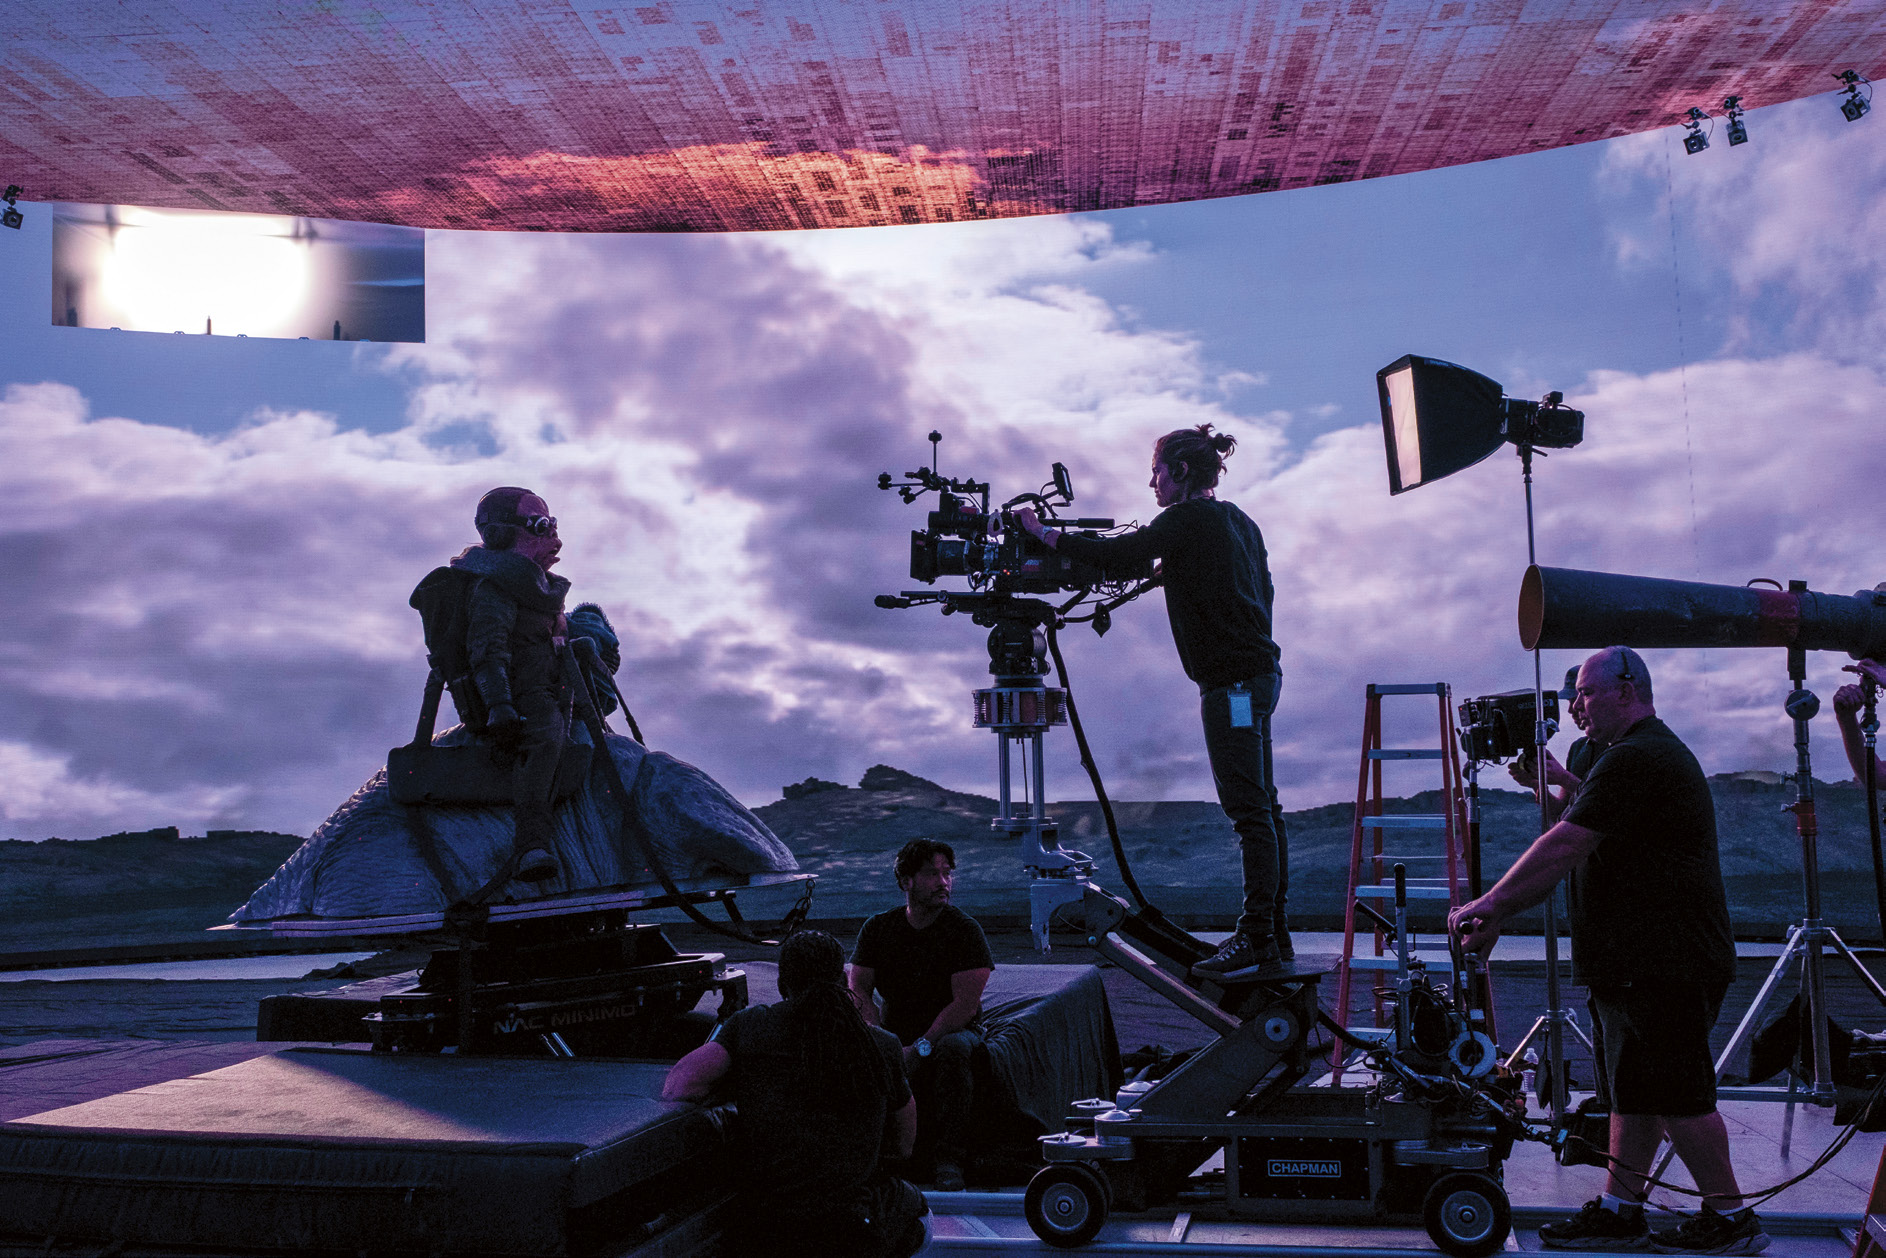
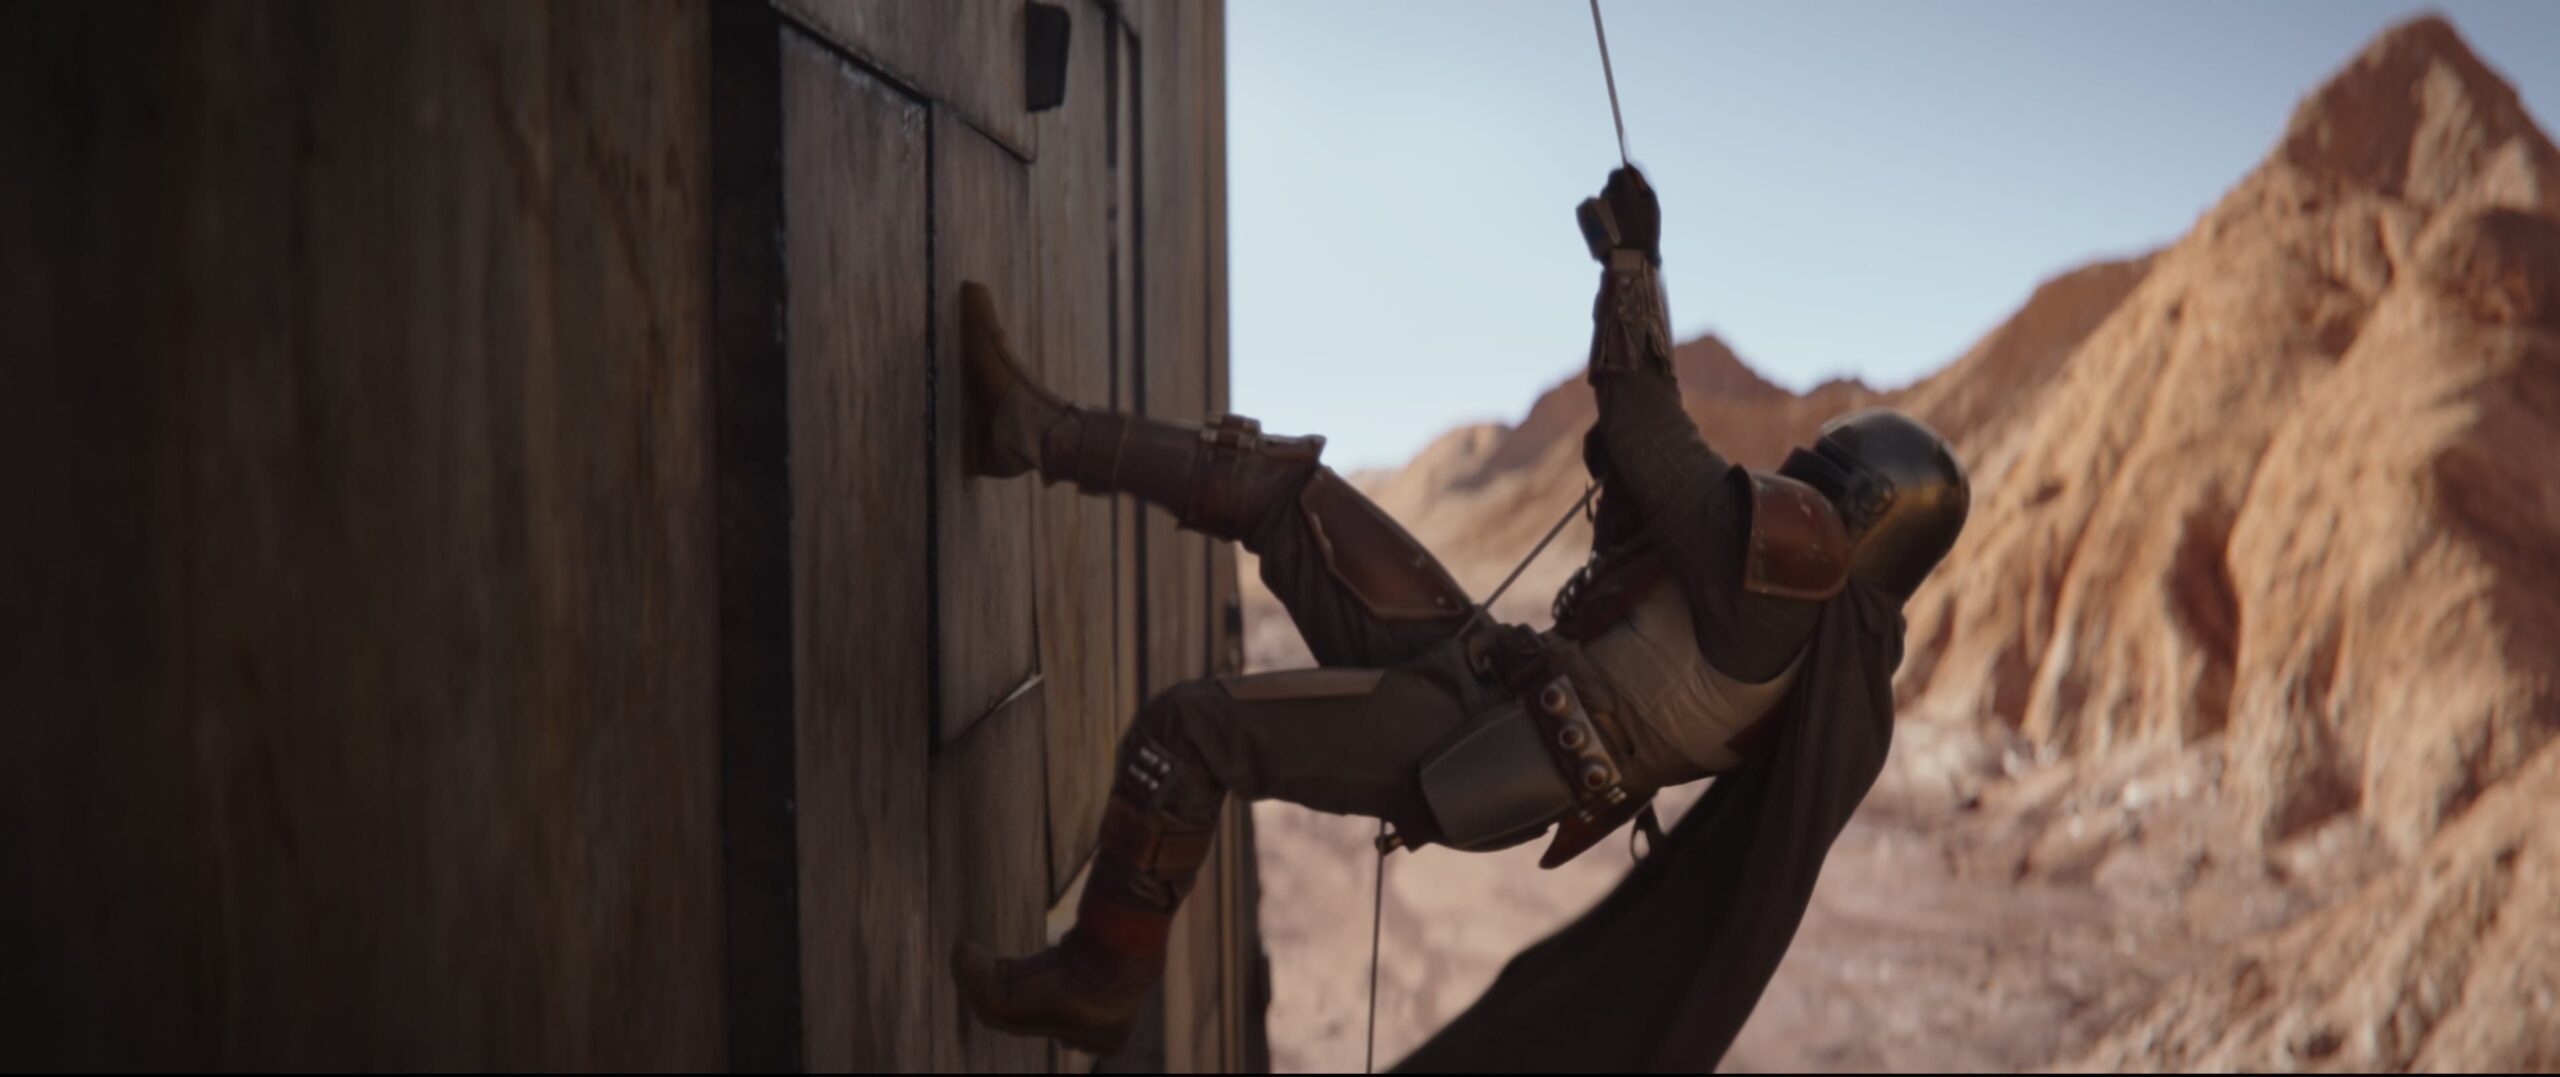
Favreau had used LED screens for interactive lighting on The Jungle Book, then for 2018’s The Lion King he employed a virtual camera system driven by the gaming engine Unity. When work began on The Mandalorian another gaming engine, Unreal, allowed a major breakthrough: real-time rendered, photo-realistic CG backgrounds. “It’s the closest thing to playing God that a DP can ever do,” Fraser remarked to British Cinematographer last year. “You can move the sun wherever you want.”

Since then we’ve seen LED volumes used prominently in productions like The Midnight Sky, The Batman and now Star Trek: Strange New Worlds, with many more using them for the odd scene here and there. Who knows what the next breakthrough might be?

The History of Virtual Production

Cinematography in a Virtual World

Yesterday I paid a visit to my friend Chris Bouchard, co-director of The Little Mermaid and director of the hugely popular Lord of the Rings fan film The Hunt for Gollum. Chris has been spending a lot of time working with Unreal, the gaming engine, to shape it into a filmmaking tool.

The use of Unreal Engine in LED volumes has been getting a lot of press lately. The Mandalorian famously uses this virtual production technology, filming actors against live-rendered CG backgrounds displayed on large LED walls. What Chris is working on is a little bit different. He’s taking footage shot against a conventional green screen and using Unreal to create background environments and camera movements in post-production. He’s also playing with Unreal’s MetaHumans, realistic virtual models of people. The faces of these MetaHumans can be puppeteered in real time by face-capturing an actor through a phone or webcam.

Chris showed me some of the environments and MetaHumans he has been working on, adapted from pre-built library models. While our friend Ash drove the facial expressions of the MetaHuman, I could use the mouse and keyboard to move around and find shots, changing the focal length and aperture at will. (Aperture and exposure were not connected in this virtual environment – changing the f-stop only altered the depth of field – but I’m told these are easy enough to link if desired.) I also had complete control of the lighting. This meant that I could re-position the sun with a click and drag, turn God rays on and off, add haze, adjust the level of ambient sky-light, and so on.

Of course, I tended to position the sun as backlight. Adding a virtual bounce board would have been too taxing for the computer, so instead I created a “Rect Light”, a soft rectangular light source of any width and height I desired. With one of these I could get a similar look to a 12×12′ Ultrabounce.

The system is pretty intuitive and it wasn’t hard at all to pick up the basics. There are, however, a lot of settings. To be a user-friendly tool, many of these settings would need to be stripped out and perhaps others like aperture and exposure should be linked together. Simple things like renaming a “Rect Light” to a soft light would help too.

The system raises an interesting creative question. Do you make the image look like real life, or like a movie, or as perfect as possible? We DPs might like to think our physically filmed images are realistic, but that’s not always the case; a cinematic night exterior bears little resemblance to genuinely being outdoors at night, for example. It is interesting that games designers, like the one below (who actually uses a couple of images from my blog as references around 3:58), are far more interested in replicating the artificial lighting of movies than going for something more naturalistic.

As physical cinematographers we are also restricted by the limitations of time, equipment and the laws of physics. Freed from these shackles, we could create “perfect” images, but is that really a good idea? The Hobbit‘s endless sunset and sunrise scenes show how tedious and unbelievable “perfection” can get.

There is no denying that the technology is incredibly impressive, and constantly improving. Ash had brought along his Playstation 5 and we watched The Matrix Awakens, a semi-interactive film using real-time rendering. Genuine footage of Keanu Reeves and Carrie-Anne Moss is intercut with MetaHumans and an incredibly detailed city which you can explore. If you dig into the menu you can also adjust some camera settings and take photos. I’ll leave you with a few that I captured as I roamed the streets of this cyber-metropolis.

Cinematography in a Virtual World

6 Tips for Virtual Production

Part of the volume at ARRI Rental in Uxbridge, with the ceiling panel temporarily lowered

Virtual production technically covers a number of things, but what people normally mean by it is shooting on an LED volume. This is a stage where the walls are giant LED screens displaying real-time backgrounds for photographing the talent in front of. The background may be a simple 2D plate shot from a moving vehicle, for a scene inside a car, or a more elaborate set of plates shot with a 360° rig.

The most advanced set-ups do not use filmed backgrounds at all, but instead use 3D virtual environments rendered in real time by a gaming engine like Unreal. A motion-tracking system monitors the position of the camera within the volume and ensures that the proper perspective and parallax is displayed on the screens. Furthermore, the screens are bright enough that they provide most or all of the illumination needed on the talent in a very realistic way.

I have never done any virtual production myself, but earlier this year I was fortunate enough to interview some DPs who have, for British Cinematographer article. Here are some tips about VP shooting which I learnt from these pioneers.


1. Shoot large format

An ARRI Alexa Mini LF rigged with Mo-Sys for tracking its position within the volume

To prevent a moiré effect from the LED pixels, the screens need to be out of focus. Choosing an LF camera, with their shallower depth of field, makes this easier to accomplish. The Alexa Mini LF seems to be a popular choice, but the Sony Venice evidently works well too.


2. Keep your distance

To maintain the illusion, neither the talent nor the camera should get too close to the screens. A rule of thumb is that the minimum distance in metres should be no less than the pixel pitch of the screens. (The pixel pitch is the distance in millimetres between the centre of one pixel and the centre of the next.) So for a screen of 2.3mm pixel pitch, keep everything at least 2.3m away.


3. Tie it all together

Several DPs have found that the real foreground and the virtual background fit together more seamlessly if haze or a diffusion filter are used. This makes sense because both soften the image, blending light from nearby elements of the frame together. Other in-camera effects like rain (if the screens are rated weatherproof) and lens flares would also help.


4. Surround yourself

The back of ARRI’s main screen, composed of ROE LED panels

The most convincing LED volumes have screens surrounding the talent, perhaps 270° worth, and an overhead screen as well. Although typically only one of these screens will be of a high enough resolution to shoot towards, the others are important because they shed interactive light on the talent, making them really seem like they’re in the correct environment.


5. Match the lighting

If you need to supplement the light, use a colour meter to measure the ambience coming from the screens, then dial that temperature into an LED fixture. If you don’t have a colour meter you should conduct tests beforehand, as what matches to the eye may not necessarily match on camera.


6. Avoid fast camera moves

Behind the scenes at the ARRI volume, built in partnership with Creative Technology

It takes a huge amount of processing power to render a virtual background in real time, so there will always be a lag. The Mandalorian works around this by shooting in a very classical style (which fits the Star Wars universe perfectly), with dolly moves and jibs rather than a lot of handheld shots. The faster the camera moves, the more the delay in the background will be noticeable. For the same reason, high frame rates are not recommended, but as processing power increases, these restrictions will undoubtedly fall away.

6 Tips for Virtual Production

“Mission: Impossible” and the Dawn of Virtual Sets

The seventh instalment in the Mission: Impossible franchise was originally scheduled for release this July. It’s since been pushed back to next September, which is a minor shame because it means there will be no release in 2021 to mark the quarter of a century since Tom Cruise first chose to accept the mission of bringing super-spy Ethan Hunt to the big screen.

Today, 1996’s Mission: Impossible is best remembered for two stand-out sequences. The first, fairly simple but incredibly tense, sees Cruise descend on a cable into a high-security vault where even a single bead of sweat will trigger pressure sensors in the floor.

The second, developing from the unlikely to the downright ludicrous, finds Cruise battling Jon Voight atop a speeding Channel Tunnel train, a fight which continues on the skids of a helicopter dragged along behind the Eurostar, ending in an explosion which propels Cruise (somehow unscathed) onto the rear of the train.

It is the second of those sequences which is a landmark in visual effects, described by Cinefex magazine at the time as “the dawn of virtual sets”.

“In Mission: Impossible, we took blue-screen elements of actors and put them into believable CG backgrounds,” said VFX supervisor John Knoll of Industrial Light and Magic. Building on his work on The Abyss and Terminator 2, Knoll’s virtual tunnel sets would one day lead to the likes of The Mandalorian – films and TV shows shot against LED screens displaying CG environments.

Which is ironic, given that if Tom Cruise was remaking that first film today, he would probably insist on less trickery, not more, and demand to be strapped to the top of a genuine speeding Eurostar.

The Channel Tunnel had only been open for two years when Mission: Impossible came out, and the filmmakers clearly felt that audiences – or at least American audiences – were so unfamiliar with the service that they could take a number of liberties in portraying it. The film’s tunnel has only a single bore for both directions of travel, and the approaching railway line was shot near Glasgow.

That Scottish countryside is one of the few real elements in the sequence. Another is the 100ft of full-size train that was constructed against a blue-screen to capture the lead actors on the roof. To portray extreme speed, the crew buffeted the stars with 140mph wind from a parachute-training fan.

Many of the Glasgow plates were shot at 12fps to double the apparent speed of the camera helicopter, which generally flew at 80mph. But when the plate crew tried to incorporate the picture helicopter with which Jean Reno’s character chases the train, the under-cranking just looked fake, so the decision was taken to computer-generate the aircraft in the vast majority of the shots.

The train is also CGI, as are the tunnel entrance and some of its surroundings, and of course the English Channel is composited into the Glaswegian landscape. Once the action moves inside the tunnel, nothing is real except the actors and the set-pieces they’re clinging to.

“We cheated the scale to keep it tight and claustrophobic,” said VFX artist George Hull, admitting that the helicopter could not have fitted in such a tunnel in reality. “The size still didn’t feel right, so we went back and added recognisable, human-scale things such as service utility sheds and ladders.”

Overhead lights spaced at regular intervals were simulated for the blue-screen work. “When compositing the scenes into the CG tunnel months later, we could marry the environment by timing those interactive lights to the live-action plates,” explained Hull.

Employing Alias for modelling, Softimage for animation, RenderMan for rendering, plus custom software like ishade and icomp, ILM produced a sequence which, although it wasn’t completely convincing even in 1996, is still exciting.

Perhaps the best-looking part is the climactic explosion, which was achieved with a 1/8th scale miniature propelled at 55mph through a 120ft tunnel model. (The runaway CGI which followed Jurassic Park’s 1993 success wisely stayed away from explosions for many years, as their dynamics and randomness made them extremely hard to simulate on computers of the time.)

Knoll went on to supervise the Star Wars prequels’ virtual sets (actually miniatures populated with CG aliens), and later Avatar and The Mandalorian. Meanwhile, Cruise pushed for more and more reality in his stunt sequences as the franchise went on, climbing the Burj Khalifa for Ghost Protocol, hanging off the side of a plane for Rogue Nation, skydiving and flying a helicopter for Fallout, and yelling at the crew for Mission: Impossible 7.

At least, I think that last one was real.

“Mission: Impossible” and the Dawn of Virtual Sets

Will “The Mandalorian” Revolutionise Filmmaking?

Last week, Greig Fraser, ASC, ACS and Baz Idoine were awarded the Emmy for Outstanding Cinematography for a Single-camera Series (Half-hour) for The Mandalorian. I haven’t yet seen this Star Wars TV series, but I’ve heard and read plenty about it, and to call it a revolution in filmmaking is not hyperbole.

Half of the series was not shot on location or on sets, but on something called a volume: a stage with walls and ceiling made of LED screens, 20ft tall, 75ft across and encompassing 270° of the space. I’ve written before about using large video screens to provide backgrounds in limited aways, outside of train windows for example, and using them as sources of interactive light, but the volume takes things to a whole new level.

In the past, the drawback of the technology has been one of perspective; it’s a flat, two-dimensional screen. Any camera movement revealed this immediately, because of the lack of parallax. So these screens tended to be kept to the deep background, with limited camera movement, or with plenty of real people and objects in the foreground to draw the eye. The footage shown on the screens was pre-filmed or pre-rendered, just video files being played back.

The Mandalorian‘s system, run by multiple computers simultaneously, is much cleverer. Rather than a video clip, everything is rendered in real time from a pre-built 3D environment known as a load, running on software developed for the gaming industry called Unreal Engine. Around the stage are a number of witness cameras which use infra-red to monitor the movements of the cinema camera in the same way that an actor is performance-captured for a film like Avatar. The data is fed into Unreal Engine, which generates the correct shifts in perspective and sends them to the video walls in real time. The result is that the flat screen appears, from the cinema camera’s point of view, to have all the depth and distance required for the scene.

The loads are created by CG arists working to the production designer’s instructions, and textured with photographs taken at real locations around the world. In at least one case, a miniature set was built by the art department and then digitised. The scene is lit with virtual lights by the DP – all this still during preproduction.

The volume’s 270° of screens, plus two supplementary, moveable screens in the 90° gap behind camera, are big enough and bright enough that they provide most or all of the illumination required to film under. The advantages are obvious. “We can create a perfect environment where you have two minutes to sunset frozen in time for an entire ten-hour day,” Idoine explains. “If we need to do a turnaround, we merely rotate the sky and background, and we’re ready to shoot!”

Traditional lighting fixtures are used minimally on the volume, usually for hard light, which the omni-directional pixels of an LED screen can never reproduce. If the DPs require soft sources beyond what is built into the load, the technicians can turn any off-camera part of the video screens into an area of whatever colour and brightness are required –  a virtual white poly-board or black solid, for example.

A key reason for choosing the volume technology was the reflective nature of the eponymous Mandalorian’s armour. Had the series been shot on a green-screen, reflections in his shiny helmet would have been a nightmare for the compositing team. The volume is also much more actor- and filmmaker-friendly; it’s better for everyone when you can capture things in-camera, rather than trying to imagine what they will look like after postproduction. “It gives the control of cinematography back to the cinematographer,” Idoine remarks. VR headsets mean that he and the director can even do a virtual recce.

The Mandalorian shoots on the Arri Alexa LF (large format), giving a shallow depth of field which helps to avoid moiré problems with the video wall. To ensure accurate chromatic reproduction, the wall was calibrated to the Alexa LF’s colour filter array.

Although the whole system was expensive to set up, once up and running it’s easy to imagine how quickly and cheaply the filmmakers can shoot on any given “set”. The volume has limitations, of course. If the cast need to get within a few feet of a wall, for example, or walk through a door, then that set-piece has to be real. If a scene calls for a lot of direct sunlight, then the crew move outside to the studio backlot. But undoubtedly this technology will improve rapidly, so that it won’t be long before we see films and TV episodes shot entirely on volumes. Perhaps one day it could overtake traditional production methods?

For much more detailed information on shooting The Mandalorian, see this American Cinematographer article.

Will “The Mandalorian” Revolutionise Filmmaking?