Top Tips from Day One of the Big League Cine Summit 2015

blcs-blue-on-whiteThis week the third annual Big League Cine Summit is taking place: two days of online masterclasses with top commercial, TV and feature film cinematographers. If you missed this educational and inspirational free event, here are the best tips I culled from day one’s sessions:

Frankie DeMarco – “Composition and Camera Operating for the Big Screen”

  • The advantage for a DP of working with a separate camera op is that you have a second opinion.
  • Try to think like an editor. What specific shots do you need to tell the story? Can you do it in a “oner”?
  • Lots of angles/coverage can kill performances and make the audience overly aware of the camera.
  • If you need to shift position for comfort, do it during a part of the take that the editor is unlikely to use.
  • You can sometimes get away with crossing the line if your singles are dirty.
  • Use clean singles to show that characters are not connecting with each other.
  • Single point perspective, a.k.a. formal composition (framing the subject centrally) can be very powerful.
  • Lighting for silhouette can make a simple moment highly evocative.
  • The best composition reflects character relationships, perhaps using layers and depth.
  • Good composition should draw the eye to the right part of the screen and not distract the audience.
  • Good cinematography should tap into the emotion of the scene and the character whose eyes we’re seeing it through.
  • When watching the blocking, think about the emotions. Let the scene tell you how it should be shot.
  • Let the lens talk to you. Try watching the blocking through different lenses and see what feels right.
  • A great static frame that the actor can move around in trumps panning around with the actor.
  • Use a dolly-in for an emotional moment, but a zoom-in to show a character having a thought or idea.
  • Check out Stanley Kubrick and William Friedkin films to see excellent use of zooms.
  • Use a long lens to disconnect your subject from their surroundings.
  • Play the first take safe, and then you can try tagging hand-props or pulling focus to background characters on later takes.
  • “When in doubt, turn it out.” i.e. beware of over-lighting!
  • Don’t be afraid of changing f-stops from angle to angle to maintain a consistent softness of background when your background is different distances away from different subjects.
  • Don’t worry about continuity too much. “The set is made of rubber.”
  • Try unusual compositions. Be willing to fail.

Kevin Shahinian – “Story Telling Techniques: Adding Massive Production Value”

  • In high-end events shooting, try to get the organisers to pick rooms that will work for sun orientation.
  • Use a long lens to create a potentially unsettling sense of voyeurism.
  • To build tension and unsettle the audience, short-side your subject and show lots of empty background.
  • In an over-the-shoulder shot, add power to the foreground character by having them dominate the frame.
  • With non-actors, shoot candid footage; you may capture genuinely great moments. Use action verbs to direct them, rather than talking in terms of emotions.

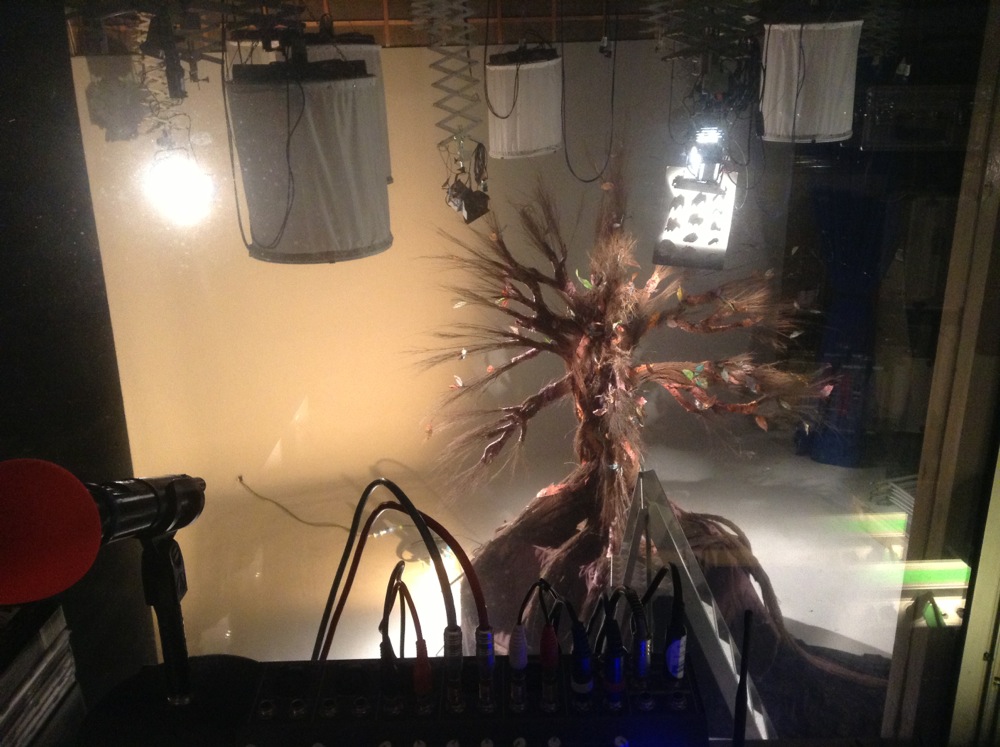
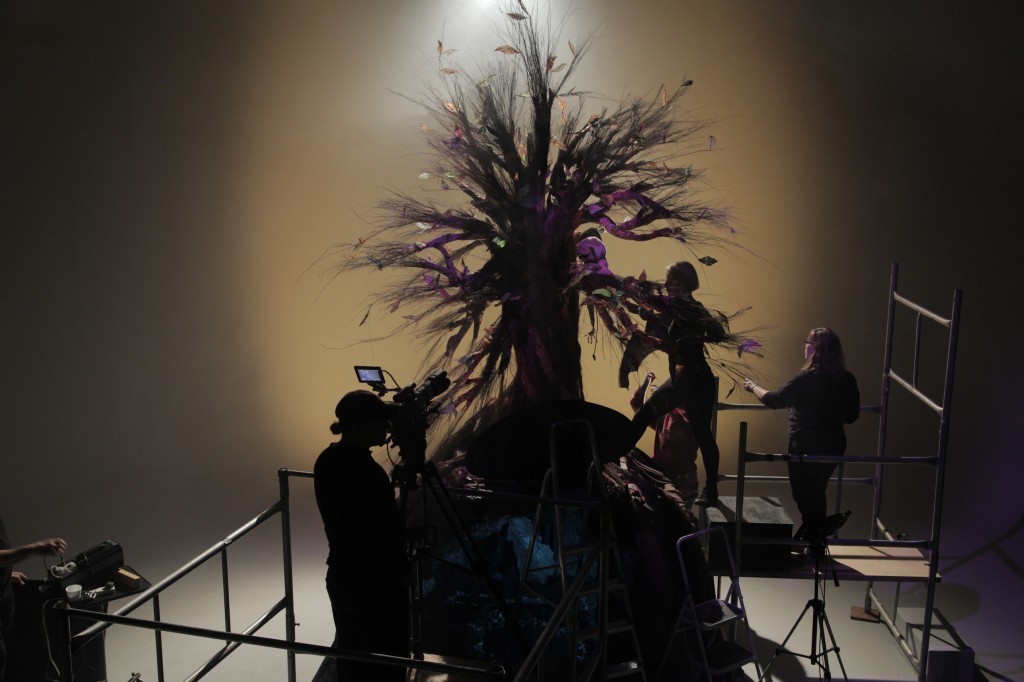
Rasmus Heise – “Extraordinary Cinematography with Minimal Lighting”

  • Design lighting that works from all directions, to minimise set-up times.
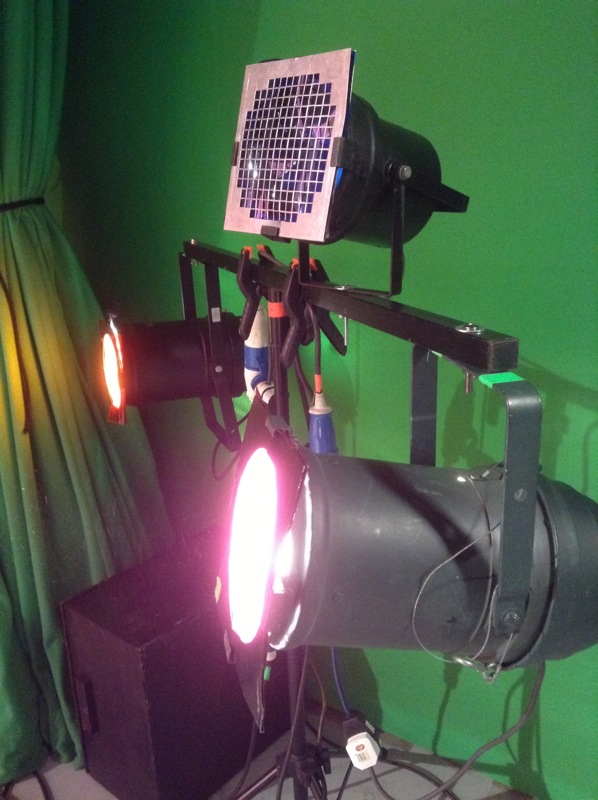
  • Use more than one colour to add depth.
  • Dot practicals around where possible, to give you sources that will work for different angles.
  • Focus on one key light source in a scene. Everything else is just a bonus.
  • Fluorescent tubes and sodium vapour lamps can be great low budget, low wattage solutions.
  • Philips makes fluorescent tubes with high CRI.
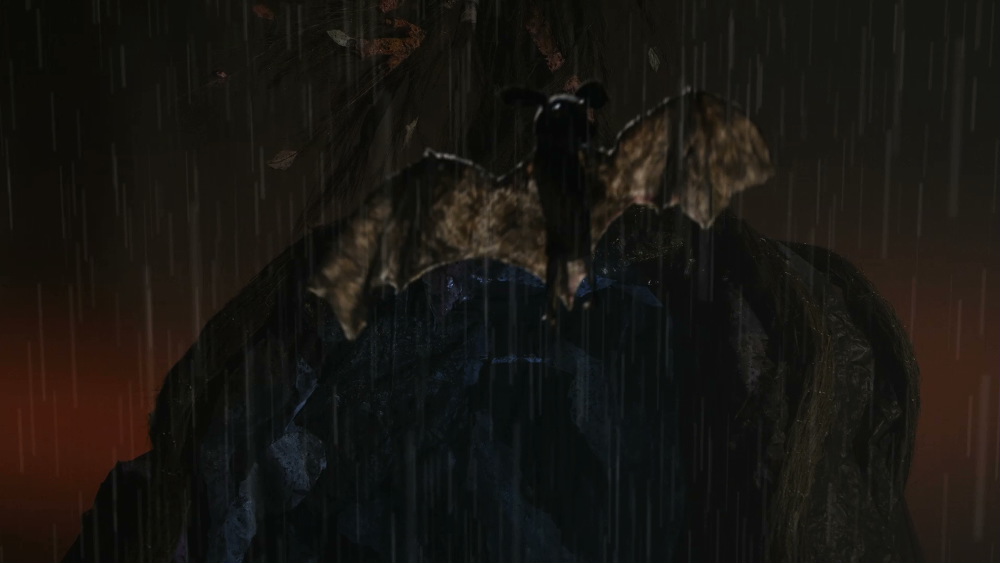
  • Wet down your exterior sets to add contrast and nice reflections.
  • Silhouette shots are quick, cheap and look great.

Matthew Santo – “Commercial Lighting: How to Light Fashion vs. Action”

  • Photographing commercials is all about heightened reality, perfect sunsets, perfect skin, etc.
  • It requires a lot of passive lighting: bounce cards, negative fill, contrast control.
  • On beauty and fashion commercials:
    • Your background can set a darker mood even if the talent has to be lit flatly for beauty.
    • Know your talent’s face in advance – e.g. do they have soft or hard features? Deep-set eyes?
    • What side is the talent’s hair parted on? This could affect your decision on which side to key from.
    • Try to make sure the make-up room’s lighting matches the colour of your lighting on set, so the MUA doesn’t get any nasty surprises on set.
    • Use Briese lights for beauty. They have hard- and softlight qualities.
    • Chimeras may be better for talent with less defined features.
    • Reduce skin texture by pushing fill through large frames or bounce, e.g. 12×12 frames.
    • Hard backlight looks great but beware of fly-away hair.
    • Combine hard and soft sources for backlight that has punch but wraps and doesn’t create shadow issues.
    • There’s a range of Cosmetic lighting gels that add a little warmth and diffusion.
    • Use a low overall light level for talent comfort and less squinting!
  • On sport and action commercials:
    • It’s about movement and body definition. Backlight and sidelight are most important.
    • Edgelight defines the talent’s body shape. Toplight adds muscle definition.
    • Lens flares add dynamism but reduce contrast, so light high-key.
    • Use higher light levels for highspeed shooting and to maintain focus as people move.

Stefan V. Borbely – “Deconstructing High End Car Commercials”

  • Rather than lighting the car, light the environment and the car will reflect that environment.
  • For exteriors, wait for dramatic skies because the car will reflect these.
  • Silver cars are the easiest to light.
  • Use long fluorescent tubes or long reflectors to make seamless long highlights on the bodywork.
  • Use Cinema 4D to test your lighting set-ups for reflections.
  • For night exteriors, take stills on the recce and note your exposure settings.
  • Bagolights are great for creating streaks of light on cars.
  • Fisherlights are a good substitute for the sky.
  • If you can’t afford Fisherlights overhead, put lamps on the floor and shoot them up into big polyboards.
  • Schedule your exterior shots for sunrise and sunset, and shoot inside the car in the middle of the day.

There is still time to get free access to the summit at bigleaguecinesummit.com Stay tuned to neiloseman.com for top tips from day two.


Top Tips from Day One of the Big League Cine Summit 2015

Lighting Droplets

The tarsier puppet in Droplets

Lighting in the controlled environment of a studio should theoretically be much easier than lighting a location, but I found recently that it doesn’t come without its challenges.

Last month I had the pleasure of working on a music promo for Droplets by Lewis Watson and Gabrielle Aplin. Directed by Tom Walsh and designed by First Musketeer veteran Amy Nicholson, this magical, handmade puppet fest was only the second or third studio-bound production of my career. Tom had secured the use of Giltbrook Studios, an impressively equipped 1,300 sq ft soundstage in Nottingham, complete with manager Andy Swain as gaffer.

Apart from the exclusion of pesky natural light, the biggest advantage offered by a stage over a location is the lighting grid; no more wondering if that polecat or K-clamp will take the paint off the wall, and no more compromising your backlight position to keep the stand out of frame. The downside of the grid is the time it takes to rig or adjust a light, particularly if the grid, like Giltbrook’s, has no catwalks, and every adjustment must be made by bringing in and scaling a huge ladder. In fact it may be impossible to rig or adjust lights once there is a finished set underneath. All of which means you’re going to need a pre-rig day.

Some of the ill-fated space lights can be seen here, as well as the cucoloris rigged beneath the 650W fresnel key light. At the top left is the 2K fresnel backlight.

In the case of Droplets, the pre-rig day was also used to assemble the set, a tree on top of a cave, which must have measured about fifteen feet in height. As soon as it had been erected we realised that the six space lights Andy had spent all morning rigging were going to be in frame, as the top of the tree reached above the bottoms of these lights. (A space light is a circular arrangement of six tungsten tubes inside a cylinder of white diffusion cloth. They’re typically used in large numbers to simulate daylight in a studio.)

Some of the par cans that supplied the colour wash on the backdrop.

In fact my options on where I could put lights were very narrow, because of the lack of space around the set, both vertically and horizontally. We shot against the studio’s white infinity cove, and Tom wanted colour washes over this to suggest various times of day. Andy achieved this with gelled par cans off to either side of the set, but then it was crucial that no other light spilled onto the backdrop or it would ruin the effect.

We rigged a 2K tungsten fresnel immediately behind and above the set, for backlight, but it was hard to put anything in from the sides or the front without contaminating the backdrop. The 650W key light had to be rigged almost directly above the set, and even then its shadow can be seen on the floor in the wide shots if you look carefully. We hung a cucoloris (sheet of wood with random shapes cut in it) below the 650 to created the dappled effect of woodland light, taking care that a patch of light fell on the tarsier puppet’s main position.

For fill I used an LED panel off to the right of the set, dimming it to find a balance between its light being barely visible on the backdrop while still lifting the set and the puppets enough. I placed a smaller LED panel inside the cave, with a turquoise gel to suggest phosphorescence.

The final day/sunset look. From each side an orange-gelled and a pink-gelled par can light the backdrop. A 2K tungsten fresnel provides backlight, while a 650W fresnel with a cucoloris provides dappled light on the tree and tarsier. An LED panel off right supplies fill, and a second panel is inside the cave with a turquoise gel.
For closer shots, a reflector below frame and/or a Dedolight behind camera were used to fill in unwanted shadows.

Another advantage of a studio is that you can easily run all the lamps into a dimmer board. This was very handy for Droplets because in addition to the day/sunset look, we had nighttime scenes and a storm to light for, and some on-screen transitions between the states. We were able to set these all up in advance and switch between them pretty much by just pushing a few sliders up and a few others down.

The night state involved a yellow-gelled redhead on the floor behind the cave, pointed straight at the backdrop. With its barn doors removed, this created a circle of light which reminded me strongly of the huge yellow moon in the posters for The Nightmare Before Christmas. I hadn’t been intending to create such a defined circle, but when I saw it I immediately loved its stylised look.

A second 650W fresnel was rigged, close to the first, and with ulcered black wrap in front of it to again created a dappled look, but with a purple gel on it. This took us away from the more traditional blue of nighttime scenes, adding to the stylised look again, and contrasting nicely in colour with the yellow “moon”.

The 2K backlight remained on for the night scenes, but the sunset colour wash on the backdrop was switched off, as was the fill.

Nighttime in puppet land: the 2K backlight remains on, a yellow-gelled redhead lights the backdrop from behind the set, and a purple-gelled 650W fresnel in the grid pushes through a cucoloris to highlight the tarsier.

For the storm scene we experimented with strobes, but they caused unpleasant rolling shutter artefacts. Instead I used the flash button on the 2K’s dimmer box to create lightning. Both 650W fresnels were turned off for this state, but the fill was turned back on. While the pink colour wash remained off, we brought up the orange wash just a little bit to suggest an angry sky in the background.

Stormy weather. The orange colour wash coming from the par cans, originally set up for the sunset look, is used here much more dimly to suggest an angry sky. The LED panel off right supplies fill while the 2K backlight is flashed periodically.

Copious smoke was used throughout (another advantage of studios – your smoke stays put!) to generate god rays as the backlight streamed through the tree. It also helped soften the backdrop and render the colour washes more convincing as a sky.

Watch the video here. Shot on a Red Epic operated by Chris Wetton. Big thanks to Andy and Giltbrook Studios for all their help. Visit www.polymathematics.co.uk to find out more about the amazing work of Tom Walsh and Amy Nicholson.

Lighting Droplets