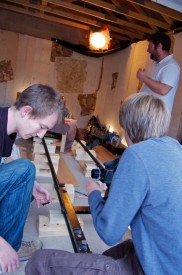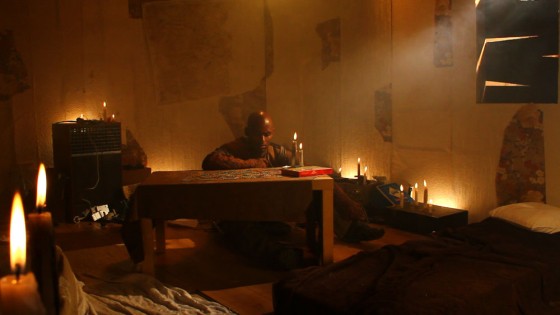
Yesterday I DPed the trailer for Light Films‘ upcoming zombie feature, Wasteland, and I thought I’d share some of the lighting process with you. The main scene featured actor Shameer Seepersand in a boarded-up old house he’s hiding out in; this was a nice little two-sided set designed by Sophie Black and built in director Tom Wadlow’s garage. The script and direction called for minimal daylight to be seeping through gaps in the window boards and the main light sources to be candles dotted around the set.
Candlelit scenes are tricky because, as with any practical light source, the Director of Photography needs to set up movie lamps to enhance the light shed by them without these movie lamps getting into frame, while ensuring that the pool of light and any shadows cast by it look as if they’re coming from the practical source. The available lighting equipment was very minimal: just three redheads, a reflector and bunch of clip-on domestic light fittings.
Most of the candles were behind Sham, so I started by having my gaffer Col rig one of the redheads to the rafters in the rear corner, to serve as backlight. A layer of full CTO (orange colour correcting gel) and one of spun (diffuser) helped to dim and soften the light and create a candle-like colour. Of course the angle was a massive cheat, coming from above rather than low down, but there was no other way to keep it out of shot.

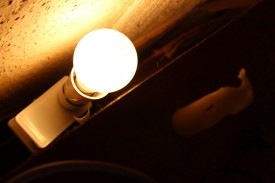
Next I needed to create pools of light around the candles. If I’d had a Dedo kit (small spotlights) I would have been tempted to position them near camera and focus each one’s little circle of light on a candle or group of candles. But I didn’t, so instead I used the domestic light fittings with 100W bulbs and hid them behind the set dressing. These shed pools of light on the walls behind the candles, though of course not on the surfaces on which the candles were stood. Fortunately the scene contained no camera angles high enough for this giveaway to be noticeable. The set and dressing immediately surrounding the bulbs were coated with fire retardant paint for safety.

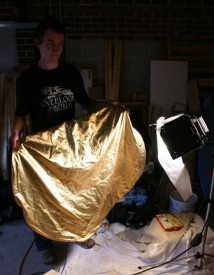
Finally I wanted to add some dynamics to create the impression of the candelight flickering. At first we tried bouncing a second orange-gelled redhead off a reflector which Col would wobble during the takes. A better solution occurred to me when I remembered that the reflector had a zip-off fabric cover that was golden on one side. We took the orange gel off the lamp and got rid of the reflector itself, instead bouncing the light off the golden cover as Col rippled it.
The third redhead was placed behind the window as “daylight”, and with a generous helping of smoke the effect was complete.
The trailer will be available to view online soon (when I get around to editing it) and there’s also some info coming on Stop/Eject, the short I’m developing for the same company, which had its first pre-production meeting on Sunday.
