Shooting in Rain

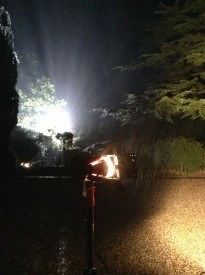
Il pleut dans la nuit. Ce n'est pas jolie.
The rain in France falls mostly on the crew of The First Musketeer.

Rain. How we’d love to go inside and have a cup of tea when the old British precipitation interrupts a shoot, but quite often the schedule demands that we carry on regardless. Here are a few tips for filming in the wet stuff.

Cover the Camera

If you don’t have a proper rain cover, a transparent recycling bag with a couple of holes cut in it will usually do the job, but have someone hold an umbrella over the camera at all times as added protection. If you have them, put on a matte box and top flag to keep rain off the lens.

Check the Lens

Condensation may well be an issue. Have an assistant with a ready supply of dry lens tissues (in a ziplock bag), because a cloth will quickly get too damp to be of any use.

In this photo by Miriam Davies from a location shoot on Ren, you can see a bagged LED panel on the left of frame.

Look After the Lighting

Transparent recycling bags are perfect for covering LED panels, which don’t get hot.

Tungsten lamps get so hot that they burn off any water before it can do any damage, so as long as they’re switched on you don’t need to worry about them getting wet, but you should wrap the switch in a plastic bag.

The same goes for HMIs, though you’ll need to put a bin bag over the ballast. Make sure the bag is loose at the top, so that the heat from the ballast can inflate it and then dissipate through the bag; if you wrap the bag on tightly, the ballast will overheat and cut out.

People can be understandably concerned about mixing water with electricity, but honestly, I’ve run tungsten and HMI lamps in the pouring rain for hours without covering them, and never had any problems. If you’re really worried, clip a sheet of gel over the lamphead to make a little hood.
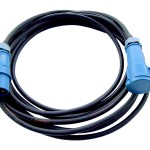
16A cable
16A cable

Use Outdoor Cabling

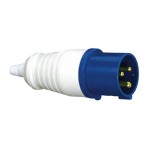
Ideally you should use only 16A (and above) cabling with C-form sockets (the round blue ones); these are rainproof. If you have to use domestic 13A extensions, wrap all the connections in plastic bags.

Seeing the Rain

The key to making rain show up on camera is backlight. If you want it to look like a real downpour, get your biggest HMI at the back of shot and blast it towards camera. Or maybe you don’t want to see the rain, maybe it’s bad for continuity, in which case you should avoid backlight at all costs.
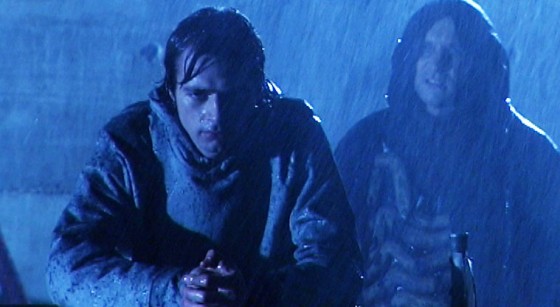
Ye olde person-talking-to-other-person's-back shot in Soul Searcher, obviating the need for a shot-reverse.
The rain in this shot from Soul Searcher is fake, but it’s backlight that makes it show up.

Need rain for your shoot but the sky is cloudless? Read my post on faking precipitation.

Got precipitation of a more wintry nature? Check out my tips for shooting in snow.

I’ll leave you with the latest Ren behind-the-scenes video, which is all about rain and shooting – or not shooting – in it. Subscribe to get the Mythica Entertainment channel to see all the latest Ren videos as they’re released.

Shooting in Rain

How to Black Out Windows

Blacking out a window
Blacking out a window on Beyond Recognition

Sometimes when shooting indoors, you need to make day look like night. And believe it or not, there’s an art to blacking out windows. Light is like water: it leaks in through the tiniest crack, and you need to appreciate that if you’re going to black out a window successfully. Here are my tips.

  1. Don’t do it. Shoot at night; it’s quicker and easier. It will also look much better because you can light the view outside for added depth in the background of frame.
  2. Ignored rule one? Well, at least do a split shoot so that you only shoot away from the windows during daylight, and shoot towards them after dark. If the windows aren’t actually in frame, your light seal doesn’t need to be 100%.
  3. Ignored rule two as well? Unquestionably the best way to black out a window is to gaffer tape black drapes or bin bags to the outside of the window frame. Don’t try to tape to the surrounding brickwork; it won’t hold. The gaffer tape needs to go in an unbroken line all the way around the edges, or light will leak in through the cracks.
  4. If you have large windows to black out, it may be tempting to rig drapes on stands. OK, fine, but you still need to gaffer tape all the edges. And make sure the stands are well sandbagged in case the wind gets up.
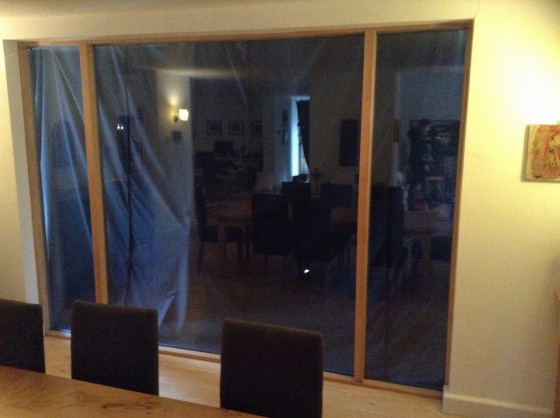
  5. Here’s an example where the lefthand side hasn’t been taped. As you can see, the daylight comes in and nicely cross-lights the drapes, showing up every wrinkle and utterly destroying the illusion of a dark sky. (Fortunately, in this instance the window wasn’t going to be in shot, and the amount of light leaking in wasn’t sufficient to contaminate the DP’s lighting design.)
    image
  6. When you’re outside doing the blacking-out, it is impossible to judge the quality of your work. You need to go inside and see what it looks like. You’ll probably get a nasty shock.
  7. Beware that some things that seem opaque from the outside – bin bags or fabric – actually let light through. Hold them up to the light to check this before you waste time gaffering them up. These drapes looked completely opaque from outside…
    image
  8. Sometimes the DP will want to put a lamp outside to simulate moonlight, and this will need to be tented around. This is extremely difficult and can waste a lot of time. The lamp will spill light onto the drapes, showing them up for what they are. Black wrap the lamphead as much as you can (without covering any vents) and don’t use a tarpaulin as black-out material because it will reflect the light.
  9. Finally, remember to put any stands holding up the drapes BEHIND the drapes, so they’re hidden from camera. (I’ve seen this mistake made, and made it myself, several times – see picture above!

UPDATE: Karl Poyzer has this great tip: “A much easier way to black out windows not in shot or behind a curtain is to spray them with water and roll tin foil over them, stays stuck there indefinitely, blocks out 100% of the light, is cheap and won’t fall down.” Thanks Karl!

How to Black Out Windows

Gaffering Tips

I just spent a couple of weeks gaffering for DP Paul Dudbridge on a feature shoot in South Wales. It was pretty much my first time gaffering, and I certainly made some classic mistakes. Here are some tips I’ve compiled as a result of my recent experiences.

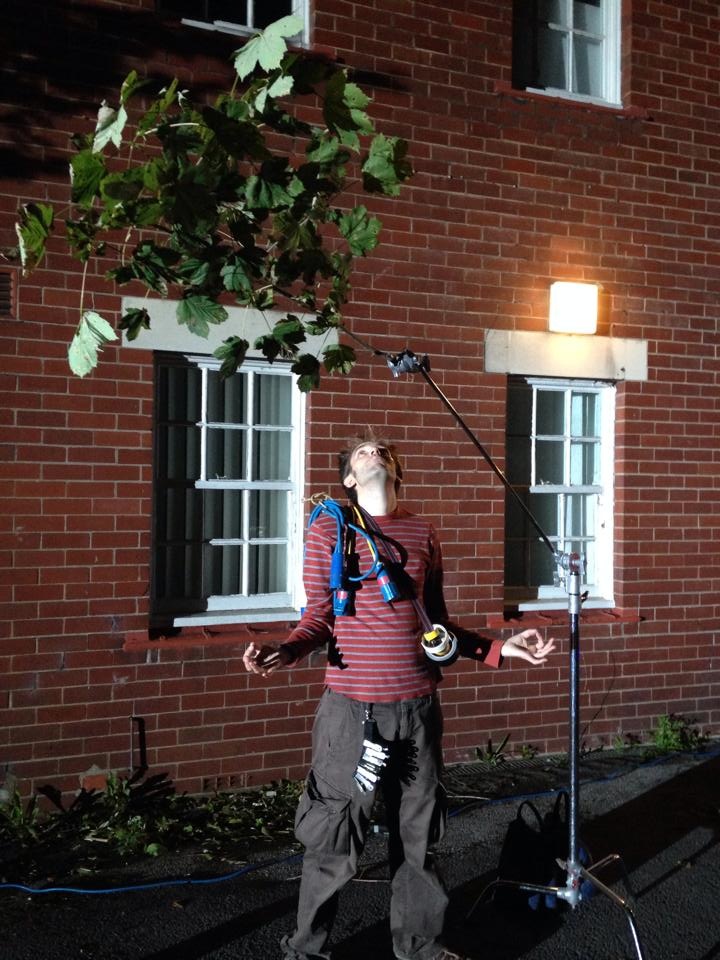
  • Make sure cables have slack so the DP can adjust the positions of lamps.
  • Take extra time running cables initially so they are least likely to be in shot and won’t have to be rerouted later.
  • Swap out batteries on LED panels during coffee breaks or other downtime so they don’t go off during takes.
  • Keep track of how much power you’re drawing off each circuit to avoid tripping breakers. See Gaffering Basics for more on this.
  • Make sure you have access to the consumer unit (fuse box) so you can reset a tripped breaker straight away.
  • If drawing a large load off a 13A socket, periodically check the plug isn’t getting too warm – occasionally they can melt.
  • Righty tighty, lefty loosy. Make sure the weight on a C-stand knuckle is pulling it clockwise, i.e. tightening it.
  • Bulbs are most fragile when they’re hot – i.e. when they’re on or have recently been on – so handle them with particular care.
  • Observe the minimum safe distances illustrated on the lampheads. The heat can crack a window or burn a flag if placed too close.
  • When bouncing tungsten lights off the ceiling, black-wrap them straight away to cut out direct spill.
  • Be sure to disable the building’s fire alarm or bag the smoke detectors before switching on a smoke machine.
  • Keep an eye on the smoke level in the room and top it up when necessary.
  • Stay within earshot of the DP so you can respond to requests.
  • Anticipate DP requests: if you look at the monitor and see that the backlight is flaring, get a flag ready; if a lamp looks too hot on camera, break in a dimmer.

IMG_1029-0.JPG
Photo by Sophie Wiggins

Gaffering Tips

Gaffering Basics

A director of photography should always be backed up by a good gaffer. They will ensure that all the lights are rigged safely and that the appropriate power supply is provided for each one. Here are some basics you need to know if you’re stepping into this role.

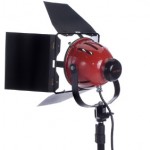
Redheads draw 800W each

P=IV

Remember that from GCSE Physics? Power = current x voltage, or watts = amps x volts. From this we can calculate that an ordinary 13 amp domestic socket on the 240V UK mains supply can provide up to 3,120W.

A redhead draws 800W, so we can run three off one socket (3 x 800 = 2,400W which is under the 3,120W limit) without blowing a fuse.

Most UK houses have two separate circuits (known as ring mains) for the sockets: one for upstairs and one for downstairs. Usually these are each on a 30 or 32 amp breaker. So although you can only draw 3,120W off one socket, you can draw 7,200W (30 amps x 240 volts) total off one floor’s sockets.

Always carry spare fuses

The first thing the gaffer should do on arriving at a location is to find the fusebox to check how many ring mains there are, where they are and what amperage of breaker they’re on. Beware that large commercial/industrial buildings may have multiple fuseboxes in different parts of the building. Make sure you have access to all of them so you can reset any circuit breakers you trip.

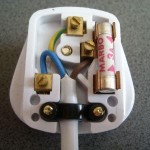
Also ensure you have a supply of fuses in case you blow any in the plugs of your lights or extension leads. When a bulb blows due to reaching the end of its natural life it will take the fuse with it.

Check the wound and unwound ratings of your extension reels

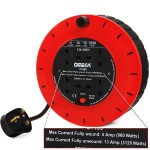
You need to make sure your cabling is appropriate for the load you’re drawing. Extension leads can melt if you try to run too much power through them. All extension reels will have two maximum wattages written on the front of them: one for when the reel is fully wound, and one for when it’s fully unwound. When the cable is wound up it can overheat very easily, so pay attention to those quoted limits.

16 amp C form plug
16 amp C form plug

Professional hired kit is often fitted with heavy duty cabling, signified by round blue “C form” plugs and sockets. C form outlets can be found in soundstages and factories, on generators and occasionally on exterior walls of houses. They are weather resistant, so much safer for use outdoors than domestic cabling.

32 to 16 amp jumper
32 to 16 amp jumper

The associated cable comes in 16 amp and 32 amp flavours, the latter being thicker with larger plugs and sockets. A 13 to 16 amp jumper – a short adapter cable with an ordinary square UK plug on one end and a 16 amp C form socket on the other – will enable you to plug an appliance with a smaller C form plug into a standard domestic socket. Jumpers exist in every other possible direction and combination too, so it’s important you get the right ones.

13 to 16 amp jumper
13 to 16 amp jumper

Also remember that, although a 13 to 32 amp jumper will let you physically plug, say, a 4KW HMI into a domestic wall socket, that 13 amp plug will not support a 4KW load; you’ll blow the fuse. In fact if something has a 32 amp plug on it then the only way to run it safely off a house is to have a qualified electrician wire a 32 amp socket into the fusebox. Definitely don’t try to do that yourself.

In fact if you’re in any doubt about any of the above, consult an experienced gaffer or electrician. Be safe!

Gaffering Basics