Giving Yourself Somewhere to Go

On the recce for The Second Shepherd's Play. Photo: Douglas Morse
On the recce for The Second Shepherd’s Play. Photo: Douglas Morse

As a cinematographer, it can often be tempting to make your shots look as slick and beautiful as possible. But that’s not always right for the story. And sometimes it can leave you nowhere to go.

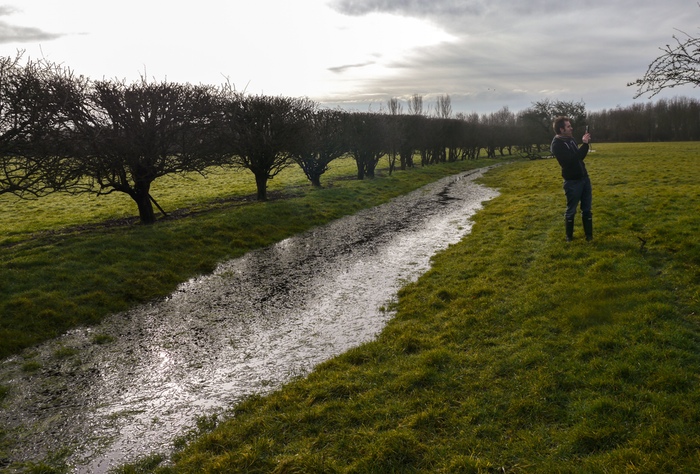
Currently I’m shooting The Second Shepherds’ Play, a medieval comedy adaptation, for director Douglas Morse. The story starts in the mud and drizzle of three shepherds’ daily drudge, and in a Python-esque twist ends up in the nativity. The titular trio develop from a base, selfish, almost animalistic state to something much more divine.

So, much as my instincts filming the opening scenes yesterday were to have a shallow depth of field and bounce boards everywhere to put a sparkle in the shepherds’ eyes, this wouldn’t have been right for this stage of the film. We had to have somewhere to go, so I shot at around f9 all day with unmodified natural, overcast light. As we get towards the end of the story – we’re shooting roughly in story order – I’ll start to use eyelight and more sculpted illumination and reduce the depth of field, as well as switching from handheld to sticks.

Grading episode one of Ren

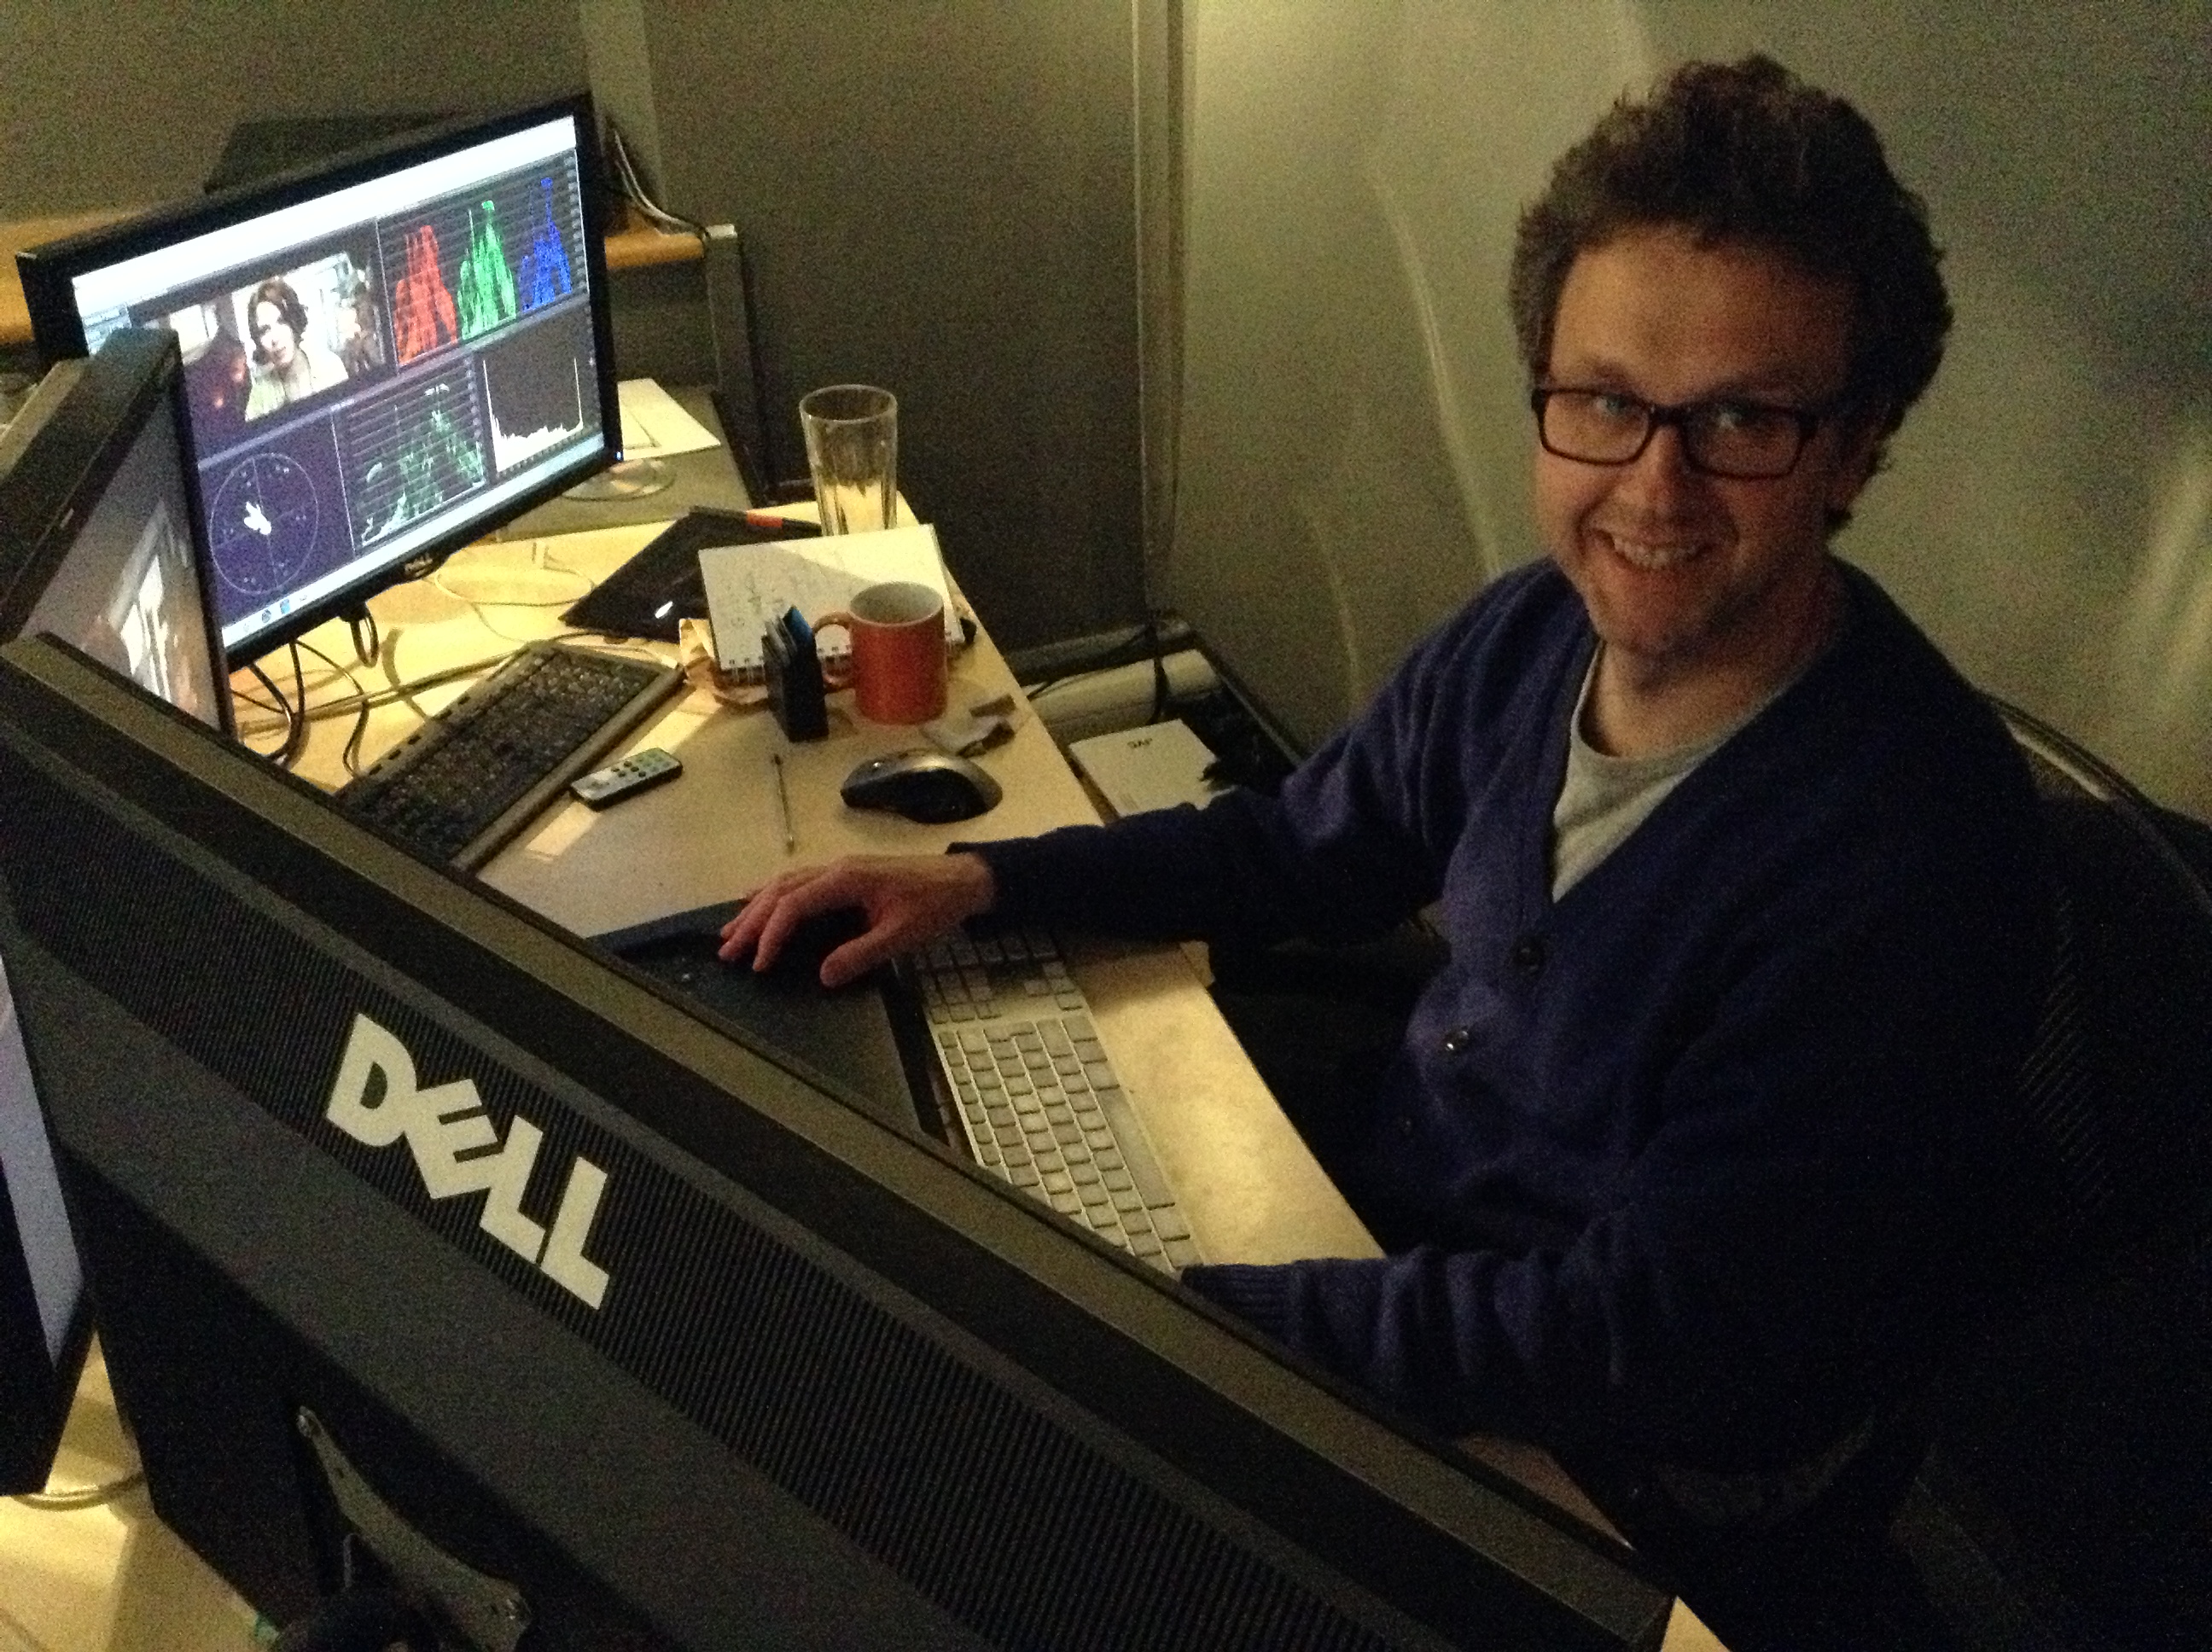
Similarly, grading episode one of Ren the other day, it was important to keep things bright and cheerful, so that later episodes could be colder and darker by comparison when things go wrong for our heroes. And playing the long game, I lit Ren herself with soft, shadowless light for most of the first season, so that as she develops from innocence to more of an action heroine in later seasons, her lighting can get harder and moodier.

Like all heads of department on a production, DPs are storytellers, and it all comes down to doing what’s right for the story, and what’s right for that moment in the story.

Giving Yourself Somewhere to Go

Grading Stop/Eject

Grading Stop/Eject at Whitecross Post Production

On Monday, Stop/Eject entered the final phase of postproduction: grading. In the optical days, this process involved adjusting the cocktail of chemicals and the length of time the film would be bathed in those chemicals to make basic adjustments to the amount of red, green and blue in each shot and the brightness.

The reason for this can be most readily appreciated if you imagine a scene shot outdoors, in which one camera angle may have been recorded under warm, direct sunlight, whereas another which is cut to immediately after may have been recorded when the sun was behind a cloud and the light was cooler in colour. But even artificially lit scenes will need a little work to match up each shot to the next; the human eye is quite sensitive to changes in colour and brightness.

With the digital revolution came an exponentially expanded toolset for grading. Individual colours can be isolated and changed, shadows and highlights can be adjusted independently, and feathered masks can be applied to highlight or shade just one part of the frame – with the software even able to track elements if they move around so that the mask always stayed lock to that element. (Watch the Digital Intermediate featurette on the Fellowship of the Ring DVD to get a glimpse into what’s possible.)

Colourist Michael Stirling

Stop/Eject was graded by Michael Stirling at the company he runs in East London, White Cross Post Production. He very kindly put in a lot of hours, including two evenings, to make sure we got the best out of the film’s images. Even at this late stage in the game we were still telling the story: drawing the viewer’s eye to critical elements in the frame, enhancing lighting transitions when time stops and starts, making the happy past sequences warm and inviting, and contrasting those with cooler, darker scenes in the present.

Given that we shot in 16:9 (standard widescreen) but were cropping to 2:35:1 (cinemascope), we had the opportunity to move the images up or down behind the widescreen mask to reframe shots slightly; this is known as re-racking. We also added some subtle 35mm grain to the whole film.

The grade was the first time – and perhaps the last – that I was able to see the film on a really high quality, properly calibrated projector. It really exposed the quality of the camera and glass that were used. And while the Canon 600D and relatively cheap lenses look great on every other screen I’ve watched it on, on Whitecross’ projector I could really see the value of investing in high-end lenses. Even the difference between the Canon 50mm/f1.8 (£60) and the more expensive Sigma 20mm and 105mm lenses was apparent.

But I digress. The important things are: the grade looks great, and Stop/Eject is now finished. Hooray!

Sophie and I are off to Cannes this weekend – subscribe to my YouTube channel to get our daily video blogs. And when we get back it’s film festival submissions, DVD/Blu-ray authoring, and premiere arranging all the way.

Grading Stop/Eject

The Dark Side Guide to Digital Intermediate

Here is the last of the Dark Side Guides: The Dark Side Guide to Digital Intermediate. I really had to muddle my way through post-production on the pilot, wishing there was somewhere I could get all the information I needed, but there wasn’t – until now!

This step-by-step guide takes you through the complex post-production route known as DI, whereby footage shot on film is transferred to the digital domain for editing, FX and colour grading, before being recorded back to film for distribution and exhibition. Invaluable tips on everything from telecine of your rushes to Dolby authorisation for your soundtrack are complemented by a sample budget laying out all the costs.

As always, if you have any questions that the guide doesn’t answer, please feel free to ask me.

The Dark Side Guide to Digital Intermediate