8 Things to Look For When Buying a Cinema Camera

A couple of weeks ago I shared my thoughts about whether a director of photography should own equipment. My conclusion was that it can be useful early in your career, when you’re shooting corporates or tiny films with no hire budget. So what is the best camera for indie cinematography?

I’m not going to answer that, but I will tell you what to look for when investing in a camera. Hopefully these tips will help you choose the one that’s right for you from the huge and ever-changing array of professional cameras on the market, from the humble DSLR to the ubiquitous Reds and everything in between.


1. Image quality

Shooting on a Sony FS7 for “Finding Hope”

The quality of the image is of course the most imporant attribute of any camera. Rather than any technical specifications, I’m talking about the aesthetic quality here: how does it feel? Does it have that elusive “cinematic” quality? Is it “filmic”? Does it remind you of certain kinds of movies?

A good place to start is to look up sample footage on YouTube, or better still Vimeo for less compression muddying the issue. If you can borrow the camera and try it out before you buy, even better. Take away some test footage and try grading it too.


2. Resolution

Resolution, the sheer number of pixels a camera can record, is part of image quality, but I include it as a separate point because I see it as more of a technical consideration than an aesthetic one. You should ask yourself what longevity you require from your films – will people still be watching them, say two or three years from now, and if so what sort of resolution might be the norm by then?

Also consider your delivery platform. If everything you shoot is going on YouTube, perhaps you don’t need more than 1080P (standard HD).


3. Dynamic Range

Dynamic range is a measure of how much contrast a camera can handle. Too small a dynamic range and you will frequently struggle with bright areas “clipping” – i.e. losing details – or dark areas getting lost in the image noise. Also, the wider the dynamic range, the more flexibility you will have in grading.

For a cinematic image, 12 stops of dynamic range is the absolute minimum, with 14 or more being ideal.


4. Maximum ISO

Some ISO tests I conducted on an Arri Alexa Classic in 2017

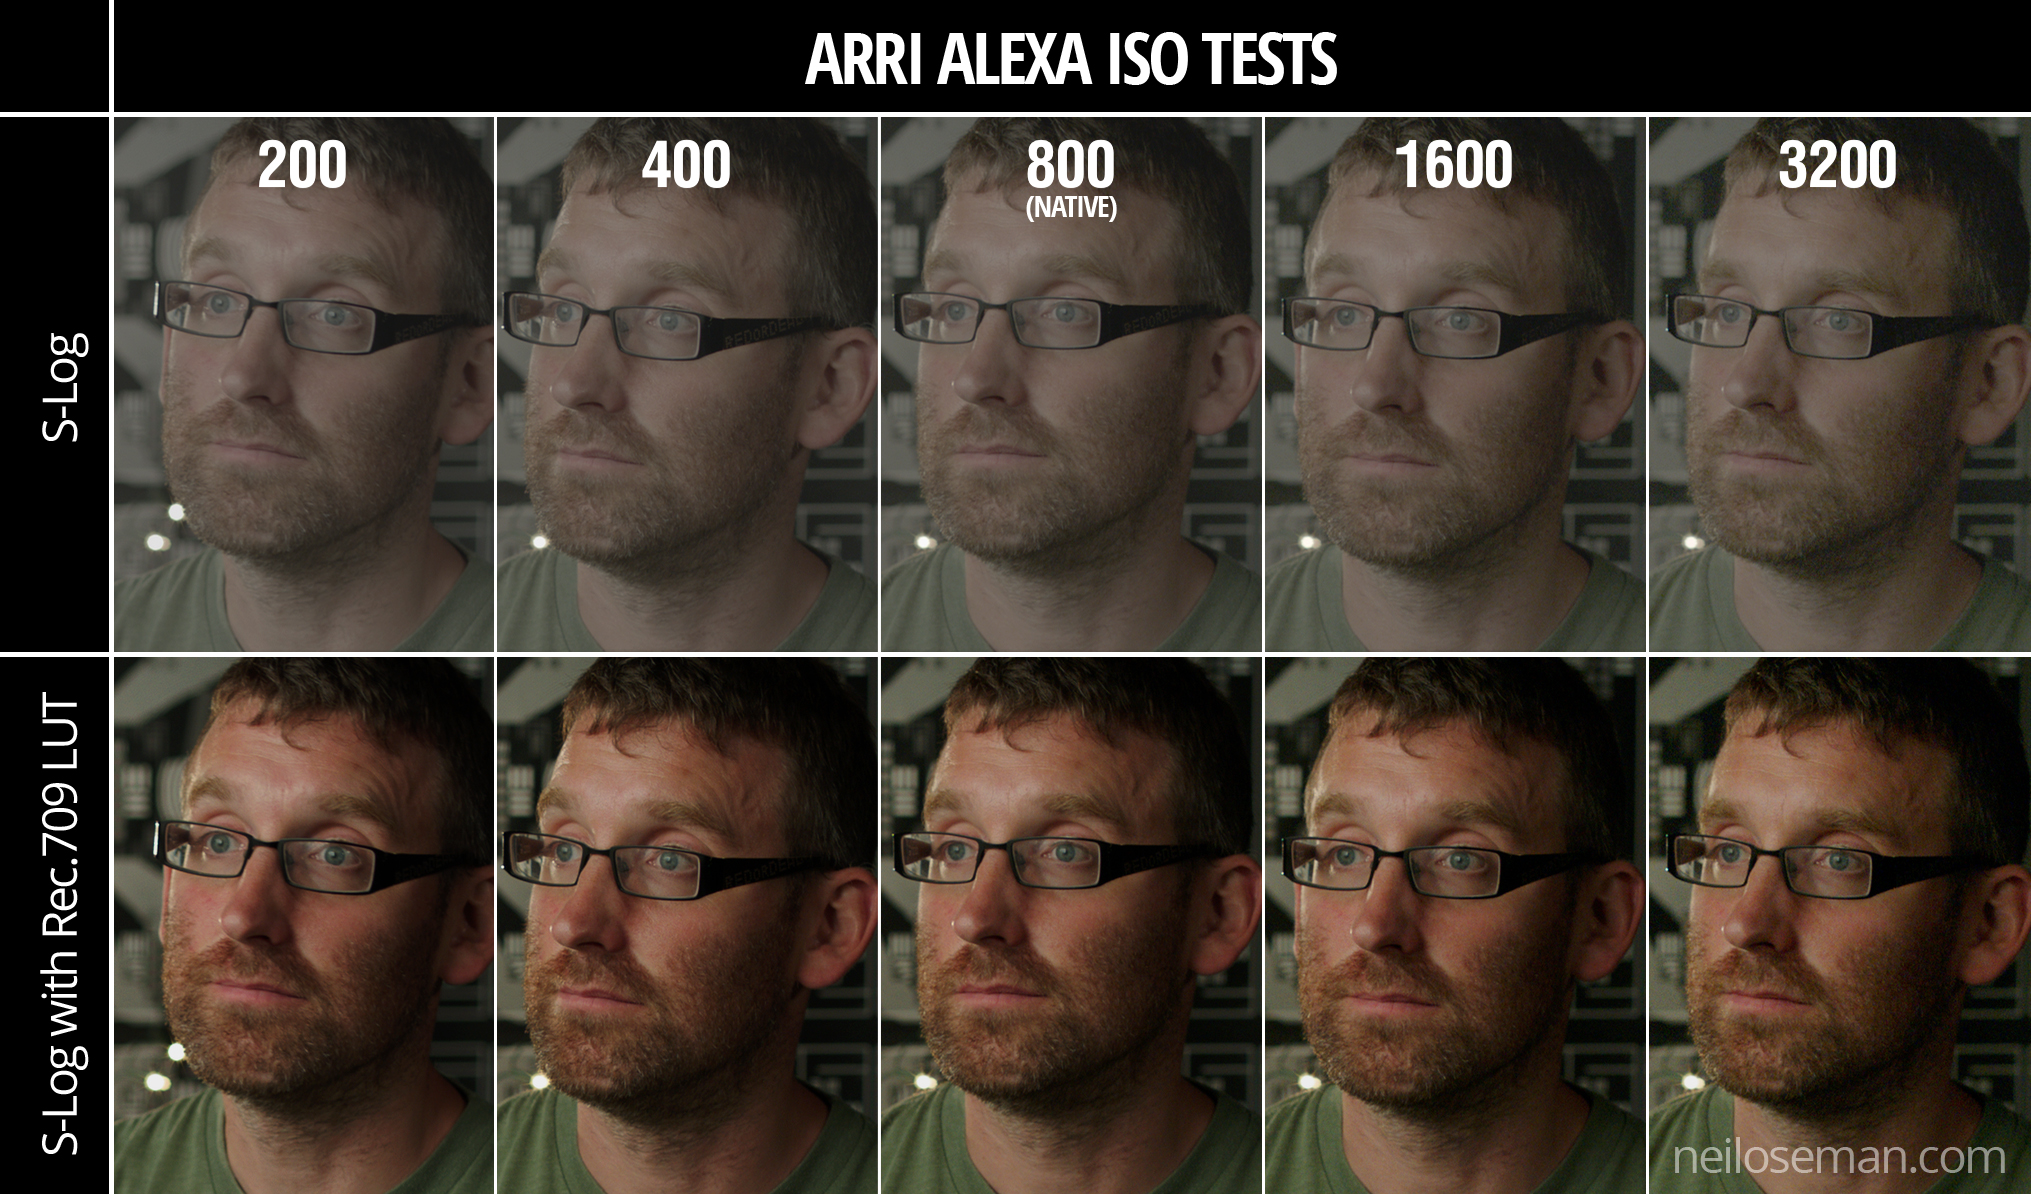
The ISO (International Standards Organisation) scale rates the light sensitivity of a camera. The most important thing is the native ISO, the one at which the camera is optimised to give the cleanest image with the most detail. On some cameras, setting an ISO other than the native one reduces the image quality considerably.

The higher the ISO, the less light will be required to expose an image correctly. 800 is typical these days, but many cameras go much higher than that. It is worth thinking about spending more money to get a camera with a higher native ISO, because you may save a lot of money on lighting.


5. Lens Mount

This is crucial because you may already have a collection of lenses, or you may intend to hire certain lenses, and you need to be sure that they will fit your new camera’s mount.

The Canon EF mount is extremely common and will open up a huge range of options for stills glass as well as some low-end cinema glass. The smaller MFT (micro four-thirds) mount also has a wide range of lenses.

Top-end cameras have PL mounts which take all the beautiful cinema lenses used on big movies, but only choose this route if you are willing to part with a lot of cash!
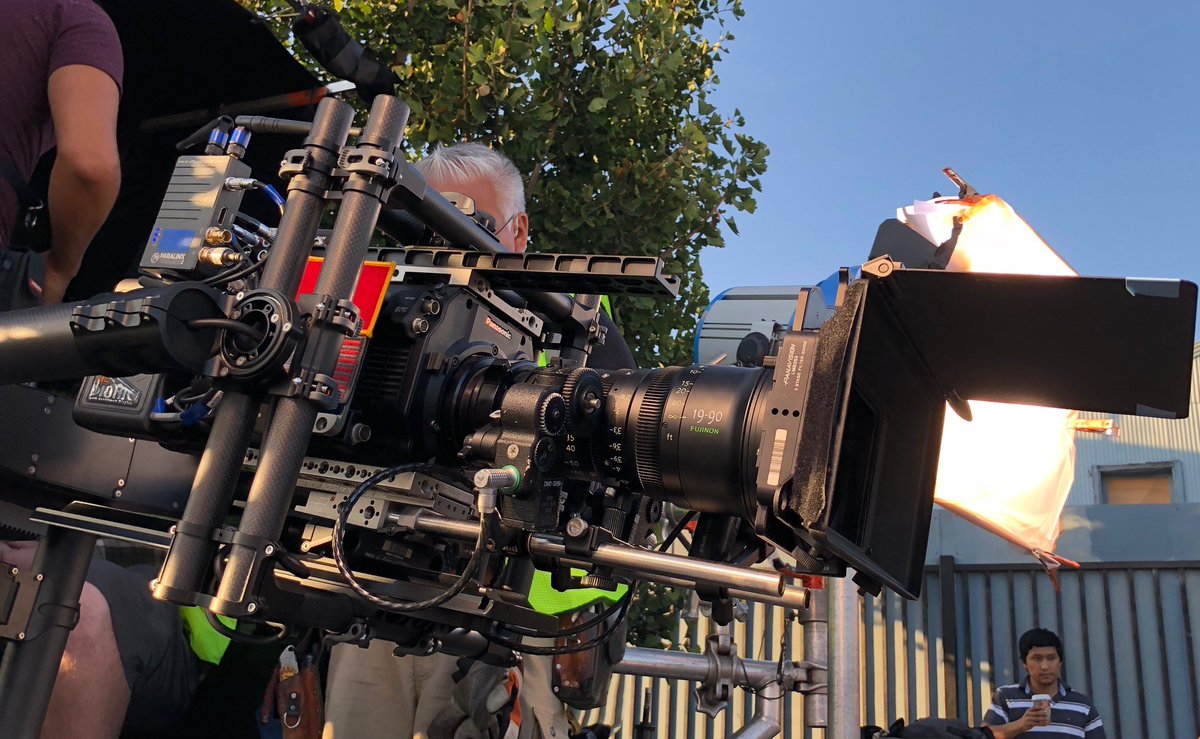
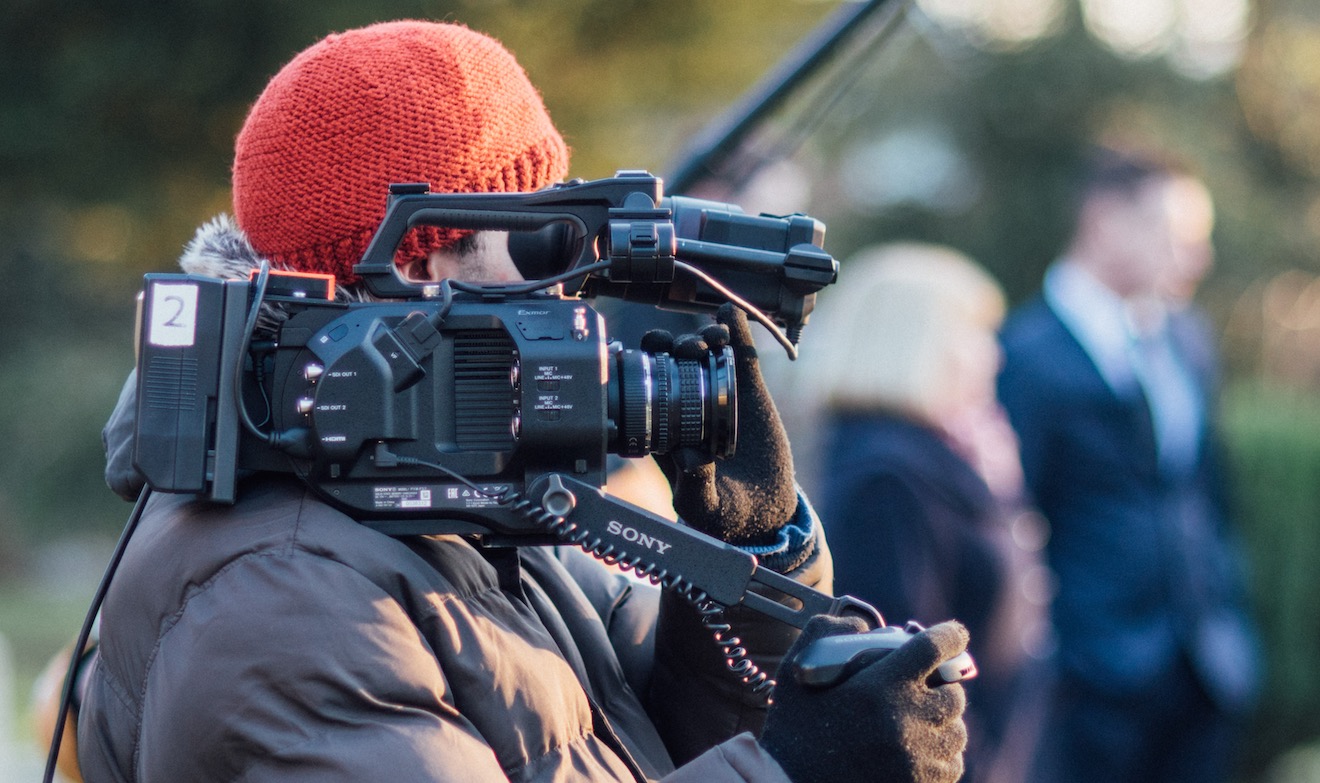
 

6. Form Factor

A Blackmagic Micro Cinema Camera, not so micro once it’s rigged with rails, matte box, wireless follow focus, battery, monitor and video transmitter!

When I started in the industry, cameras were all ergonomically designed to sit on your shoulder, with a nice handgrip to the right of the lens and an EVF (electronic viewfinder) to provide a third point of stabilising contact. Nowadays cameras tend to be boxy, heavy and uncomfortable to hold without additional accessories (see below).

Again, try to gets your hands on the camera in a shop and see how it feels before you purchase. As well as handheld shooting, consider how easy it will be to rig onto dollies, sliders, gimbals, etc.


7. Required Accessories

Buying the camera body itself is unlikely to be the end of your expenditure. You will need lenses, batteries, a battery charger, cards, a card reader and almost certainly some kind of stabilising system, be it a simple shoulder rig or an electronic gimbal.

You may also want an EVF, a tripod, matte box, follow focus – the list can seem endless! Be careful to budget your essential accessories before buying the camera. Some cameras seem like bargains until you add up all the extras. Pay particular attention to the media, and to exactly what speed of media you need in order to shoot at the resolution and frame rate that you require, as this can get very expensive.


8. Codec

What file type and codec does the camera shoot? Does your editing system support that format? If not, how time-consuming will it be to convert everything?

What compression ratios does the camera support? How much hard drive space will you need to store an hour of footage at that ratio? What about ten hours, plus back-ups? Often there is a trade-off between a highly compressed format like H.264 which is light on disc space but may need converting before you can edit it, and a lightly compressed format like ProRes which burns through disc space but can be dropped straight into most editing software.

8 Things to Look For When Buying a Cinema Camera

Camerimage 2017: Tuesday

This is the second part of my report from my time at Camerimage, the Polish film festival focused on cinematography. Read part one here.


Panavision: The BEauty of 8K Large Format

Bydgoszcz’s town square

It was a chilly but bright morning as I strolled into Bydgoszcz and made straight for the MCK Orzeł, where I planned to spend most of the day. With only a few minutes to go until the scheduled start time, the queue for Panavision’s large format seminar had spilt out onto the street. The tickets ran out before I reached the desk, but there was a live video feed in the cinema’s bar. In many ways this was better than going into the auditorium – sitting in a comfy chair with the bar close at hand, and a table to make notes on.

My article for Red Shark News about the future of large format cinematography has been surprisingly popular, and it contains plenty of detail about this Panavision seminar, so I won’t repeated myself here. I will say that it converted me from a high resolution sceptic to a believer, because the speakers demonstrated that footage acquired in high rez – even when downscaled – retain much of its smoothness, high bit depth and dynamic range. “More resolution evokes the imagination of the brain,” was how colourist Ian Vertovec summed it up.

At the end of the session, Red Shark’s David Shapton and Matt Gregory emerged from the auditorium and joined me for lunch at the bar. We had all found the seminar very interesting, and Matt was quick to get us all tickets to the Panasonic 4K seminar coming up later in the day. The pair then went off to other things, while I headed to the kiosk to get a ticket for the imminent John Toll seminar. But of course I’d left it too late, they were all gone, and so I returned to my comfy chair in the bar to watch via video feed again.


Panavision workshops: A conversation with John Toll, ASC

John Toll, ASC

John Toll, ASC was the recipient of this year’s Lifetime Achievement Award at Camerimage, and this seminar was an epic journey through this career. He explained how he learnt his craft as a camera operator for the late great Conrad Hall, ASC and Jordan Cronenweth, ASC.

The talk then focused on some of Toll’s biggest movies, beginning with the period drama Legends of the Fall starring Brad Pitt and Anthony Hopkins. The movie was largely daylight exterior (something that was to become a theme across Toll’s work) so the cinematographer insisted on twelve weeks of prep, the same as the production designer. This allowed him to be part of selecting locations and choosing orientations for the buildings to get the optimal sun path. Toll said he was lucky that the 1st AD was willing to be flexible with the schedule, observing the mood of the weather each day and shooting scenes that matched that mood.

Gaffer Jim Plannette joined Toll on the stage to discuss the huge night exterior battle sequence. This employed three Musco lights (a Musco being fifteen 6K pars on a 100ft boom arm) which three-quarter-backlit every angle. To get crisp, grain-free blacks, Toll overexposed and printed down.

Braveheart was covered next, with 1st AC Graham Hall joining the panel. Hall had a difficult time with the film’s battle scenes, featuring as they did so much movement, improv and slo-mo. Toll revealed how the immersive style of the action was based on a sixties TV documentary about Culloden that coincidentally both he and director Mel Gibson had seen. A lot of colour timing was required to give consistency to the battles, which were shot over weeks, at all times of day.

The discussion then turned to Terrence Malick’s The Thin Red Line. The Australian locations featured very difficult, uneven terrain, so Toll used an Akela Crane. The crane’s arm was so long (75ft) that the arc of its movement couldn’t be detected on camera. Its use had to be carefully planned though, because each time it needed to be moved it had to be disassembled and reassembled on a special platform. 80% of the film was actually handheld, and Toll operated himself so as to respond to the spontaneity and improv which Malick encourage from his cast.

The Akela Crane in use on “The Thin Red Line”

Toll told a funny story about a shot of shadows moving across long grass which was praised by critics. It was inserted to cover a continuity error, the build-up to the battle having been shot in heavy cloud, while the battle itself was shot in full sun. A happy accident!

Time was running short, so the moderator powered through Almost Famous (where parallels were drawn between the explosive battle scenes of Toll’s earlier movies and the crowd scenes at the rock concerts, punctuated by flashing cameras), Vanilla Sky and Billy Lynn’s Long Halftime Walk. This latter film, directed by Ang Lee, is notable for its acquisition in 120fps 4K stereo. You can read more about it on the British Cinematographer website.


Panasonic Seminar: Varicam Experience

A Panasonic Varicam LT with Fujinon zoom rigged for action on “Arrested Development”

I remained at the MCK and, meeting up with Dave and Matt again, finally got into the auditorium, for the Panasonic seminar. Moderated by British Cinematographer‘s Ronnie Prince, the panel brought together a trio of DPs who shoot Netflix shows on the Varicam: Bobby Shore, CSC (Anne with an E), Pepe Avila del Pino (Ozark) and Patrick Alexander Stewart (Arrested Development).

Both Shore and del Pino admitted that they were most comfortable with the Arri Alexa, but due to Netflix’s strict rules on 4K acquisition (the Alexa tops out at 3.2K) they had to find another camera. They plumped for the Panasonic Varicam, a 4K camera best known for having dual native ISOs: 800, in common with the Alexa, Red and many others, and 5000, two and two-thirds stops faster. Being native, both ISOs have the same dynamic range, the same log curve and in theory are equally clean.

Panasonic, I think, were keen to push ISO 5000 in this seminar, but unfortunately Shore and del Pino shot almost exclusively at 800. Stewart did shoot Arrested Development at 5000, interiors and night scenes at least, but down-rated it to 2500. Otherwise, he said, the sets would have been too dark for the actors to feel like they were in a believable daytime environment. I think that’s a fascinating, unexpected side effect of low light sensitivity! Stewart lit the stages with large Quasar softboxes and paired the Varicam with Fujinon zooms and occasional Xeen primes.

Del Pino chose Zeiss Super Speeds for night scenes and Hawk V anamorphics for day scenes on Ozark. He liked the claustrophobia of cropping the anamorphic images to 2:1, the show’s delivery ratio, while the Super Speeds produced a creaminess he found appealing. He also mentioned that the Varicam’s sensor handled greens very well, which was important for him, given how much of Ozark takes places in woods.

Anne with an E was lensed on vintage Panavision Standard and Super Speeds – “the oldest, craziest lenses we could find,” says Bobby Shore. He liked their low resolving power, their weird flares and how they fell apart when wide open. Part of the show’s signature look are ECUs of the freckled title character, which were captured on a 27mm Primo for a more detailed, tactile image.

Inspired by the work of Robbie Ryan, BSC (Wuthering Heights), Shore kept the lighting naturalistic, mixing tungsten and HMI sources on a set that was treated like a location. He also shot through a Panaflasher, a special lens filter with built-in lighting which reduces contrast and adds a colour tint of your choice, but this effect was dialled out in post. Indeed, Shore raised the issue of DPs’ images being altered after the fact, an issue I explore fully in another Red Shark article.

By the way, I’ve been watching Anne with an E since the festival and I can thoroughly recommend it.

When the seminar was over, I went for dinner with Dave, Matt and Chris Bouchard, at a very nice (but once again cheap) Asian fusion restaurant. Then we met up for drinks with some of the reps from Red, and I got talking to a DP who had shot squid from a submarine for an episode of Blue Planet. After another drink or two with Chris at the Cheat bar, I called it a night.

Tune in next week for the final part of my Camerimage blog.

Camerimage 2017: Tuesday