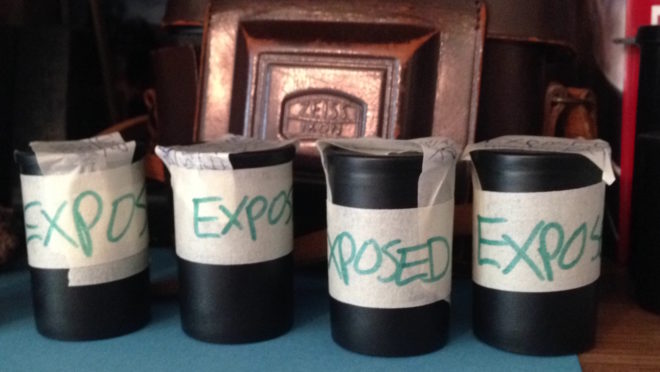
Over the ten weeks of lockdown to date, I have accumulated four rolls of 35mm film to process. They may have to wait until it is safe for me to visit my usual darkroom in London, unless I decide to invest in the equipment to process film here at home. As this is something I’ve been seriously considering, I thought this would be a good time to remind myself of the science behind it all, by describing how film and the negative process work.
Black and White
The first thing to understand is that the terminology is full of lies. There is no celluloid involved in film – at least not any more – and there never has been any emulsion.
However, the word “film” itself is at least accurate; it is quite literally a strip of plastic backing coated with a film of chemicals, even if that plastic is not celluloid and those chemicals are not an emulsion. Celluloid (cellulose mononitrate) was phased out in the mid-twentieth century due to its rampant inflammability, and a variety of other flexible plastics have been used since.
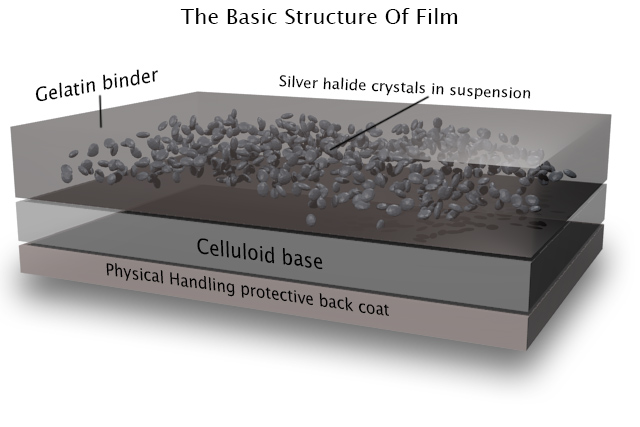
As for “emulsion”, it is in fact a suspension of silver halide crystals in gelatine. The bigger the crystals, the grainier the film, but the more light-sensitive too. When the crystals are exposed to light, tiny specks of metallic silver are formed. This is known as the latent image. Even if we could somehow view the film at this stage without fogging it completely, we would see no visible image as yet.
For that we need to process the film, by bathing it in a chemical developer. Any sufficiently large specks of silver will react with the developer to turn the entire silver halide crystal into black metallic silver. Thus areas that were exposed to light turn black, while unlit areas remain transparent; we now have a negative image.
Before we can examine the negative, however, we must use a fixer to turn the unexposed silver halide crystals into a light-insensitive, water-soluble compound that we can wash away.
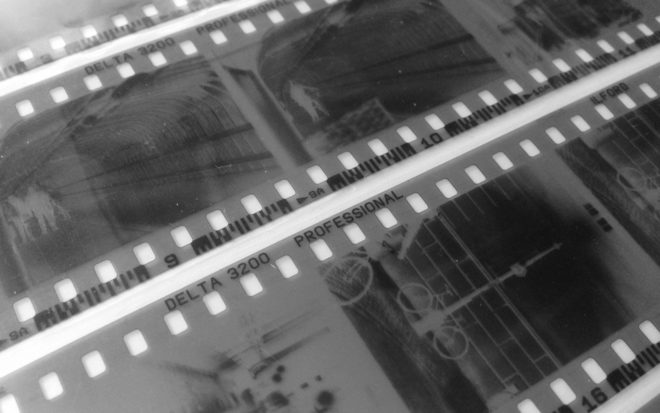
Now we can dry our negative. At this stage it can be scanned for digital manipulation, or printed photo-chemically. This latter process involves shining light through the negative onto a sheet of paper coated with more photographic emulsion, then processing and fixing that paper as with the film. (As the paper’s emulsion is not sensitive to the full spectrum of light, this procedure can be carried out under dim red illumination from a safe-light.) Crystals on the paper turn black when exposed to light – as they are through the transparent portions of the negative, which you will recall correspond to the shadows of the image – while unexposed crystals again remain transparent, allowing the white of the paper to show through. Thus the negative is inverted and a positive image results.
Colour
Things are a little more complicated with colour, as you might expect. I’ve never processed colour film myself, and I currently have no intention of trying!
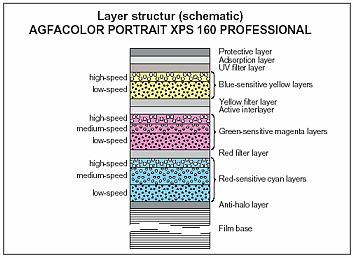
The main difference is that the film itself contains multiple layers of emulsion, each sensitive to different parts of the spectrum, and separated by colour filters. When the film is developed, the by-products of the chemical reaction combine with colour couplers to create colour dyes.
An additional processing step is introduced between the development and the fixing: the bleach step. This converts the silver back to silver halide crystals which are then removed during fixing. The colour dyes remain, and it is these that form the image.
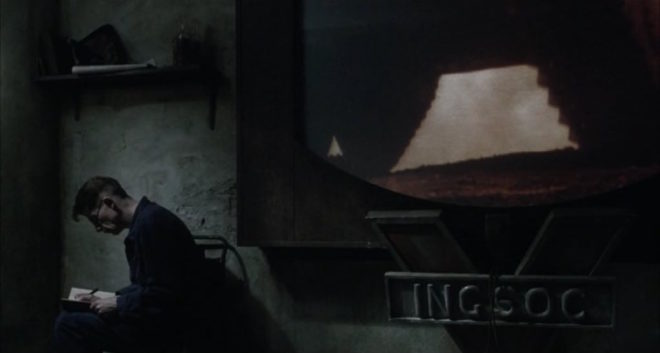
Many cinematographers will have heard of a process call bleach bypass, used on such movies as 1984 and Saving Private Ryan. You can probably guess now that this process means skipping or reducing the bleach step, so as to leave the metallic silver in the negative. We’ve seen that this metallic silver forms the entire image in black-and-white photography, so by leaving it in a colour negative you are effectively combining colour and black-and-white images in the same frame, resulting in low colour saturation and increased contrast.
Colour printing paper also contains colour couplers and is processed again with a bleach step. Because of its spectral sensitivity, colour papers must be printed and processed in complete darkness or under a very weak amber light.
Coming Up
In future posts I will cover the black-and-white processing and printing process from a much more practical standpoint, guiding you through it, step by step. I will also look at the creative possibilities of the enlargement process, and we’ll discover where the Photoshop “dodge” and “burn” tools had their origins. For those of you who aren’t Luddites, I’ll delve into how digital sensors capture and process images too!