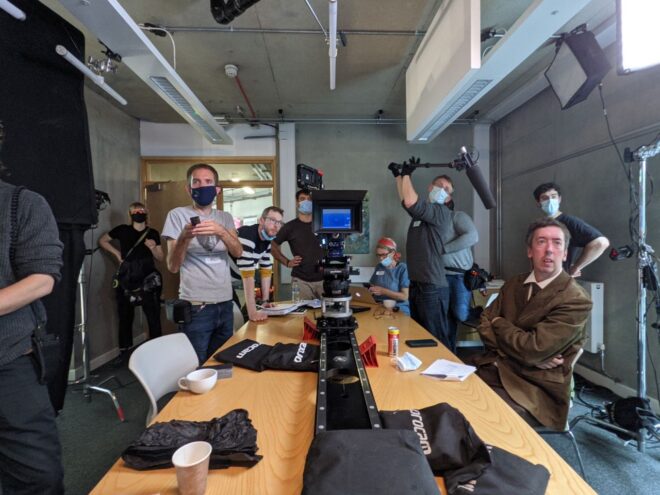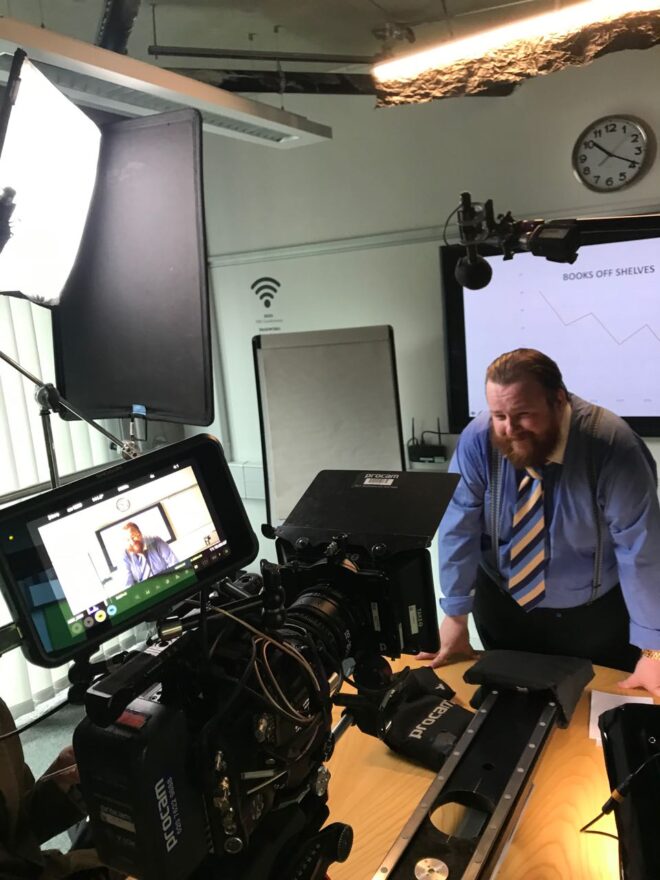
In last week’s post I mentioned the minor trouble we had on Harvey Greenfield is Running Late with a flickering TV screen in the background of shot. In today’s post I’m going to look at the underlying maths, find out why the 144° shutter angle I ultimately chose gave the best results and how to calculate the exposure compensation when you change your shutter angle like this.
If you haven’t already read my exposure series, particularly the posts about shutter and ISO, I suggest you look at those before diving into this one.
Working out the shutter interval
Harvey Greenfield was shot at 24fps here in the UK, where the mains current alternates at 50Hz (i.e. 50 cycles per second). To avoid certain light sources and any screens in shot from flickering, you generally want to match your shutter interval – the period of time during which light is allowed to charge the sensor’s photosites – to the AC frequency, i.e. 1/50th of a second in the UK. That works out to a shutter angle of 172.8° because…
frame rate x (360 ÷ shutter angle) = shutter interval denominator
… which can also be stated as…
frame rate x shutter interval x 360 = shutter angle
24 x (1 ÷ 50) x 360 = 172.8
So, as with all features I shoot in the UK, I captured most of Harvey at a shutter angle of 172.8°.
Going back to the TV problem, I scrolled through the Red Gemini’s available shutter angles until I found the one that gave the least flicker: 144°. With the twin wonders of hindsight and maths I can work out what frequency the TV was operating at, using the first version of the formula above.
24 x (360 ÷ 144) = 60
144° with a frame rate of 24 meant that the Red was capturing 1/60th of a second’s worth of light each frame. To produce (almost) no flickering at this camera setting, the TV was evidently operating at 60Hz.

Working out the exposure compensation
Reducing your shutter angle reduces the amount of light captured by the sensor each frame, i.e. it reduces the exposure. I was happy with the depth of field and didn’t want to change the aperture, so instead I compensated by increasing the ISO from 800 to 1280. This was a guess made under time pressure on set, but now I can calculate the right exposure compensation at my leisure.
Fortunately, unlike f-stops, shutter angles and ISO are linear scales. Double the shutter angle or ISO and you double the exposure; halve the shutter angle or ISO and you halve the exposure. This makes the maths relatively easy.
172.8° was my original shutter angle. Let’s think of this as 100% exposure. When I went down to 144°, what percentage of the original exposure was that? I still remember the mantra from calculating maths workbook scores in secondary school: “What you got divided by what you could have got, times 100.”
(144 ÷ 172.8) x 100 = 83%
Now we turn to the ISO. At its original value, 800, the camera is only providing 83% of the desired exposure, thanks to the reduced shutter angle. What must we increase the ISO to in order to hit 100% again?
(800 ÷ ?) x 100 = 83%
800 ÷ ? = 0.83
800 ÷ 0.83 = ? = 960
So I should have been at ISO 960 ideally. The closest available setting on the Red is ISO 1000, not 1280 as I selected, so I was actually over-exposing by a third of a stop. Given that we were shooting in RAW, so the ISO is only metadata, and I could see from the false colours display that nothing was clipping, this is a very minor error indeed.

Letting the meter do the maths
One more thing. My Sekonic L-758D light meter assumes a 180° shutter (so I set it to 25fps when I’m actually shooting 24fps at 172.8°, as both work out to 1/50th of a second). Another way I could have worked the correct exposure out, if I’d clocked the 60Hz frequency of the TV at the time, is to have set the meter to 30fps (1/60th of a second at 180°) and then changed the ISO until it gave me the stop I wanted.