If you’ve done much still photography, particularly on celluloid, you will probably have heard of the Sunny 16 Rule. It’s a useful shortcut for correctly exposing bright day exteriors without needing a light meter. Is it of any use in digital cinematography though? Yes, and I’ll explain how.
How the rule Works
Sunny 16 is very simple: if the sun is out, set your aperture to f/16 and your shutter speed denominator to the same as your ISO. For example, at ISO 100 set the shutter to 1/100th of a second. At ISO 400 set the shutter to 1/400th of a second – or 1/500th of a second, if that’s the closest option the camera permits – and so on.
You can use the rule to work out other combinations from there. Say your ISO is 100 but you want the sharper, less motion-blurred look of a 1/400th shutter. That’s two stops slower, so open the aperture from f/16 to f/8. (Check out my exposure series if this is all Dutch to you.)
The Sunny 16 Rule works because the sun outputs a constant amount of light and is a constant distance from the earth – at least constant enough to make no significant difference. The sun’s illuminance at the earth’s surface is about 10,000 foot-candles. The following formula relates illuminance (b) to f-stop (f), shutter speed (s) and ISO (i):
Using Sunny 16 in the case of ISO 100 and a shutter speed of 1/100th of a second, this formula gives us…
… 6,400 foot-candles. Less than 10,000fc, certainly, but remember this is only a rule of thumb – and one designed for film, which isn’t hurt at all by a little over-exposure. The rule probably accounts for the fact that you may want to see into the shadows a bit too. (See my article “How Big a Light Do I Need?” for explanations of illuminance and foot-candles and more on the above formula.)
Anyway, you can see from the equation why the shutter speed denominator and ISO cancel each other out if they’re the same.
Using the rule in cinematography
A few weeks ago when I was on the banks of the River Cam setting up for a scene in Harvey Greenfield is Running Late, my 1st AC Hamish Nichols asked which ND filter I wanted in the matte box. It was 5:30am; the sun had barely risen and certainly wasn’t high enough yet to reach me and my light meter over the trees and buildings on the horizon. But I knew that it would be hitting us by the time we turned over, and that the weather forecast was for a completely cloudless day, indeed the hottest day of the year at that time. So I was able to predict that we’d need the 2.1 ND.
How did I work this out? From the Sunny 16 Rule as follows:
I was shooting with a 1/50th of a second shutter interval (a 172.8° shutter angle at 24fps), so the Rule told me that f/16 (or T16) at ISO 50 would be the right exposure.
I was actually at ISO 800, which is four stops faster than ISO 50. (Doubling 50 four times gives you 800.)
I wanted to shoot at T5.6, which is three stops faster than T16.
That’s a total of seven stops too much light. To find the right optical density of ND filter you multiply that by 0.3, so 0.3 x 7 = 2.1. (More on this in my ND filters post.)
Everything on a film set sucks up time, so the more you know in advance, the more efficient you can be. Little tricks like this mean you don’t have to do a last-minute filter swing and waste five minutes that the director could have used for another take.
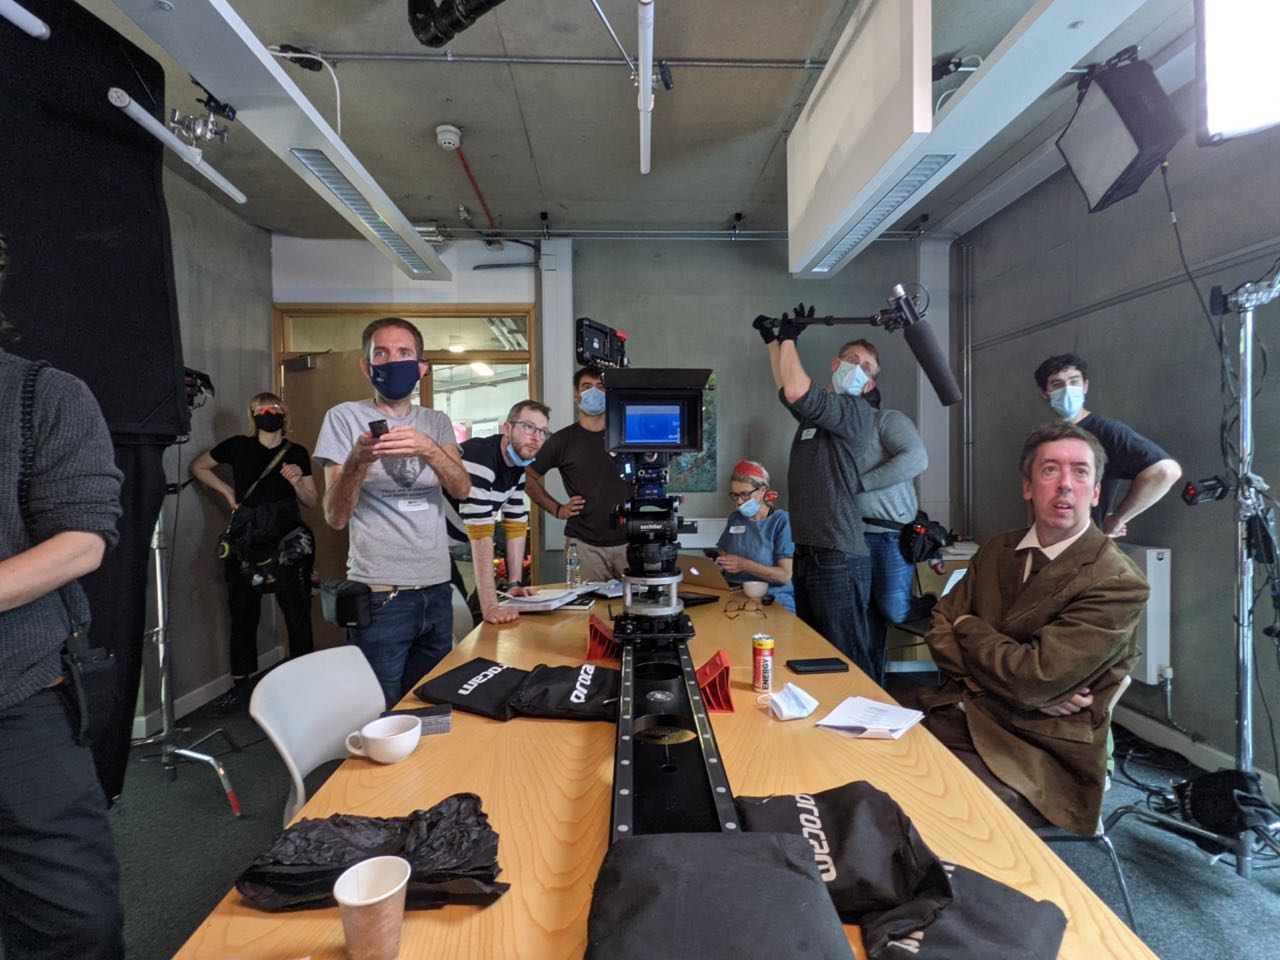
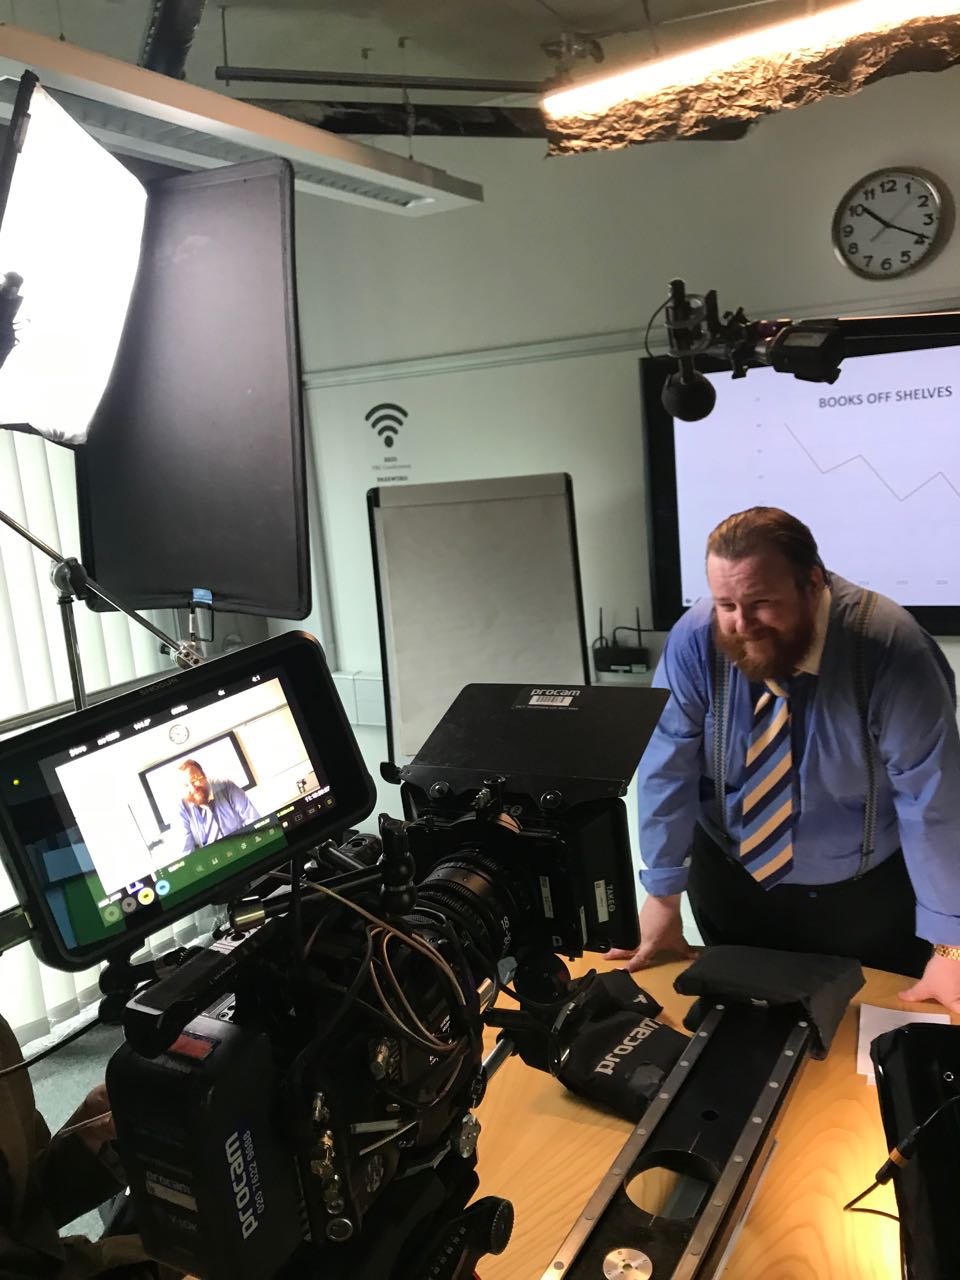
An actor’s view by Alan Hay as I fiddle with a TV’s settings to reduce its flickering on camera
In last week’s post I mentioned the minor trouble we had on Harvey Greenfield is Running Late with a flickering TV screen in the background of shot. In today’s post I’m going to look at the underlying maths, find out why the 144° shutter angle I ultimately chose gave the best results and how to calculate the exposure compensation when you change your shutter angle like this.
If you haven’t already read my exposure series, particularly the posts about shutter and ISO, I suggest you look at those before diving into this one.
Working out the shutter interval
Harvey Greenfield was shot at 24fps here in the UK, where the mains current alternates at 50Hz (i.e. 50 cycles per second). To avoid certain light sources and any screens in shot from flickering, you generally want to match your shutter interval – the period of time during which light is allowed to charge the sensor’s photosites – to the AC frequency, i.e. 1/50th of a second in the UK. That works out to a shutter angle of 172.8° because…
frame rate x shutter interval x 360 = shutter angle
24 x (1 ÷ 50) x 360 = 172.8
So, as with all features I shoot in the UK, I captured most of Harvey at a shutter angle of 172.8°.
Going back to the TV problem, I scrolled through the Red Gemini’s available shutter angles until I found the one that gave the least flicker: 144°. With the twin wonders of hindsight and maths I can work out what frequency the TV was operating at, using the first version of the formula above.
24 x (360 ÷ 144) = 60
144° with a frame rate of 24 meant that the Red was capturing 1/60th of a second’s worth of light each frame. To produce (almost) no flickering at this camera setting, the TV was evidently operating at 60Hz.
The TV screen reflects in the Soft FX filter.
Working out the exposure compensation
Reducing your shutter angle reduces the amount of light captured by the sensor each frame, i.e. it reduces the exposure. I was happy with the depth of field and didn’t want to change the aperture, so instead I compensated by increasing the ISO from 800 to 1280. This was a guess made under time pressure on set, but now I can calculate the right exposure compensation at my leisure.
Fortunately, unlike f-stops, shutter angles and ISO are linear scales. Double the shutter angle or ISO and you double the exposure; halve the shutter angle or ISO and you halve the exposure. This makes the maths relatively easy.
172.8° was my original shutter angle. Let’s think of this as 100% exposure. When I went down to 144°, what percentage of the original exposure was that? I still remember the mantra from calculating maths workbook scores in secondary school: “What you got divided by what you could have got, times 100.”
(144 ÷ 172.8) x 100 = 83%
Now we turn to the ISO. At its original value, 800, the camera is only providing 83% of the desired exposure, thanks to the reduced shutter angle. What must we increase the ISO to in order to hit 100% again?
(800 ÷ ?) x 100 = 83%
800 ÷ ? = 0.83
800 ÷ 0.83 = ? = 960
So I should have been at ISO 960 ideally. The closest available setting on the Red is ISO 1000, not 1280 as I selected, so I was actually over-exposing by a third of a stop. Given that we were shooting in RAW, so the ISO is only metadata, and I could see from the false colours display that nothing was clipping, this is a very minor error indeed.
“The question we have to ask ourselves is: how many 83 percents are left? And the answer is: not many.”
Letting the meter do the maths
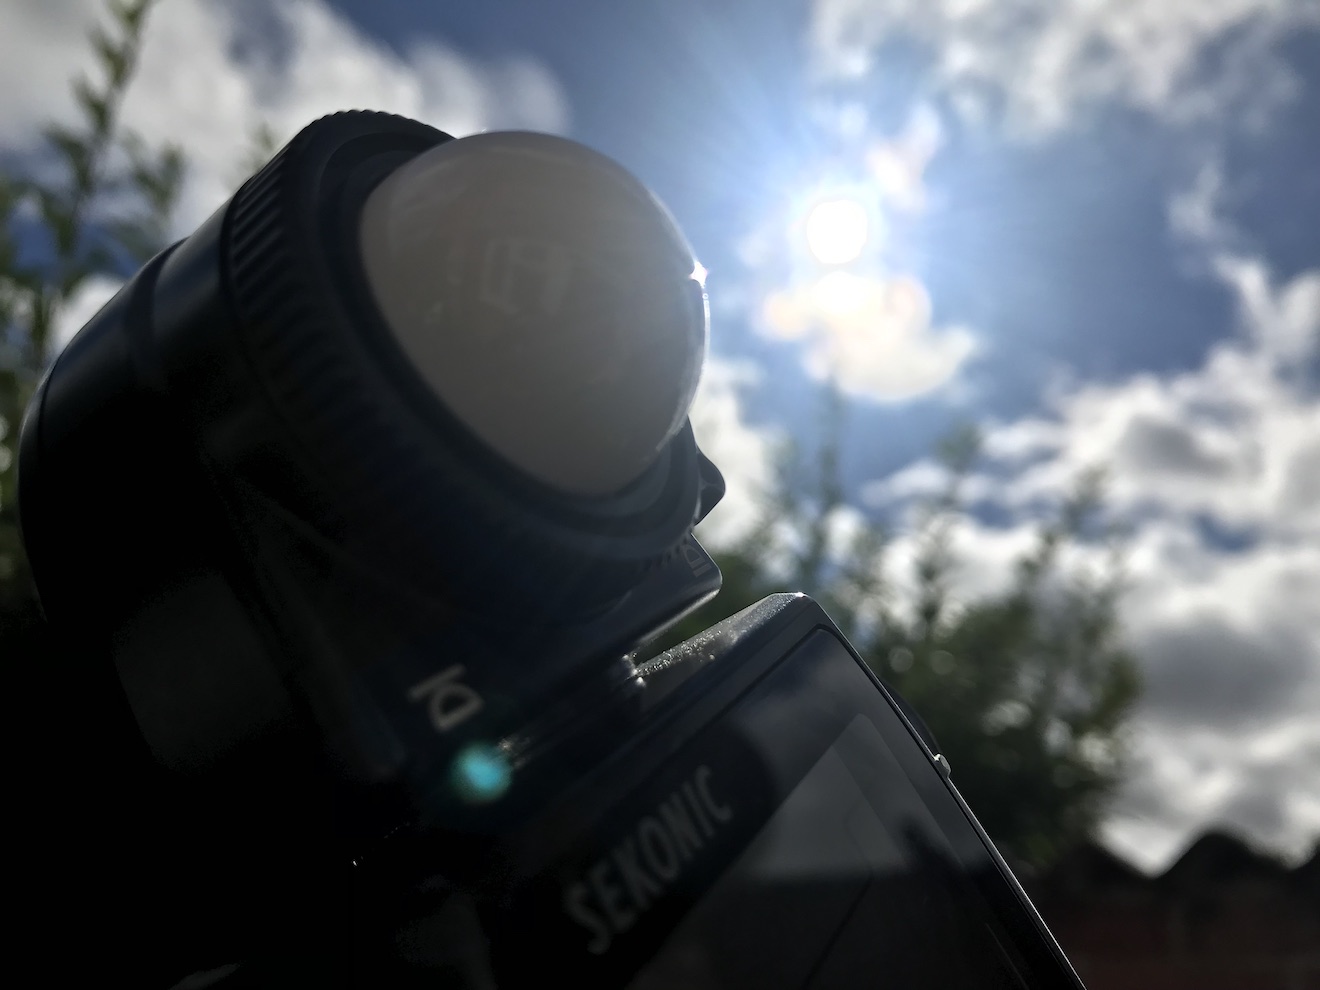
One more thing. My Sekonic L-758D light meter assumes a 180° shutter (so I set it to 25fps when I’m actually shooting 24fps at 172.8°, as both work out to 1/50th of a second). Another way I could have worked the correct exposure out, if I’d clocked the 60Hz frequency of the TV at the time, is to have set the meter to 30fps (1/60th of a second at 180°) and then changed the ISO until it gave me the stop I wanted.
In the first two parts of this series we saw how exposure can be controlled using the lens aperture – with side effects including changes to the depth of field – and neutral density (ND) filters. Today we will look at another means of exposure control: shutter angle.
The Physical Shutters of Film Cameras
As with aperture, an understanding of what’s going on under the hood is useful, and that begins with celluloid. Let’s imagine we’re shooting on film at 24fps, the most common frame rate. The film can’t move continuously through the gate (the opening behind the lens where the focused light strikes the film) or we would end up recording just a long vertical streak of light. The film must remain stationary long enough to expose an image, before being moved on by a distance of four perforations (the standard height of a 35mm film frame) so that the next frame can be exposed. Crucially, light must not hit the film while it is being moved, or vertical streaking will occur.
Joram van Hartingsveldt, CC BY-SA 3.0
This is where the shutter comes in. The shutter is a portion of a disc that spins in front of the gate. The standard shutter angle is 180°, meaning that the shutter is a semi-circle. We always describe shutter angles by the portion of the disc which is missing, so a 270° shutter (admitting 1.5x the light of a 180° shutter) is a quarter of a circle, and a 90° shutter (admitting half the light of a 180° shutter) is three-quarters.
The shutter spins continuously at the same speed as the frame rate – so at 24fps the shutter makes 24 revolutions per second. So with a 180° shutter, each 24th of a second is divided into two halves, i.e. 48ths of a second:
During one 48th of a second, the missing part of the shutter is over the gate, allowing the light to pass through and the stationary film to be exposed.
During the other 48th of a second, the shutter blocks the gate to prevent light hitting the film as it is advanced. The shutter has a mirrored surface so that light from the lens is reflected up the viewfinder, allowing the camera operator to see what they’re shooting.
Intervals vs. Angles
If you come from a stills or ENG background, you may be more used to talking about shutter intervals rather than angles. The two things are related as follows:
For example, 24 x (360 ÷ 180) = 48 so a film running at 24fps, shot with a 180° shutter, shows us only a 48th of a second’s worth of light on each frame. This has been the standard frame rate and shutter angle in cinema since the introduction of sound in the late 1920s. The amount of motion blur captured in a 48th of a second is the amount that we as an audience have been trained to expect from motion pictures all our lives.
A greater (larger shutter angle, longer shutter interval) or lesser (smaller shutter angle, shorter shutter interval) amount of motion blur looks unusual to us and thus can be used to creative effect. Saving Private Ryan features one of the best-known examples of a small shutter angle in its D-day landing sequence, where the lack of motion blur creates a crisp, hyper-real effect that draws you into the horror of the battle. The effect has been endlessly copied since then, to the point that it now feels almost mandatory to shoot action scenes with a small shutter angle.
Large shutter angles are less common, but the extra motion blur can imply a drugged, fatigued or dream-like state.
In today’s digital environment, only the Arri Alexa Studio has a physical shutter. In other cameras, the sensor’s photo-sites are allowed to charge with light over a certain period of time – still referred to as the shutter interval, even though no actual shutter is involved. The same principles apply and the same 180° angle of the virtual shutter is standard. The camera will allow you to select a shutter angle/interval from a number of options, and on some models like the Canon C300 there is a menu setting to switch between displaying the shutter setting as an angle or an interval.
When to Change the Shutter Angle
Sometimes it is necessary to change the shutter angle to avoid flickering. Some luminous devices, such as TV screens and monitors, or HMI lighting not set to flicker-free mode, will appear to strobe, pulse or roll on camera. This is due to them turning on and off multiple times per second, in sync with the alternating current of the mains power supply, but not necessarily in sync with the shutter. For example, if you shoot a domestic fluorescent lamp in the UK, where the mains AC cycles at 50Hz, your 1/48th (180° at 24fps) shutter will be out of sync and the lamp will appear to throb or flicker on camera. The solution is to set the shutter to 172.8° (1/50th), which is indeed what most DPs do when shooting features in the UK. Round multiples of the AC frequency like 1/100th will also work.
You may notice that I have barely mentioned exposure so far in this article. This is because, unlike stills photographers, DPs rarely use the shutter as a means of adjusting exposure. An exception is that we may increase the shutter angle when the daylight is fading, to grab an extra shot. By doubling the shutter angle from 172.8° to 345.6° we double the light admitted, i.e. we gain one stop. As long as there isn’t any fast movement, the extra motion blur is likely to go unnoticed by the audience.
One of the hallmarks of amateur cinematography is that sunny scenes have no motion blur, due to the operator (or the camera’s auto mode) decreasing the shutter interval to avoid over-exposure. It is preferable to use ND filters to cut light on bright days, as covered in part two of this series.
For the best results, the 180° (or thereabouts) shutter angle should be retained when shooting slow motion as well. If your camera displays intervals rather than angles, ideally your interval denominator should be double the frame rate. So if you want to shoot at 50fps, set the shutter interval to 1/100th. For 100fps, set the shutter to 1/200th, and so on.
If you do need to change the shutter angle for creative or technical reasons, you will usually want to compensate with the aperture. If you halve the time the shutter is open for, you must double the area of the aperture to maintain the same exposure, and vice versa. For example, if your iris was set to T4 and you change the shutter from 180° to 90° you will need to stop up to T2.8. (Refer back to my article on aperture if you need to refresh your memory about T-stops.)
In the final part of this series we’ll get to grips with ISO.
Learn more about exposure in my online course, Cinematic Lighting. Until this Thursday (19/11/20) you can get it for the special price of £15.99 by using the voucher code INSTA90.
A modern animation created from photographs from Muybridge’s “Animal Locomotion”, 1887
This is a book that caught my eye following my recent photography project, Stasis. In that project I made some limited explorations of the relationship between time, space and light, so Motion Studies: Time, Space and Eadweard Muybridge, to give it its full title, seemed like it would be on my current wavelength.
Like me a few weeks ago, you might be vaguely aware of Muybridge as the man who first photographed a trotting horse sharply enough to prove that all four of its legs left the ground simultaneously. You may have heard him called “The Father of Cinema”, because he was the first person to shoot a rapid sequence of images of a moving body, and the first person to reanimate those images on a screen.
Born in Kingston-on-Thames in 1830, Muybridge emigrated to San Francisco in the 1850s where, following a stint as a book seller and a near-fatal accident in a runaway carriage, he took up landscape photography. He shot spectacular views of Yosemite National Park and huge panoramas of his adopted city. In 1872 he was commissioned by the railroad tycoon Leland Stanford to photograph his racehorse Occident in motion. This developed into a vast project for Muybridge over the next decade or so, ultimately encompassing over 100,000 photos of humans and other animals in motion.
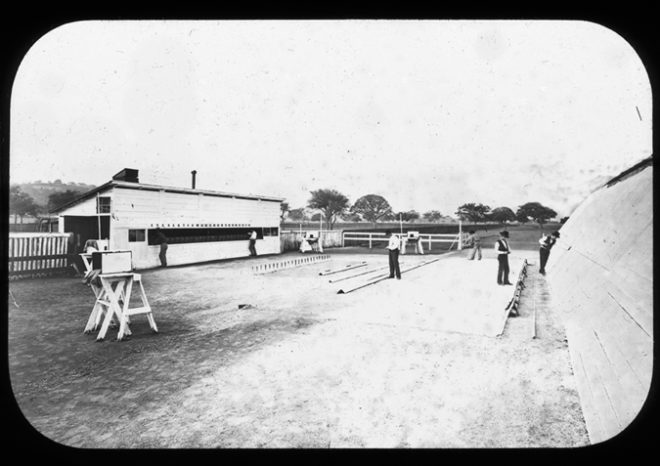
Muybridge’s set-up for his early motion studies, 1881. The cameras are in the shed on the left.
Much of his early work was accomplished on mammoth wet plates, 2ft wide, that had to be coated with emulsion just before exposure and developed quickly afterwards, necessitating a travelling darkroom tent. To achieve the quick exposures he needed to show the limbs of a trotting horse without motion blur, he had to develop new chemistry and – with John Isaacs – a new electromagnetic shutter. The results were so different to anything that had been photographed before, that they were initially met with disbelief in some quarters, particularly amongst painters, who were eventually forced to recognise that they had been incorrectly portraying horse’s legs. Artists still use Muybridge’s motion studies today as references for dynamic anatomy.
“Boys Playing Leapfrog”, 1887
To “track” with the animals in motion, Muybridge used a battery of regularly-spaced cameras, each triggered by the feet of the subject pulling on a wire or thread as they passed. Sometimes he would surround a subject with cameras and trigger them all simultaneously, to get multiple angles on the same moment in time. Does that sound familiar? Yes, Muybridge invented Bullet Time over a century before The Matrix.
Muybridge was not the first person to project images in rapid succession to create the illusion of movement, but he was the first person to display photographed (rather than drawn) images in a such a way, to deconstruct motion and reassemble it elsewhere like a Star Trek transporter. In 1888 Muybridge met with Thomas Edison and discussed collaborating on a system to combine motion pictures with wax cylinder audio recordings, but nothing came of this idea which was decades ahead of its time. The same year, French inventor Louis Le Prince shot Roundhay Garden Scene, the oldest known film. A few years later, Edison patented his movie camera, and the Lumière brothers screened their world-changing Workers Leaving the Lumière Factory. The age of cinema had begun.
From “Animal Locomotion”, 1887
Although Muybridge is the centre of Solnit’s book, there is a huge amount of context. The author’s thesis is that Muybridge represents a turning point, a divider between the world he was born into – a world in which people and information could only travel as fast as they or a horse could walk or run, a world where every town kept its own time, where communities were close-knit and relatively isolated – and the world which innovations like his helped to create – the world of speed, of illusions, of instantaneous global communication, where physical distance is no barrier. Solnit draws a direct line from Muybridge’s dissection of time and Stanford’s dissection of space to the global multimedia village we live in today. Because of all this context, the book feels a little slow to get going, but as the story continues and the threads draw together, the value of it becomes clear, elucidating the meaning and significance of Muybridge’s work.
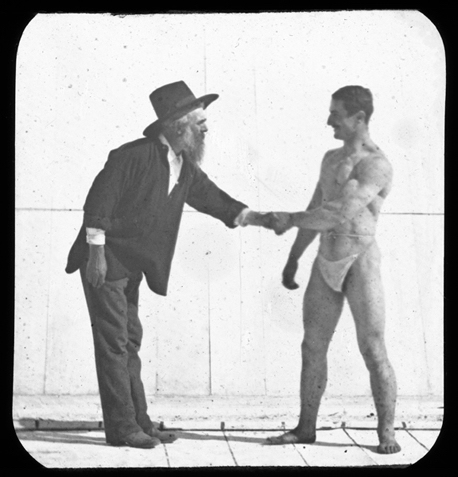
“Muybridge and Athlete”, circa 1887
I can’t claim to have ever been especially interested in history, but I found the book a fascinating lesson on the American West of the late nineteenth century, as well as a thoughtful analysis of the impact photography and cinematography have had on human culture and society. As usual, I’m reviewing this book a little late (it was first published in 2003!), but I heartily recommend checking it out if you’re at all interested in experimental photography or the origins of cinema.


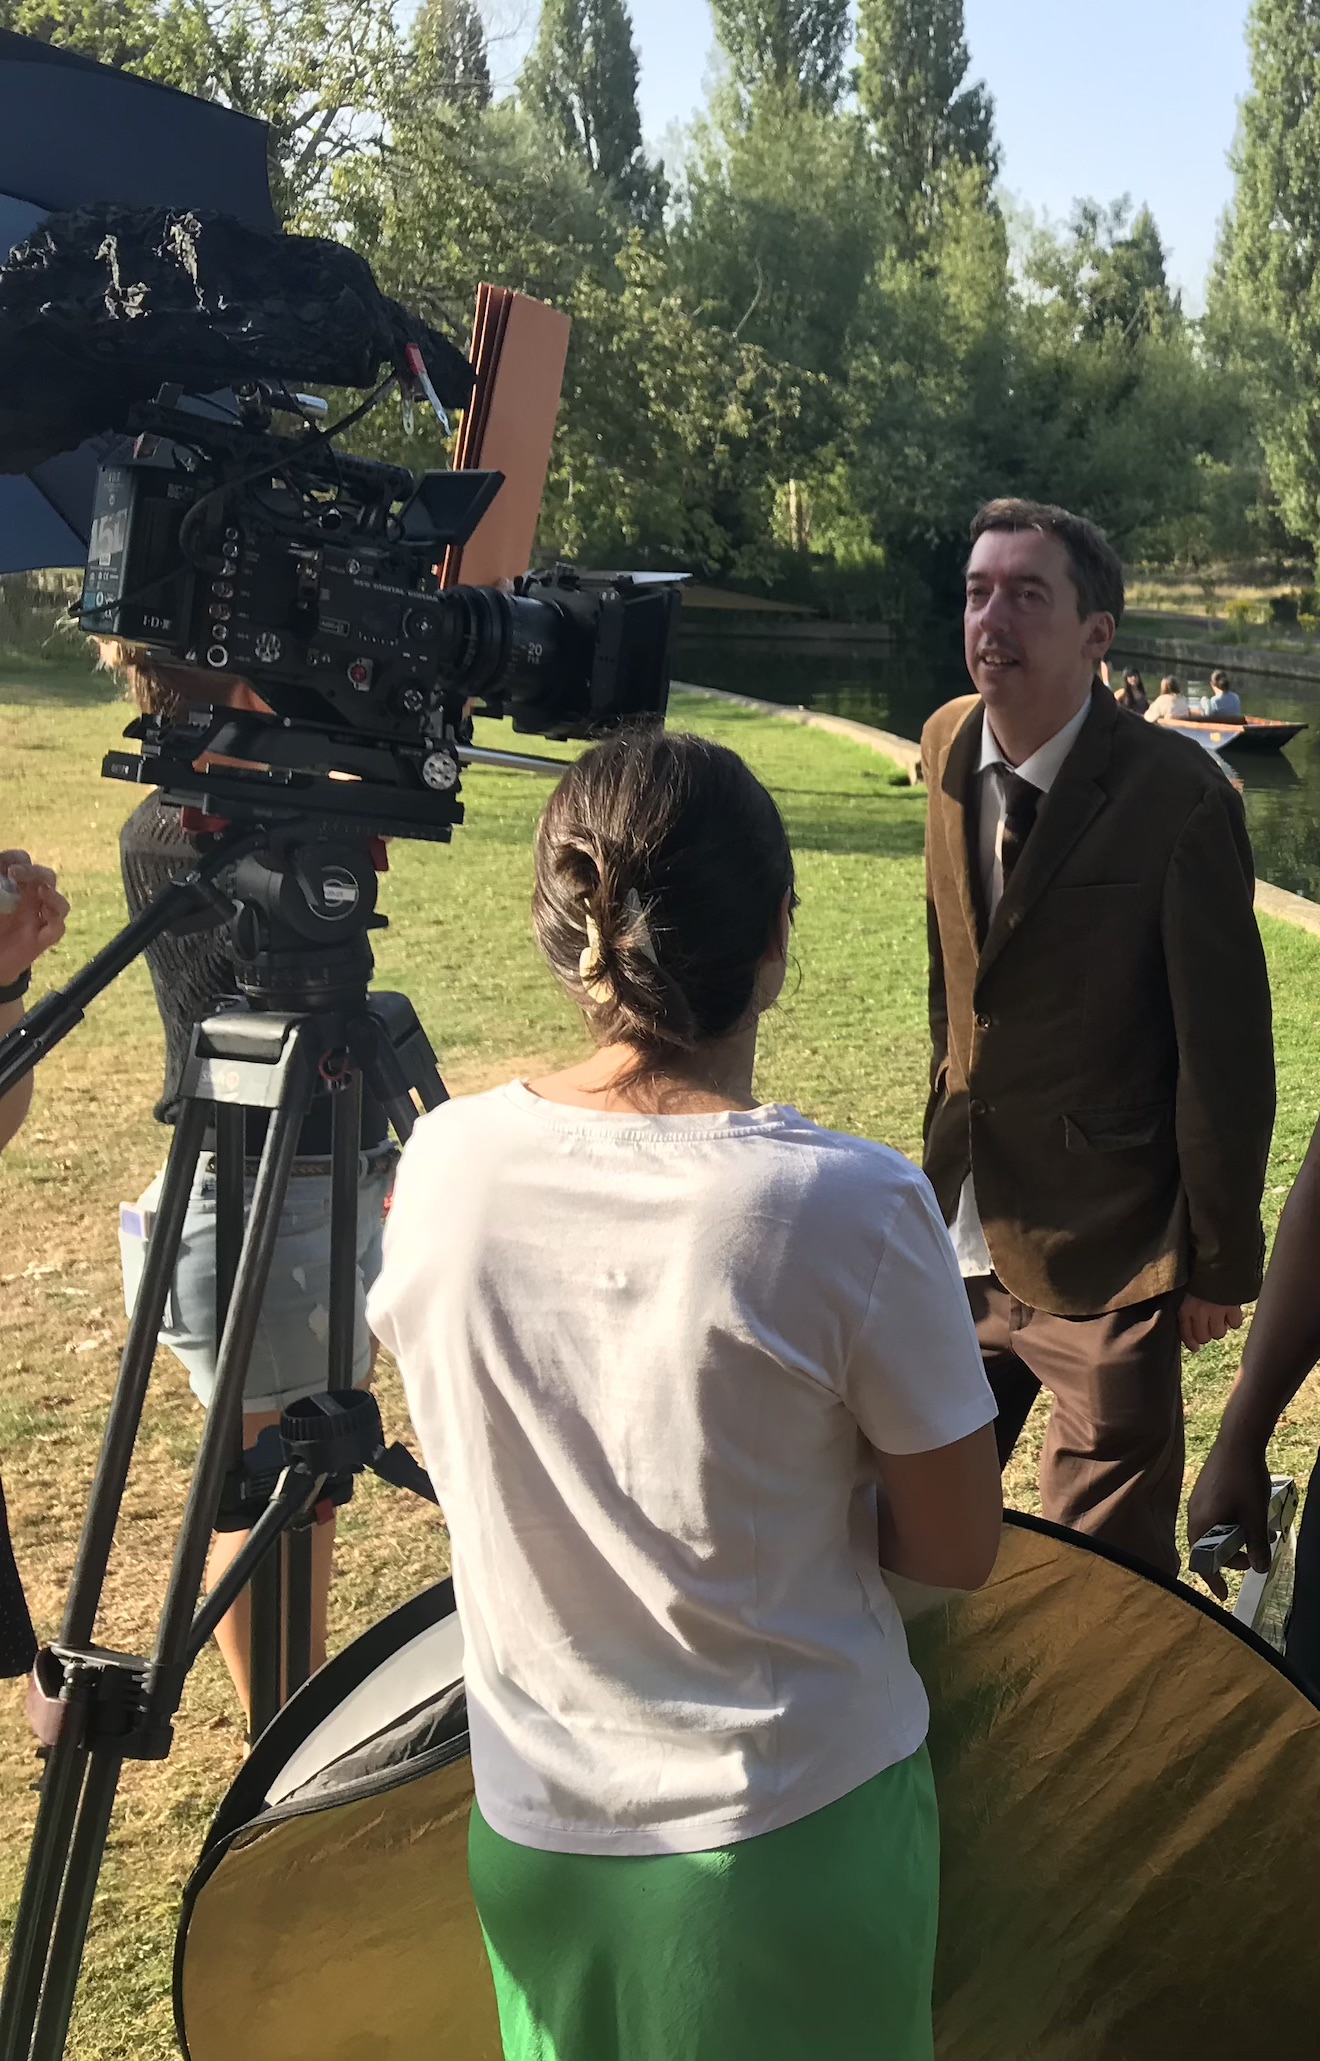 A few weeks ago when I was on the banks of the River Cam setting up for a scene in Harvey Greenfield is Running Late, my 1st AC Hamish Nichols asked which ND filter I wanted in the matte box. It was 5:30am; the sun had barely risen and certainly wasn’t high enough yet to reach me and my light meter over the trees and buildings on the horizon. But I knew that it would be hitting us by the time we turned over, and that the weather forecast was for a completely cloudless day, indeed the hottest day of the year at that time. So I was able to predict that we’d need the 2.1 ND.