In September 2013 I was lucky enough to serve as the director of photography on The First Musketeer, an action-adventure web series based on the famous novels of Alexandre Dumas. Telling the story of how Athos, Porthos and Aramis first meet and become the heroes we know and love, the show was shot in castles and chateaus in the Lot and Dordogne regions of southern France.
A web series, more than any other medium, lives and dies by its viewing figures. You can help the show succeed and go forward into future seasons by sharing that link or better still by joining our Thunderclap campaign. Thunderclap is a service which automatically posts a one-off message to your Facebook, Twitter and/or Tumblr accounts at a prearranged time, so at 8pm on June 1st a huge number of people will all hear about The First Musketeer simultaneously. Follow this link to join the Thunderclap.
The other exciting news is that both The First Musketeer and Ren will be part of the New British Web Series panel at London ComicCon tomorrow, Friday May 22nd. I’ll be joining actress Jessica Preddy on the panel to represent The First Musketeer. I hope to see some of you there!
I thought it was about time my showreel got an update, so here it is:
Please get in touch if you need a DP. I’ll consider most projects as long as they’re creative and not entirely unpaid.
These are the films, series and promos featured on the reel. If you want to find out more about any of these productions, you can find links in the showreel’s YouTube description.
The First Musketeer (dir. Harriet Sams)
The Gong Fu Connection (dir. Ted Duran)
Ren (dir. Kate Madison)
Savage Messiah: Hellblazer (dir. Tom Walsh)
WidthScribe (dir. Neil Oseman)
The One That Got Away (dir. Neil Oseman)
Girl and a Scar (dir. David Cave)
How to be Dead (dir. Lara Greenway)
Revenge of Calculon: X, Y & Z Rays (dir. Tom Walsh)
Self-control (dir. Stanislava Buevich)
Lewis Watson: Droplets feat. Gabrielle Aplin (dir. Tom Walsh)
The Wrong Funeral (dir. Roger Harding)
Stop/Eject (dir. Neil Oseman)
Wasteland trailer (dir. Tom Wadlow) *
See Saw (dir. Tom Muschamp)
Forever Alone (dir. Jordan Morris)
Three Blind Mice (dir. KT Roberts)
* Note: I only worked on the trailer, not the film itself.
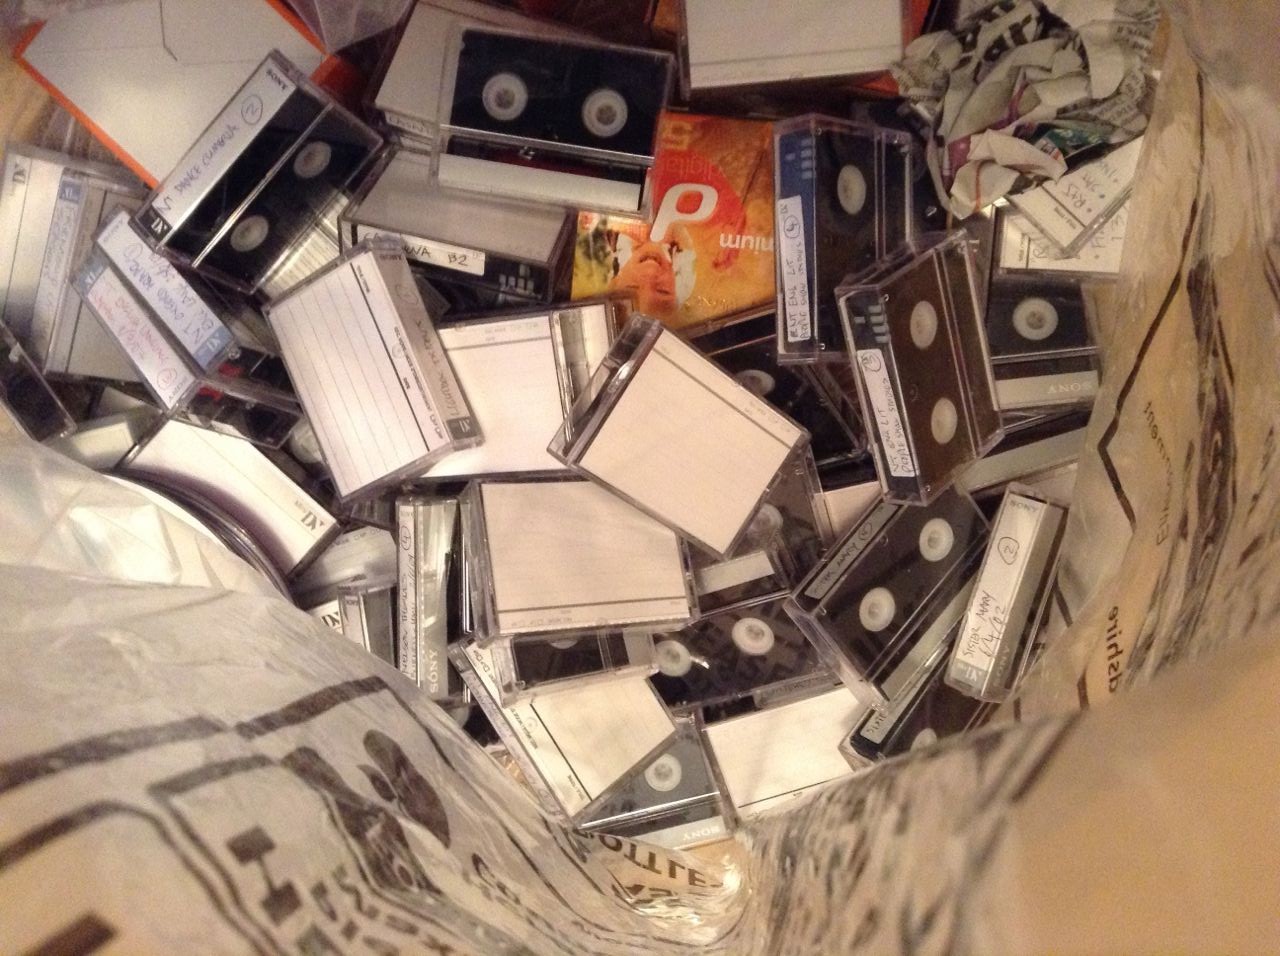
I’m moving soon, to a much smaller place, and lots of my stuff has to go. Amongst the things going into bin bags at the moment is a large number of Mini-DV tapes. Funny to think how ubiquitous they were in the micro-budget movie world just a few years ago, and now they’re a thing of the past.
How could a mere 720 x 576 pixels ever have looked good? (I frequently deinterlaced my DV footage and cropped it to 16:9, which must have reduced the vertical resolution to about 200 lines!) Cathode ray tubes certainly helped. CRT screens have a lovely softness, which I still prefer to LCDs, and that softness blurred the limited number of pixels into one organic image. Bright colours were particularly softened, a fact which Mini-DV compression exploited by devoting little data to chrominance, resulting in blocky saturated colours that looked terrible on your computer, but which blurred magically back into acceptability on your CRT TV.
An example of very blocky saturated colours in Soul Searcher
I don’t know how many stops of dynamic range a typical DV camera had, but it wasn’t many. Shooting in daylight was a nightmare; you could never find an aperture setting where you weren’t losing loads of detail in blown-out whites and/or crushed blacks. I embraced the contrast, lighting everything like film noir, which the format handled pretty well. In this 2005 featurette I outline the lighting techniques I learnt for Mini-DV. While incredibly crude by today’s standards, the underlying principles are still sound.
Shooting Soul Searcher on my XL1
The video bitrate of DV was just 25mbps. By comparison, my Blackmagic Production Camera shoots at 880mbps – that’s 35 times more detail per frame. Despite this, there were a few big theatrical films shot on DV, Lars von Trier’s The Idiots being first. Perhaps the best known is 28 Days Later, shot on a Canon XL1, a camera I owned for several years.
I loved that camera! And in some ways it was better than today’s ultra-HD cinema cameras. It was so light and comfy to put on your shoulder. You didn’t need a rig – it actually had a bloody hand grip next to the lens! And get this – it had a viewfinder! That came with it, no extra charge! There was no DITing, no dual system sound to sync. How easy it all was!
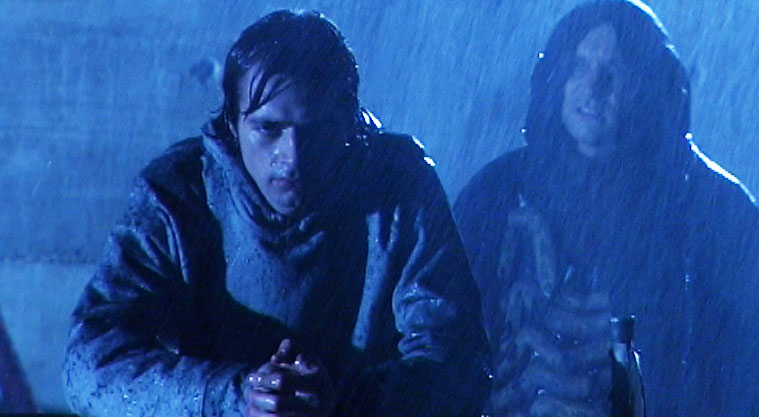
A nice bit of noir lighting from Soul Searcher
After shooting my feature film Soul Searcher and countless other projects I DPed, my XL1 met an ignoble end, its lenses Ebayed and its malfunctioning body Freecycled. I’d foolishly bought a Sony A1, an awful, awful HDV camera that I was stuck with until I joined the DSLR revolution in 2011.
That A1 will not survive my moving cull either. It’s languished in a drawer for the last few years, my sole remaining means of playing back old DV tapes. Now the tapes are going, so will the camera.
So goodbye, Mini-DV. I cut my teeth on you. Your accessibility allowed me to learn my craft, and your shonky dynamic range forced me to learn to control light. For that I will always be grateful.
The rain in France falls mostly on the crew of The First Musketeer.
Rain. How we’d love to go inside and have a cup of tea when the old British precipitation interrupts a shoot, but quite often the schedule demands that we carry on regardless. Here are a few tips for filming in the wet stuff.
Cover the Camera
If you don’t have a proper rain cover, a transparent recycling bag with a couple of holes cut in it will usually do the job, but have someone hold an umbrella over the camera at all times as added protection. If you have them, put on a matte box and top flag to keep rain off the lens.
Check the Lens
Condensation may well be an issue. Have an assistant with a ready supply of dry lens tissues (in a ziplock bag), because a cloth will quickly get too damp to be of any use.
In this photo by Miriam Davies from a location shoot on Ren, you can see a bagged LED panel on the left of frame.
Look After the Lighting
Transparent recycling bags are perfect for covering LED panels, which don’t get hot.
Tungsten lamps get so hot that they burn off any water before it can do any damage, so as long as they’re switched on you don’t need to worry about them getting wet, but you should wrap the switch in a plastic bag.
The same goes for HMIs, though you’ll need to put a bin bag over the ballast. Make sure the bag is loose at the top, so that the heat from the ballast can inflate it and then dissipate through the bag; if you wrap the bag on tightly, the ballast will overheat and cut out.
People can be understandably concerned about mixing water with electricity, but honestly, I’ve run tungsten and HMI lamps in the pouring rain for hours without covering them, and never had any problems. If you’re really worried, clip a sheet of gel over the lamphead to make a little hood.
16A cable
Use Outdoor Cabling
Ideally you should use only 16A (and above) cabling with C-form sockets (the round blue ones); these are rainproof. If you have to use domestic 13A extensions, wrap all the connections in plastic bags.
Seeing the Rain
The key to making rain show up on camera is backlight. If you want it to look like a real downpour, get your biggest HMI at the back of shot and blast it towards camera. Or maybe you don’t want to see the rain, maybe it’s bad for continuity, in which case you should avoid backlight at all costs.
The rain in this shot from Soul Searcher is fake, but it’s backlight that makes it show up.
Need rain for your shoot but the sky is cloudless? Read my post on faking precipitation.
Got precipitation of a more wintry nature? Check out my tips for shooting in snow.
I’ll leave you with the latest Ren behind-the-scenes video, which is all about rain and shooting – or not shooting – in it. Subscribe to get the Mythica Entertainment channel to see all the latest Ren videos as they’re released.
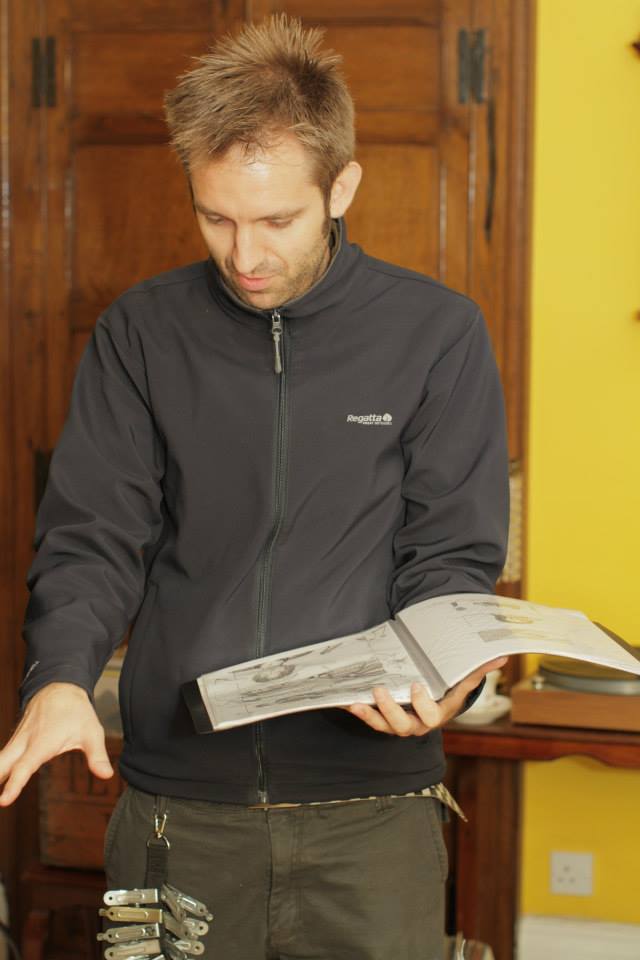
Consulting director Sophie Black’s storyboards on Night Owls. Photo: Dimitri Yiallourou
I thought it might be of interest to describe my typical working process as a director of photography on a shooting day. Different directors and ADs will run their sets different ways, so this is a generalisation.
I like to start the day by reading some of Stephen Murphy’s DOP Documents over breakfast. These elegantly-laid-out collections of screen grabs from top cinematographers are fantastic inspiration.
On some productions I’ve had long talks with the director, I’ve seen storyboards or shotlists and I’ve been on the location scouts or walked the sets already. On others I’m a last minute hire and I know nothing beyond what it says in the script. (And this should go without saying, but you need to read the script. Apparently some DPs don’t. WTF?)
Whenever I see the set for the first time, be that in preproduction or on the day, I start to think about light sources. If it’s outdoors, what is the sun orientation? If it’s indoors, where are the windows? If it’s night, what practical sources are there and do I need to add or remove some?
Ideally the next thing that happens is that the actors arrive, still in their street clothes, and the director blocks the scene with them. If I see anything that can be tweaked to orientate the talent better towards the light sources, or to provide more interesting framing, I’ll suggest it.
During the blocking I’ll wander around with Artemis (a virtual director’s viewfinder app on my iPad). If there’s a shotlist or storyboard, I’ll find the angles described and check they work. If not, I’ll find the angles I think will work well. I’ll screen-grab all of these and show them to the director when they’re done blocking. There may then be some give-and-take, perhaps adjusting the actors in situ through the viewfinder, until the director is happy.
Before the actors depart to get into costume and make-up, I’ll have my assistant put down marks for their key positions. Then the cast can leave and I can get down to the business of lighting the scene. Here’s broadly what I’m thinking about, in roughly the order I tend to think about it:
Realistically, where would light be coming from?
How should the scene be lit to create an appropriate mood?
How should the cast be lit to look their best and enhance their characters?
Aesthetically, what lighting will look the most pleasing?
Practically, where can I put lights with the grip equipment I have, without any of it coming into shot?
Lensing Three Blind Mice
Once I’ve taken a few minutes to figure that out, I’ll start issuing instructions to my gaffer. I might walk around planting lamps, or just stands, and let the gaffer finish the job by cabling them, or I may let him set some lamps up while I puzzle over whether I’ll need other lamps elsewhere. Meanwhile the camera is being set up with my chosen lens on, either by an assistant or me, if we’re short on crew. (Most directors leave lens choices to me.)
When most of the lamps are set, I’ll fire everything up and draft in whoever’s around to stand in for the actors so I can see if it’s working as planned. I don’t use a light meter, so everything is judged by eye on the monitor, perhaps with the aid of a histogram. Some tweaking usually ensues.
By this point hopefully the cast are back on set and we can start camera rehearsals. Although these are useful to the cast and director, they’re invaluable for me so that I can practice the camera move and see how the light works on the actual actors and costumes. Usually there’ll be a little more tweaking of lights before we shoot. With any luck this doesn’t hold up the director because they’re busy giving last minute direction to the cast.
After we shoot I’ll tell the director whether the take was any good from a camera and lighting standpoint. I generally don’t request retakes unless I’ve screwed something up pretty badly. Long experience has taught me that the editor will always choose the best take for performance, regardless of any minor camera wobbles or dodgy lighting, so I’m not going to waste time insisting on another take which won’t get used. The important thing is for the director to get the performance they want. Having said that, it’s my job to flag up any cinematography fluffs so that it’s the director’s decision whether to go again or not.
Once the first shot is in the can, lighting for the coverage should be fairly straightforward. I’ll have my assistant change the lens, then I’ll move the camera to the new position myself and see how the existing lighting works. Then I can tweak things accordingly.
And so it goes on until the scene is wrapped.
OK, enough from me for a minute. Want to see a legendary cinematographer’s process as he lights a scene? Check out this unique and fascinating video.
I’ll leave you with the latest Ren production diary, which asks (and fails to answer) the question: “What is a DoP anyway?”
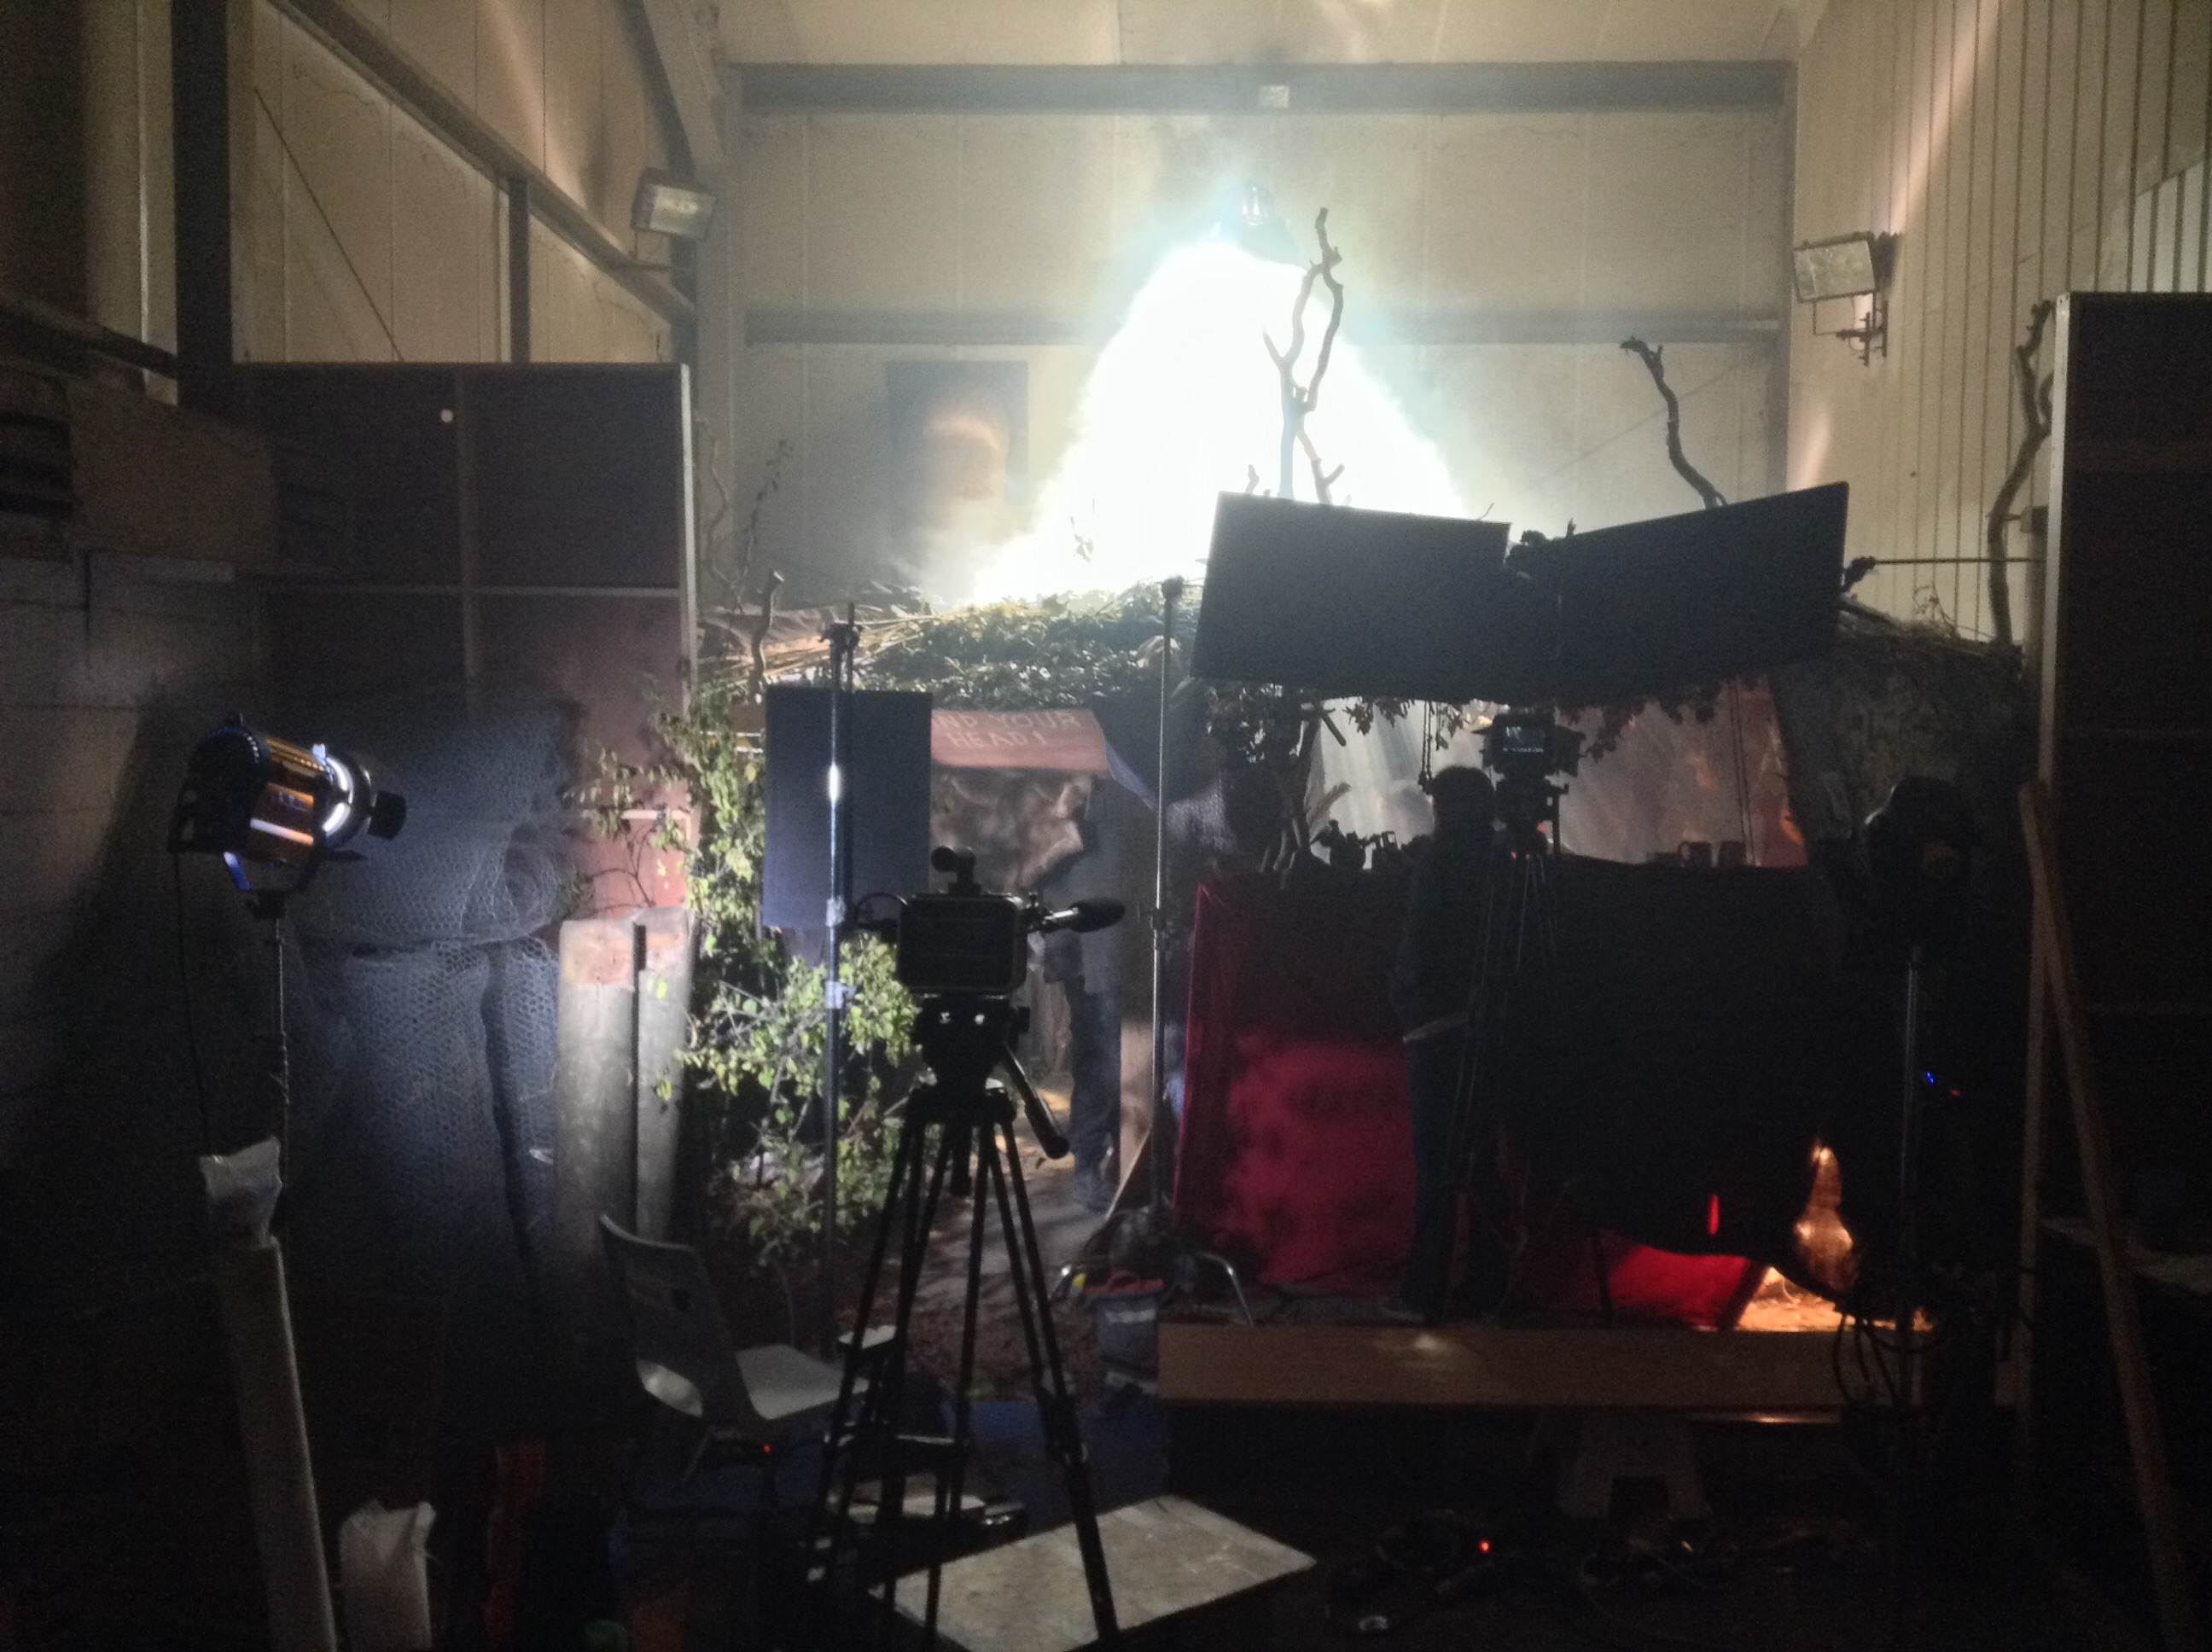
Karn’s house is an awesome set which I had been walking past at Ren Studios for six weeks before I finally got to light it. It didn’t disappoint.
Behind all that smoke at the top is the HMI
In the words of my camera assistant Andy Roughan, I had to John McClane it to get the HMI up on the metal tank behind the set. After climbing onto the tank via a stepladder, I had to shimmy around an incredibly dusty pipe to get to the spot where the lamp needed to be. Getting the lamphead, the low boy stand and sandbags up there was fun. At one point I lost my balance and fell backwards, towards the roof of the set. I shouted a naughty word at the top of my voice, thinking that not only was I going to injure myself quite badly, but I was going to destroy everyone’s favourite set before we’d shot a single thing on it. Fortunately it was so well-built that it took my weight, or at least the part of my weight that I was forced to put on it, and no harm was done. Except that me shouting the naughty word in such a tone of utter panic had given everyone within earshot a minor heart attack.
Squish’s cyclotron
Why was it so important to get light up behind the set, rather than shining it down through the roof from in front? The answer is smoke. You can’t really see smoke unless it’s backlit, so in order to get those magical shafts of light coming through the set, the HMI had to be at the back.
After shooting the video blog, Andy and gaffer Richard “Squish” Roberts finished building the cyclotron for the firelight effect. This consisted of three 100W bulbs behind a red gel, and two behind an orange gel. I don’t want to give away screengrabs yet, but you can see the fire effect at work on set dresser Amanda Stekly in this ropey iPad photo:
Set dresser Amanda Stekly, lit by the fake firelight
This fire effect served to light Ren (Sophie Skelton) in the foreground of the master shot very nicely, and separate her from the background through colour contrast. It rendered the 2ft kinoflo shown in the video blog unnecessary.
When we came in for the close-ups I continued to differentiate the characters of Ren and Karn (Christopher Dane) through light quality, as I had in Wales. I brought in an LED fresnel for Karn’s close-up, to get a hard sidelight, then for Ren’s close-up I used the 2ft kino to get a much softer look and from a less severe angle.
It’s a shame there was only one scene to film in this set; it would have been great to use it more. But it will certainly add a lot of production value to the opening episode of the series.
Ren is copyright 2014 Mythica Entertainment. Visit www.rentheseries.com to find out more.
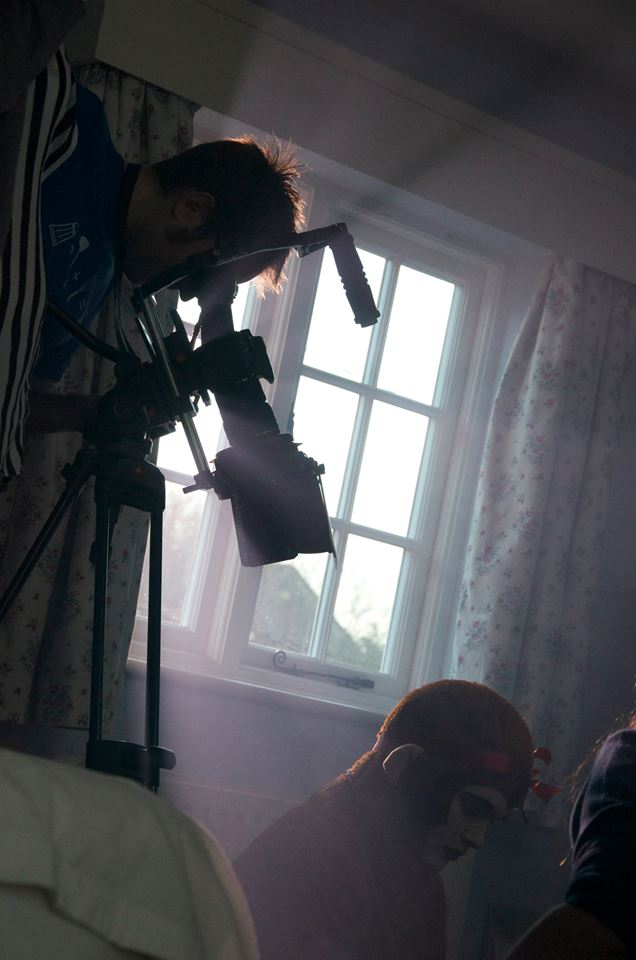
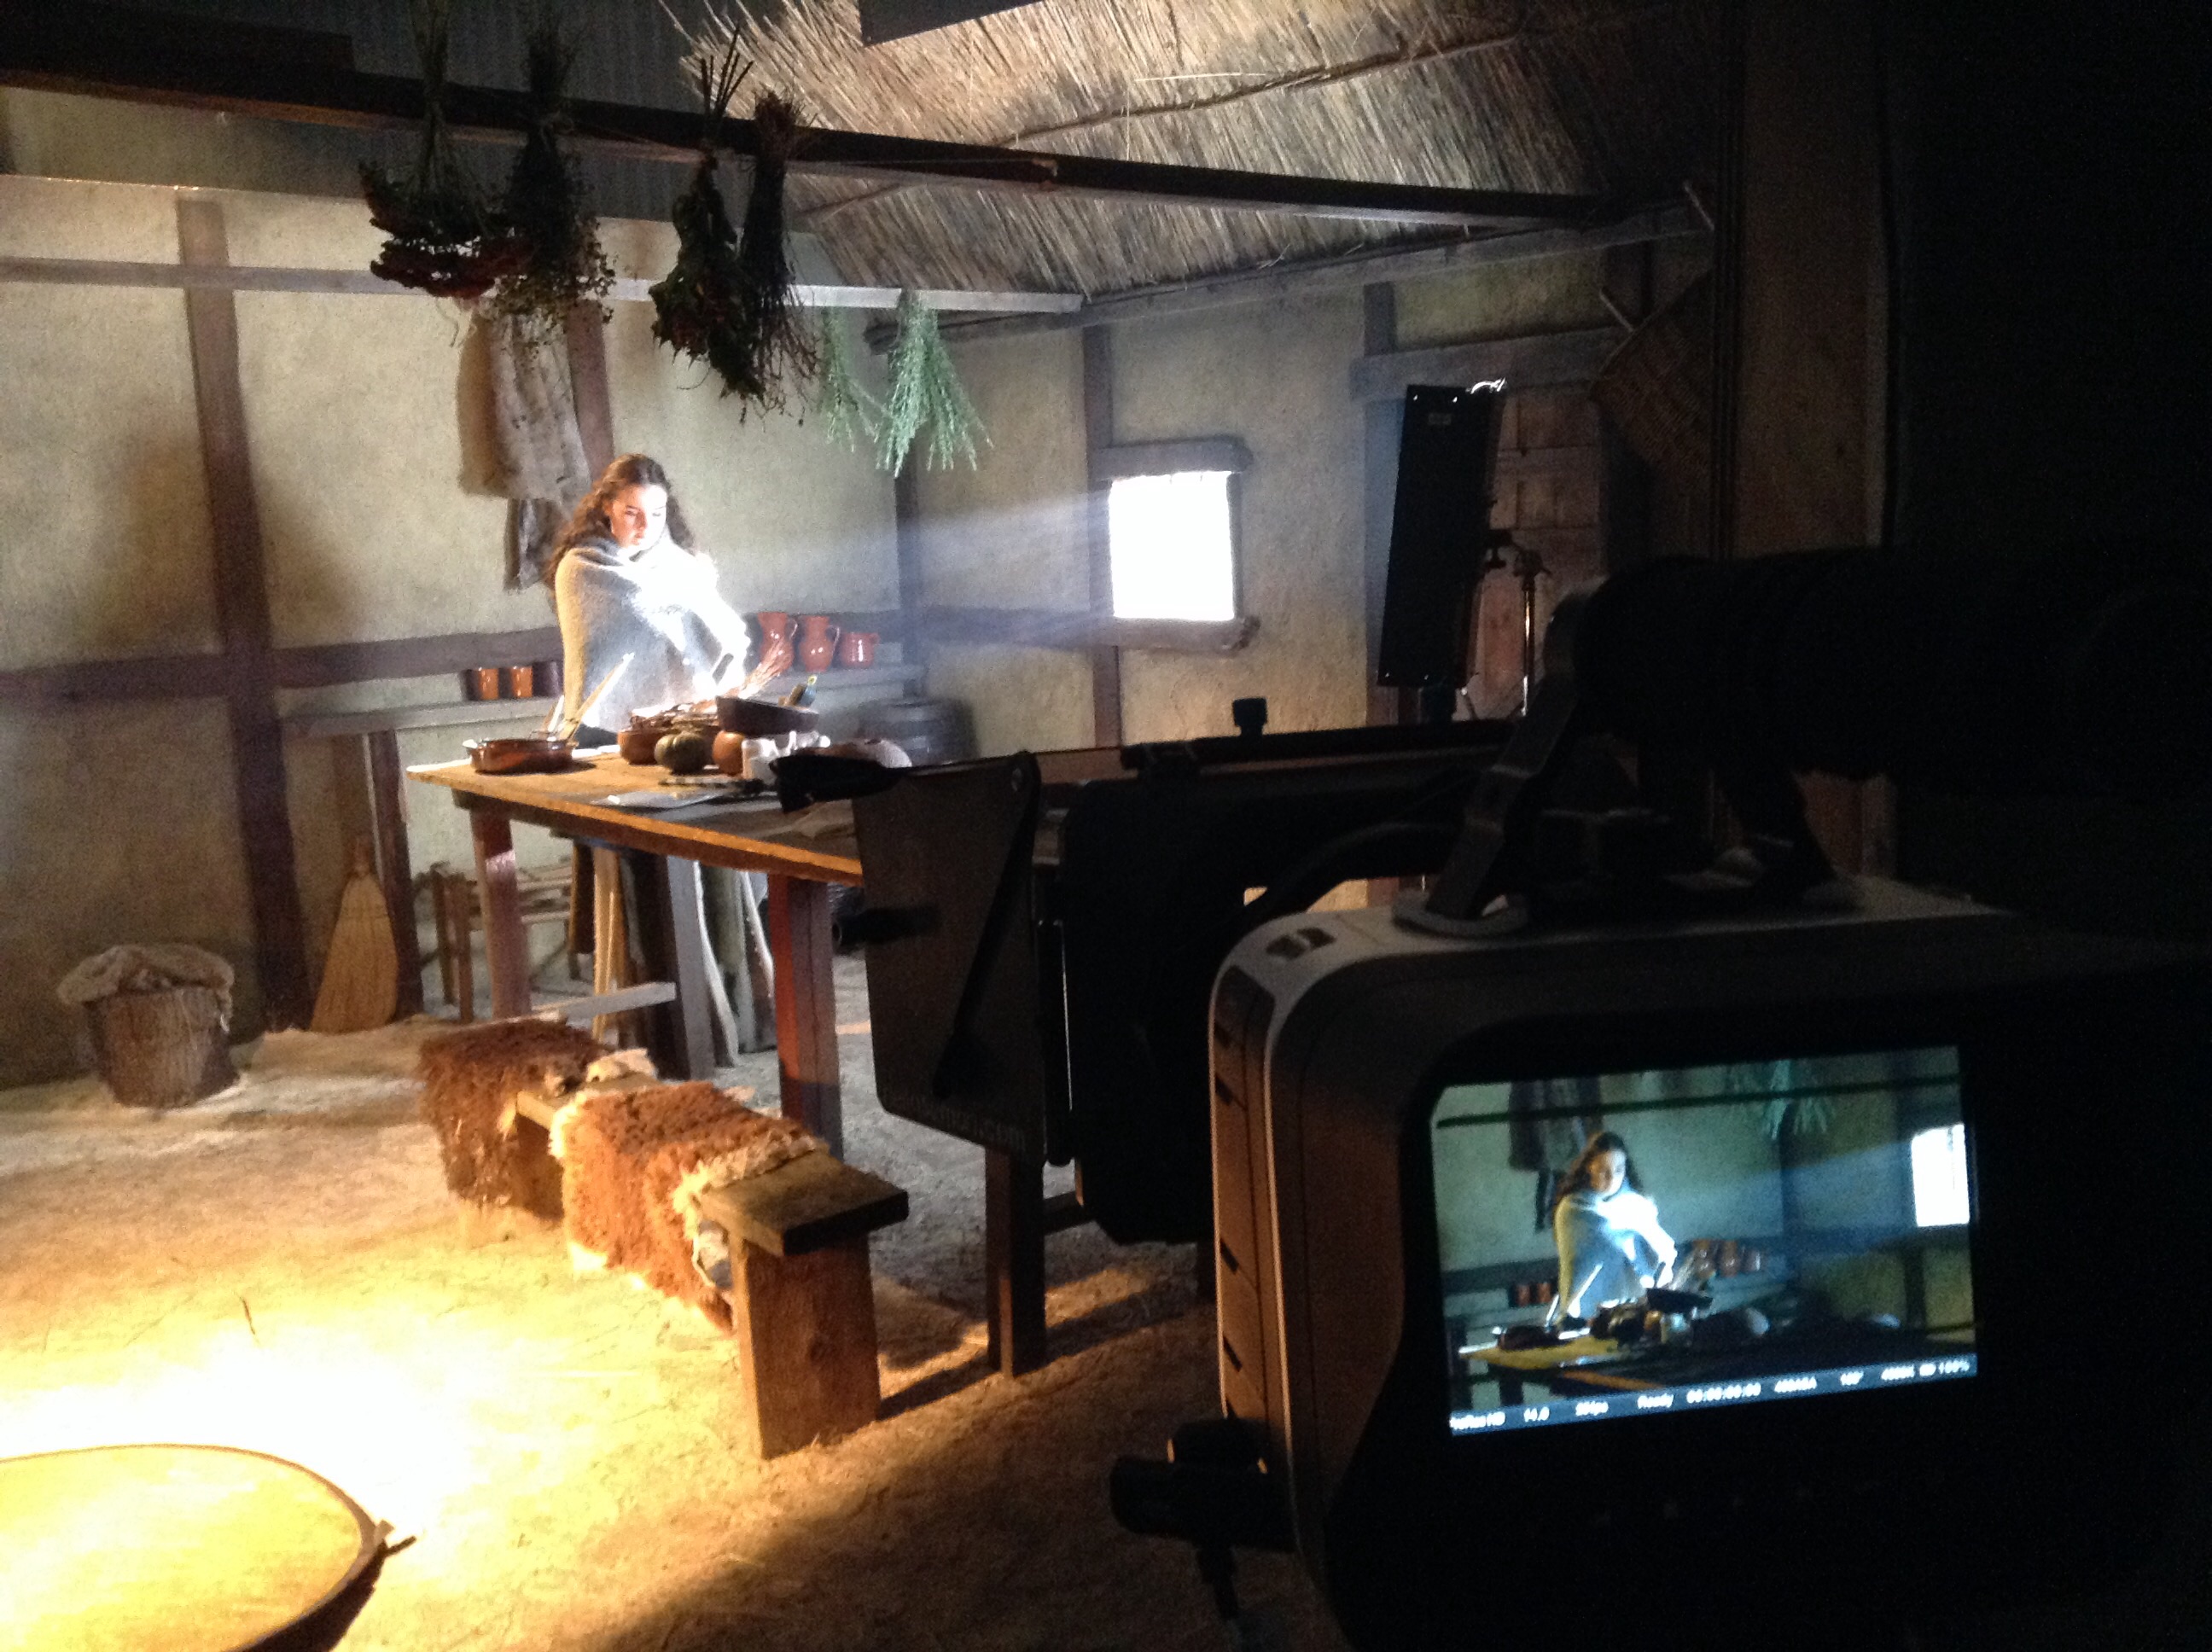
This is our big interiors week on Ren. The main set is the inside of Ren’s house, which was assembled in a mere three days by Chris Dane and his team, cannibalising the village exterior set. In this video blog I explain how I lit the set.
This set-up worked pretty much as-is for the first big scene in the house, shot on Monday. It was all handheld, so I needed the flexibility to move around with the camera and not worry about lamps on the floor getting in shot. The way I’d lit the set meant that the cast could stand pretty much anywhere and look good, especially since whoever was wiggling the “firelight” reflector could tweak the angle of it to follow any actor threatening to go a bit dark.
100W bulbs hidden behind the dresser for “candlelight”
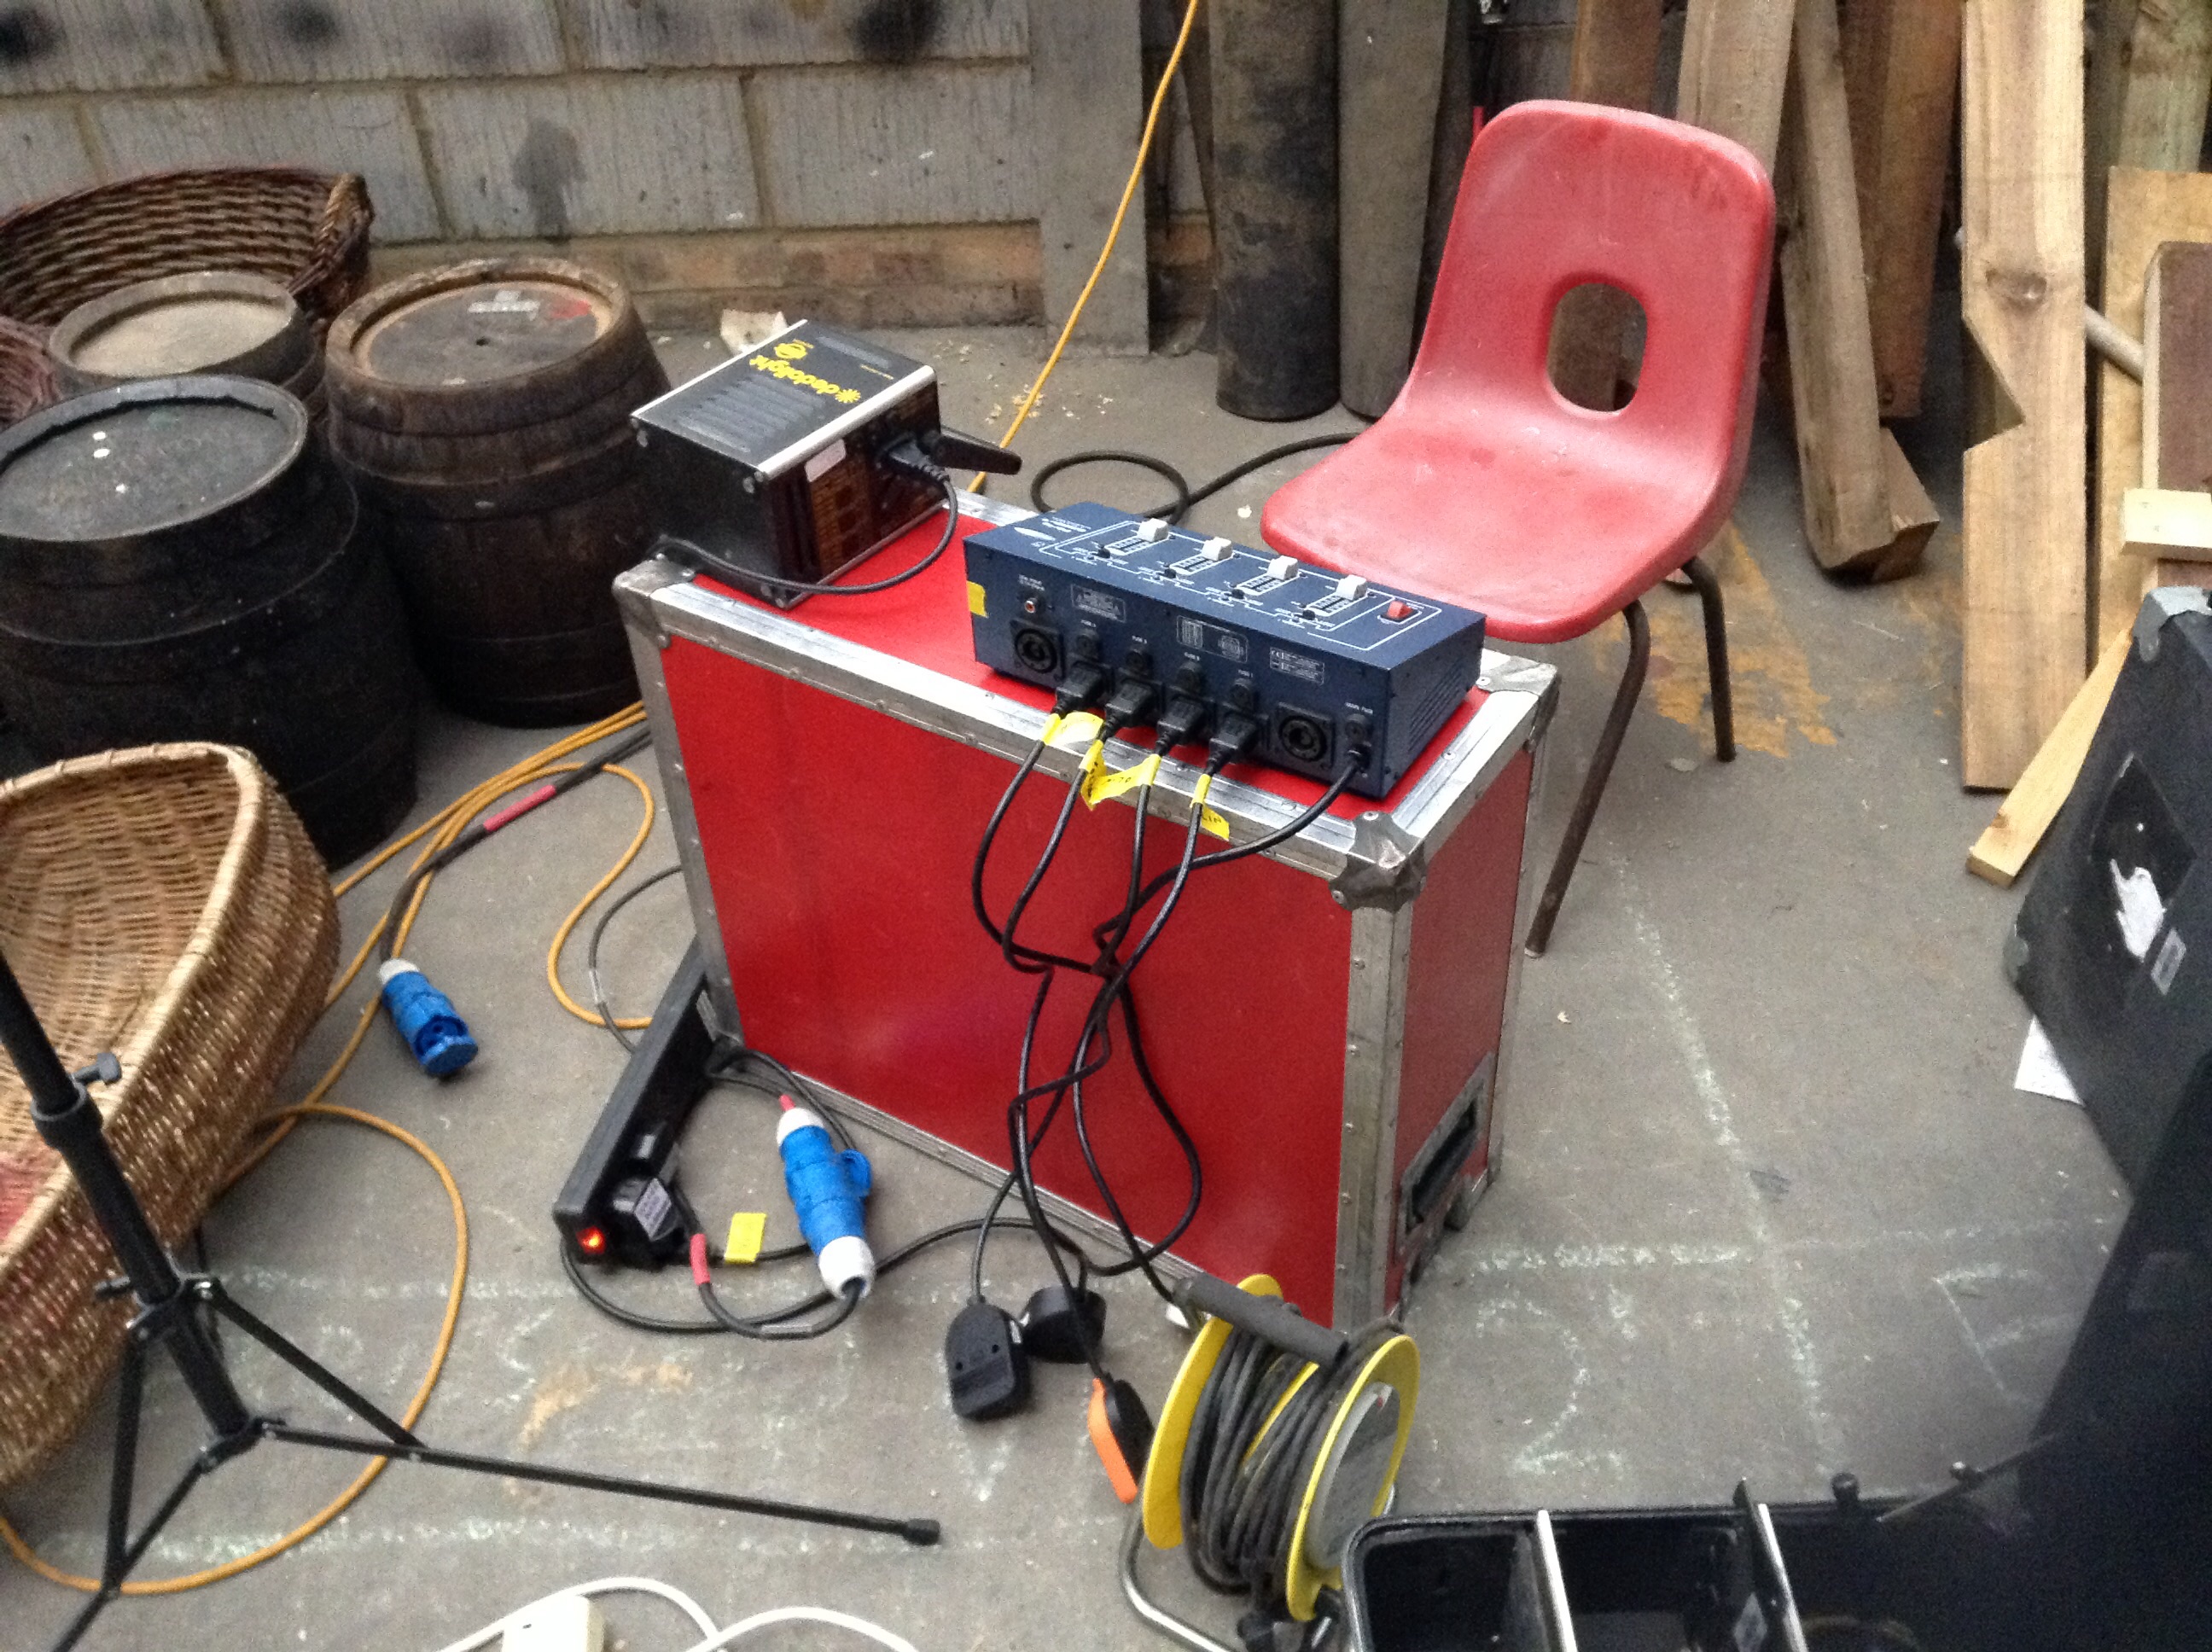
As the bedroom was visible in the background of many shots, I rigged a rough version of the candelight effect I knew I would be using when we got to the bedroom scenes proper. I clipped four 100W tungsten bulbs behind pieces of furniture and cabled them into two channels of the dimmer board Colin kindly lent us. These were then flickered to suggest flames.
The dimmer station
The dedo over the table proved to be superfluous. When I saw Claire making candles for the set, I asked her to double-wick them. I’d read in American Cinematographer that they’d done that on Pirates of the Caribbean to boost the light output, and sure enough, once those candles were lit, the dedo wasn’t needed.
The following day I played around with the lighting a bit more. When we came in for close-ups – this time on sticks – I turned off the overhead 4ft kino and brought in a 2ft kino on the floor for Window Wrap (Lighting Technique Number #3). That way the light got into the talent’s eye sockets and was generally more flattering.
The kinoflo on the right acts as Window Wrap
For another scene I decided the fire had gone out, allowing our bad guys to be bathed in cool daylight while the good guys stayed near the candlelight by the bedroom door. It’s nice when you have motivated colour contrast like this in a set and you can play around with which characters are in which colour of light. I look forward to shooting the remaining house scenes and developing some nice candlelight in the bedroom.
Here’s a little video blog about the challenges of shooting on the amazing medieval village set that Chris Dane and others have built for Ren.
I’ve been using the Artemis app a lot to test out lens choices and compositions for “seeing off the set” issues. That way if I’m set up for a shot and we’re waiting on costume or an actor, I can preview the next shot on Artemis and warn Chris that he’ll need to move a wall to hide the car park.
Here’s a brief video blog from the set of Handmade Theatre‘s The Flying Machine, explaining how spacelights are used to create an even light for multi-camera shooting.
Here’s a quick demonstration of the huge difference that sound design can make. This video contains a scene from the final cut of Soul Searcher, but still with the original production sound, followed by the same scene after the processes of sound editing, design and mixing were completed.
The music makes a big difference, of course, but putting that to one side, the sound effects have really brought the scene to life. And bear in mind that I did the sound design on this film. If a proper, experienced sound designer had done it, I’m sure it would be a hundred times better still.
First of all, the location, the villain’s lair, has been given a character through atmos tracks. The fluorescent hum is actually a combination of an electricity substation, recorded outside a local shopping centre here in Hereford late one night, and my own voice humming, layered up several times. The human element adds some randomness and makes the sound more alive.
There’s also an airy sound which is my mum’s gas oven, representing a Bunsen Burner that’s established in the room earlier in the film. This high frequency sound lightens everything up and gives it a sense of space.
The smaller chain was real metal, but you’ll notice in the production audio that what little sound it makes is weak and off-mike. This is absolutely normal; your sound recordist’s job is to get the dialogue as clearly as possible; everything else can be re-recorded in post and therefore each element can be miked closely for the best possible sound. Using a length of the chain which I had kept from production, I recorded the sounds of it being handled and dragged over the lip of the chest using a coffee table in my living room.
The chains are the MacGuffin of the story, so giving them thick, clean, satisfying sounds is vital to cement them as key elements in the audience’s mind.
Ideally the chest used as a prop would have been more ancient-looking, but that was the best one we were able to get on our budget. However, adding the sound of a friend’s squeaky bathroom doorknob as Danté opens the lid helped to age prop the little.
Finally, once all these lovely clean sound effects were track-laid, they were all treated with reverb by mixer Neil Douek, to help them feel real, to tie them all together, and to convey the scale of Danté’s lair.
How have you used sound design in your own films to help tell the story?