How to Light Efficiently and Minimise Changes Between Angles

Exciting title, right? It’s not the glamorous side of a DP’s job, but enabling a scene to be shot quickly is a skill which definitely has its place, as long as you balance it with creative and technical quality, of course.

When a scene has been blocked and the cast have gone off to have their make-up and costuming finished, and even the director has disappeared to make plans for future scenes, the DP is left on the set to light it. Though there is always time pressure on a film, it is at a minimum during this initial lighting period (usually for the wide shot). But once the wide is in the can, the DP is expected to move quickly when tweaking lights for the coverage, as all the cast and crew are standing around waiting for you.

So a wise DP always thinks ahead to the coverage, setting up as much as possible for it concurrently with the wide, or better still sets up the wide’s lighting so that it works for the coverage too.

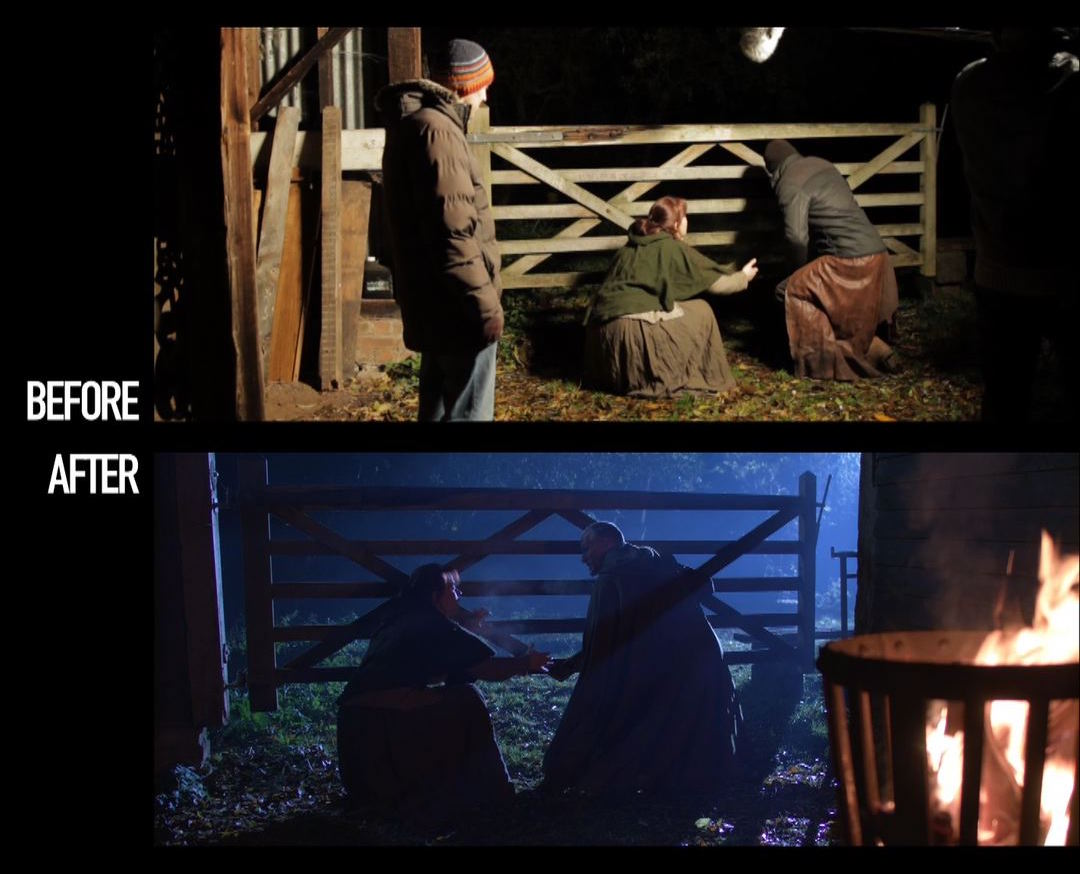
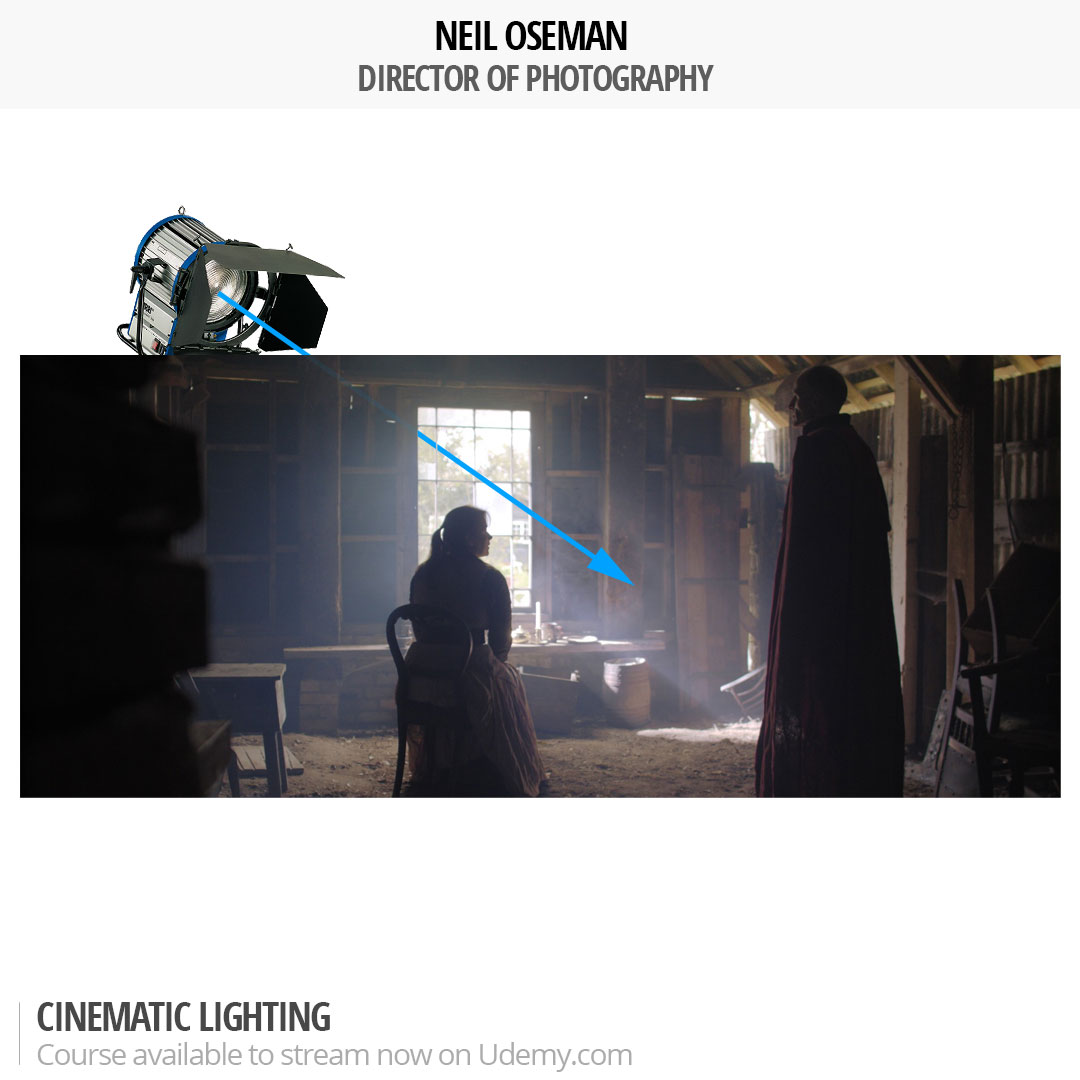
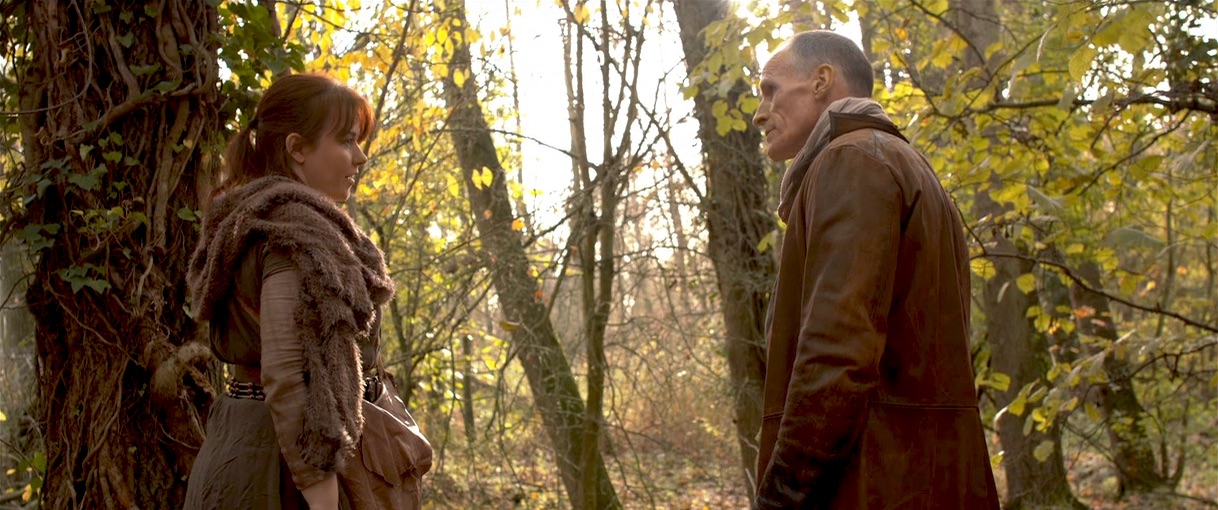
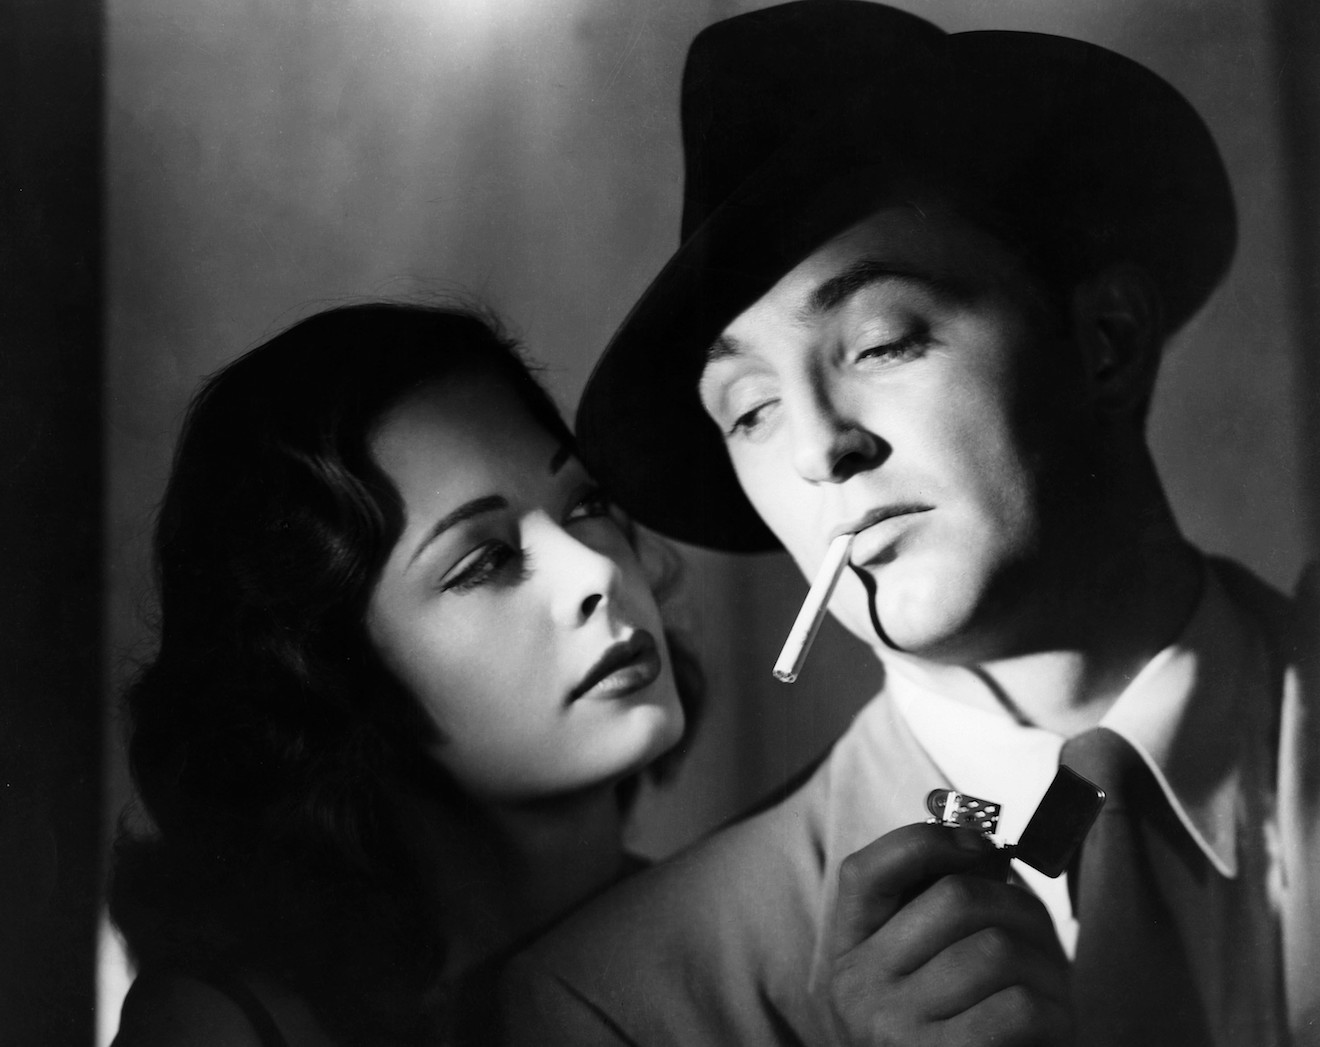
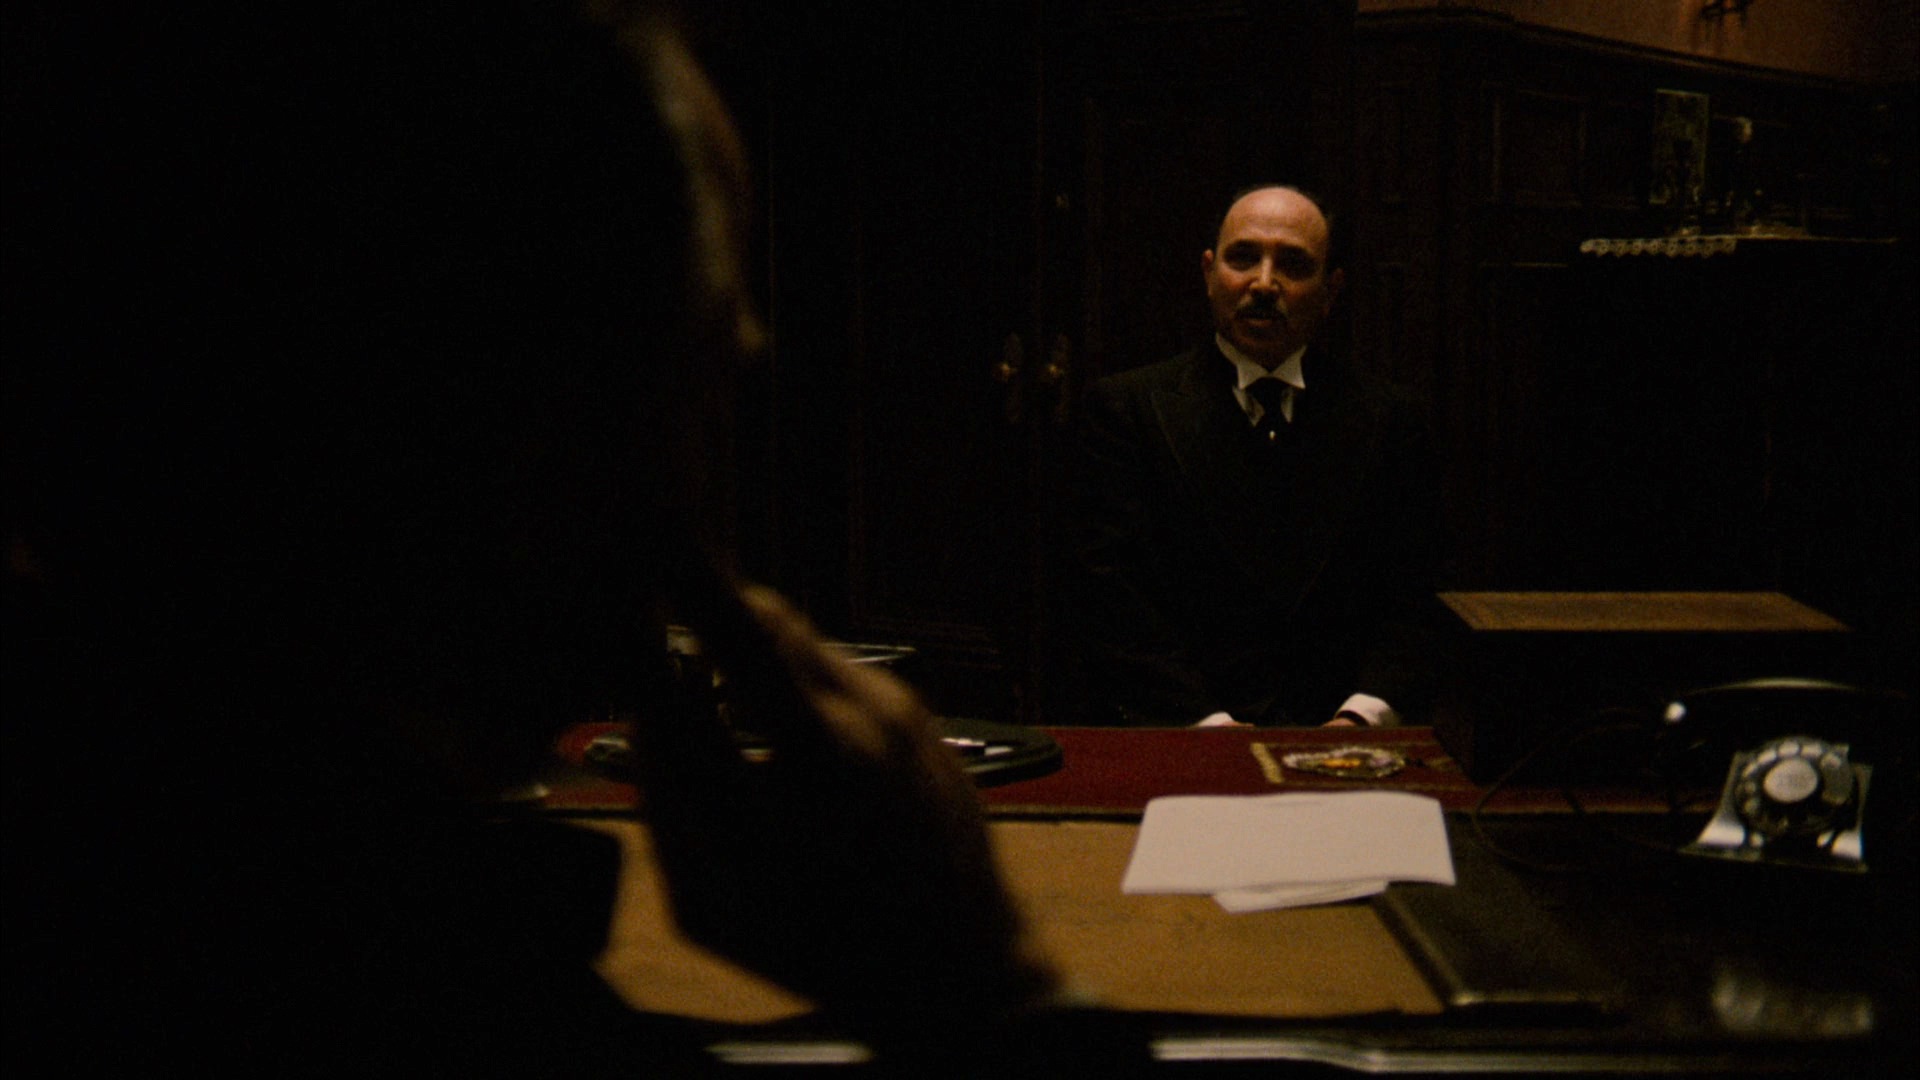
If we boil things right down, light looks best when it comes in from the side or the back, not the front. A common technique is to block and/or light the scene so that the main light source, be that the real sun, a window or an artificial source, is behind the cast in the wide. Let’s imagine this from the top down with the camera at 6 o’clock, the key light at 12 o’clock, and the actors in the centre.

Because of the 180º Rule, otherwise known as the Line of Action, the camera positions for the coverage are likely to all be on the bottom half of the clock face between 3 o’clock and 9 o’clock. At either of those two positions the 12 o’clock key light is now coming in from the side, so your image still has mood.

This date scene in “Harvey Greenfield is Running Late” was cross-backlit; you can just see the second light in the top right of this photo.

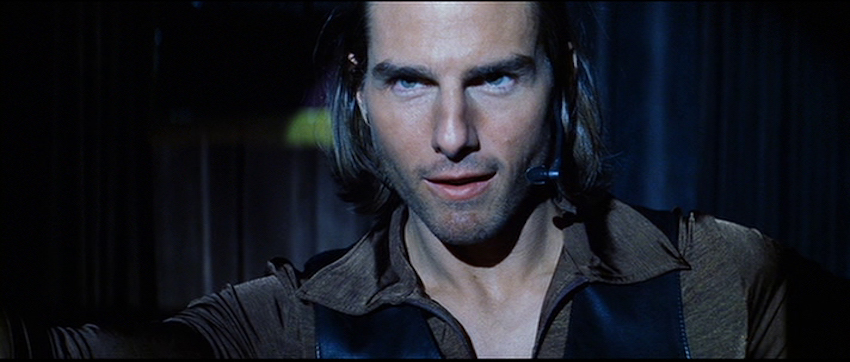
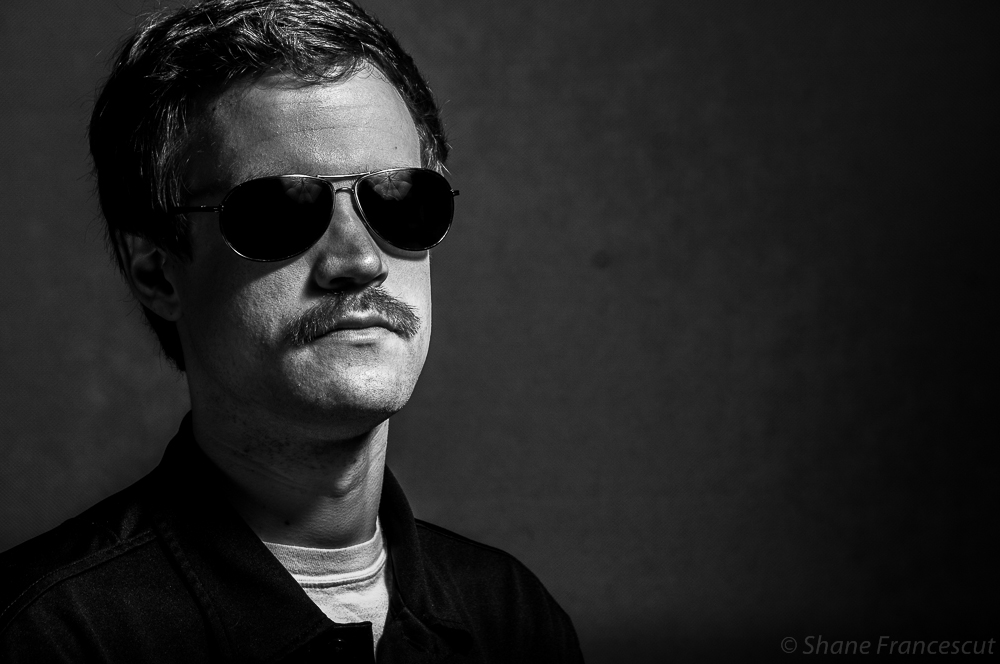
Another common set-up is cross-backlight. Here you would have two lights, one at about 10:30 and the other at 1:30. These give a three-quarter backlight in the wide and a three-quarter key light in the singles.

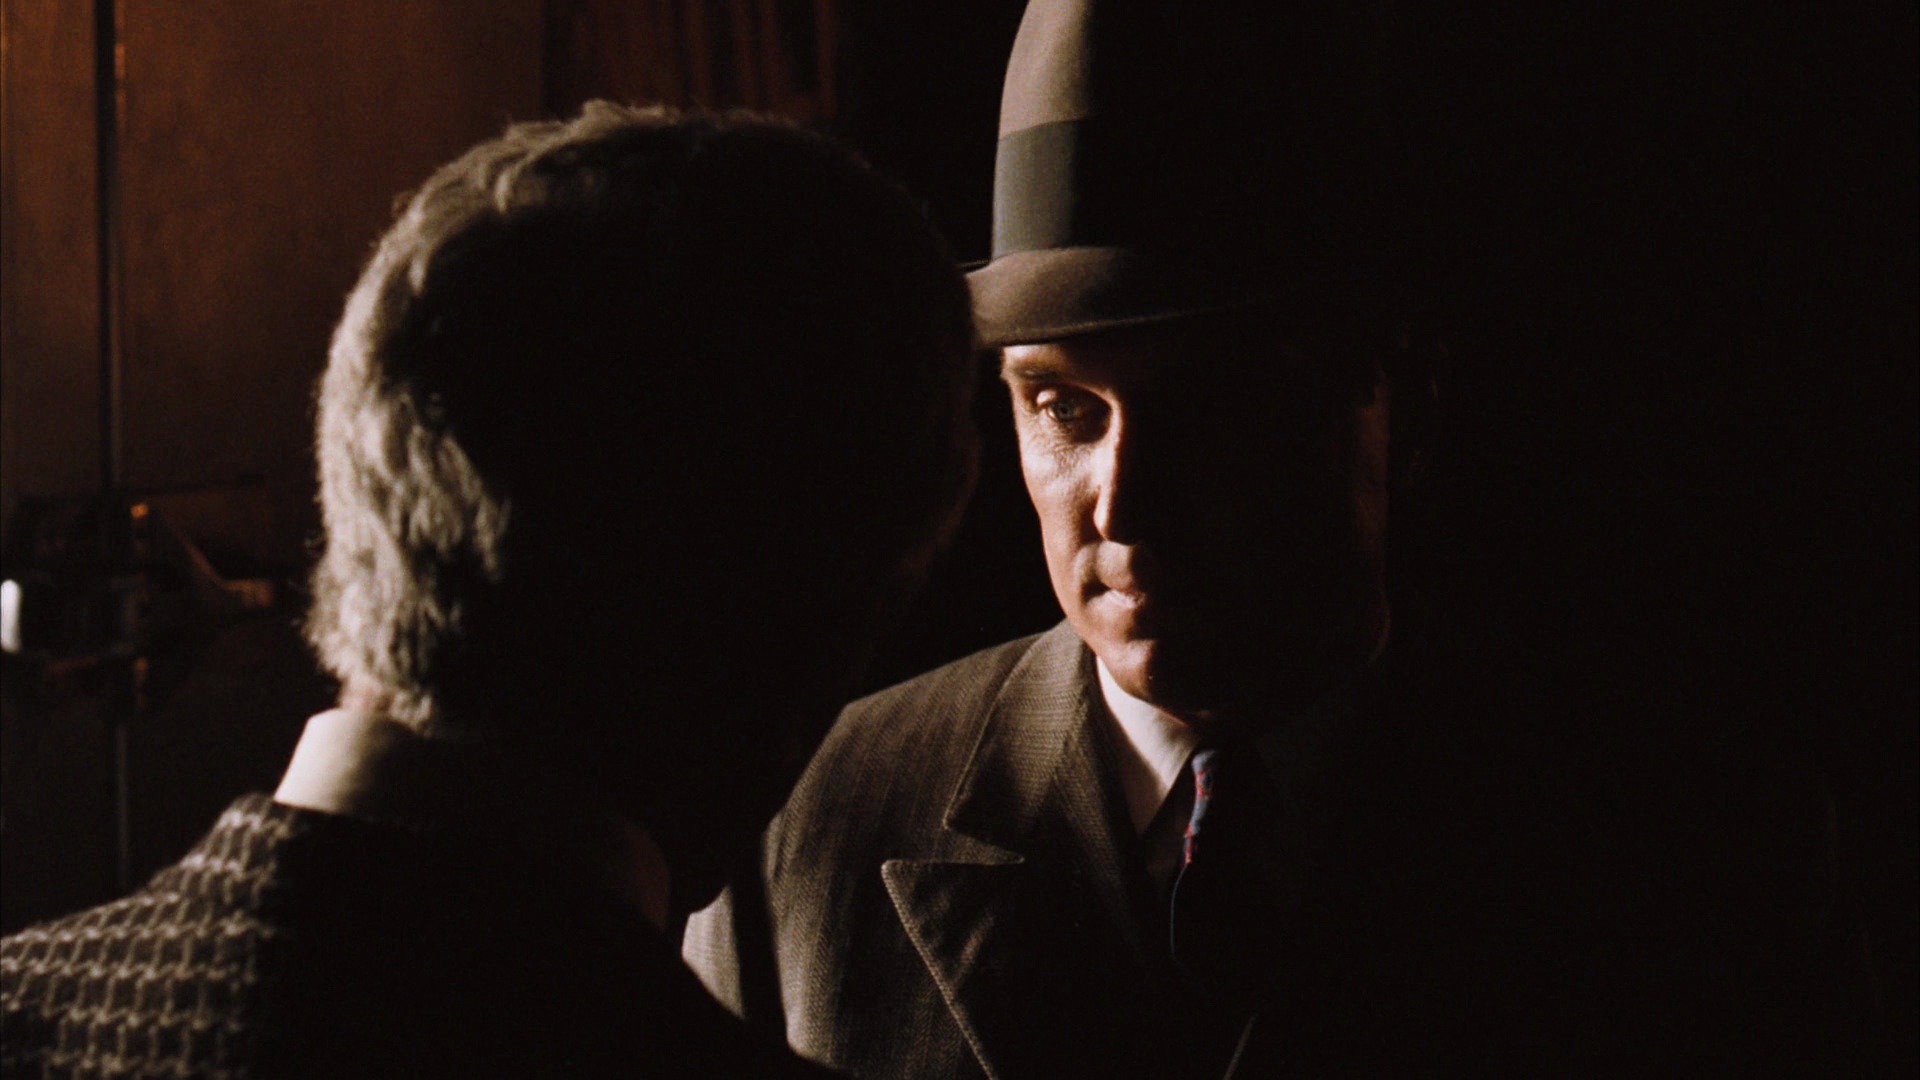
Something basic to avoid is lights actually being in shot when you move to a new camera position. Early in my career I used to put all my lamps on stands because I didn’t know any better (or have any rigging kit to do anything else), but that means you’re forever moving them. Much better to rig things to the ceiling, or to position them outside the room shining in through doors and windows. 

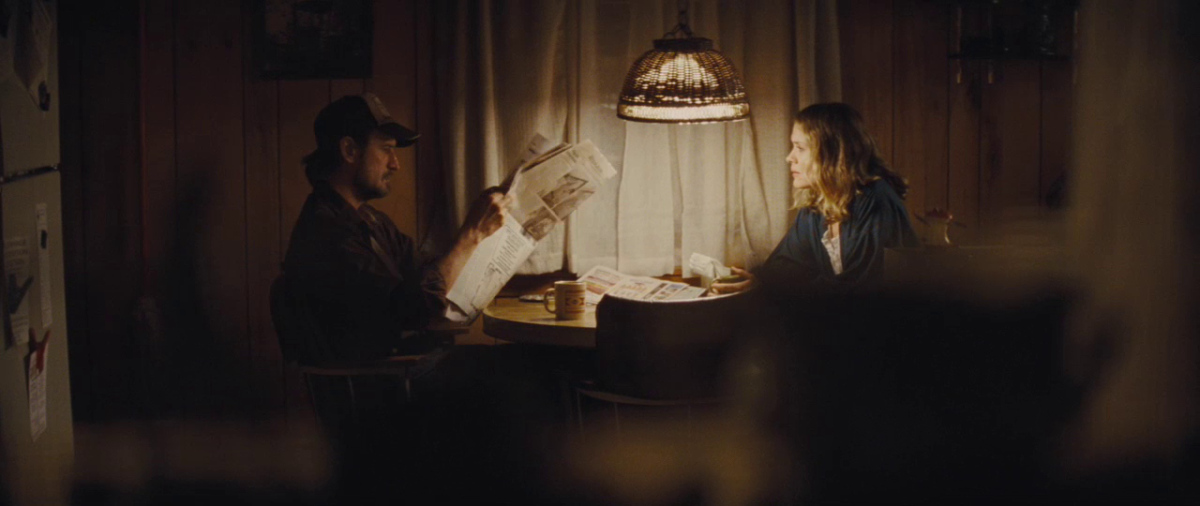
Practicals lights are really helpful too, because you can get them in shot with impunity. You can save hours of pain on set by collaborating with the art department in pre-production to make sure there are enough practicals to justify light from all the angles you might need it. Put them all on dimmers and use a fast lens or high ISO and you may well find that when you change camera position you only need to dim down the frontal ones and bring up the back ones to get the shot looking nice.

A behind-the-scenes view of some of the lights we rigged in the “Heretiks” chapel.

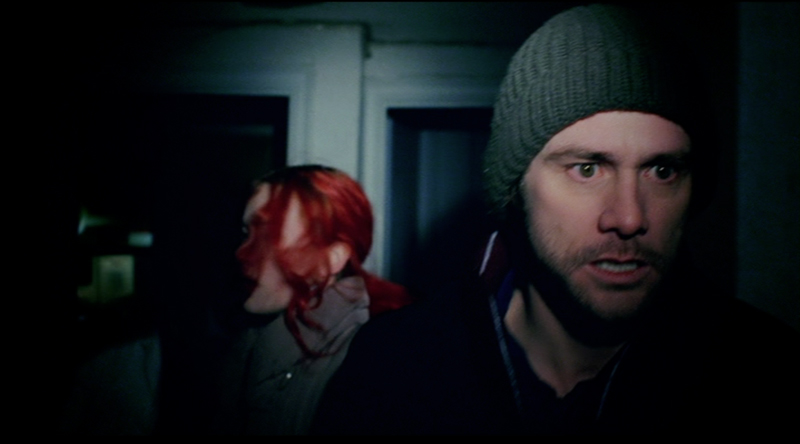
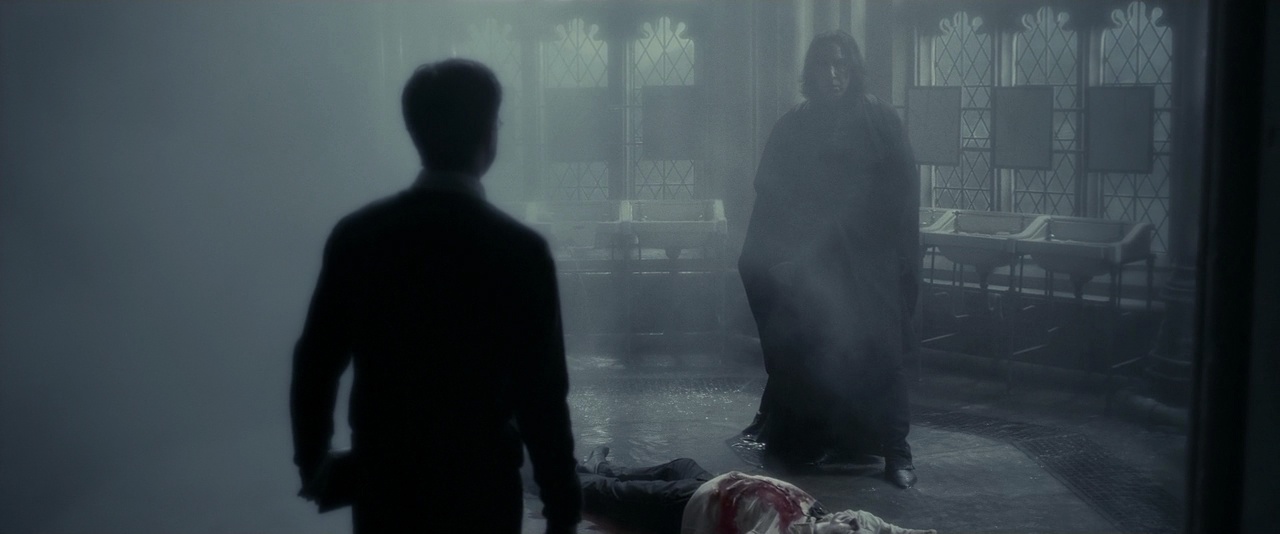
I once had to light a scene in a medieval chapel for a horror film called Heretiks. The master was a Steadicam shot moving 360º around the set. The gaffer and I invested the time beforehand to rig numerous 300W and 650W tungsten fresnels around the tops of all the walls, connected to dimmers. (The light was motivated by numerous candles.) With a bit of practice the gaffer and sparks were able to dim each lamp as the camera passed in front of it – to avoid camera shadows and the flat look of front light – and bring them back up afterwards, so there was always a wrapping backlight. A convenient side effect was that when we moved onto conventional coverage we could light shots in seconds by turning a few dimmers down or off and others up.

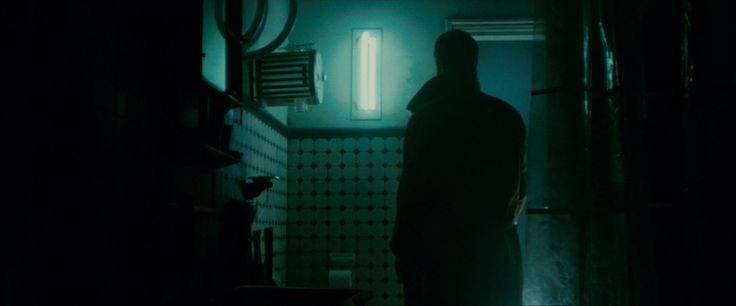
DP Benedict Spence used a similar principle on the recent BBC series This is Going to Hurt; he had 250 Astera Titan tubes built into the hospital set. While this was time-consuming and expensive upfront, it meant that shots could be lit very quickly by making a few tweaks at a lighting desk. And since the tubes looked like fluorescent strip-lights, there was never any problem with getting them in shot.

Once you start shooting a scene it’s important to keep up the pace so that the cast can stay in the zone. Spending extra time in prep or when lighting the wides will pay dividends in faster coverage, giving the director more time to get the best performances and to tell the story, which is ultimately what it’s all about.

How to Light Efficiently and Minimise Changes Between Angles

The First Light a Cinematographer Should Put Up

Where do you start, as a director of photography lighting a set? What should be the first brushstroke when you’re painting with light?

I believe the answer is backlight, and I think many DPs would agree with me.

Let’s take the example of a night exterior in a historical fantasy piece, as featured in my online course, Cinematic Lighting. The main source of light in such a scene would be the moon. Where am I going to put it? At the back.

The before image is lit by an LED panel serving purely as a work-light while we rehearsed. It’s not directly above the camera, but off to the right, so the lighting isn’t completely flat, but there is very little depth in the image. Beyond the gate is a boring black void.

The after image completely transforms the viewer’s understanding of the three-dimensional space. We get the sense of a world beyond the gate, an intriguing world lighter than the foreground, with a glimpse of trees and space. Composing the brazier in the foreground has added a further plane, again increasing the three-dimensional impression.

Here is the lighting diagram for the scene. (Loads more diagrams like this can be seen on my Instagram feed.)

The “moon” is a 2.5KW HMI fresnel way back amongst the trees, hidden from camera by the wall on the right. This throws the gate and the characters into silhouette, creating a rim of light around their camera-right sides.

To shed a little light on Ivan’s face as he looks camera-left, I hid a 4×4′ Kino Flo behind the lefthand wall, again behind the actors.

The LED from the rehearsal, a Neewer 480, hasn’t moved, but now it has an orange gel and is dimmed very low to subtly enhance the firelight. Note how the contrasting colours in the frame add to the depth as well.

So I’ll always go into a scene looking at where to put a big backlight, and then seeing if I need any additional sources. Sometimes I don’t, like in this scene from the Daylight Interior module of the course.

Backlight for interior scenes is different to night interiors. You cannot simply put it where you want it. You must work with the position of the windows. When I’m prepping interiors, I always work with the director to try to block the scene so that we can face towards the window as much as possible, making it our backlight. If a set is being built, I’ll talk to the production designer at the design stage to get windows put in to backlight the main camera positions whenever possible.

In the above example, lit by just the 2.5K HMI outside the window, I actually blacked out windows behind camera so that they would not fill in the nice shadows created by the backlight.

Daylight exteriors are different again. I never use artificial lights outdoors in daytime any more. I prefer to work with the natural light and employ reflectors, diffusion or negative fill to mould it where necessary.

So it’s very important to block the scene with the camera facing the sun whenever possible. Predicting the sun path may take a little work, but it will always be worth it.

Here I’ve shot south, towards the low November sun, and didn’t need to modify the light at all.

Shooting in the opposite direction would have looked flat and uninteresting, not to mention causing potential problems with the cast squinting in the sunlight, and boom and camera shadows being cast on them.

You can learn much more about the principles and practice of cinematic lighting by taking my online course on Udemy. Currently you can get an amazing 90% off using the voucher code INSTA90 until November 19th.

For more examples of building a scene around backlight, see my article “Lighting from the Back”.

The First Light a Cinematographer Should Put Up

Front-light

A front-lit shot of mine from “The First Musketeer” (2015, dir. Harriet Sams)

Front-light is a bit of a dirty word in cinematography. DPs will commonly be heard rhapsodising about beautiful backlight or moody sidelight, but rarely does the humble front-light get any love. But there is no right or wrong in cinematography. Just because front-light is less popular, doesn’t mean it can’t make a great shot.

Why do we avoid front-light so often? Because it usually flattens things out, reducing or eliminating any sense of depth in the image, and giving no shape to faces or objects. Sometimes this might be the perfect look: for a character who is shallow, or who feels like their life is dull and uneventful, perhaps; a live-action scene to be intercut with two-dimensional animation; or a stylised flashback like the image above. And sometimes, of course, front-light is unavoidable for logical reasons – if a character is looking out of a window, say. The trouble is, it can make for un-engaging or un-cinematic images, and that’s when you may want to pull some other tricks out of the box.

Here are six ways to bring some interest back into a frontally-lit frame.


1. Cut the light.

A shot of mine from “Crossing Paths” (2015, dir. Ben Bloore)

If you can flag some of the front-light, reducing the area of the frame it’s hitting, and leave the rest to the fill light or to fall into shadow, you’ll get some contrast back into your image.


2. Use a gobo.

Another shot of mine, this one from “Lebensraum” way back in 2007.

If it doesn’t make sense to cut the light, try breaking it up with a gobo. You can make a gobo from almost anything. Commonly on night exteriors I send a spark off to liberate a branch from a nearby tree and rig that in front of the key-light. If I need to create a window-frame effect I’ve been known to clamp a chair or stool to a C-stand to get a suitable pattern of perpendicular lines.


3. Add dynamics.

Front-light is often more interesting if it’s not there all the time. If you can find an excuse to have it flicker or move somehow, you’ll get a lot more mood and shape in your shot. Firelight, TVs, rippling water, panning searchlights or the headlights of a passing car can all safely come from the front and remain dramatic. Create a moving gobo and you’ve got something really interesting. The tree branch example from earlier – if that blows around in the wind then it will add a lot of tension to the visuals. Here’s a firelight example from Ren: The Girl with the Mark

(Check out my Instagram feed for more lighting breakdowns like this.)


4. Darken the background.

“Magnolia” (DP: Robert Elswit, ASC)

You can combat the lack of depth by keeping the background dark, so that the front-lit subject stands out against it. This will happen automatically due to the Inverse-square Law (a post on that is coming soon) if the subject is close to the source, e.g. standing right by a window. Due to the nature of front-light, you probably can’t flag the background without flagging the subject too, so bringing your source closer to the subject or redressing the background may be your only options.


5. Make a virtue of the subject’s shadow.

“The Shadow of Death” by William Holman Hunt, 1873

One reason to avoid front-light is the distracting shadow which the subject will cast on the background. But sometimes this can be a great benefit to the shot, almost becoming another character, or adding subtext as in this painting.


6. Use a strong backlight.

A still of mine from “Stop/Eject”. The red backlight and the kicker from the practical help mitigate the flat front-light.

If there’s nothing you can do to modify the front-light, then pumping up the backlight might well save the day. The most flatly-illuminated shots suddenly become deep and appealing when the subject has a halo of over-exposed light. Indeed, this is what commonly happens with day exteriors: you shoot into the sun to get the nice backlight, and ambient light flatly fills in the faces.

So next time you’re faced with front-light, remember, it’s not the end of the world!

Front-light

The Art of Single Source Lighting

Can a scene be lit with just one lamp? It certainly can, and in fact some of cinema’s most stunning and iconic images have been achieved this way. A single source image can be realistic or stylised, flattering or scary, but is almost always arresting. Even if you decide the look of a single source is too extreme, and add more lamps, building the lighting around that one key source can still be a very useful approach.

Let’s consider some of the ways in which a single source can be used.


Front Light

Front light is not very common in cinematography because – and this will be especially true without any other sources – it produces a flat image. Often we think of front light as being devoid of depth, though in fact it does reveal depth because things closer to the camera (and therefore also closer to the light) are brighter, while distant backgrounds are darker. An example is the sequence from Eternal Sunshine of the Spotless Mind in which the frontal spotlight and the resultant dark surroundings represent the protagonist’s memories being erased.

“Eternal Sunshine of the Spotless Mind” – DP: Ellen Kuras ASC
“Out of the Past” – DP: Nicholas Musuraca ASC. This one’s a bit of a cheat because there appears to be a second light on the background.

More common is three-quarter front light, which gives some modelling on the face, and is consequently seen a lot in portraiture, both modern and classical.

Photo by Shane Francescut, www.theweeklyminute.wordpress.com
“Portrait of Doge Leornardo Loredan” – Giovanni Bellini (1501)


Side Light

Light from the side can be the most informative, revealing shape, texture and detail. As a single source, it produces incredible chiaroscuro – contrast between light and shade. This shot from the The Godfather is a great example.

“The Godfather” – DP: Gordon Willis ASC

Here is a more complex example from classical art. I saw this painting at the Guildhall recently and it inspired me to write this post. I love the way that the soft light comes in through an unseen doorway to the right, illuminating the wall and modelling each of the people differently according to the angle it reaches them at.

“The Reading of the Bible by the Rabbis” – Jean Jules Antoine Lecomte du Noüy (1882)


Toplight

Perhaps the most famous use of toplight is in The Godfather‘s opening scene, where the characters’ eye sockets are rendered black and hollow by the steep angle of the single source.

“The Godfather” – DP: Gordon Willis ASC

A ceiling lamp hanging over a table is one of the most frequently seen examples of single source top-lighting.

“Mud” – DP: Adam Stone

Often the table or things on it – papers, white tablecloths – will reflect back some of the toplight, filling in the shadows. Film Riot investigates the many variations of this set-up in their episode on single source lighting.


Backlight

There are many examples of scenes lit only from the back. It’s a beautiful look, creating mood and mystery, revealing form without details, reducing people to simulacra. The optional addition of smoke helps the light to wrap a little and lift the shadows.

“Blade Runner” – DP: Jordan Cronenweth ASC
“Harry Potter and the Half-blood Prince” – DP: Bruno Delbonnel AFC, ASC
“The Man from London” – DP: Fred Kelemen
“The Assassination of Jesse James by the Coward Robert Ford” – DP: Roger Deakins CBE, ASC, BSC
“The Social Network” – DP: Jeff Cronenweth ASC

It’s not uncommon for a DP to begin lighting by setting a backlight to give form and depth to the scene, then seeing if and where other sources are necessary, to illuminate faces and other important details.


OMNIDIRECTIONAL

Most film fixtures shed their illumination in broadly one direction, but of course most light sources in day-to-day life aren’t that discriminating, throwing rays all around them. In the form of practicals, such omnidirectional lights can create very interesting images, particularly when they are handheld.

“O Brother, Where Art Thou?” – DP: Roger Deakins CBE, ASC, BSC

When people are grouped around an omnidirectional source, each one is modelled differently. Characters in the foreground, between the lamp and the camera, become silhouettes, while those to the sides are rendered in chiaroscuro, and those in the background are lit frontally. This creates a wonderful feeling of dark-to-light/near-to-far depth and dimensionality. 17th century Dutch masters like Gerrit Dou and Gerard van Honthorst painted such effects beautifully.

“The Match-maker” – Gerard van Honthorst (1625)
“The Denial of St Peter” – Gerard van Honthorst (circa 1618-1620)

Having recently re-equipped myself with a 35mm SLR, I’m planning a photography project inspired by some of these candlelit scenes. Watch this space!

The Art of Single Source Lighting