Finding the Positive in 2020

This year hasn’t been great for anyone. It certainly hasn’t for me. Even as I’m writing this I’m hearing the news that, in a staggeringly foreseeable U-turn, the Christmas bubble rules have been severely restricted. So how to wrap up this stinker of a year?

I considered making this article about the pandemic’s impact on the film and TV industries and speculating about which changes might be permanent. But who needs more doom and gloom? Not me.

Instead, here are six positive things that I accomplished this year:

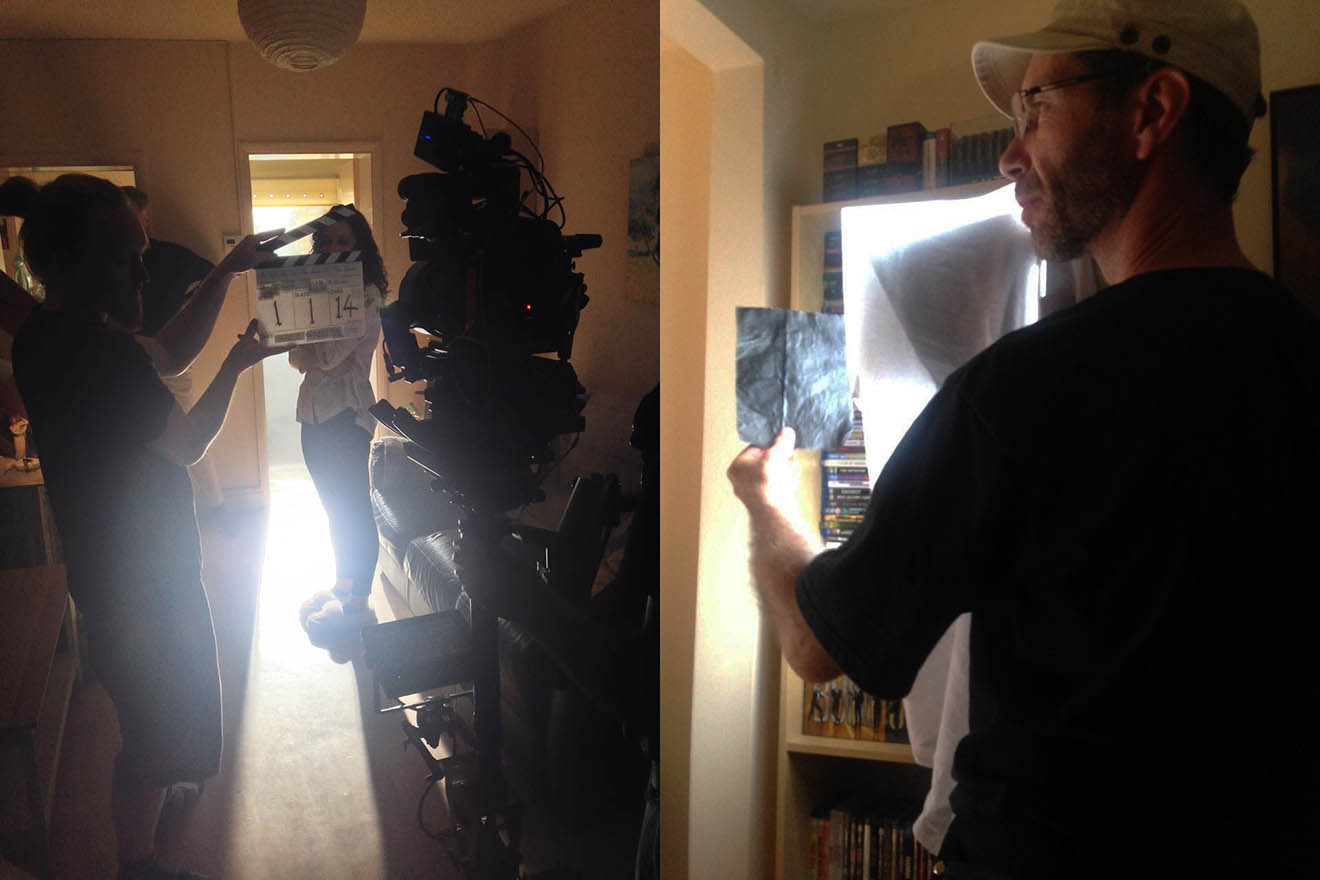
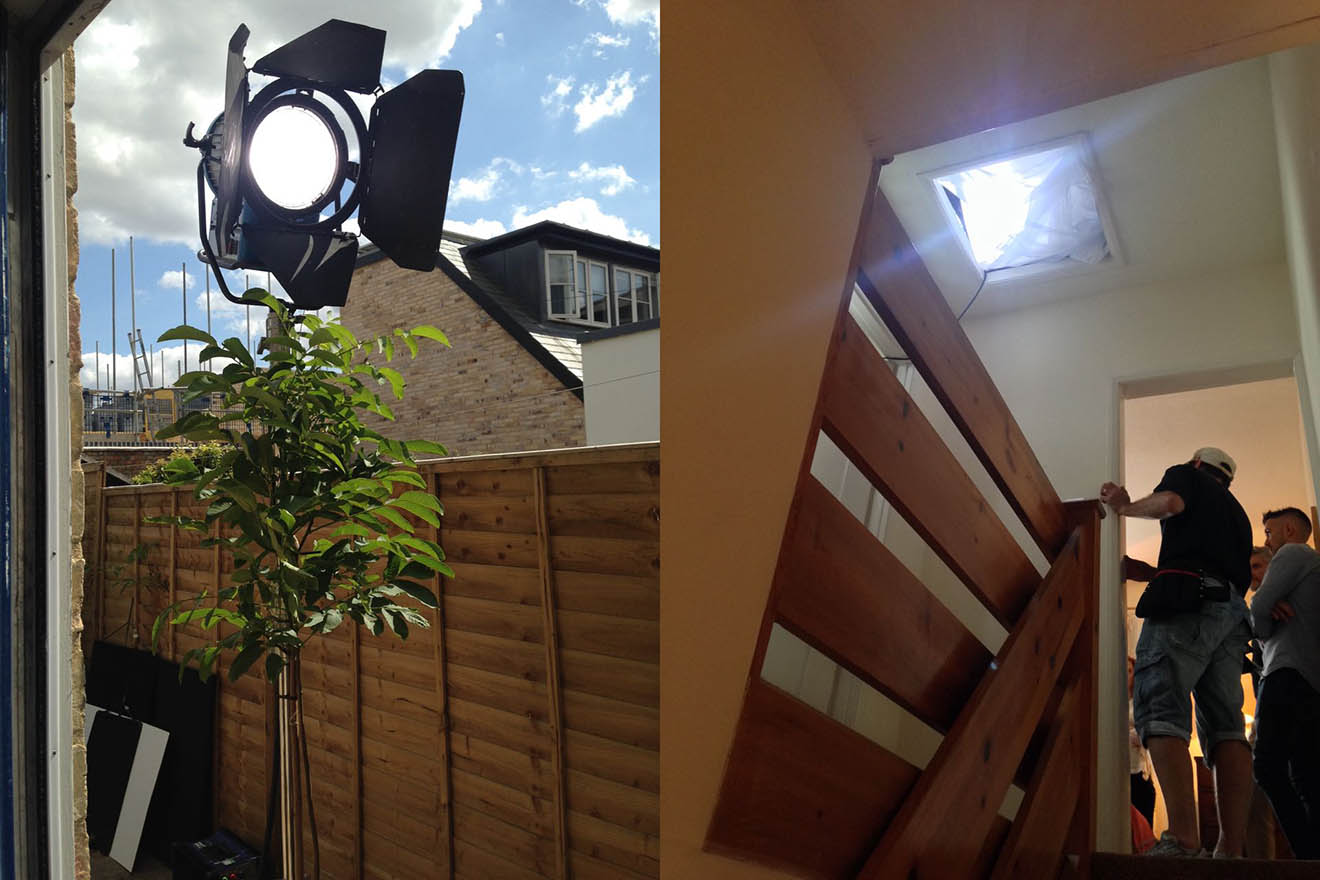
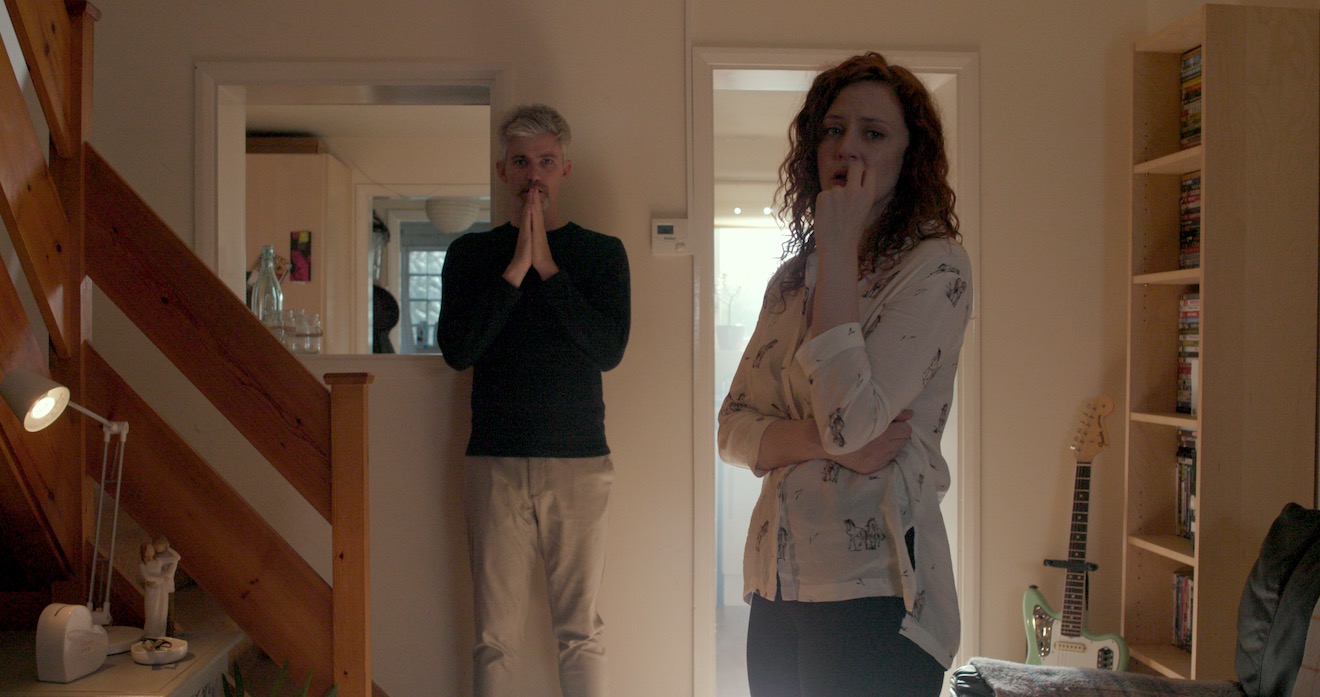
  1. We shot the final block of War of the Worlds: The Attack in February/March, and I was recently shown a top-secret trailer which is very exciting. There is plenty of post work still to do on this modern-day reimagining of the H.G. Wells classic, but hopefully it will see the light of day in a year or so.
  2. After a couple of lax years, I got back to blogging regularly. This site now has a staggering 1,250 posts!
  3. I completed and released my first online course, Cinematic Lighting, which has proven very popular. It currently has over 1,000 students and a star rating which has consistently hovered around 4.5 out of 5.
  4. I made a zoetrope and shot several 35mm timelapses and animations for it, which was a nice lockdown project. Even though the animations didn’t come out that well they were fun to do, and the zoetrope itself is just a cool object to keep on the shelf.
  5. I wrote my first article for British Cinematographer, the official magazine of the BSC, which will be published on January 15th. In the process I got to interview (albeit by email) several DPs I’ve admired for a while including David Higgs BSC, Colin Watkinson ASC, BSC and Benedict Spence.
  6. The lockdown gave me the time to update my showreel. Who knows if I’ll ever work again as a DP, but if not, at least I can look back with pride at some of the images I’ve captured over the years.

Despite the restrictions, I hope all my readers manage to find some joy, love and comfort over the festive period. And if not, just consume a lot of mulled wine and chocolate; it’s the next best thing.

In a tradition I’ve neglected for a few years, I’ll leave you with a rundown of my ten favourite blog posts from 2020.

  1. “The Rise of Anamorphic Lenses in TV” – a look at some of the shows embracing oval bokeh and horizontal flares
  2. “5 Steps to Lighting a Forest at Night” – breaking down how to light a place that realistically shouldn’t have any light
  3. Above the Clouds: The Spoiler Blogs” – including how we faked a plane scene with a tiny set-piece in the director’s living room
  4. “Working with White Walls” – analysing a couple of short films where I found ways to make the white-walled locations look more cinematic
  5. “10 Clever Camera Tricks in Aliens – the genius of vintage James Cameron
  6. “The Cinematography of Chernobyl – how DP Jakob Ihre used lighting and lensing to tell this horrifying true story
  7. “5 Things Bob Ross Can Teach Us About Cinematography” – who knew that the soft-spoken painter had so much movie-making widsom?
  8. “5 Ways to Fake Firelight” – a range of ways to simulate the dynamics of flames, from the low-tech to the cutting edge
  9. “A Post-lockdown Trip to the Cinema” – an account of the projection sacrilege commited against a classic movie in my first fleapit trip of the Covid era
  10. “Exposure” (four-part series) – in-depth explanations of aperture, ND filters, shutter angles and ISO
Finding the Positive in 2020

A Cinematographer’s Guide to Looking Good on a Webcam

This night shot is lit by a desk-lamp bounced off the wall behind and to the left of camera, plus the monitor light and the Christmas lights you can see at frame left. The background is lit by a reading lamp bounced off the ceiling (just out of frame right) and more Christmas lights.

It may be the beginning of the end for Covid-19, but it doesn’t look like home working and video calls are going away any time soon. We’re very lucky that we have such technology in the midst of a global pandemic, but let’s be honest: webcams don’t always make us look our best. Having lit and photographed movies for 20 years, I’d like to share a few tips to improve your image on Zoom, WhatsApp, Google Meet or whatever your video call software of choice is.

Firstly, low camera angles are not flattering to many people. Wherever possible, set up your webcam so that it’s at eye-level or a little above. If you’re using a laptop, this might mean stacking a few books under the device. Consider investing in a laptop stand that will raise the monitor and camera up if you’re going to be doing this a lot.

Avoid placing the camera too close yourself. A medium close-up works best for most video calls, head and shoulders at the closest, or down to your waist if you like to gesticulate a lot. Follow the classic rules of composition and make the most of your camera’s resolution by framing your head near the top of the shot, rather than leaving a lot of empty headroom above yourself.

It’s important to be aware of automatic exposure if you want to look your best on a webcam. Your camera and/or software continually assess the average luminance in the frame and alter the shutter speed or electronic gain to achieve what they think is the correct exposure. Since webcams have very poor dynamic range – they can’t handle a great deal of contrast within the frame – you should think carefully about what elements in your shot could sway the auto-exposure.

For example, a bright white wall, window or table lamp in the background will cause the camera to reduce its exposure, darkening the overall image and perhaps turning you into a silhouette. Even the colour of top you’re wearing can be a factor. If you have a pale skin tone and you’re wearing a black top – prompting the camera to increase its exposure – you might well find that your face bleaches out.

The black hoodie causes the automatic exposure to rise, bleaching out my face.
The lighter tone of this t-shirt enables the automatic exposure to produce a balanced image.

This brings us to lighting. Most of us are used to lighting our homes and workspaces so that we can see what we’re doing comfortably, rather than worrying about how the light is falling on our own faces.

The clearest and most flattering type of lighting is generally a large, soft source roughly in front of and slightly above us, so if possible position your computer or webcam in front of a window. If direct sunlight comes in through this window, that is less ideal; try to cut it off with your curtains. The indirect light of sky and clouds is much softer and less likely to confuse the auto-exposure.

If you have little or no natural light to work with, the main source of light on your face might well be the monitor you’re looking at. In this case, what you have on your screen can make a huge difference. A blank white Word document is going to light you much more effectively than a paused Netflix frame from a horror movie.

Monitor light can leave you looking blue and ghostly, so consider placing a strategic window of pale orange colour on your virtual desktop to warm up your skin tone. Try adjusting the monitor’s brightness or switching to a darker desktop theme if your monitor is bleaching your face out completely.

Of course, your screen is not just a light source. You need to be able to use it for actually viewing things too, so a better solution is not to rely on it for light. Instead, create another soft source in front of and slightly above you by pointing a desk-lamp at the wall above your monitor. (If the wall is a dark or saturated colour, pin up something white to reflect the light.) The larger the patch of wall the lamp illuminates, the more softly your face will be lit.

You may find that your background now looks very dim, because little of the light from your monitor – or bouncing off the wall behind your monitor – is reaching it. Worse still, the auto-exposure might react to this dim background by over-exposing your face. In this case, use a second lamp to illuminate the background.

Often the room’s main ceiling light will do the job here, though it will likely result in an image that has an overall flat look to it. That might be just what you need for a professional video call, but if not, feel free to get creative with your background. Use table lamps to pick out certain areas, string up fairy lights, or whatever you feel best reflects your personality and profession.

The main thing is to get your “key light” right first – that’s the soft source in front of you that keeps you lit nicely. Everything after that is just icing on the cake.

This moodier shot has the much the same set-up as the image at the top of this post, but with a brighter light in the background and a dimmer light in the foreground.
A Cinematographer’s Guide to Looking Good on a Webcam

“A Cliché for the End of the World”

Photo: Catherine Ashenden

In August 2019 Jonnie Howard, director of The Knowledge, approached me about shooting an unusual short film with him. A Cliché for the End of the World is only two minutes long, but Jonnie wanted to shoot it as two unbroken takes which would be presented side by side. Each take would follow one character, starting and ending with them next to each other, but separating in the middle.

My first thought was that the two takes would have to be shot concurrently, but to squeeze two cameras into the small location and keep each out of the other’s frame would have been impossible. Instead, we settled on shooting with a single camera. After capturing 18 takes of the first side, Jonnie reviewed the footage with his editor Kat and selected one to use. We then shot the other side, with Kat calling out cues that would keep the actors in sync with the selected “master” take. (It took 18 takes to get this side in the can as well, partly because of getting the cues right and partly because of the difficulties Steadicam op Luke Oliver had in manoeuvring up the narrow staircase.)

The film had to be lit in a way that worked for both sides, with the camera starting in the living room looking towards the kitchen, moving up the stairs, through the landing and into the bedroom.

The HMI skips off the floor (left); Jeremy creates the dynamic look of TV light (right)

Working as usual to the general principle of lighting from the back, I set up a 2.5K HMI outside the kitchen window to punch a shaft of sunlight into the room. I angled this steeply so that it would not reach the actors directly, but instead bounce off the floor and light them indirectly. (See my article on lighting through windows.)

Gaffer Jeremy Dawson blacked out the living room windows to keep the foreground dark. He used an LED panel set to 6,600K (versus our camera’s white balance of 5,600K) to simulate an off-screen TV, waving a piece of black wrap in front of it to create dynamics.

The HMI outside (left); the diffused Dedo in the loft (right)

Next we needed to bring up the light levels for the actor’s journey up the stairs, which were naturally darker. Jeremy and spark Gareth Neal opened the loft hatch on the landing and rigged an LED Dedo inside, aimed at the darkest part of the staircase. They diffused this with some kind of net curtain I think.

To brighten the landing we set up a diffused 2×4 Kino Flo in the spare room and partially closed the door to give the light some shape. Both this and the loft Dedo were a couple of stops under key so as not to look too artificial.

Luke Oliver balances Jonnie’s C200 on his Steadicam rig.

All that remained was the bedroom. The characters were to end up sitting on the bed facing the window. Originally the camera in both takes was to finish facing them, with the window behind it, but this would have meant shadowing the actors, not to mention that space between the bed and the window was very limited. After some discussion between me, Jonnie, Luke, the cast, and production designer Amanda Stekly, we ended up moving the bed so that the camera could shoot the actors from behind, looking towards the window. This of course made for much more interesting and dimensional lighting.

The window looked out onto the street, and with a narrow pavement and no permission from the council, rigging a light outside was out of the question. Furthermore, we knew that the sun was going to shine right into that window later in the day, seriously messing with our continuity. Unfortunately all we could do was ask Amanda to dress in a net curtain. This took the worst of the harshness out of any direct sun and hopefully disguised the natural changes in light throughout the day at least a little.

When the sun did blast in through the window at about 6pm, we added a layer of unbleached muslin behind the net curtain to soften it further. We doubled this as the angle of the sun got more straight-on, then removed it entirely when the sun vanished behind the rooftops opposite at 7pm. About 20 minutes later we rigged a daylight LED panel in the room, bouncing off the ceiling, as a fill to counteract the diminishing natural light. We wrapped just as it was becoming impossible to match to earlier takes.

We were shooting in RAW on a Canon C200, which should give some grading latitude to help match takes from different times of day. The split-screen nature of the film means that the match needs to be very close though!

As I write this, the film is still in postproduction, and I very much look forward to seeing how it comes out. I’ll leave you with the start and end frames from slate 2, take 17, with a very quick and dirty grade.

“A Cliché for the End of the World”