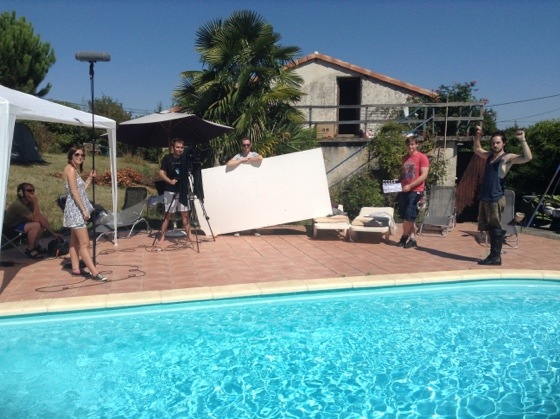
A director of photography should always be backed up by a good gaffer. They will ensure that all the lights are rigged safely and that the appropriate power supply is provided for each one. Here are some basics you need to know if you’re stepping into this role.

P=IV
Remember that from GCSE Physics? Power = current x voltage, or watts = amps x volts. From this we can calculate that an ordinary 13 amp domestic socket on the 240V UK mains supply can provide up to 3,120W.
A redhead draws 800W, so we can run three off one socket (3 x 800 = 2,400W which is under the 3,120W limit) without blowing a fuse.
Most UK houses have two separate circuits (known as ring mains) for the sockets: one for upstairs and one for downstairs. Usually these are each on a 30 or 32 amp breaker. So although you can only draw 3,120W off one socket, you can draw 7,200W (30 amps x 240 volts) total off one floor’s sockets.
The first thing the gaffer should do on arriving at a location is to find the fusebox to check how many ring mains there are, where they are and what amperage of breaker they’re on. Beware that large commercial/industrial buildings may have multiple fuseboxes in different parts of the building. Make sure you have access to all of them so you can reset any circuit breakers you trip.
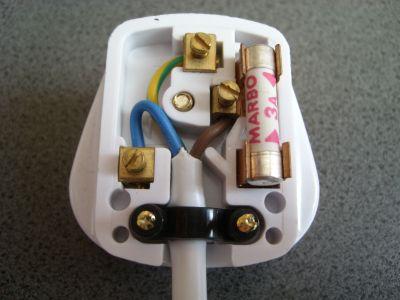
Also ensure you have a supply of fuses in case you blow any in the plugs of your lights or extension leads. When a bulb blows due to reaching the end of its natural life it will take the fuse with it.

You need to make sure your cabling is appropriate for the load you’re drawing. Extension leads can melt if you try to run too much power through them. All extension reels will have two maximum wattages written on the front of them: one for when the reel is fully wound, and one for when it’s fully unwound. When the cable is wound up it can overheat very easily, so pay attention to those quoted limits.
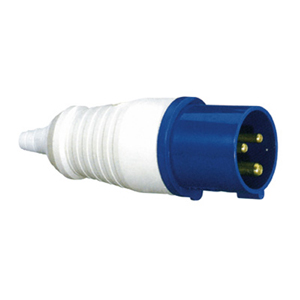
Professional hired kit is often fitted with heavy duty cabling, signified by round blue “C form” plugs and sockets. C form outlets can be found in soundstages and factories, on generators and occasionally on exterior walls of houses. They are weather resistant, so much safer for use outdoors than domestic cabling.
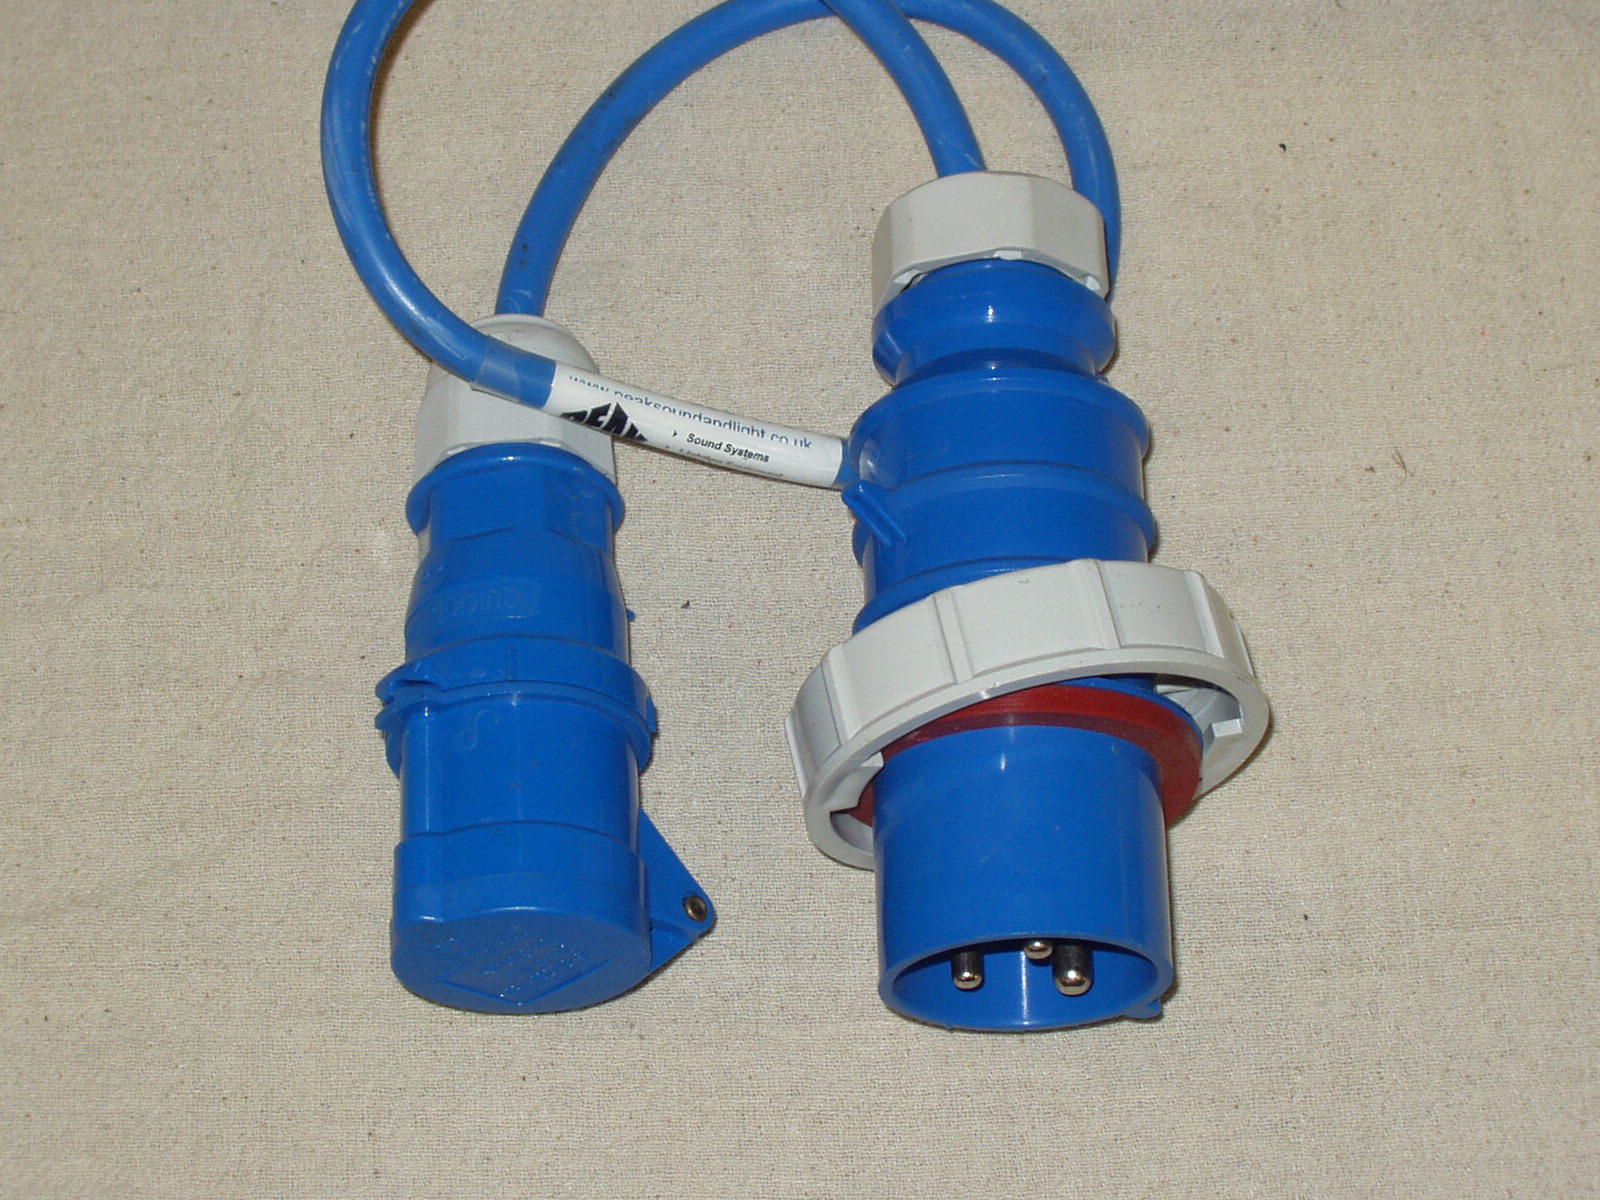
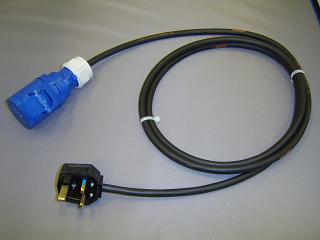
The associated cable comes in 16 amp and 32 amp flavours, the latter being thicker with larger plugs and sockets. A 13 to 16 amp jumper – a short adapter cable with an ordinary square UK plug on one end and a 16 amp C form socket on the other – will enable you to plug an appliance with a smaller C form plug into a standard domestic socket. Jumpers exist in every other possible direction and combination too, so it’s important you get the right ones.
Also remember that, although a 13 to 32 amp jumper will let you physically plug, say, a 4KW HMI into a domestic wall socket, that 13 amp plug will not support a 4KW load; you’ll blow the fuse. In fact if something has a 32 amp plug on it then the only way to run it safely off a house is to have a qualified electrician wire a 32 amp socket into the fusebox. Definitely don’t try to do that yourself.
In fact if you’re in any doubt about any of the above, consult an experienced gaffer or electrician. Be safe!


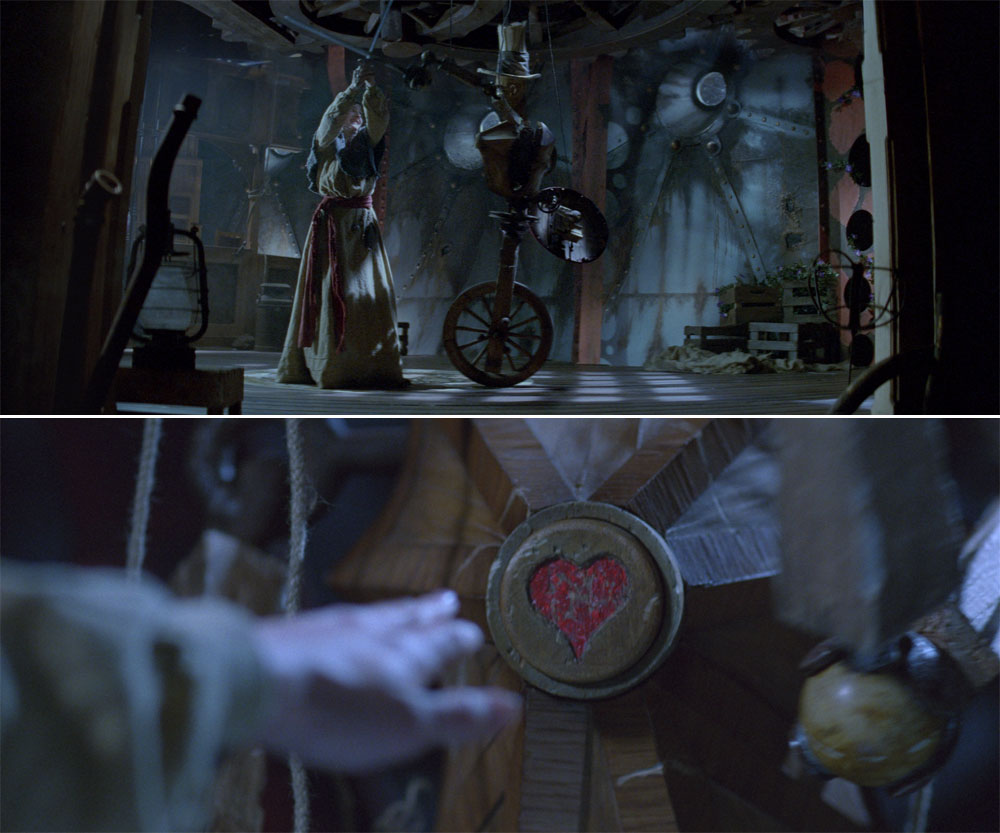
 and Athos (Edward Mitchell) was shot with a white balance of 3,200K, turning the HMI backlight blue, while the warm light around the taven entrance was provided by CTO-gelled Dedos and redheads.")