Here’s a quick demonstration of the huge difference that sound design can make. This video contains a scene from the final cut of Soul Searcher, but still with the original production sound, followed by the same scene after the processes of sound editing, design and mixing were completed.
The music makes a big difference, of course, but putting that to one side, the sound effects have really brought the scene to life. And bear in mind that I did the sound design on this film. If a proper, experienced sound designer had done it, I’m sure it would be a hundred times better still.
First of all, the location, the villain’s lair, has been given a character through atmos tracks. The fluorescent hum is actually a combination of an electricity substation, recorded outside a local shopping centre here in Hereford late one night, and my own voice humming, layered up several times. The human element adds some randomness and makes the sound more alive.
There’s also an airy sound which is my mum’s gas oven, representing a Bunsen Burner that’s established in the room earlier in the film. This high frequency sound lightens everything up and gives it a sense of space.
The smaller chain was real metal, but you’ll notice in the production audio that what little sound it makes is weak and off-mike. This is absolutely normal; your sound recordist’s job is to get the dialogue as clearly as possible; everything else can be re-recorded in post and therefore each element can be miked closely for the best possible sound. Using a length of the chain which I had kept from production, I recorded the sounds of it being handled and dragged over the lip of the chest using a coffee table in my living room.
The chains are the MacGuffin of the story, so giving them thick, clean, satisfying sounds is vital to cement them as key elements in the audience’s mind.
Ideally the chest used as a prop would have been more ancient-looking, but that was the best one we were able to get on our budget. However, adding the sound of a friend’s squeaky bathroom doorknob as Danté opens the lid helped to age prop the little.
Finally, once all these lovely clean sound effects were track-laid, they were all treated with reverb by mixer Neil Douek, to help them feel real, to tie them all together, and to convey the scale of Danté’s lair.
How have you used sound design in your own films to help tell the story?
Now online in full, for the first time: my 2011 comedy documentary Video-8. It’s the hilarious story of me and my old schoolmates reuniting to watch a terrible, terrible feature film we made when we were fifteen.
The full director’s journal I kept during the making of Dark Side of the Earth in 1995-96 can be read online, complete with irrevent present-day annotations, at www.darksideoftheearth.com/original
As regular readers will know, I make a living from shooting mostly corporates – training videos, promotional videos, educational videos and the like. Although I’d much rather pay the bills shooting drama, it’s better than working in an office. So how did I get to this point?
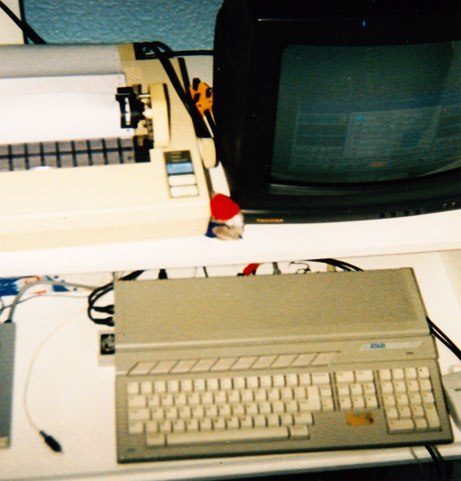
My Atari ST, circa 1996
When I was a teenager, I had an Atari ST computer with a piece of software called Deluxe Paint. Deluxe Paint had an animation feature which allowed me to make very crude, flipbook-style animations with a little bit of 2D tweening – a bit like simple Flash animation. When I was about thirteen my history teacher asked the class to prepare presentations for or against the building of the very first railway line from Manchester to Liverpool. With my friend Chris Jenkins, I formed ARGUMENT – the Association for the Railway Going Up to Manchester supporting Exciting New Trains – and I animated a campaign video in Deluxe Paint. I recorded this onto VHS – which was easily done because the ST had an RF monitor output – and Chris and I voiced it over using the VCR’s audio dub feature and a microphone from Tandy.
For a subsequent English presentation, I wanted to take things a step further, so I borrowed my grandad’s Video8 camcorder and filmed live action pieces-to-camera with Chris to intercut with more animations created in Deluxe Paint and others programmed in STOS BASIC. After I borrowed grandad’s camcorder several more times, he gave it to me as a fifteenth birthday present. Gradually the live action became more interesting to me than the animation, though almost every film I made featured visual effects created in Deluxe Paint and a credits roller generated by a program I wrote in BASIC.
My amateur filmmaking really kicked off when I discovered a fellow Quantum Leap fan in my friend David Abbott, and we teamed up to make our own series of episodes in which I played the leaper and David played the holographic observer. Here’s episode fifteen of the twenty we made:
In 1995, at the age of fifteen, I started making my first feature-length film, Dark Side of the Earth, an ambitious Star Wars rip-off shot in back gardens with props made of Lego and cardboard boxes. This was ostensibly my GCSE Media Studies coursework, and you can read my production diary – complete with irreverent latter-day annotations – here.
But I quickly found that the friends I roped into acting in these films were most willing when the subject matter was comedy. Bob the Barbarian and two sequels (40 minutes, 60 minutes and 90 minutes long respectively) drew their influences from Monty Python, The Young Ones, Bottom, Newman and Baddiel’s Rest in Pieces, The Naked Gun, and French and Saunders’ film spoofs.
My Sanyo Video8 camcorder
Throughout this time, I taught myself through trial and error. Back then there was no internet, no DVD extras. I was inspired by Don Shay and Jody Duncan’s book The Making of Jurassic Park, and I read Camcorder Monthly. Perhaps the most useful stuff I learnt was from a series of VHS tapes produced by the Burgess Video Group – available at a discount price with a voucher from Camcorder Monthly – in which a soft-spoken Welshman demonstrated such core concepts as The Line of Action and The Rule of Thirds. I was always ahead of the scarce nuggets of useful information which my media studies teacher could impart.
A lot of my editing was done in camera, rewinding the tape, painstakingly cueing it up and hitting record at just the right moment to produce a continuous scene on tape. Somehow I accumulated VCRs in my bedroom, always badgering Mum and Dad to buy a new one for the living room so I could have the old one. Scenes that couldn’t be edited in camera were done tape-to-tape between the camcorder and VCR or two VCRs, without an edit controller. I became an expert at judging the VCRs’ pre-roll times, hitting the record button exactly 21 frames before the point when I needed it to start recording. Music and sound effects were triggered by my ST or played in off cassette or CD and mixed live through a four channel disco mixer, again from Tandy.
By the time I was forced to quit amateur filmmaking at the age of seventeen, due to my repertoire of “actor” friends being sick of it, I had made well over 50 videos of varying length and quality. Okay, the quality didn’t vary that much. Between wrist-slashingly bad and merely quite poor.
In 1998, having finished Sixth Form with very respectable grades – the lowest, ironically, in Media Studies – I took a gap year and applied to various universities’ Film and TV Production courses. That autumn David Abbott showed me a cutting from the local newspaper which his mum had saved: The Rural Media Company in Hereford were inviting applications a to three week filmmaking course which would culminate in assisting professionals on a 16mm short film shoot. This course was my first contact with the film and TV industry, and still probably ranks amongst the five best shoots I’ve ever been on. The director of photography advised me against going to university, telling me that on-set experience was far more valuable in this industry.
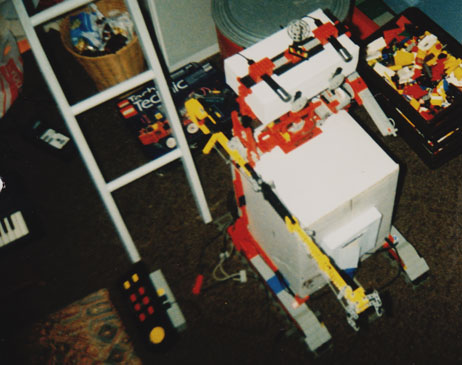
The stunning animatronic robot I engineered for Dark Side of the Earth in 1995
I took his advice, cancelled my UCAS application, and began writing to TV companies looking for work as a camera assistant. And here’s where I think I might have made a mistake. Instead of pursuing this angle, moving to London and knocking on doors until I was gainfully employed in film and TV camera departments and could start working my way up the totem pole, I got diverted into the emerging arena of micro-budget DV filmmaking, which is where I’ve been stuck ever since.
On the way to the premiere of Lonesome Takeaway, the 16mm short, I got talking to Jane Jackson, the head of production from Rural Media. I mentioned to her that I’d recently appeared on Lee and Herring’s This Morning With Richard Not Judy on BBC 2, winning a competition to make the best cress advert, using the skills I’d taught myself doing those 50-odd amateur films. “We can always use people who can compose a shot,” Jane said. “Send us your reel.” I did, and she obviously saw something in those ropey amateur films of mine, because she soon started hiring me. Within a year I’d quit my office job and moved to Hereford because I was getting so much work from Rural Media.
The company had just bought Final Cut Pro, but no-one there knew how to use it. I took the manual home, read it cover to cover, came back and cut some footage that no-one else wanted to cut. That made me an asset to the company and they kept coming back to me.
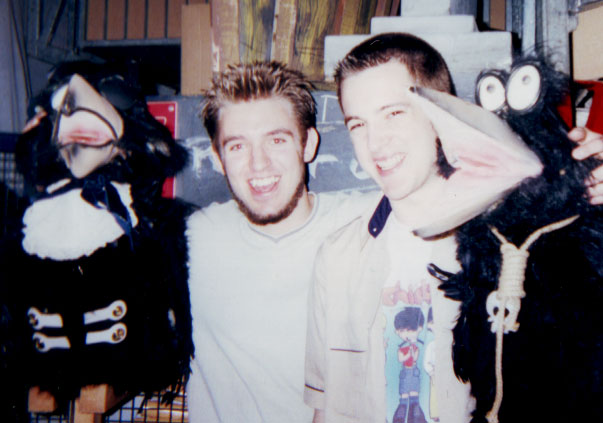
My friend Matt Hodges and I pose with the Histor and Pliny puppets behind the scenes of Lee and Herring’s This Morning With Richard Not Judy
And a large proportion of the paid work I’ve done since then can be traced back to Rural Media in some way: I work regularly for Catcher Media, run by Rick Goldsmith, who freelanced alongside me at Rural Media in the early days; for many years I made training videos for Lessons Learned, who initially called Rural Media, having found them in the Yellow Pages, but were told that they didn’t do that kind of work but to call Neil Oseman instead; and regular clients Tim Kidson and Nelson Thornes got in touch with me through Catcher Media and Lessons Learned respectively.
Yes, I get the occasional (very occasional) paid gig through Shooting People or similar networks, and yes, a major client while I was living in London was a company that came to me via the sound mixer on my own feature film, Soul Searcher, but for the most part my ability to make a living with a camera is due to getting involved with a company that was at the hub of filmmaking in an area where the media community was very small and tight-knit. And it was just dumb luck that all this happened at the time of the Mini-DV revolution, when it suddenly became possible to make videos of a decent quality for far less money than previously, and lots of new companies were springing up and looking for people who could operate a camera and an NLE.
So that’s the story of how I got to where I am today. Of course I’m always striving to move forward, to keep learning, to do more drama, to work with bigger crews, bigger budgets and reach bigger audiences. The story goes on…
I was recently the cinematographer on Sophie Black’s Night Owls, my second shoot with my new Blackmagic Production Camera, and the first one to be shot in 4K. I’m loving the rich, detailed and organic images it’s producing. Click on this screen grab to see it at full 4K resolution and witness the crazy amount of detail the BMPC records…
Jonny McPherson in Night Owls
Images from Night Owls courtesy of Triskelle Pictures, Stella Vision and Team Chameleon. Produced by Sophia Ramcharan and Lauren Parker. Starring Jonny McPherson and Holly Rushbrooke.
It’s been documented that the Blackmagics, in common with the early Red Ones, suffer from the CMOS sensor “black sun effect”. As the name suggests, this means that if you get the sun in shot, it’s so bright that it turns black on camera.
On Night Owls I discovered that this also happens with filaments in bulbs. This is unfortunate, since the film features a lot of practicals with bare bulbs.
The coil of the filament appears purple on the BMPC’s CMOS sensor
The issue can be fixed in post – apparently Da Vinci Resolve’s tracker feature will do it, or failing that some Quickpainting in Shake would certainly get rid of it – but a firmware update from Blackmagic Design to address the issue in-camera would be very welcome. Since they’ve already issued a firmware fix for this problem on the Pocket Cinema Camera, I’m surprised they even started shipping the Production Camera without this fix.
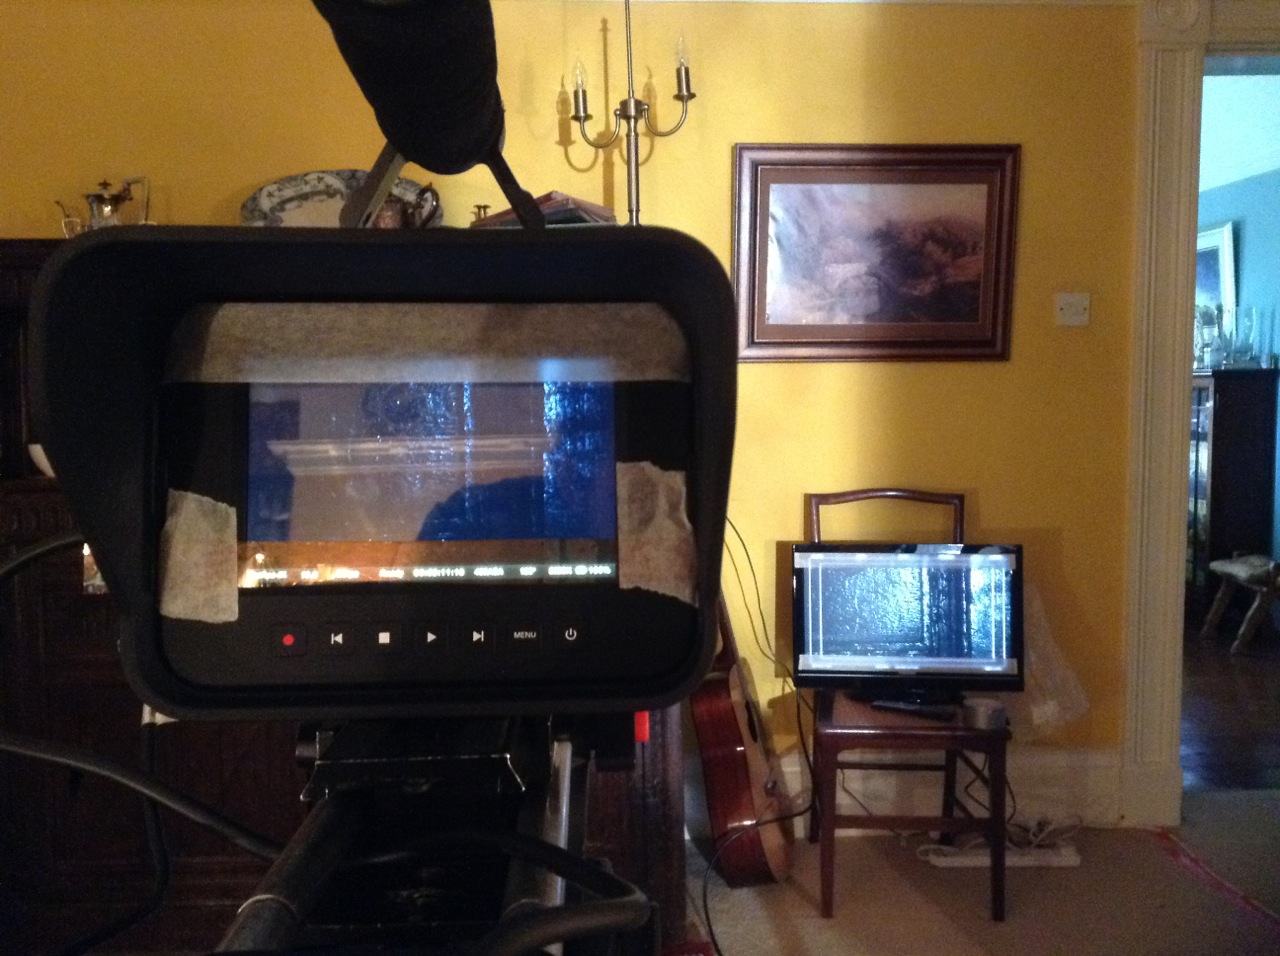
And while we’re on the subject of firmware updates, how about an option to display 2.35:1 guides? Surely in this day and age I shouldn’t be having to do this…
Taping off the camera screen and monitor for a 2.35:1 aspect ratioThe HDMI convertor on the back of my shoulder rig, powered by the V-lock battery
Some issues with my accessories also became apparent during the shoot. Firstly, 2 x 120GB SSDs are not enough. They last about 21 minutes each at 4K. Since we were doing a lot of long takes, we occasionally found the shoot grinding to a halt because the second card card was full and the first card hadn’t finished copying to the DIT’s laptop. Yes, crazy as it sounds, it takes about three times longer to copy the contents of the card – by USB, at least – than it does to record onto that card in the first place.
Secondly, I’ve purchased two different SDI to HDMI convertors from eBay – this one and this one – and I’ve found them both awful. They’re really designed for use in CCTV systems. The frame rate is jerky and the colours are so wildly inaccurate that I had to switch the monitor to black and white. It looks like I’ll have to buy an SDI monitor. If I can get one with 2.35:1 overlays, that will solve another of my problems at the same time.
So all of these problems can be fixed, either by investing in a little more kit, or by firmware updates which I hope Blackmagic Design will soon issue.
Finally, a word on the aftersales service: my camera turned out to have a faulty speaker; I sent it back and a week later a brand new one arrived. That’s pretty good service in my book.
Overall, I’m very happy that I bought the camera, and so is Sophie. The images look fantastic and I’m sure Night Owls will go far.
Jonny McPherson and Holly Rushbrooke in a screen grab from Night Owls
The trailer for The First Musketeer has been released at last. I was the cinematographer on this action adventure web series, which is a prequel to the novels by Alexandre Dumas. Enjoy….
On a low budget shoot, it’s all too easy to overlook the welfare of your cast and crew in the push to get your story in the can. I’ve been on both sides of the equation, and I’ve put together a list of suggestions to keep morale high and leave your cast and crew with warm feelings about working on your productions. These things are especially important when you cannot afford to pay people much or anything. I’ve got all of these wrong at various times in the past, sometimes several at once. I’m trying to do better though.
Be polite. Compliment people’s work whenever possible, thank them frequently and apologise when things go wrong. If people feel appreciated, they’ll go that extra mile for you.
Feed them well. I was on a shoot recently where we were served hot, home-cooked meals every lunchtime, followed by delicious homemade desserts, followed by a pot of tea. Amazing! Sadly, I’ve also done shoots where there was neither lunch break nor lunch itself – we were all expected to just keep on going. It’s essential to feed your cast and crew well to keep up morale and energy levels.
Let them see the rushes. The heads of department may all be buoyed by the creativity they’re getting to express, but what about the assistants and runners? Let them see the monitor while you’re shooting, or screen some rushes of an evening, and they’ll feel much more valued and engaged with the project.
Try to stay on schedule. When you’re not a Bectu/Equity shoot, it’s easy to take advantage of the lack of regulations and power on through that scheduled wrap time. But you’re shooting yourself in the foot, because everyone will be more tired and work more slowly the next day. And don’t forget that some crew members – the DIT, for example – still have work to do after you’ve wrapped, and people may have a long commute to get home.
Reward them. When the shoot’s over, do something to show you valued and appreciated everyone’s hard work. Throw a wrap party, or buy people little gifts, or send “thank you” cards.
Keep them in the loop. Postproduction often drags on and on when you have little or no budget, but don’t forget your production crew. Keep them up to date, and if they need material for their showreels, get it to them as soon as you can. A cast and crew screening, even if it’s just at your house, will always be appreciated, as will a DVD or Blu-ray copy if you can possibly afford it.
Part of a series of fifteen podcasts covering the making of The Dark Side of the Earth‘s demo scenes, this episode focuses on the challenges faced by Benedict Cumberbatch in portraying the germophobic Maximillian Clarke. With nearly 70,000 views at the time of writing, this is far and away my most popular video. I wonder why this could be? 😉 Lots of women seem to be appreciating Benedict’s little dance at 1:37. If you want to know what Sherlock himself is like to work with, the fact that he put up with being in this suit without complaining tells you all you need to know.
2. Soul Searcher trailer
I still bump into people who know of me from following the Soul Searcher blog all those years ago, so maybe that has something to do with this trailer’s popularity.
3. The Dark Side Guide to Miniature Effects
This is one of four “Dark Side Guides” I posted during 2010 and 2011, giving detailed advice about stuff I learnt the hard way while making The Dark Side of the Earth‘s demo scenes. They’re my most polished behind-the-scenes videos, and at ten minutes long each, some of my most in-depth as well. This one focuses on the challenges of shooting miniatures, including choice of scale and lenses, and how to combine them with full-scale footage. A budget breakdown at the end reveals all the costs that went into creating Dark Side’s miniature shots.
We promoted this combined trailer and pitch video very heavily during the seven months the postproduction crowd-funding campaign was running. Note how this video, along with others in this top ten, has the actor named in the title to maximise the chances of it coming up in a search by one of her fans.
6. Stop/Eject tape #7: Make a Sandbag
Stop/Eject’s costume designer Katie Lake demonstrates how to make a sandbag for weighing down lighting stands. This video’s popularity was given a huge boost after it was featured on Indy Mogul’s Moguler Made.
7. Soul Searcher
Soul Searcher is a fantasy action film about an ordinary guy who is trained to be the new Grim Reaper. It was picked up for distribution by a small UK company, who sold it to several territories for DVD release. When my contract with them expired, I posted the whole film on YouTube. It’s quite possible that, with 3,699 views to date, the film has reached more people this way than it did through the formal distribution deal.
8. The Dark Side Guide to Digital Intermediate
When making The Dark Side of the Earth’s demo scene, which was shot on 35mm, I struggled to find a single, reliable source of information about the DI process. This inspired me to start the Dark Side Guides and to make this guide in particular. It takes you through the whole process, covering all the decisions you’ll have to make and the issues you might encounter, and concludes with a budget breaking down all the costs.
9. Editing Stop/Eject
Another one that was boosted by appearing on Moguler Made, this is a brief but effective demonstration of the big impact that relatively small changes to an edit can have. It shows how I addressed issues that were raised in test screenings to make the narrative clearer.
10. 3: Suit You
This is another in the original series of Dark Side podcasts, going inside the workshop of FBFX to see how they constructed the germ suit which would be worn by Benedict Cumberbatch. Kevin Giles, seen modelling the suit and remarking on how comfortable it is, has been stuck with the nickname “duvet” ever since.
If you’re hungry for more, I’ve compiled the following list of all my videos, organising them by topic in roughly the order those topics crop up during the making of a film.
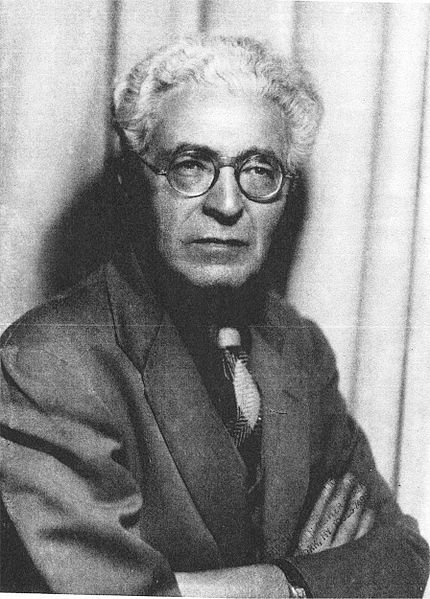
On the advice of my friend and mentor Carl Schoenfeld, I’ve just read Lajos Egri’s The Art of Dramatic Writing. Penned in 1946, it’s a manual for playwrights, but it drills to the core of what’s important in drama, and as such is just as useful a read for a screenwriter or filmmaker.
The book is divided into four sections: premise, character, conflict and general.
What Egri calls premise I would call theme, though he soundly argues that calling it premise forces you to think of it as almost a pared-down logline, which may make you more inclined to treat it with the appropriate importance. He suggests that a premise should have three parts, indicating the dominant trait of the lead character, the conflict and the ending. Examples he gives include “honesty defeats duplicity”, “bragging leads to humiliation” and “poverty encourages crime”. Reverse-engineering a few recent movies along these lines might give us “instinct trumps conformity” (The Heat), “love transcends human flesh” (Transcendence) or “the powerful triumph over the weak” (Captain Philips). Egri emphasises that the premise must be the very DNA of the script, informing every line and every action.
We have all heard people saying that characters in a film must be three-dimensional, but have you ever wondered what those three dimensions are? Egri’s answer is: physiology (physical appearance, health, heredity), sociology (class, job, religion, home life, etc.) and psychology (morals, ambition, temperament, IQ, abilities and so on).
The premise acts as a goal to your characters, especially your lead, and powers their development – Sandra Bullock’s loosening up in The Heat, for example. Egri reminds us that character development must be a smooth process, so a character who goes from anger to love must pass through many intermediate stages such as irritation, ambivalence, interest and affection. Missing out these transitions, Egri warns, will result in melodrama.
“A weak character,” says Egri, “is one who, for any reason, cannot make a decision to act.” He goes on to explain that, in theory, any character can be strong if you choose the right “point of attack”, in other words if you write about a period in their life when they HAVE made a decision to act, when they are ready for conflict.
Lajos Egri
To generate rising conflict, Egri asserts the need for “a clear-cut premise and unity of opposites, with three-dimensional characters.” He defines a unity of opposites as a scenario in which the protagonist and antagonist want precisely the opposite things. This can apply not only to the overall thrust of the story, but to individual scenes within it too. Egri urges the reader not to fall into the trap of “static” conflict, where characters argue back and forth without escalating the situation.
Being aimed at playwrights, the book considers dialogue as the only means of revealing plot, character and conflict, but in a film conflict could be literal (as in an action film) or expressed through some other non-verbal means.
Overall, Egri’s breakdown of a script’s essential elements provides me a with useful template with which to begin interpreting a screenplay. Many people have produced books attempting to distill the essence of good writing, and it is largely a matter of taste which one you find most useful. Personally, I found The Art of Dramatic Writing clear, concise and refreshing, and I’m sure I’ll refer to it frequently.
Back in 2000 I directed and co-produced a surreal Star Trek spoof written for me by my old schoolfriend Matt Hodges. Although it was made a few months before I started blogging, the website did feature a retrospective production diary, and today I’m going to share that with you. But first, here’s the film…
Who is that handsome young fellow?
To find out how the project came about, in a strange little Malvern pub called The Prince of Wales, read the production notes on Cow Trek’s film page. And here’s the shoot diary…
Sunday, December 17, 2000
There are two Hereford-Worcester roads. Each one has a pub named The Wheatsheaf on it. These are facts. I know them. I did not know them before this day. And that’s what made us an hour and a half late as we roamed the Bromyard Downs in my mum’s little Peugot, with an unfeasible amount of equipment (and lard) in the back, at a unfeasibly early time on an unfeasibly cold Sunday morning, trying to find an unfeasibly unfindable farm.
All of this time, Matt was sat in a very uncomfortable position in the rear right seat, or what would have been the rear right seat, had it not been folded down to fit more gear in, effectively encasing the unfortunate Mr. Hodges in a metal box constructed from grip equipment and plastic poles. And a piratical wheel. Sometimes, I suspect Matt may regret writing Cow Trek.
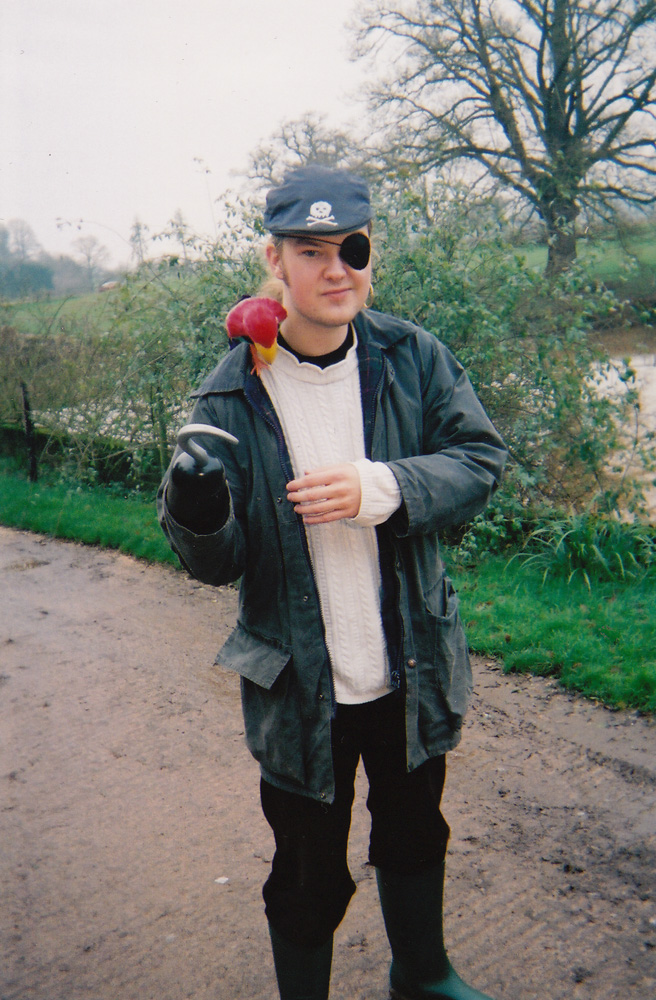
Mike Hodges as Farmer Blackbeard
Still, we got there in the end, and eventually filmed our first shot, with Mike (Farmer Blackbeard) having quickly learnt the intricacies of tractor operation. It was then that Julia Evans, head honcho of Longlands Farm, asked us exactly what we needed to film. When I mentioned a cow in a field, she was very surprised. She had no idea. The cows were in barns. Fields would be tricky. Very tricky.
Closing my mind to the fevered panic which threatened to engulf my very soul (and a fair bit of my hair as well), I pressed on with the two farmyard scenes featuring the main dialogue twixt brothers Hodges. Once Matt had donned a flat cap, he looked more like a farmer than you could possibly imagine. Big sideburns are surprisingly agricultural. (Perhaps Matt’s next script should be about a ska band that are also farmers.)
It didn’t take long for me to start getting paranoid and shooting far too many takes and angles of everything, but we weren’t on a particularly tight schedule so it didn’t really matter. The first yard scene had that tacky low budget look with the two actors looking at a cow “that’s there, honest, but it’s just out of frame so you can’t see it”. Oh well.
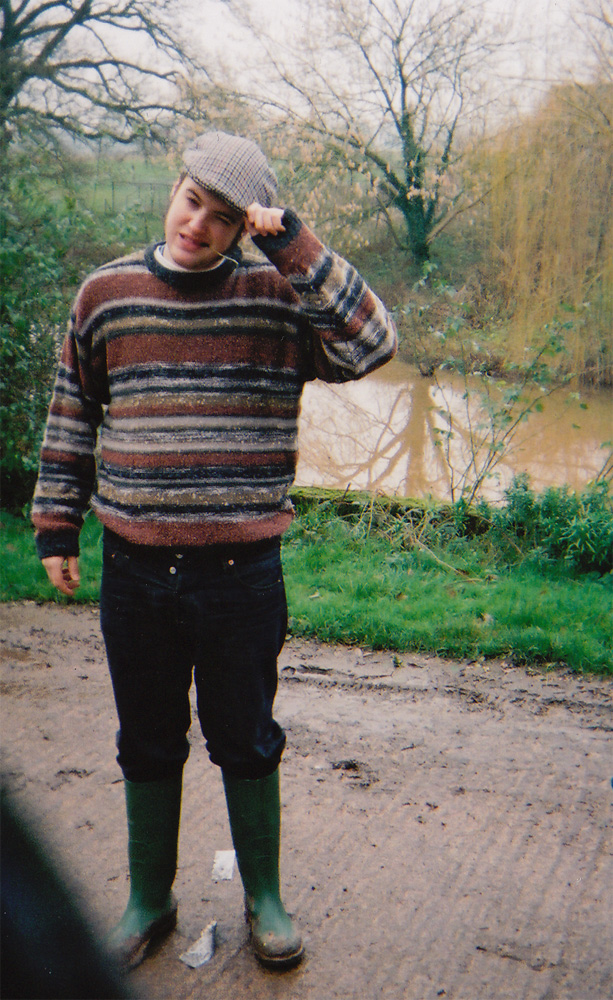
Writer Matt Hodges in his role as Farmer Giles
As the sun went down, we repaired to the farm’s study, where we promptly set up a whole bunch of lights in an attempt to make it look like day. Muchos comedy ensued as Mike improvised a sequence in which he swapped his hook hand for a biro appendage to sign his cheque, and then impaled it on the aforementioned appendage to hold it out to Farmer Giles.
Monday, December 18, 2000
Having discovered, to my horror, that sound man David Abbott’s car had broken down, I was forced to get my mum to take us to the farm today.
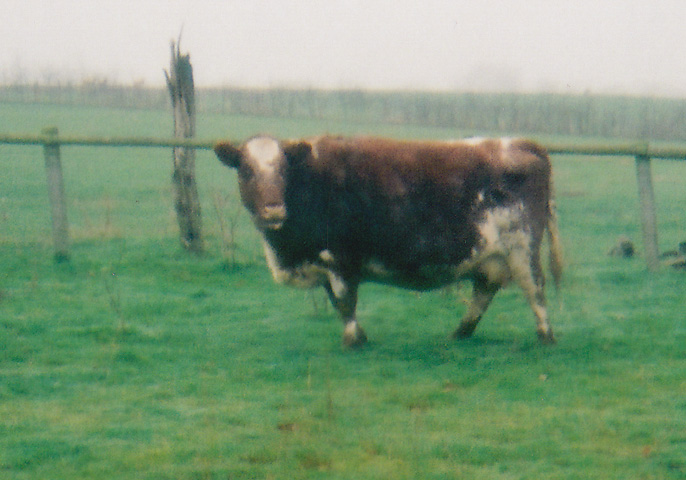
Arriving at the delightful time of 8:00am, we were kindly provided with a cup of tea by Julia, who then dutifully got two cows from the barn and put them in the paddock near the farmhouse. Sipping our tea gratefully, we watched Julia and her husband chasing one of the cows around, trying to get it into the field. We opted to make the other cow our star.
As Matt had been saying for some time, the cow’s action consisted primarily of eating grass and walking along. This would not take all day, he insisted. Always the professional (read: know-it-all), I was more conservative. However, that cheeky bugger Matt turned out to completely right. Julia helped us out with the walking bits, shooing the cow up and down the lane. We were completely unable to get the beast to stand still next to Matt (a cutaway for the yard scene), but you can’t have everything.
The starring cow
I was loath to broach the subject of bovine sexual congress with Julia, as she had been so helpful thusfar, despite having clearly not been briefed as fully as I had hoped on what we were going to need. An effect, I decided. It would be tricky, but what the hell?
And at about midday, we realised we’d finished. Buggery. Mum wasn’t picking us up till 6:00pm. We killed the afternoon filming extra cow shots, recording sound effects and sitting around in the farm house.
In the evening I went up to Chris Jenkins’ abode, for ’twas he that was providing a basement as a studio for the spaceship interiors. We had spent all of Saturday working on the set, but had progressed considerably less quickly, and considerably more expensively, than I had anticipated. Even the Hodges’ input on console construction had not brought us up to speed. But by the end of Monday night I was confident that we had done enough groundwork to allow Tuesday afternoon’s filming to start on time.
How wrong I was…
Tuesday, December 19, 2000
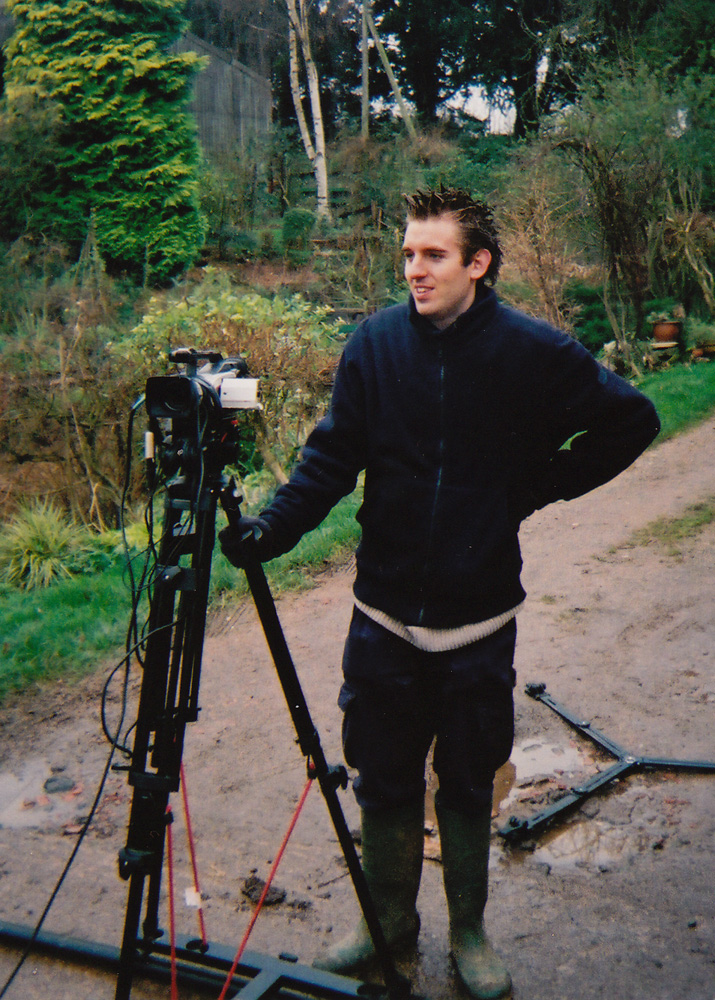
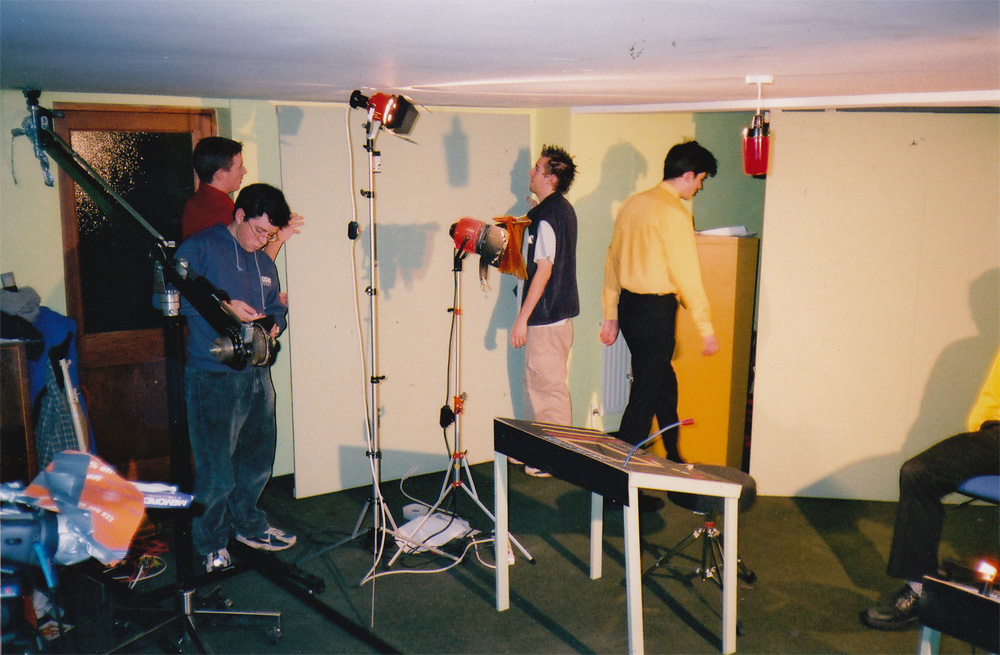
Actor Si Dovey (in red shirt) and I (in gillette, I regret to say) move a set panel into place while David Abbott adjusts the jib. Actor and composer Chris Jenkins, whose mother owned this basement, is in the yellow shirt.
I can’t for the life of me remember what took us so long on Tuesday morning. We had been scheduled to finish the set between 10am and 2pm, then film the Engineering Room scenes until 5:30. In the end, we didn’t shoot a thing until 4:00pm.
Late in the morning, I sent David out to get some gerbils. Directing him to the only pet shop I knew of in Malvern, with additional instructions to pick up some extra hardboard for the set, I was extremely pleased when he turned up an hour later with three hamsters. It was around this time that Chris’ sister Sarah became an inpromptu member of the crew, looking after the gerbils and making (occasionally) helpful comments as we affixed three plastic wheels to the fake walls and inserted rodents into them. Praise the Lord, the little blighters actually went round in them! Sadly we couldn’t get them all to go round at once, but I was happy enough.
Finally Jim got to do some “acting”. The script described Engineer McHaggis as “an overly Scottish man” who does “overly Scottish things”. Jim’s interpretation of the character, combined with the poor selection of Scottish items which were available to dress the set, is best described as “a barely Scottish man doing barely Scottish things”. Not only was he incapable of doing the accent, he also couldn’t deliver a long line, forcing me to cut the scene.
Oh Jim, why?
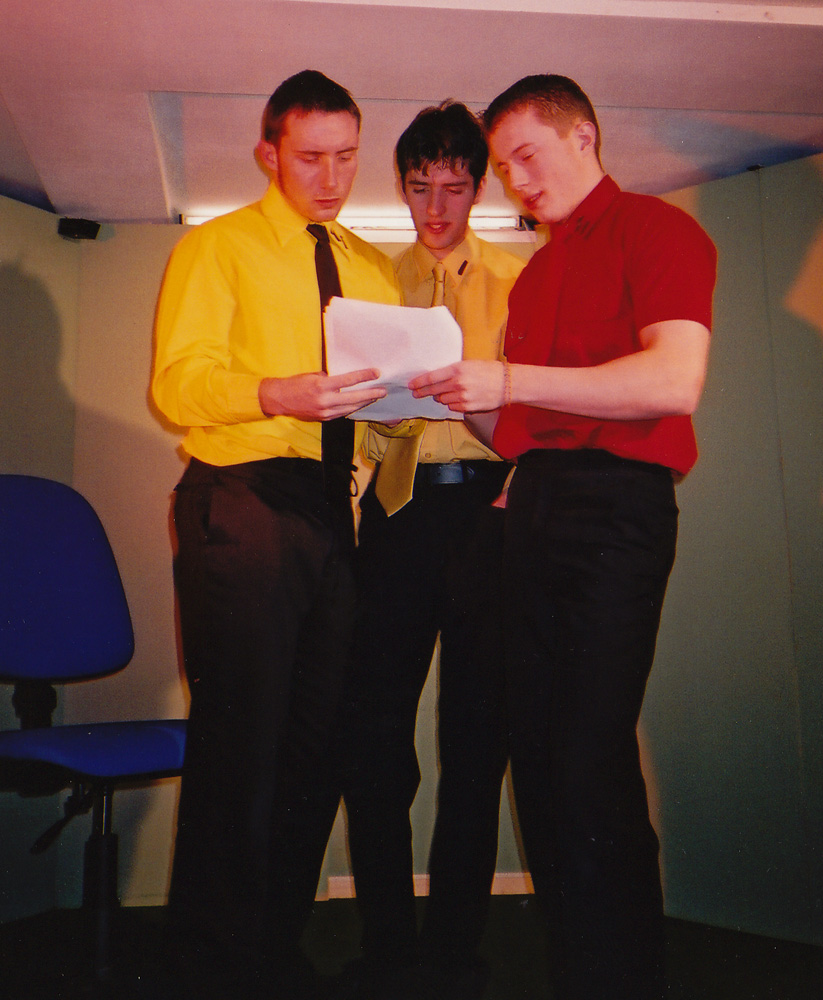
Lee Richardson (Captain Lightstar), Chris Jenkins (Ensign Lancer) and Si Dovery (Lieutenant Steeljaw) rehearse their lines.
Wednesday, December 20, 2000
I don’t know at what point I realised that this day had about 50% of the film’s total running time scheduled to be shot on it, but I was brown-trousering when I did. However, I reasoned with myself, there were no animals today. Just lots of big dialogue scenes. But all in one location. Easy, right?
Two and a half hours after our scheduled start time, we had finally constructed the sliding door for the bridge set and were ready to shoot. Once we got going, we rocketed through it. Again, loads of takes were needed – this time because my shotlist called for complex tracks/cranes combined with multiple focus pulls, and I kept arsing them up.
I was annoyed when, about five scenes in, I had to rearrange my lovely lighting set-up in order to make way for an extra wall section. It never looked as good after that.
Lee managed to get his arse out. A deliberate out-take – the sliding door opens and there are the hairy cheeks of the Tuxman’s posterior.
Somehow we wrapped five minutes ahead of schedule, but there was then lots of clearing up to do. The mighty director was reduced to scrubbing the carpet, as it transpired that the dust sheets I had used whilst painting the set were of insufficient thickness, and the paint had seeped through to the carpet. I am told that those patches are now the only clean areas of the carpet.
It’s time for one of my occasional asides celebrating the world of traditional visual effects – miniatures, matte paintings, rear projection, stop motion and the like. For a film using all of those techniques, look no further than The Abyss (1989). Arguably James Cameron’s most underrated film, it can also be considered his most ambitious. Whereas Terminator 2 had bigger action scenes, Titanic had a bigger set and Avatar had more cutting edge technology, these concerns all pale in comparison to the sheer difficulty of shooting so much material underwater.
The hour-long documentary Under Pressure makes the risks and challenges faced by Cameron and his crew very clear.
The Abyss won an Oscar for Best Visual Effects, and is remembered chiefly for the then-cutting-edge CG water tentacle. But it also ran the gamut of traditional effects techniques.
The film follows the crew of an experimental underwater drilling platform, led by Bud (Ed Harris), as they are roped into helping a team of navy divers, led by Lt. Coffey (Michael Biehn), investigate the sinking of a submarine. Underwater-dwelling aliens and cold war tensions become involved, and soon an unhinged Coffey is setting off in a submersible to dispatch a nuke to the bottom of the Cayman Trench and blow up the extra-terrestrials.
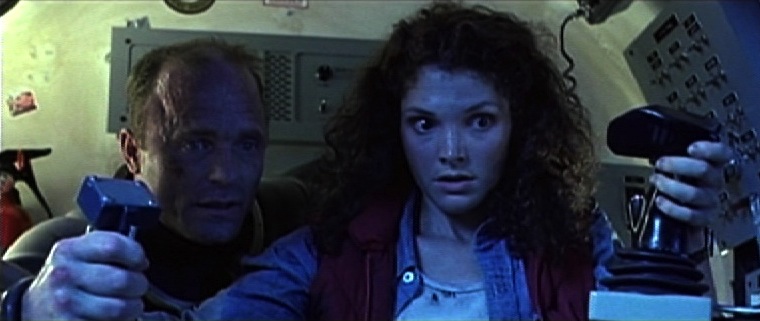
When Bud and his wife Lindsey (Mary Elizabeth Mastrantonio) give chase in a second submersible, a visual effects tour de force ensues. The following methods were used to build the sequence:
Medium-wide shots of the actors in real submersibles shot in an abandoned power station that had been converted by the production into the world’s largest fresh-water filtered tank, equal in capacity to about eleven Olympic swimming pools.
Close-ups of the actors in a submersible mock-up on stage.
Over-the-shoulder shots of the actors in the submersible mock-up, with a rear projection screen outside the craft’s dome, showing miniature footage accomplished with….
Quarter-scale radio-controlled submarines, shot in a smaller tank. These miniatures were remarkably powerful and, due to the lights and batteries on board, weighed around 450lb (204kg). In order to see what they were doing, the operators were underwater as well, using sealed waterproof joysticks to direct the craft. The RC miniatures were used when the craft needed to collide with each other, or with the underwater landscape, and whenever the audience was not going to get a good look at the domes on the front of the submersibles and notice the lack of actors within.
One of the custom film projectors inserted into the miniature subs
Where a more controlled camera move was required, or the actors needed to be visible inside the subs, but it was not practical to shoot full-scale, motion control was used. This is the same technique used to shoot spaceships in, for example, the original Star Wars trilogy. A computer-controlled camera moves around a static model (or vice versa), exposing film very slowly in order to maintain a large depth of field. The move is repeated several times for each different vehicle under different lighting conditions, before compositing all of the “passes” together on the optical printer in the desired ratios, to achieve the final look. For The Abyss’s motion control work, the illusion of being underwater was created with smoke. In shots featuring the submersibles’ robot arms, stop motion was employed to animate these appendages. But perhaps the neatest trick was in making the miniature subs appear to be inhabited; the models were fitted with tiny projectors which would throw pre-filmed footage of the actors onto a circular screen behind the dome.
The sub chase demonstrates perfectly how visual effects should work: mixing a range of techniques so that the audience never has time to figure out how each one is done, and using an appropriate technique for each individual shot so that you’re making things no more and no less complicated than necessary to tell that little piece of the story.
My favourite effect in the sequence is near the end, when the dome of Coffey’s sub cracks under the water pressure. This was filmed over-the-shoulder using rear projection for the view outside of the dome. But the dome was taken from a real submersible, and as such was too thick and too valuable to be genuinely cracked. So someone, and whoever he or she is is an absolute genius, came up with the idea of using an arrangement of backlit sellotape on the dome to create the appearance of a crack. A flag was then set in front of the backlight, rendering the sellotape invisible. On cue, the flag was slid aside, gradually illuminating the “crack”.
Now that, my friends, is thinking outside the box.