6 Tips for Making DIY Lighting Look Pro

Good lighting can boost the production values of a film tremendously, making the difference between an amateur and a professional-looking piece. For filmmakers early in their careers, however, the equipment typically used to achieve these results can be prohibitively expensive. Far from the Hollywood productions attended by trucks full of lights, a micro-budget film may be unable to rent even a single HMI. Do not despair though, as there are ways to light scenes well without breaking the bank. Here are my top six tips for lighting on the cheap.


1. Make the most of natural light
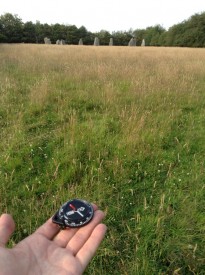
Checking my compass at the stone circle
Guesstimating the sun path on location

The hardest shots to light without the proper equipment are wide shots. Where a fully-budgeted production would rig Maxi Brutes on cherry-pickers, or pound HMIs through windows, a filmmaker of limited means simply won’t have access to the raw power of such fixtures. Instead, plan your day carefully to capture the wide shots at the time when natural light gives you the most assistance. For a day interior, this means shooting when the sun is on the correct side of the building.

See also: “Sun Paths”


2. Keep L.E.D.s to the background

£2 LED camping light

There are a plethora of LED fixtures on the market, designed for all kinds of applications, some of them very reasonably priced. It might be tempting to purchase some of these to provide your primary illumination, but I advise against it. Cheap LED units (and fluorescents) have a terrible Colour Rendering Index (CRI), making for unnatural and unappealing skintones. Such units are therefore best restricted to backgrounds, accent lighting and “specials”. For example, I purchased a little LED camping light from a charity shop for about £2, and I often use it to create the blue glow from computer screens or hang it from the ceiling to produce a hint of hair-light.

See also my article on LEDs from my “Know Your Lights” series.


3. Key with tungsten or halogen

Worklight
Halogen floodlight

By far the best solution for a high output, high CRI, low cost key is a halogen floodlight; 500W models are available for as little as £5. Their chief disadvantage is the lack of barn doors, making the light hard to control, though if you can stretch to a roll of black wrap you can fashion a kind of snoot. Alternatively, consider investing in a secondhand tungsten movie fixture. With many people switching to LEDs, there are plenty of old tungsten units out there. Try to get a reputable brand like Arri or Ianiro, as some of the unbranded units available on Ebay are poorly wired and can be unsafe.

See also: “DIY Interview Lighting for the ‘Ren’ EPK”


4. Control the light

Lace curtains used to break up light in a Camerimage workshop last year

Flooding a halogen light onto a scene is never going to look good, but then the same is often true of dedicated movie fixtures. Instead it’s more how you modify the light that creates the nuanced, professional look. Improvise flags from pieces of cardboard to stop the light spilling into unwanted places – but be VERY careful how close you put them to a tungsten or halogen source, as these get extremely hot. For example, when shooting indoors, flag light off the background wall (especially if it’s white or cream) to help your subject stand out.

See also “Lighting Micro-sets” for an example of this.


5. Soften the light

Almost all cinematographers today prefer the subtlety of soft light to the harshness of hard light. You can achieve this by bouncing your fixture off a wall or ceiling, or a sheet of polystyrene or card. Or you could hang a white bedsheet or a shower curtain in front of the light as diffusion, but again be sure to leave a safe distance between them. Professional collapsible reflectors are available very cheaply online, and can be used in multiple ways to diffuse or reflect light.

Hot tub cover = bounce board
Hot tub cover = bounce board. Towel = flag

See also: “How to Soften Harsh Sunlight with Tinfoil and a Bedsheet”; and to read more about the pictured example: “Always Know Where Your Towel Is”


6. Make use of practicals
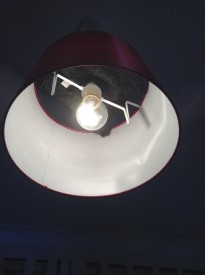
Black-wrapped ceiling light

Finally, don’t be afraid to use existing practical lighting in your scene. Turning on the main overhead light usually kills the mood, but sometimes it can be useful. You can generate more contrast and shape by covering up the top of the lampshade, thus preventing ceiling bounce, or conversely use the ceiling bounce to give some ambient top-light and cover the bottom of the lampshade to prevent a harsh hotspot underneath it. Table lamps and under-cupboard kitchen lights can add a lot of interest and production value to your backgrounds. If possible, swap out LED or fluorescent bulbs for conventional tungsten ones for a more attractive colour and to eliminate potential flickering on camera.

See also: “5 Tips for Working with Practicals”, and for an example of the above techniques, my blog from day two of the Forever Alone shoot.

6 Tips for Making DIY Lighting Look Pro

Pinhole Results

In my last couple of posts I described making and shooting with a pinhole attachment for my 35mm Pentax P30t SLR. Well, the scans are now back from the lab and I’m very pleased with them. They were shot on Fujifilm Superia Xtra 400.

As suspected, the 0.7mm pinhole was far too big, and the results are super-blurry:

See how contemptuous Spike is of this image. Or maybe that’s just Resting Cat Face.

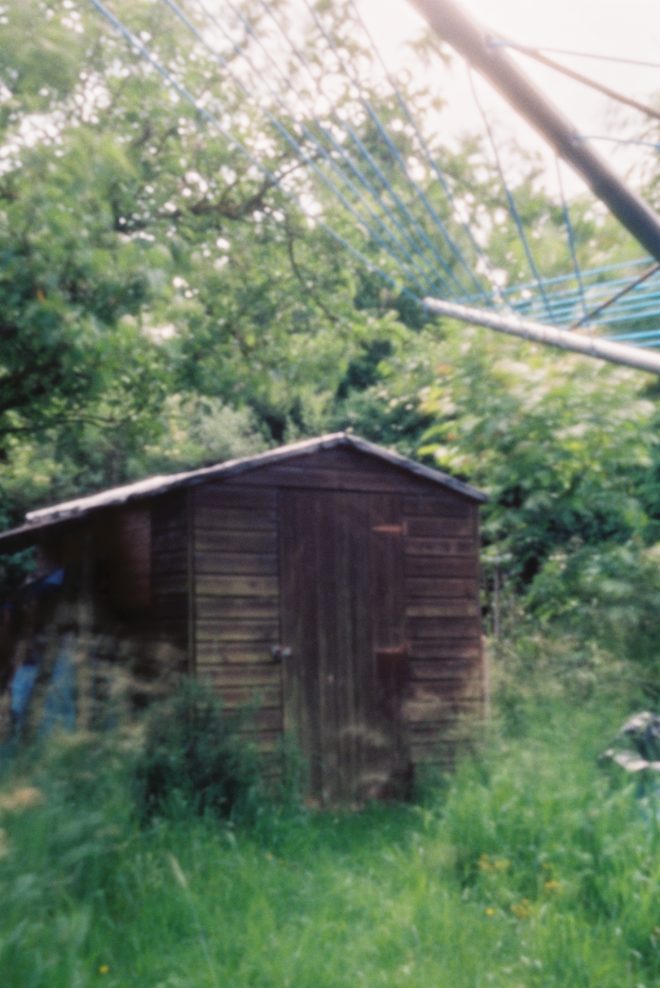
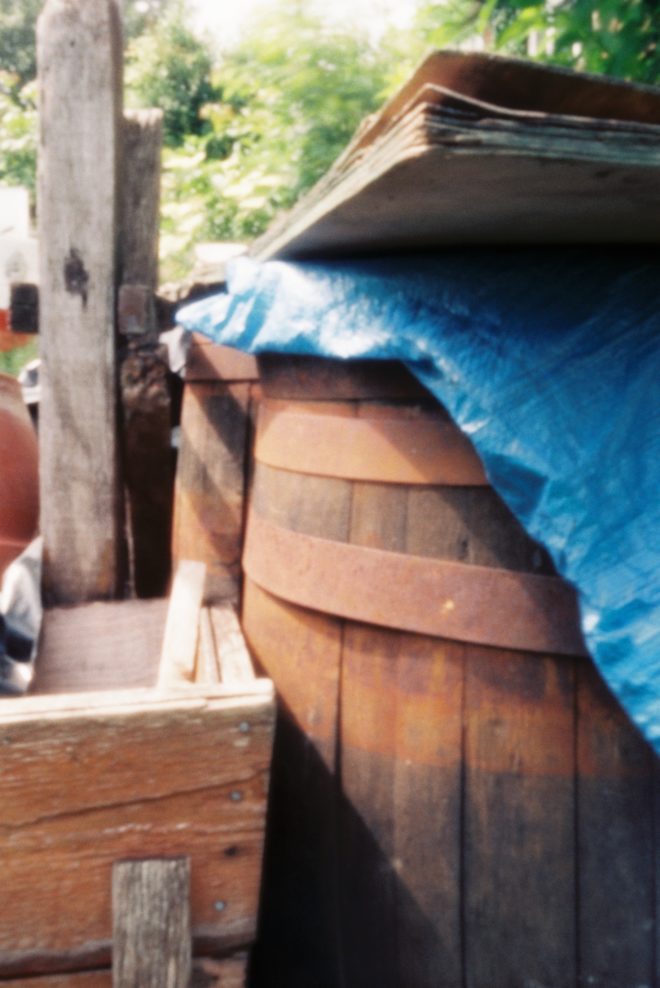
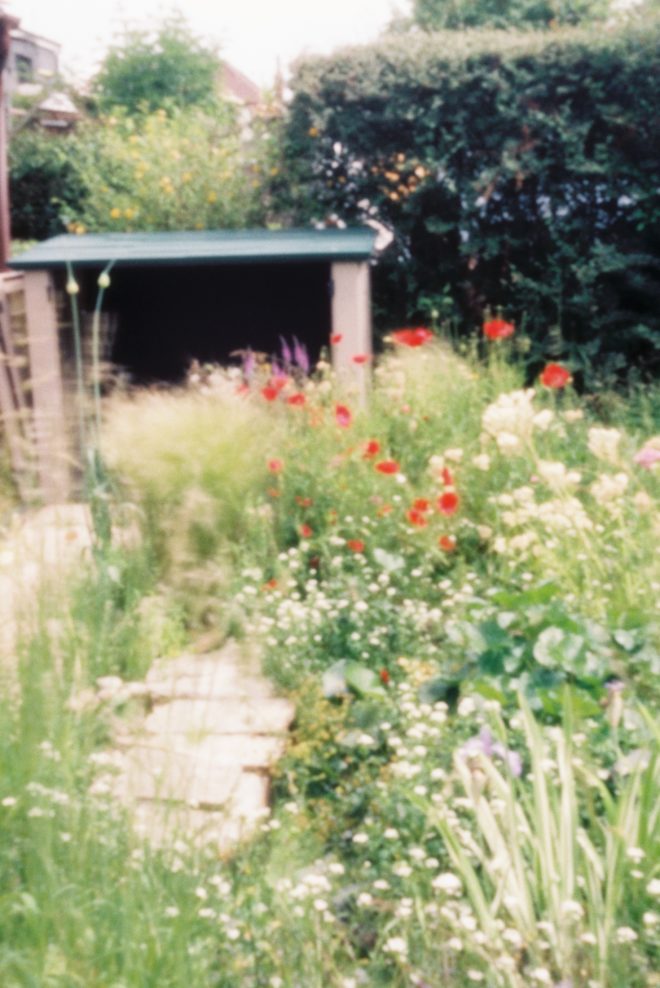
The 0.125mm hole produced much better results, as you can see below. My f/stop calculations (f/365) seem to have been pretty close to the mark, although, as is often the case with film, the occasions where I gave it an extra stop of exposure produced even richer images. Exposure times for these varied between 2 and 16 seconds. Click to see them at higher resolution.

I love the ethereal, haunting quality of all these pictures, which recalls the fragility of Victorian photographs. It’s given me several ideas for new photography projects…

SaveSave

Pinhole Results

Adventures with a Pinhole

Last week I discussed making a pinhole for my Pentax 35mm SLR. Since then I’ve made a second pinhole and shot a roll of Fujifilm Superia X-tra 400 with them. Although I haven’t had the film processed yet, so the quality of the images is still a mystery, I’ve found shooting with a pinhole to be a really useful exercise.

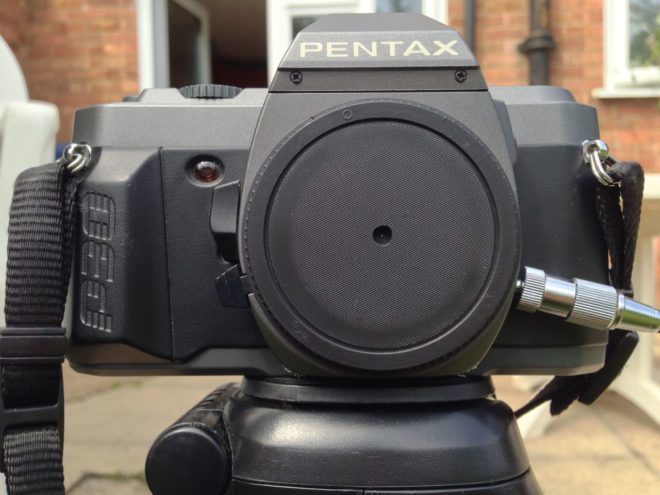
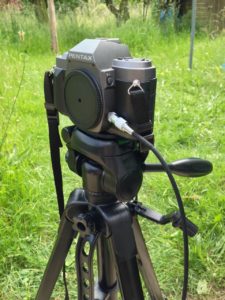
My Pentax P30T fitted with a 0.125mm pinhole attachment


A Smaller Pinhole

Soon after my previous post, I went out into the back garden and took ten exposures of the pond and the neighbour’s cat with the 0.7mm pinhole. By that point I had decided that the hole was almost certainly too big. As I noted last week, Mr Pinhole gives an optimal diameter of 0.284mm for my camera. Besides that, the (incredibly dark) images in my viewfinder were very blurry, a sign that the hole needed to be smaller.

Scans of my two pinholes

So I peeled the piece of black wrap with the 0.7mm pinhole off my drilled body cap and replaced it with another hole measuring about 0.125mm. I had actually made this smaller hole first but rejected it because absolutely nothing was visible through the viewfinder, except for a bit of a blur in the centre. But now I came to accept that I would have to shoot blind if I wanted my images to be anything approaching sharp.

The 0.125mm(ish) pinhole magnified in Photoshop

I had made the 0.125mm hole by tapping the black wrap with only the very tip of the needle, rather than pushing it fully through. Prior to taping it into the body cap, I scanned it at high resolution and measured it using Photoshop. This revealed that it’s a very irregular shape, which probably means the images will still be pretty soft. Unfortunately I couldn’t see a way of getting it any more circular; sanding didn’t seem to help.

Again I found the f-stop of the pinhole by dividing the flange focal distance (45.65mm) by the hole diameter, the result being about f/365. My incident-light meter only goes up to f/90, so I needed to figure out how many stops away from f/365 that is. I’m used to working in the f/1.4-f/22 range, so I wasn’t familiar with how the stop series progresses above f/90. Turns out that you can just multiply by 1.4 to roughly find the next stop up, so after f/90 it’s 128, then 180, then 256, then 358, pretty close to my f/365 pinhole. So whatever reading my meter gave me for f/90, I knew that I would need to add 4 stops of exposure, i.e. multiply the shutter interval by 16. (Stops are a base 2 logarithmic scale. See my article on f-stops, T-stops and ND filters for more info.)


The Freedom of Pinhole Shooting

I’ve just spent a pleasant hour or so in the garden shooting the remaining 26 exposures on my roll with the new 0.125mm pinhole. Regardless of how the photos come out, I found it a fun and fascinating exercise.

Knowing that the images would be soft made me concentrate on colour and form far more than I normally would. Not being able to frame using the viewfinder forced me to visualise the composition mentally. And as someone who finds traditional SLRs very tricky to focus, it was incredibly freeing not to have to worry about that, not to have to squint through the viewfinder at all, but just plonk the camera down where it looked right and squeeze the shutter.

Of course, before squeezing the shutter I needed to take incident-light readings, because the TTL (through the lens) meter was doing nothing but flash “underexposed” at me. Being able to rely solely on an incident meter to judge exposure is a very useful skill for a DP, so this was great practice. I’ve been reading a lot about Ansel Adams and the Zone System lately, and although this requires a spot reflectance meter to be implemented properly, I tried to follow Adams’ philosophy, visualising how I wanted the subject’s tones to correspond to the eventual print tones. (Expect an article about the Zone System in the not-too-distant future!)


D.I.Y. pinhole Camera

On Tuesday night I went along to a meeting of Cambridge Darkroom, the local camera club. By coincidence, this month’s subject was pinhole cameras. Using online plans, Rich Etteridge had made up kits for us to construct our own complete pinhole cameras in groups. I teamed up with a philosophy student called Tim, and we glued a contraption together in the finest Blue Peter style. The actual pinholes were made in metal squares cut from Foster’s cans, which are apparently something Rich has in abundance.

DIY pinhole camera

I have to be honest though: I’m quite scared of trying to use it. Look at those dowels. Can I really see any outcome of attempting to load this camera other than a heap of fogged film on the floor? No. I think I’ll stick with my actual professionally-made camera body for now. If the pinhole photos I took with that come out alright, then maaaaaaybe I’ll consider lowering the tech level further and trying out my Blue Peter camera. Either way, big thanks to Rich for taking all that time to produce the kits and talk us through the construction.

Watch this space to find out how my pinhole images come out.

SaveSave

Adventures with a Pinhole

Making a Pinhole Attachment for an SLR

Last autumn, after a few years away from it, I got back into 35mm stills photography. I’ve been reading a lot of books about photography: the art of it, the science and the history too. I’ve even taken a darkroom course to learn how to process and print my own black and white photos.

Shooting stills in my spare time gives me more opportunities to develop my eye for composition, my exposure-judging skills and my appreciation of natural light. Beyond that, I’ve discovered interesting parallels between electronic and photochemical imaging which enhance my understanding of both.

For example, I used to think of changing the ISO on a digital camera as analogous to loading a different film stock into a traditional camera. However, I’ve come to realise it’s more like changing the development time – it’s an after-the-fact adjustment to an already-captured (latent) image. There’s more detail on this analogy in my ISO article at Red Shark News.

The importance of rating an entire roll of film at the same exposure index, as it must all be developed for the same length of time, also has resonance in the digital world. Maintaining a consistency of exposure (or the same LUT) throughout a scene or sequence is important in digital filmmaking because it makes the dailies more watchable and reduces the amount of micro-correction which the colourist has to do down the line.

Anyway, this is all a roundabout way of explaining why I decided to make a pinhole attachment for my SLR this week. It’s partly curiosity, partly to increase my understanding of image-making from first principles.

The pinhole camera is the simplest image-making device possible. Because light rays travel in straight lines, when they pass through a very small hole they emerge from the opposite side in exactly the same arrangement, only upside-down, and thus form an image on a flat surface on the other side. Make that flat surface a sheet of film or a digital sensor and you can capture this image.


How to make a pinhole attachment

I used Experimental Filmmaking: Break the Machine by Kathryn Ramey as my guide, but it’s really pretty straightforward.

You will need:

  • an extra body cap for your camera,
  • a drill,
  • a small piece of smooth, non-crumpled black wrap, or kitchen foil painted black,
  • scissors,
  • gaffer tape (of course), and
  • a needle or pin.

Instructions:

  1. Drill a hole in the centre of the body cap. The size of the hole is unimportant.
  2. Use the pin or needle to pierce a hole in the black wrap, at least a couple of centimetres from the edge.
  3. Cut out a rough circle of the black wrap, with the pinhole in the middle. This circle needs to fit on the inside of the body cap, with the pinhole in the centre of the drilled hole.
  4. Use the gaffer tape to fix the black wrap tightly to the inside of the body cap.
  5. Fit the body cap to your camera.

The smaller the pinhole is, the sharper the image will be, but the darker too. The first pinhole I made was about 0.1-0.2mm in diameter, but when I fitted it to my camera and looked through the viewfinder I could hardly make anything out at all. So I made a second one, this time pushing the pin properly through the black wrap, rather than just pricking it with the tip. (Minds out of the gutter, please.) The new hole was about 0.7mm but still produced an incredibly dark image in the viewfinder.


Exposing a pinhole image

If you’re using a digital camera, you can of course judge your exposure off the live-view screen. Things are a little more complicated if, like me, you’re shooting on film.

In theory the TTL (through the lens) light meter should give me just as reliable a reading as it would with a lens. The problem is that, even with the shutter set to 1 second, and ISO 400 Fujifilm Super X-tra loaded, the meter tells me I’m underexposed. Admittedly the weather has been overcast since I made the pinhole yesterday, so I may get a useful reading when the sun decides to come out again.

Failing that, I can use my handheld incident-light meter to determine the exposure…. once I’ve worked out what the f-stop of my pinhole is.

As I described in my article on aperture settings, the definition of an f-stop is: the ratio of the focal length to the aperture diameter. We’re all used to using lenses that have a clearly defined and marked focal length, but what is the focal length in a pinhole system?

The definition of focal length is the distance between the point where the light rays focus (i.e. converge to a point) and the image plane. So the focal length of a pinhole camera is very simply the distance from the pinhole itself to the film or digital sensor. Since my pinhole is more or less level with the top of the lens mount, the focal length is going to be approximately equal to the camera’s flange focal distance (defined as the distance between the lens mount and the image plane). According to Wikipedia, the flange focal distance for a Pentax K-mount camera is 45.46mm.

So the f-stop of my 0.7mm pinhole is f/64, because 45.64 ÷ 0.7 ≈ 64. Conveniently, f/64 is the highest stop my light meter will handle.

The website Mr Pinhole has a calculator to help you figure this sort of stuff out, and it even tells you the optimal pinhole diameter for your focal length. Apparently this is 0.284mm in my case, so my images are likely to be quite soft.

Anyway, when the sun comes out I’ll take some pictures and let you know how I get on!

Making a Pinhole Attachment for an SLR

Firelight: Revenge of the Cyclotron

Back in early 2012, gaffer Colin Smith and I built a wagon light – or Cyclotron, as it was soon dubbed. Alright, Colin did most… all of the building, despite what this video may appear to show.

The dimmer board controlling the Cyclotron sits on the arm of the sofa next to the tungsten avenger itself.

Somehow, the Cyclotron never got used. The 100W bulbs and clip-on fixtures that comprised it did get used, however. They were scattered throughout the shop in Stop/Eject, hidden behind a bed in Ashes, and used to create a sunset in The One That Got Away. And last weekend, they got turned into something which the moniker “Cyclotron” seems to fit even better.

Shooting Coffin Grabber, directed by Claire Elizabeth Alberie, we needed firelight to play on the face of a character called Phil. I asked Col to rig up a bank of eight 100W bulbs, running two of them into each of the four channels on his dimmer board. During the takes he would oscillate the faders in random patterns to suggest the flicker of flames.

In front of the bulbs I hung a sheet of Urban Sodium gel. Given Phil’s character, I didn’t want the sunny feel of a straw colour or the homely orange of CTO (Colour Temperature Orange). I happened to have some Urban Sodium in my gels bin and I felt that had just the right dirty, gritty and a little bit hell-ish look for Phil.

There are many ways to simulate firelight. Check out this blog by Shane Hurlbut about how he built an elaborate rig using gooseneck microphone mounts for The Greatest Game Ever Played. And look out for a forthcoming post from me on simulating candlelight when The First Musketeer is released.

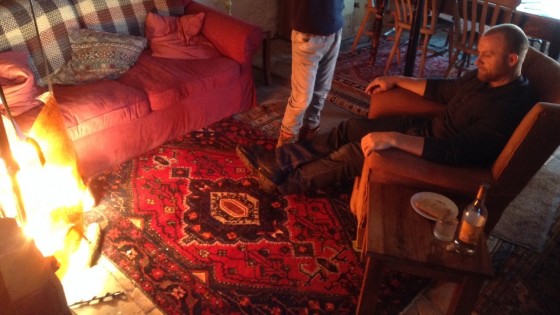
Phil (Ross O'Hennessy) basks in the warm glow of the Cyclotron.
Phil (Ross O’Hennessy) basks in the warm glow of the Cyclotron.
Firelight: Revenge of the Cyclotron