Earlier this year I met young filmmaker KT Roberts on a shoot in South Wales, and I remember her telling me all about her idea for a time travel feature film. This got my attention (a) because I love time travel movies and (b) because I always like to hear about low budget filmmakers who are not afraid to tackle a sci-fi or fantasy story. But before KT embarks on this feature, she’s making a short film called 3 Blind Mice. She asked me to help out and before I knew it I was the director of photography and drawing up an equipment list for Panalux.
KT, where did the concept for 3 Blind Mice come from?
I wrote two thirds of 3 Blind Mice on a plane back from a diving trip in Lanzarote – I’d had the ideas rattling around in my head for a while, but hadn’t yet put pen to paper but on that plane journey it came spilling out rather quickly. This is actually the first short film I’ve ever written that I like enough to want to take to the shooting stage. I have this writing thing all backwards in that I’ve already written a feature and have another in the pipeline, but I find it much harder to write short films as there’s so little time to explore anything in any detail. Paradoxical as it may seem, features are easier for me to write (though not necessarily to write well – only time will tell!) because they give you time to explore, examine and dissect your characters: a deep sea dive in the Caribbean as opposed to pressing your nose against the glass in an aquarium.
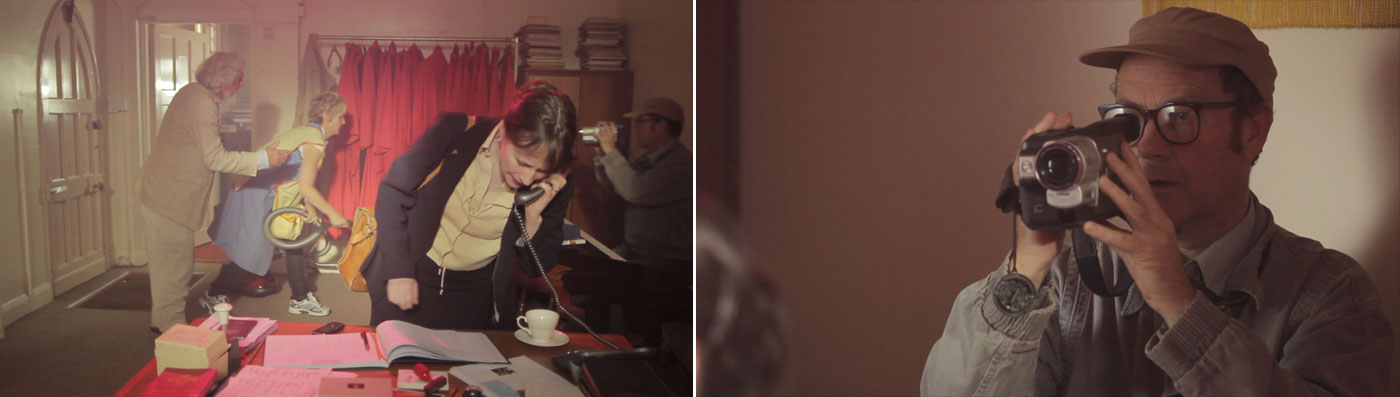
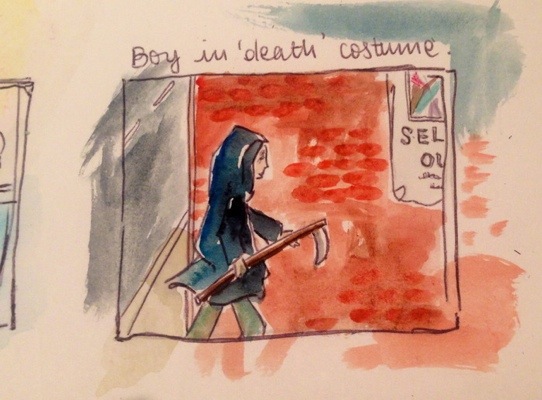
With this in mind I didn’t want to focus on just one character as I didn’t feel I’d be able to do them justice, or tell the sort of story I wanted to tell, in the shortened format of a short film. Instead I decided I wanted to make a film about a single idea and examine it in depth from different angles and perspectives – through the eyes of different people. I’m not entirely sure what drew me to death – no-one I know has died, not even a pet, so I’m not drawing directly from my own experience on that front. However I have had a massively overactive imagination since a very young age (I was one of those hyper children battling dragons with wooden sticks) – and I’m fascinated by the very human tendency to tell ourselves stories to help us deal with things we don’t understand. The stories we tell ourselves about death – from concepts of heaven and hell, to ghosts, the supernatural and the grim reaper- allow us to categorise and quantify this great unknown and thereby make it less scary. All three stories depict someone struggling with death and making up an imaginary companion to help them through it – each is coming from a different perspective and has a different outlook on what death means, but each of them must come to terms with it. I hope I have managed to convey the idea that while death can be scary and sudden and confusing, there are other, brighter facets to it if you look in a certain way.
How does 3 Blind Mice fit into your plans for future filmmaking?
I’m really looking forward to making this short and hope it will mark the start of a career which sees some of my bigger projects realised. Ultimately I would like to make one of my feature films, and my producer Julia and I have already discussed how we might film the opening to use as a pilot to try and raise the necessary funds. My work is slightly tricky in that I almost always have a science fiction, fantastical or supernatural angle in my writing, which can be difficult to bring to the screen for obvious reasons! However my work isn’t fiction in the same vein as something like Star Wars – it normally has just one element (for example my finished screenplay, Timelines, revolves around people who live in our world, but who can move through time). This means that with clever camera work and minimal special effects, my stories can be realised without the multi-million pound budgets that most science fiction films made today need. I’m not aiming to make art house films and I am very much aiming to entertain not preach, but if I can sneak in themes and perspectives that interest me or I feel strongly about then the story is always better for it, even if many people watching don’t realise it’s there. I want people to work to understand the storyline and the characters, not just sit back to watch mindless fluff.
So if I could look forward 20 years, I hope I’ll be writing and/or directing that sort of film and be able to look back on 3 Blind Mice as the first step on my way.
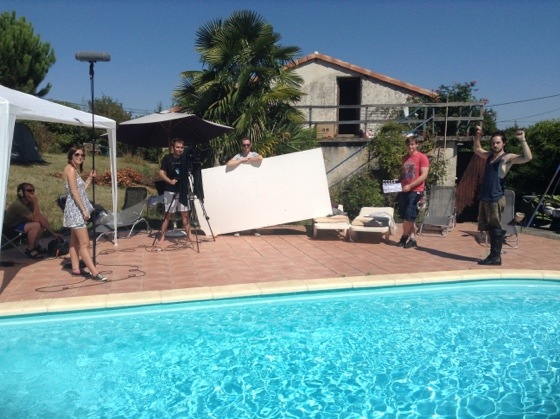
Right now KT and her dedicated production team are in the middle of a crowd-funding campaign to cover the modest costs of making 3 Blind Mice. Myself, Colin and the rest of the cast and crew are volunteering our time, but there are some costs you can’t escape. This is an all-or-nothing campaign, so if we don’t reach the target we get none of the money and cannot make the film. So please head on over to the Kickstarter page, contribute what you can and help get KT on the road to achieving her dreams.


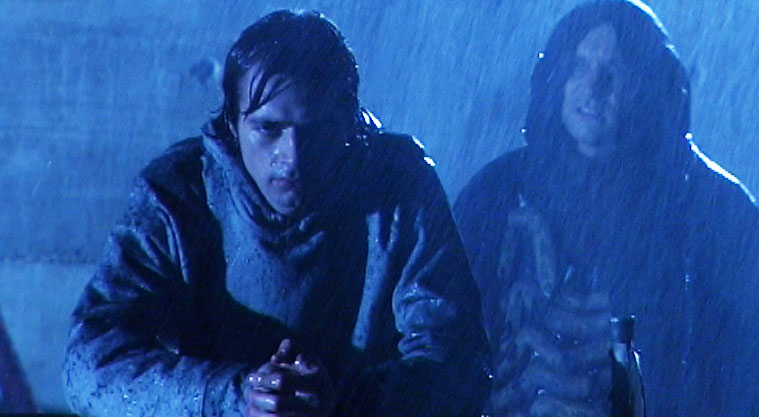
 and Athos (Edward Mitchell) was shot with a white balance of 3,200K, turning the HMI backlight blue, while the warm light around the taven entrance was provided by CTO-gelled Dedos and redheads.")