Lighting I Like: “12 Monkeys”

The latest episode of Lighting I Like is out, analysing how the “Splinter Chamber” set is lit in time travel thriller 12 Monkeys. This adaptation of the Terry Gilliam movie can be seen on Netflix in the UK.

I found out lots about the lighting of this scene from this article on the American Society of Cinematographers website. It didn’t mention the source inside the time machine though, but my guess is that it’s a Panibeam 70, as used in the Cine Reflect Lighting System.

New episodes of Lighting I Like are released at 8pm BST every Wednesday. Next week I’ll look at two scenes from PreacherClick here to see the playlist of all Lighting I Like episodes.

Lighting I Like: “12 Monkeys”

5 Ways to Use Hard Light Through a Window

The first step in lighting a daytime interior scene is almost always to blast a light through the window. Sometimes soft light is the right choice for this, but unless you’re on a big production you simply may not have the huge units and generators necessary to bounce light and still have a reasonable amount of it coming through the window. So in low budget land, hard light is usually the way we have to go.

Now, I used to think that this hard window light had to hit the talent’s faces, otherwise what’s the point? But eventually I learnt that there are many things you can do with this light….


1. Light the talent directly.

This is what I always used to do. The problem is that the light will be very harsh. If there is a good amount of natural light coming in through the window too, that might soften the look enough. If not, slipping a diffusion frame in front of the light will take the edge off the hardness. And it depends which way the talent is facing. If the hard light is backlighting or edging them, the effect might well be beautiful.

prison2
Ren: The Girl with the Mark, S1 E4, director: Kate Madison, DP: Neil Oseman
Hard side light from an Arri M18 outside the window, combined with a 4x4 kino from a 3/4 angle inside the room
The Gong Fu Connection, director: Ted Duran, DP: Neil Oseman


2. Light part of the talent directly.

This is a nice way to get the best of both worlds. You hit their clothes with the hard light, maybe a bit of their chin too; it creates contrast, brings out the texture in the costume, and adds dynamics because as the talent moves, the edge of the hard light will move around on them. To light the parts which the hard source doesn’t hit you can use bounce, or a kinoflo Window Wrap.

ren4-commander-house
Ren: The Girl with the Mark, S1 E4, director: Kate Madison, DP: Neil Oseman
Ren: The Girl with the Mark (Mythica Entertainment, dir. Kate Madison)
Ren: The Girl with the Mark, S1 E2, director: Kate Madison, DP: Neil Oseman


3. Light the floor.

Arrange the light so it hits the floor, creating a skip bounce. Unless the floor’s a very dark colour, the light will bounce back up and light your talent softly from below. While some people are afraid of the “monster” look of lighting from below, it can often produce a very beautiful look. It’s well worth exploring. Alternatively, bounce the hard window light off a wall to create a soft side light.

Manure, director: Michael Polish, DP: M. David Mullen
This photo from the set of Above the Clouds (director: Leon Chambers) shows a white sheet which I laid on the floor to skip-bounce the HMI outside the window. Some of its effects can be seen on Rupert's face (right)!
This photo from the set of Above the Clouds (director: Leon Chambers) shows a white sheet which I laid on the floor to skip-bounce the HMI outside the window.


4. Light the background.

A hot splash of “sunlight” on the background is a common way to add interest to a wide shot. It can show off the production design and the textures in it, or help frame the talent or separate them from the background.

The Crown, S1 E10 "Gloriana", dir.
The Crown, S1 E10 “Gloriana”, director: Philip Martin, DP: Ole Bratt Birkeland
My Utopia, director: Patrick Moreau, DP: Joyce Tsang


5. Light nothing.

Sometimes the most effective way to use a shaft of light through a window is simply as background interest. Volumize the light using smoke, and it creates a nice bit of contrast and production value in the scene. Silhouetting characters in front of the beam can be very effective too. 

33_GuardRoomWide1
Ren: The Girl with the Mark, S1 E4, director: Kate Madison, DP: Neil Oseman
Big Sur, director: Michael Polish, DP: M. David Mullen


Any that I’ve missed? What are your techniques for lighting through windows?

5 Ways to Use Hard Light Through a Window

Know Your Lights: HMIs

18K bubble for an Arrimax 12/18
18K bubble for an Arrimax 18/12

Following on from last week’s look at tungsten units, today we focus on HMI lighting. HMIs are more complex technology than tungsten, meaning they are far more expensive, and more prone to problems, particularly if you get a deal from a hire company and they give you older units. But they are bright and relatively efficient and because of this, and their colour temperature of 5,600K, they are by far the most popular type of light used in today’s film and TV industry when battling or mixing with natural daylight.

HMIs (hydragyrum medium-arc iodide) operate by creating an arc between two electrodes. This arc excites a gas which produces the light. In order to ignite the arc, a ballast is required. This device also regulates the current, while a special header cable connects the ballast to the light.

Arri_540817_Ballast_Electronic_2500_4000_Watts_1317042538000_325678
Arri electronic ballast for 2.5K and 4K HMIs

Ballasts come in two types: electronic and magnetic. Magnetic ballasts are cheaper, but if you are shooting at a shutter interval out of sync with the cycling of your power supply – e.g. 1/48th of a second with a 50Hz UK power supply – the HMI will appear to flicker on camera. Electronic ballasts have a ‘flicker free mode’ which converts the sine wave of the power supply into a square wave so that the arc does not extinguish at any point in the cycle. A side effect of this is that the head and/or ballast can produce humming, buzzing or squealing noises. Therefore many electronic ballasts have a ‘silent mode’ which reduces the noise but only prevents flicker at standard frame rates, not for high-speed work. In practice, flicker is rarely a problem as the shutter angles of today’s digital cameras can easily be tweaked to deal with it at common frame rates.

Adjusting an Arri Daylight Compact 1200 (a 1.2K MSR) on the set of Ashes. Photo: Sophie Black
Adjusting an Arri Daylight Compact 1.2K HMI fresnel

Like tungsten units, HMIs are available in open face, par and fresnel varieties, though the open face models are not very common. Arri, the major manufacturers of HMIs, call their daylight par fixtures ‘Arrisun’. Other HMI brands include Film Gear, Silver Bullet and K5600, which makes Jokers (see below).

Measured by their wattage, standard HMIs sizes are: 200W, 575W, 1.2K, 2.5K, 4K, 6K, 12K, 18K.

The smaller models, up to 2.5K, are fairly common on no-budget sets, because they can run off a domestic power supply and so don’t require a generator. At the other end of the scale, 18Ks are standard for daylight exterior and interior work on medium budgets and above.

Because of their power, HMIs often play a key part in night exterior lighting too. A 12K or 18K on a condor crane may be used to simulate the moon, while other HMI units, perhaps bounced or coming through a frame, might serve as sidelight or fill. By choosing to shoot at 3,200K, you automatically turn these HMI sources blue, often a desirable look for nighttime work.

Two 18K Silver Bullet HMI fresnels rigged to a condor crane to provide moonlight for a night exterior on The Little Mermaid

There are many variants on the standard HMIs. Here are some of the more common ones.

Arrilux 125W Pocket Par

Pocket pars are little 125W daylight pars that can be run off batteries. Before the days of LED panels, I used one of these for eye-light on a short film set in a forest in daylight. They can also make a good TV gag when bounced off a wobbling silver reflector.

K5600 Joker Bug 800W

Jokers are small units that come in 400W and 800W models. They can be reconfigured in various ways and even slotted into Source 4 housings (see last week’s tungsten post) to convert these units to daylight. We used a 400W joker a couple of times on Heretiks, when there was little space to rig in but we needed a fair bit of punch – like daylight through a small window.

Arrimax M18
Arrimax M18

The Arrimax range uses a hybrid of par and fresnel technology. They are lighter and more efficient than standard HMIs – the 800W model puts out almost as much light as an ordinary 1.2K, for example – but they’re more expensive to hire and don’t create the nice shafts of light that some DPs like (ahem). The model numbers are the wattage in tenths of a kilowatt: M8 (800W), M18 (1.8K), M40 (4K), M90 (9K) and the anomalously-named Arrimax 18/12 which accepts both 12K and 18K bubbles.

Airstar helium balloons in action

Helium Balloons are designed to provide a soft overhead illumination for night exteriors or high-ceilinged interiors. They come in a range of shapes and sizes, and aren’t necessarily HMIs; they can be fitted with tungsten lamps, or a combination of both.

Again, please let me know on Facebook or Twitter if I’ve missed out any of your favourite units. Next week: fluorescents.

Know Your Lights: HMIs

Know Your Lamps: Overview

Welcome to the first in a series of posts looking at the many types of lighting instruments in use on film and TV sets today. This is not intended to be an exhaustive or comprehensive list, but it will give you a good idea of your options, particularly if you’re moving up from smaller productions – where lighting kit is mostly borrowed – to larger ones, where you’re required to submit a lighting list to a rental house.

Some of the key considerations when choosing a lamp are:

  • Colour temperature – how orange or blue the light appears – see this post for more info
  • CRI – Colour Rendering Index – how full a spectrum of light is emitted, and therefore how accurately colours are rendered
  • Light quality – how hard or soft the light is
  • Power consumption
  • Hire cost

Lamps can be divided into categories according to the means by which they produce light. Here is an overview of the main types.


Redheads draw 800W each

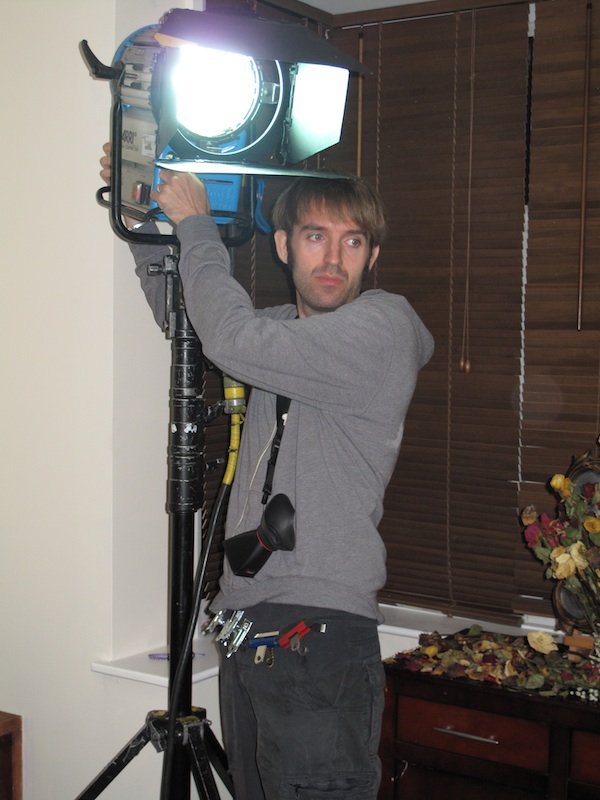
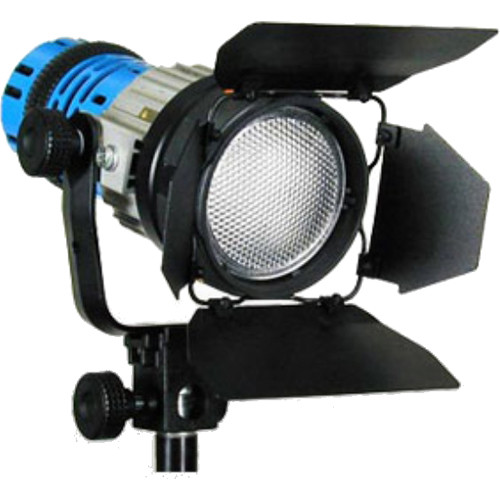
Incandescent (view detailed post)

Incandescent lamps work by passing electrical current through a wire filament which becomes so hot that it glows. In the film industry they are generally referred to as ‘tungsten‘ units after the metal which the filament is made from. Common tungsten lamps include Dedolites, 1K ‘babies’ and open-face 800W and 2KW units (which have misogynous nicknames I shall not repeat here).

Pros: cheap, dimmable, extremely high CRI

Cons: very inefficient, get very hot, colour temperature changes when dimmed

Colour temperature: 3,200K

Light quality: generally hard (although certain units like Space Lights are softer)


HMI fresnel

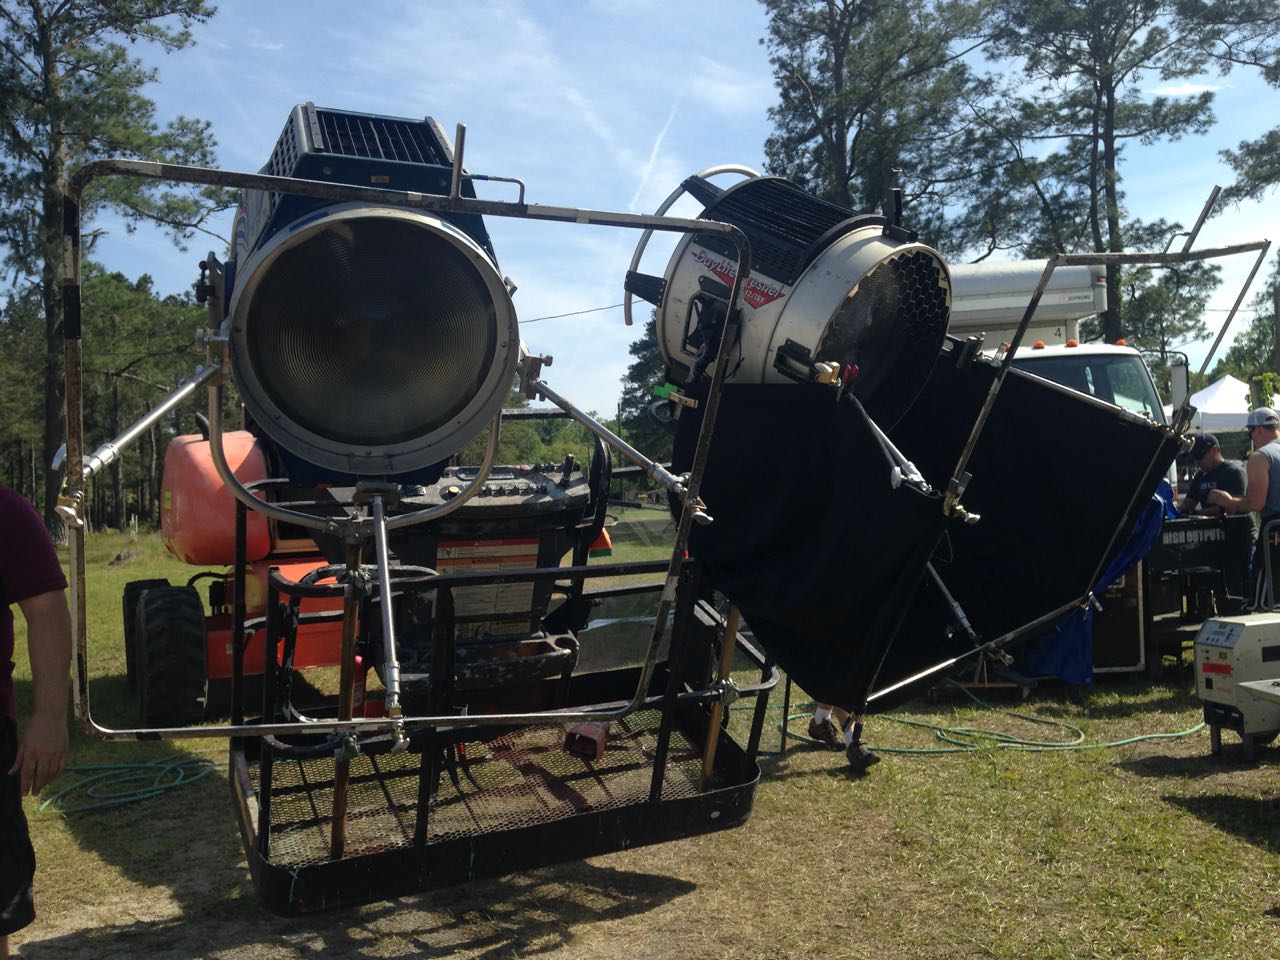
HMI (view detailed post)

The HMI (hydragyrum medium-arc iodide) is the most common form of high intensity discharge lamp used in the industry. It operates by creating an electrical arc between two electrodes which excites a gas. You may occasionally hear about an MSR (medium source rare-earth), which is slightly different technology, but as far as a cinematographer is concerned MSRs and HMIs are the same. They require a ballast to ignite the arc and regulate the current and voltage.

Pros: good CRI, good match for daylight, efficient

Cons: only dimmable down to 50%, expensive, heads and ballasts sometimes hum or ‘squeal’, older bulbs can vary in colour, flicker issues at certain shutter angles with magnetic ballasts

Colour temperature: 5,600K

Light quality: hard


Kino4x4
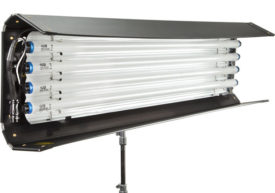
Fluorescent (view detailed post)

Fluorescent lamps are found almost everywhere today, as strip lights in supermarkets and offices, and energy-saver bulbs in the home. Similar in principle to HMIs, electric current causes mercury vapour to emit UV light which is translated into the visible spectrum by the phosphor coating on the tube. Kino Flo pretty much has the monopoly on fluorescent lighting for the film industry. Like HMIs, fluorescents require a ballast.

Pros: reasonable CRI from Kino Flos (appalling CRI from domestic/commercial fixtures), very efficient, get warm but not hot

Cons: limited dimming, high fall-off of light

Colour temperature: 5,500K and 3,200K tubes available

Light quality: soft


LED copy
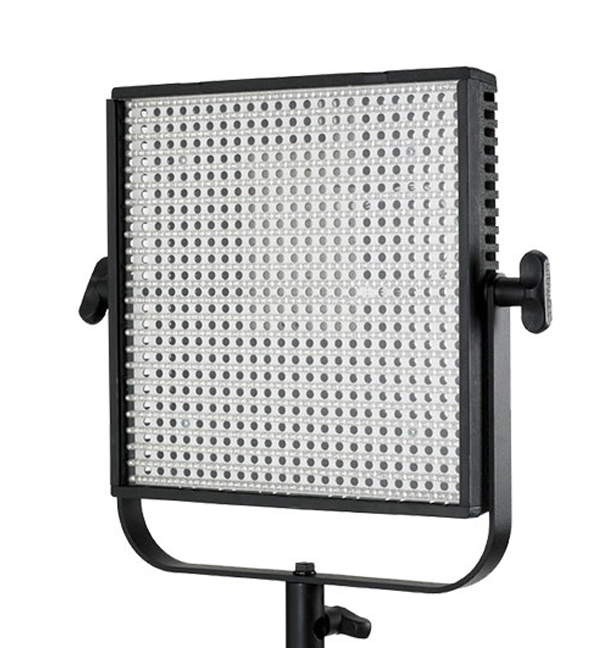
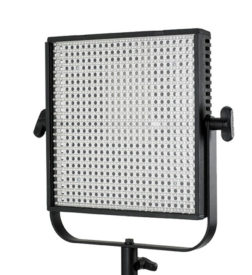
LED (view detailed post)

Gradually replacing tungsten as the most common lamps found on no-budget shoots, LED (light emitting diode) units contain semi-conductors that emit light when their electrons reconfigure. The technology is advancing rapidly, but there is currently a wide range of LED lamps on the market, varying greatly in price and corresponding quality.

Pros: extremely efficient, barely get warm, can run off batteries, almost fully dimmable, some models have adjustable colour temperature

Cons: CRI ranges from almost acceptable in the expensive models to downright shocking in the cheaper ones

Colour temperature: varies

Light quality: varies


Though there are other types of lighting, like xenon, metal-halide and HEP (high efficiency plasma), the above four are the main ones you will encounter on film and TV sets today. Over the next few weeks I’ll look at each of those types in more detail, listing many of the specific units available in each category and their applications.

By the way, if your budget is too tight to hire film lamps of any kind, you may want to check out my post on lighting without movie lamps.
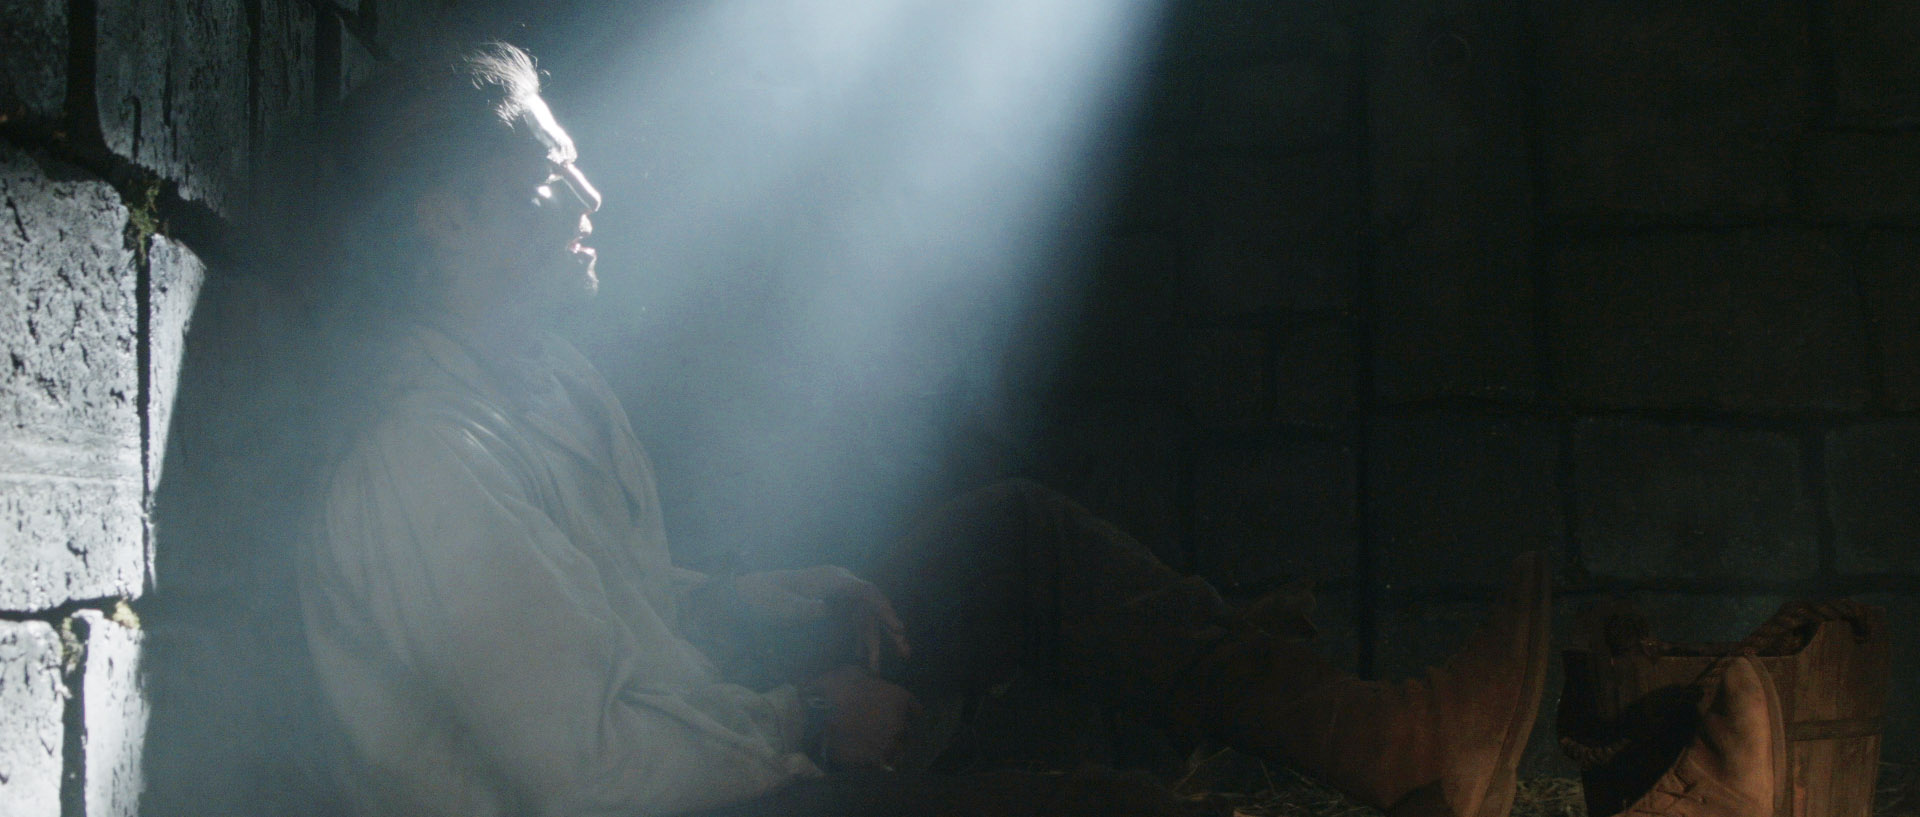
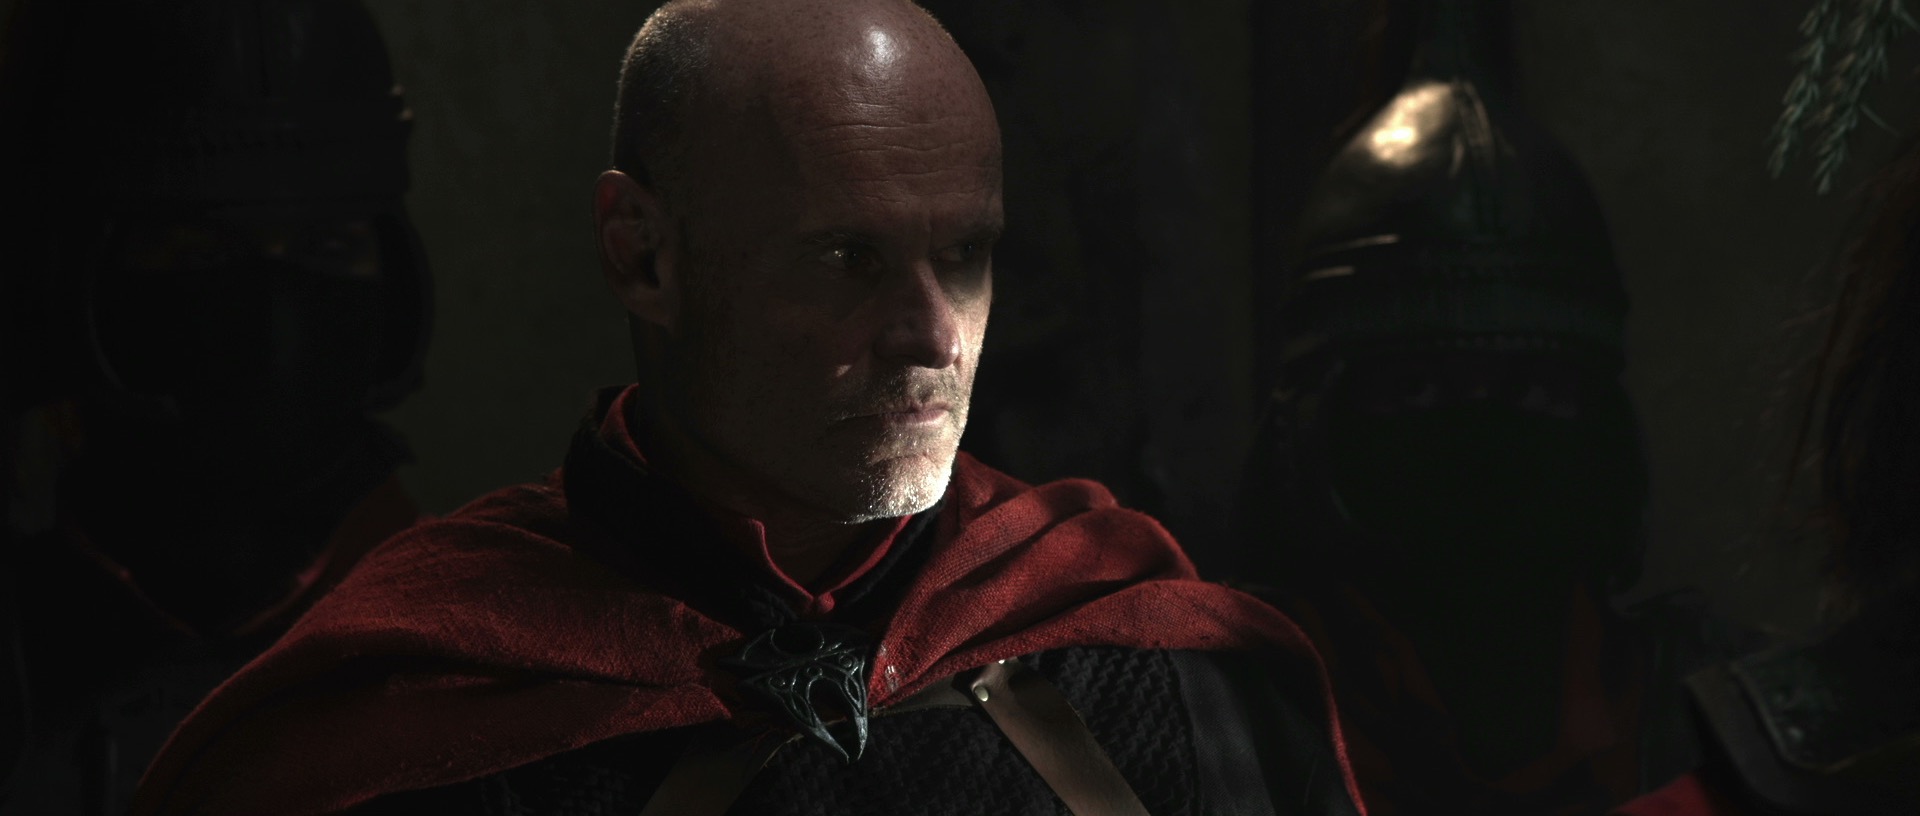
Know Your Lamps: Overview