Lensing Ren – episode 5

Season one of Ren: The Girl with the Mark has come to an end, and to ease the pain a little, here’s one last video breakdown of the show’s cinematography. This week I talk about the exterior scenes from daylight through sunset to night.

Here is the lighting plan for the final scene:

Village-night-1080p

Check out the article I wrote during the shoot about the sunset scene if you’re still hungry for details. And here is an unpublished blog post I wrote during the shoot about the village night exteriors…

The 2.5K HMI backlight
The 2.5K HMI backlight. The dimmer board for the Cyclotron can be seen in the lower right.

The last two days of principal photography on Ren were actually night shoots. It was great to take the village set that I’d shot in natural light for five weeks and chuck some of my own light at it.

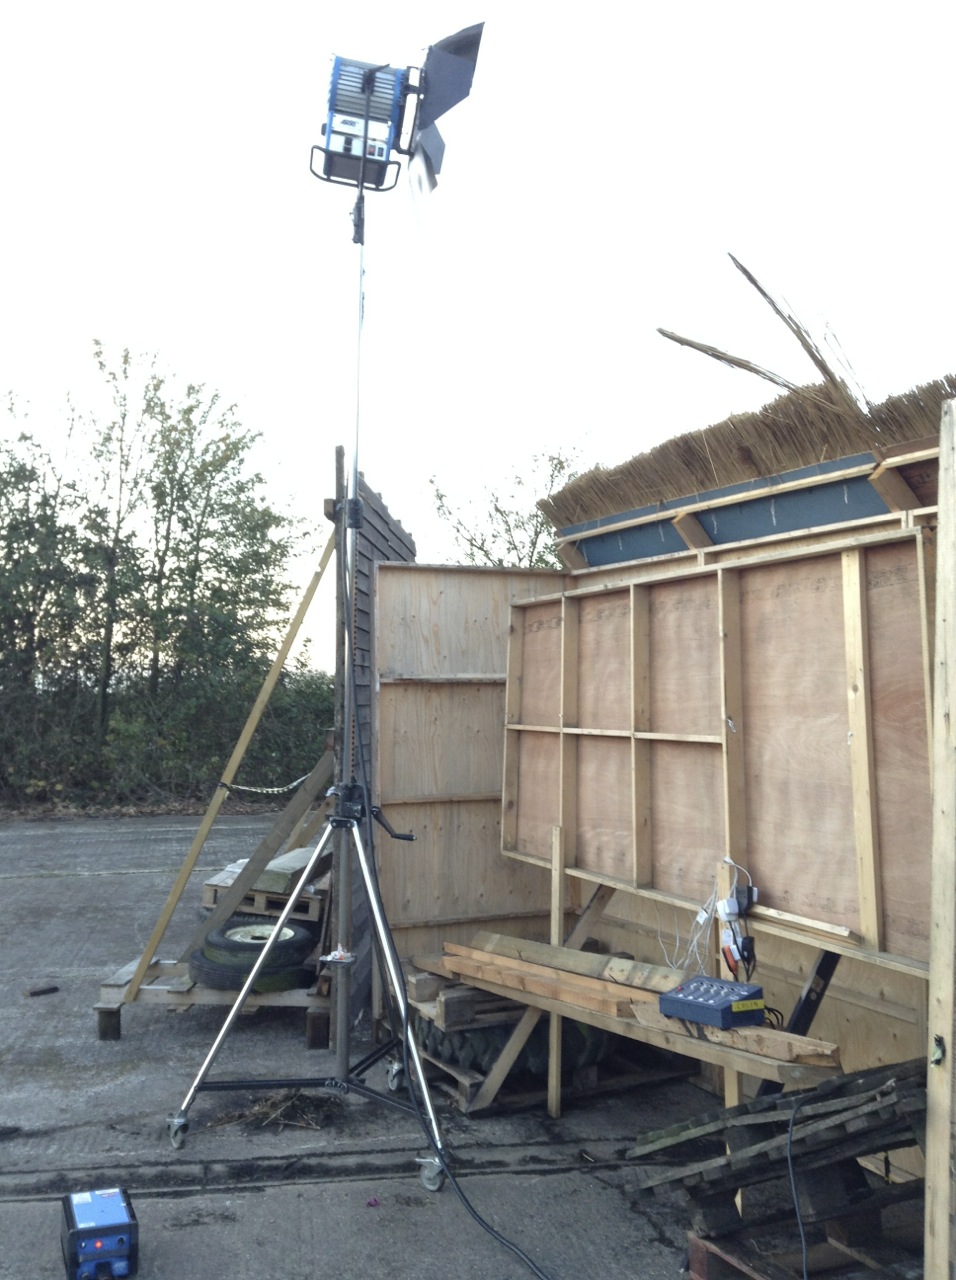
In his American Cinematographer interview about The Monuments Men (February 2014), Phedon Papamichael said, “My big night-exterior lighting setups usually have one source” – often a backlight, judging by the examples given in the article – “and then I use whatever practicals are in the shot.” My approach is much the same, though a big source for me is a 2.5K HMI, not an Arri T12, sadly!

One of the Urban Sodium-gelled 800W Arrilites beefing up the braziers

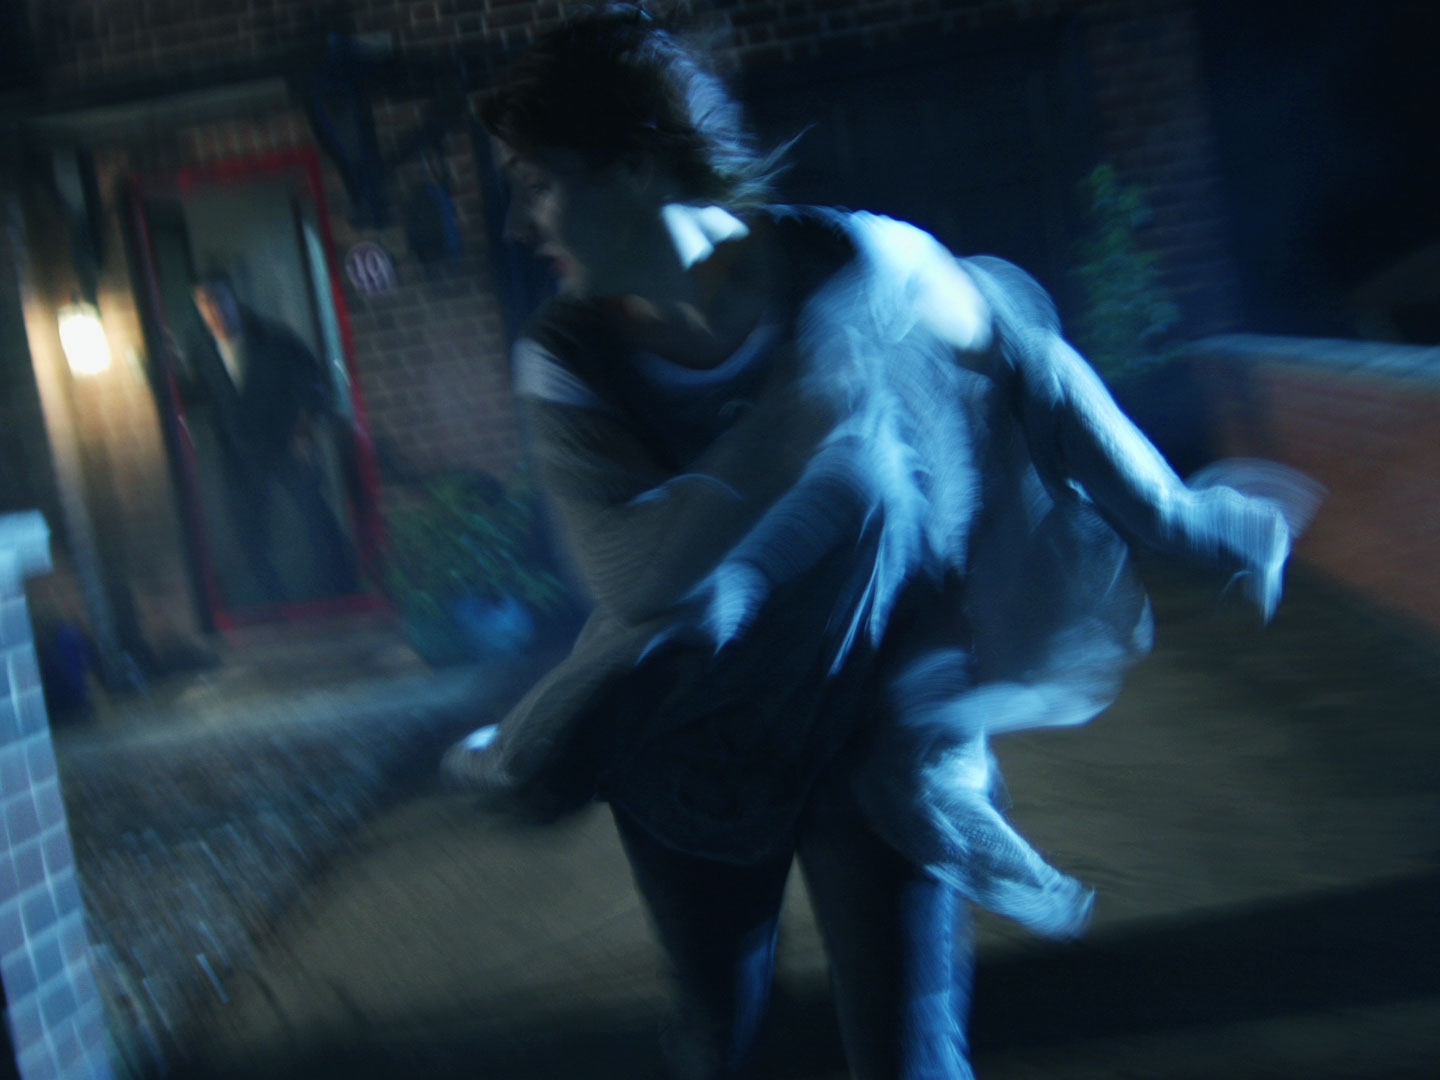
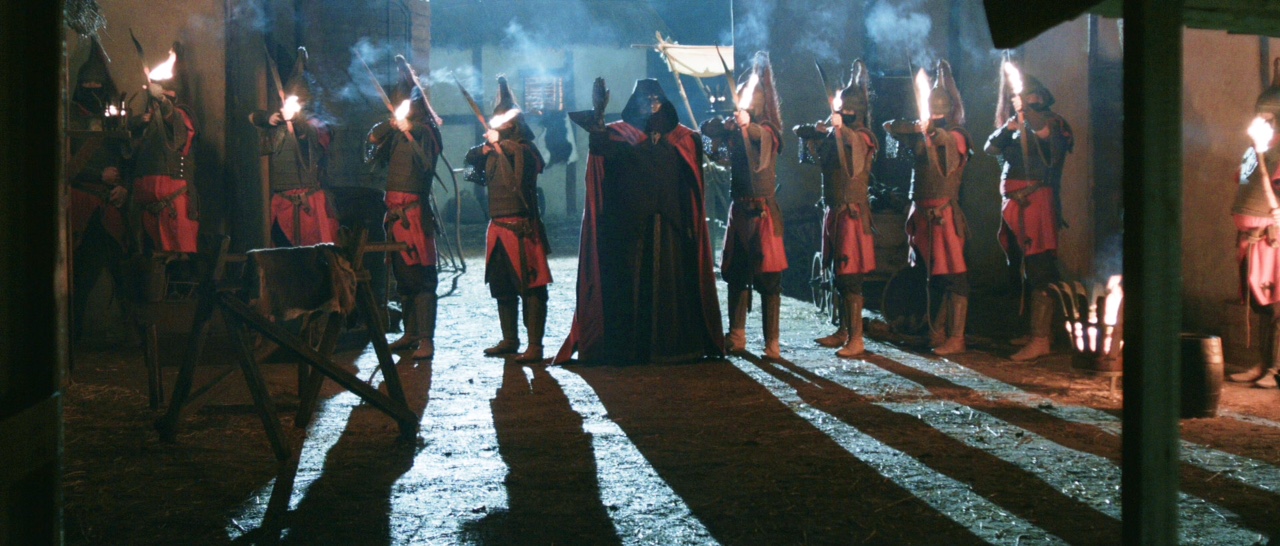
I knew our key shot was going to be Ren’s POV looking up the street to the Kah’Nath Master flanked by several archers, with Karn and Baynon in the background. I set up my 2.5K dead in the back of the shot, its stand hidden by the furthest house facade.

Another of the Urban Sodium-gelled 800W Arrilites beefing up the braziers
One of the Urban Sodium-gelled 800W Arrilites beefing up the braziers

The plan was for the archers to light their arrows from two braziers, one either side of the street, so Chris Dane and Amanda Stekly dressed these in accordingly. I set up an Arrilite 800 near each one, choosing Urban Sodium gel to give the “firelight” a grungy colour appropriate to the bad guys. (I was shooting on a tungsten white balance to turn the HMI moonlight blue.)

The dimmers controlling the Arrilites

Chris – by this time well-attuned to my lighting needs – also rigged a third brazier to act as the key light for himself (Karn) and James Malpas (Baynon), towards the back of the set. The Arrilite for this one I gelled with full CTO for a yellower, friendlier colour.

All three Arrilites were run through in-line dimmers, and various bystanders were co-opted to flicker them throughout the evening.

Bulbs
The Cyclotron

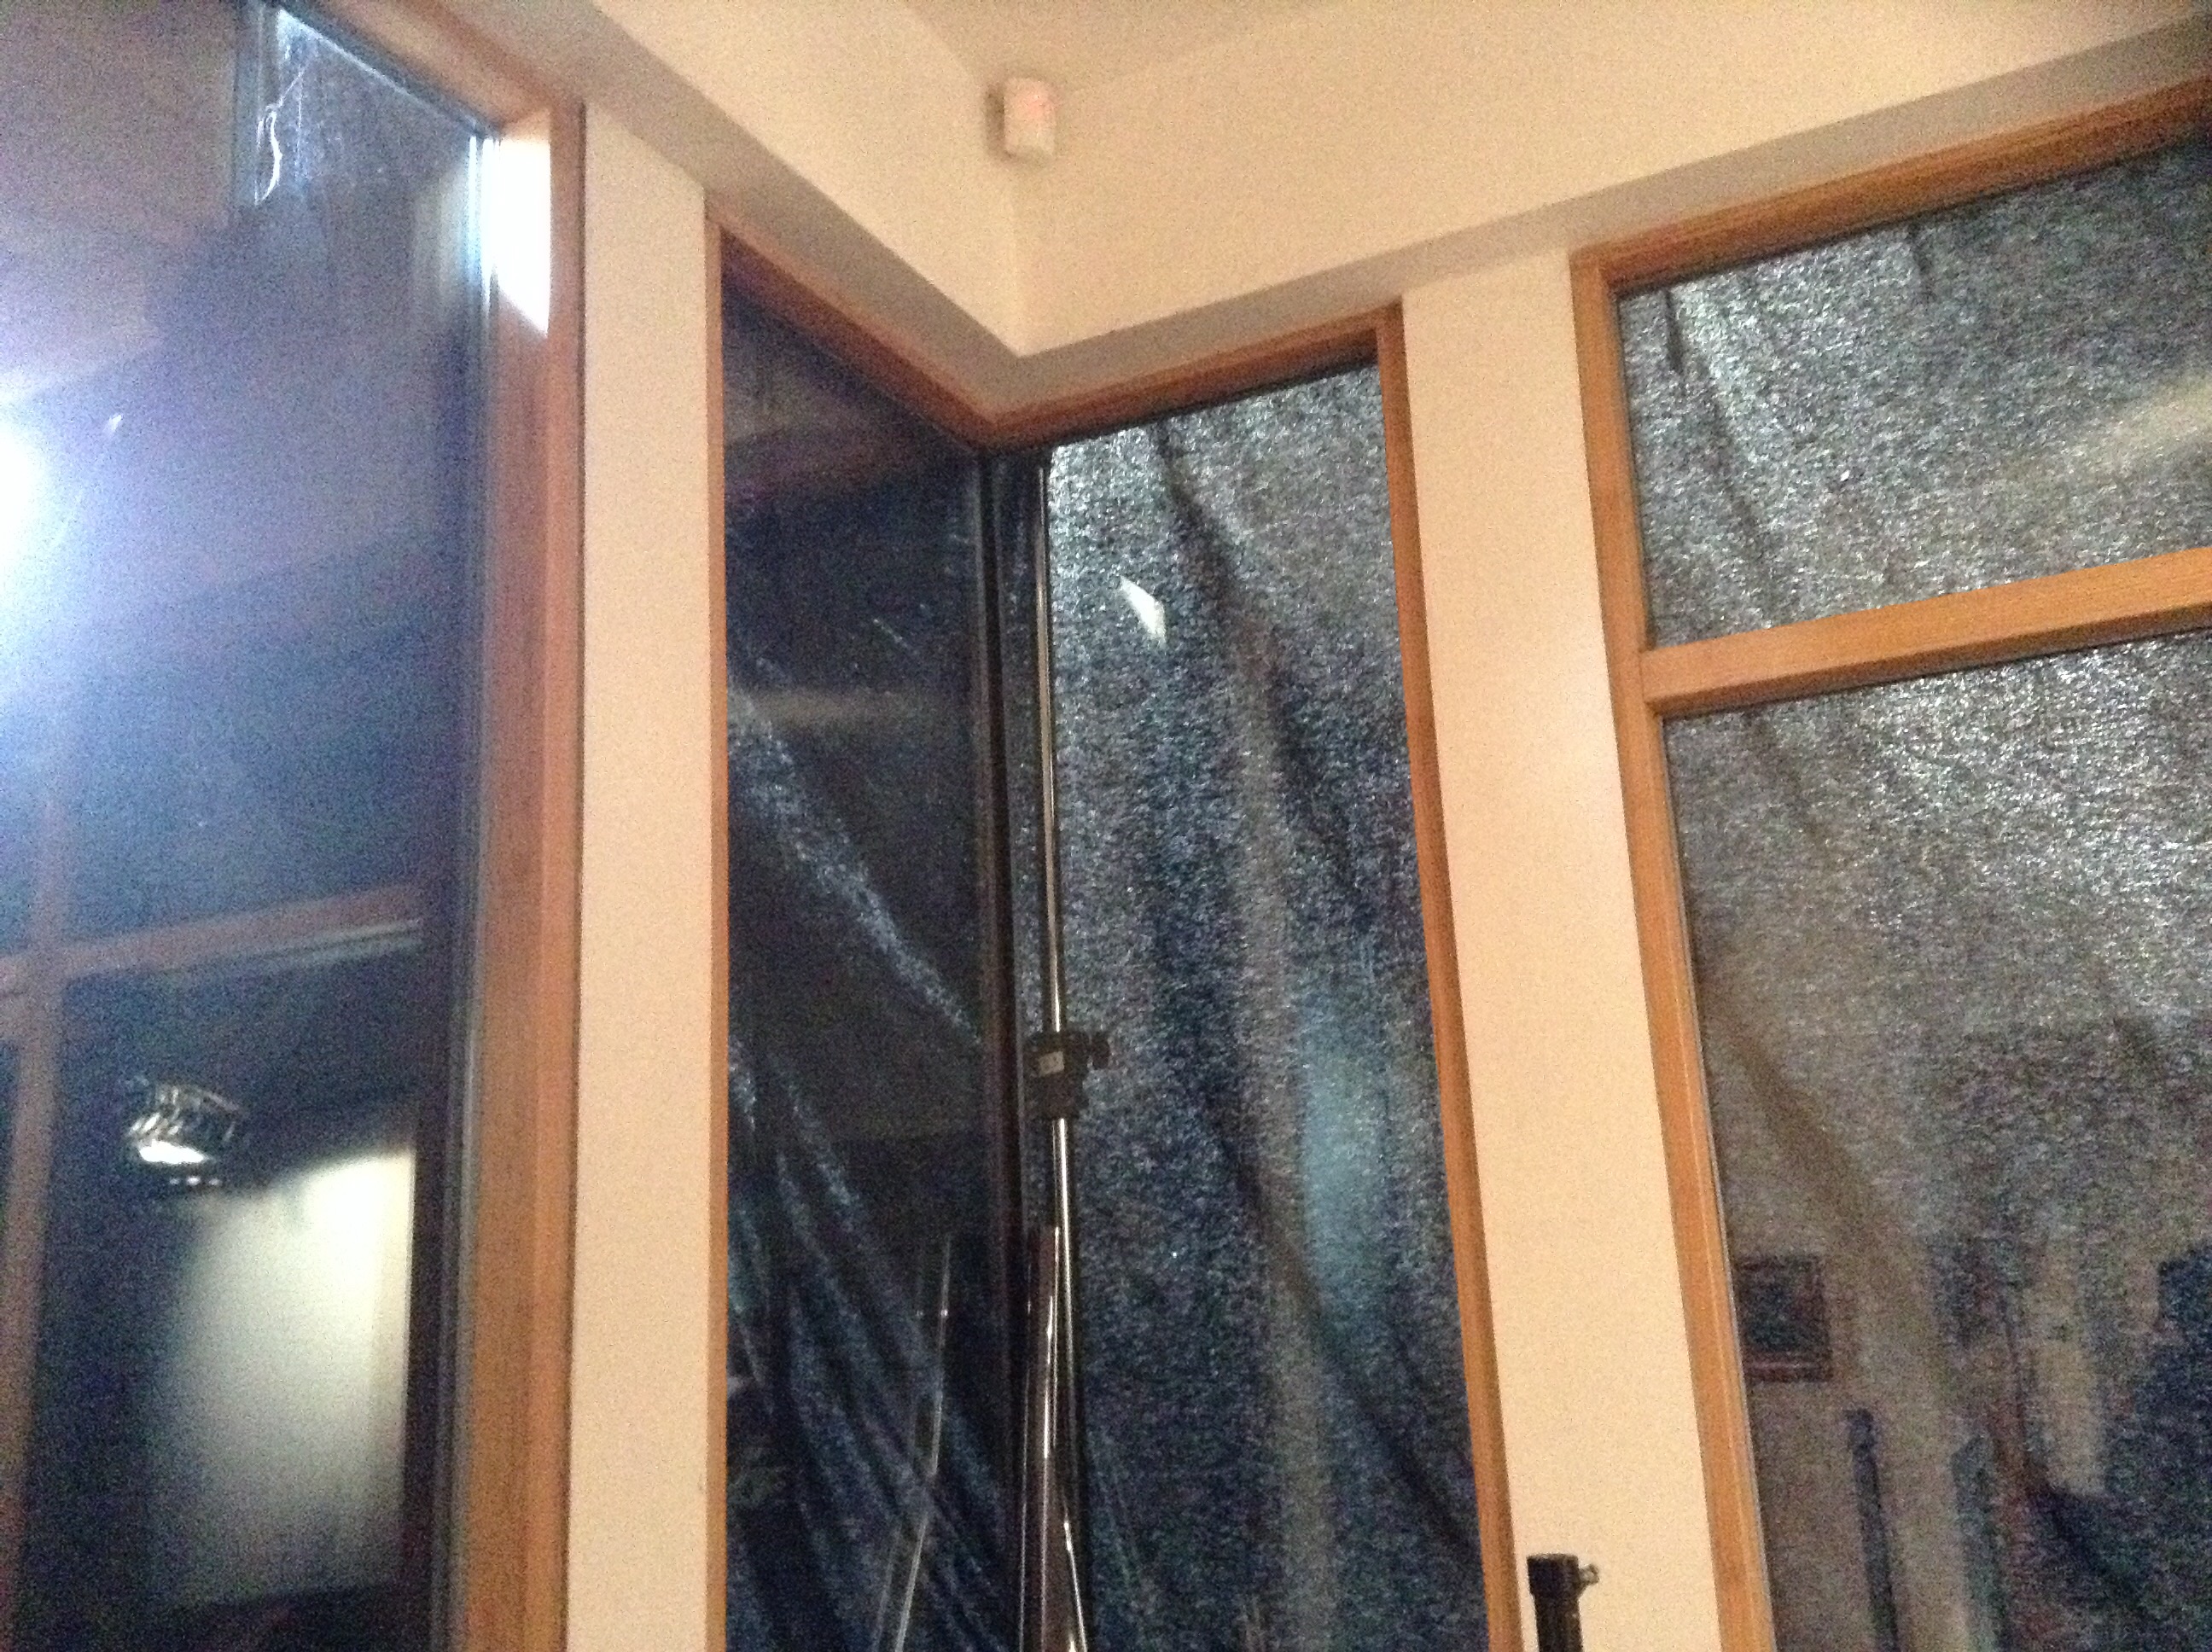
I rigged a Cyclotron behind the window of the background house – four 100W bulbs under a sheet of CTO, wired to Colin’s dimmer board so they too could be flickered, suggesting firelight inside the house.

The Celotex bounce board

I figured that the front of this house would still be very dark, being out of range of the Arrilites and facing away from the HMI, so I had gaffer Richard Roberts rig a Celotex board to bounce some of the HMI light back onto it. As it turned out, when it got dark and we fired everything up, there was lots of bounce off the set pieces closest to the HMI anyway. This was a nice bonus that gave us more options when blocking Karn and Baynon’s actions, without having to set up extra lamps.

A sunset view of the lighting set-up from roughly the master camera position. The LED panel on the right was used only as a work light.
A sunset view of the lighting set-up from roughly the master camera position. The LED panel on the left was used only as a work light.

When the braziers were lit and the Master and soldiers strode onto the set in their awesome costumes (courtesy of Miriam Spring Davies and stand-in wardrobe supervisor Claire Finn), we all felt we had a truly epic sequence in the can.

Ren archers

If you’ve missed any of Lensing Ren or Ren itself, here’s a playlist featuring every episode of the fantasy series, interspersed with the corresponding cinematography breakdowns:

Lensing Ren – episode 5

Crossing Paths: Night Exterior

Col and Sophie smoke up the road before a take.

After a morning of playing with the sun, the next task on Crossing Paths was to light a night exterior scene.

The Blackmagic Production Camera, with a native ISO of 400, is not the most sensitive of cameras. But with this scene being a flashback, I gained a stop of light by changing my shutter angle to 360 degrees and making that extra motion blur part of the film’s flashback look. (Click here to read my post on Understanding Shutter Angles.)

ArriMax M18
ArriMax M18

Just as a DP normally looks to orientate a daylight scene to use the sun as backlight, so they often aim to do the same with the moon at night. Except of course, unless you’re shooting on a Sony A7S, the actual position of the moon is irrelevant because it’s too dim to shed any readable light. Instead you set up a fake moon – usually an HMI – in the position that works best for you.

I knew that there would be two main camera angles for this scene, in which Michelle runs out of her house and across the road. One would be a handheld tracking shot, leading Michelle as she runs. The other would be an angle looking up the road. So the first angle would be looking towards the house and the second would be at 90 degrees to that.

Gulliver
Gulliver

Where to put the backlight? (I was going to use an ArriMax M18 for the moon.) Clearly not behind the house, because I didn’t have a massive crane to put it on! Similarly I could not put it at the end of the road without it being in shot. The clear solution was to put it mid-way between these two positions, in a neighbour’s garden. From there it would provide 3/4 backlight (from the left) for the view down the road, and side-light (from the right) for the view towards the house, developing to 3/4 backlight as Michelle crosses the road.

To get my backlight fix at the start of the handheld leading shot, I placed a Dedo at the top of the stairs shining down.

3 x 300W Gulliver lamps, kindly supplied by spark Colin Stannard, were also used in the scene. Two were hidden behind trees down the road, pointing at parts of the background to stop it being black. (The road’s sodium streetlamps provided some nice bokeh as they reflected in parked cars, but did nothing to illuminate the scene.)

IMG_2644
A Gulliver, on the left of this image, shines on the front door through a tree.

The third Gulliver was used to 3/4 front-light Michelle in the first half of the leading shot. I put it on a C-stand, nice and high, shining through a tree so as to break up the light – always a good trick for frontal light sources at night.

To ensure Michelle’s face was visible in the second half of the leading shot, an 8’x4′ poly was used to bounce some of the “moonlight” back at her.

Frame grab from the leading shot. The warmer light from frame left is from the Gulliver shining through the tree, while the colder light from the right is from the M18.
Frame grab from the leading shot. The warmer light from frame left is from the Gulliver shining through the tree, while the colder light from the right is from the M18. (C) 2015 B Squared Productions

Here’s a lighting diagram of the whole set-up…

Sketch 2015-10-01 17_01_36Crossing Paths is a B Squared production (C) 2015. Find out more at facebook.com/Crossing-Paths-Short-Film-697385557065699/timeline/

Crossing Paths: Night Exterior

How to Black Out Windows

Blacking out a window
Blacking out a window on Beyond Recognition

Sometimes when shooting indoors, you need to make day look like night. And believe it or not, there’s an art to blacking out windows. Light is like water: it leaks in through the tiniest crack, and you need to appreciate that if you’re going to black out a window successfully. Here are my tips.

  1. Don’t do it. Shoot at night; it’s quicker and easier. It will also look much better because you can light the view outside for added depth in the background of frame.
  2. Ignored rule one? Well, at least do a split shoot so that you only shoot away from the windows during daylight, and shoot towards them after dark. If the windows aren’t actually in frame, your light seal doesn’t need to be 100%.
  3. Ignored rule two as well? Unquestionably the best way to black out a window is to gaffer tape black drapes or bin bags to the outside of the window frame. Don’t try to tape to the surrounding brickwork; it won’t hold. The gaffer tape needs to go in an unbroken line all the way around the edges, or light will leak in through the cracks.
  4. If you have large windows to black out, it may be tempting to rig drapes on stands. OK, fine, but you still need to gaffer tape all the edges. And make sure the stands are well sandbagged in case the wind gets up.
  5. Here’s an example where the lefthand side hasn’t been taped. As you can see, the daylight comes in and nicely cross-lights the drapes, showing up every wrinkle and utterly destroying the illusion of a dark sky. (Fortunately, in this instance the window wasn’t going to be in shot, and the amount of light leaking in wasn’t sufficient to contaminate the DP’s lighting design.)
    image
  6. When you’re outside doing the blacking-out, it is impossible to judge the quality of your work. You need to go inside and see what it looks like. You’ll probably get a nasty shock.
  7. Beware that some things that seem opaque from the outside – bin bags or fabric – actually let light through. Hold them up to the light to check this before you waste time gaffering them up. These drapes looked completely opaque from outside…
    image
  8. Sometimes the DP will want to put a lamp outside to simulate moonlight, and this will need to be tented around. This is extremely difficult and can waste a lot of time. The lamp will spill light onto the drapes, showing them up for what they are. Black wrap the lamphead as much as you can (without covering any vents) and don’t use a tarpaulin as black-out material because it will reflect the light.
  9. Finally, remember to put any stands holding up the drapes BEHIND the drapes, so they’re hidden from camera. (I’ve seen this mistake made, and made it myself, several times – see picture above!

UPDATE: Karl Poyzer has this great tip: “A much easier way to black out windows not in shot or behind a curtain is to spray them with water and roll tin foil over them, stays stuck there indefinitely, blocks out 100% of the light, is cheap and won’t fall down.” Thanks Karl!

How to Black Out Windows