Crossing Paths: Daylight Interior

IMG_2653
Col winds up the M18.

The final scene of Crossing Paths to go before the camera was a sombre daylight interior in a bedroom. If you’ve read my last two blog posts you’ll know that backlight is the central pillar of my approach to lighting both day exteriors and night exteriors. Daylight interiors are no different.

For day exteriors your backlight is the sun. For night exteriors it’s usually the moon. For day interiors it’s windows.

On the location recce I’d agreed with director Ben Bloore and production designer Sophie Black that we were going to shoot mostly towards the bedroom’s window. Given that the bed was the focal point of the scene, this decision was also cinematographically sound because it made for the most depth in the image, the window being in a dormer that distanced it from the bed.

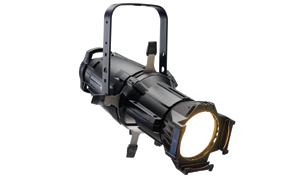
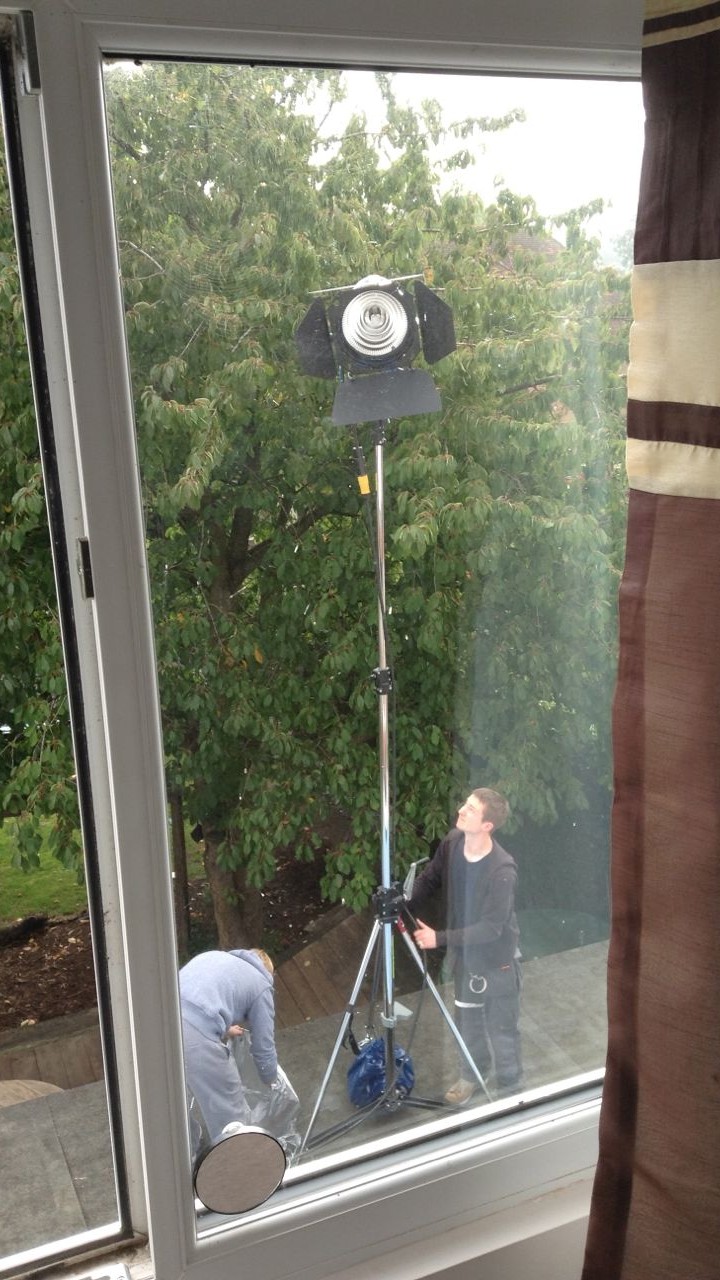
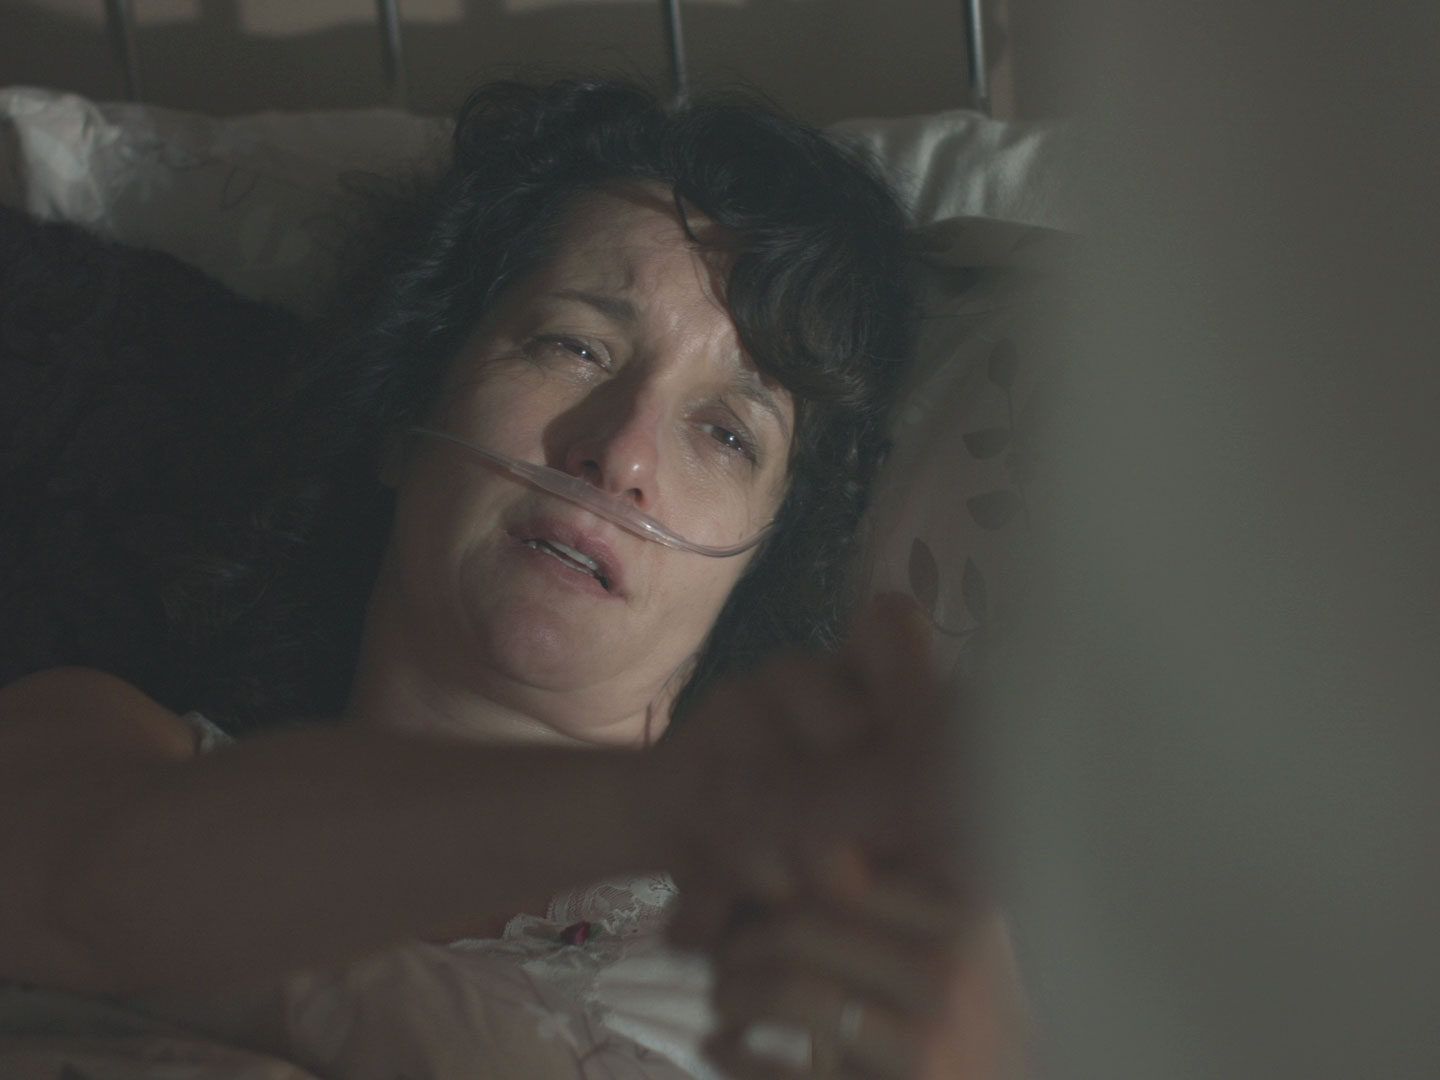
To punch up the natural light coming in through the window – which was on the second floor –  I had my crew clamber up on the flat roof of the extension and erect our Arri M18 on a double wind-up stand. Luckily the geography of the room and the blocking permitted the M18’s light to hit Tina’s face as she lay in the bed.

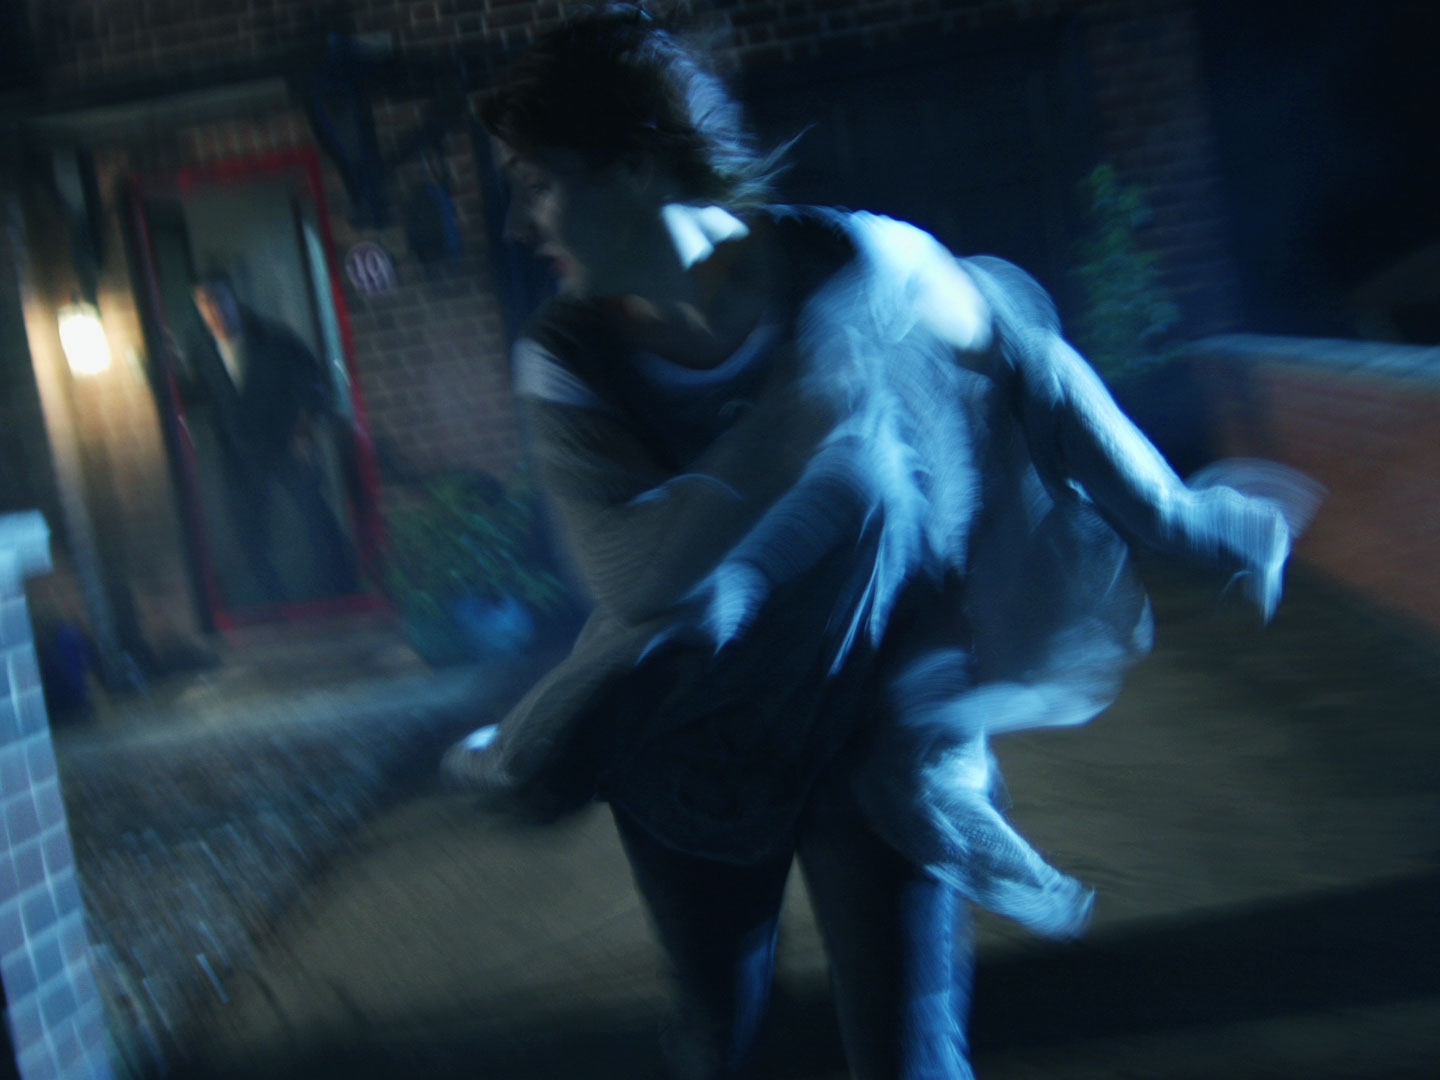
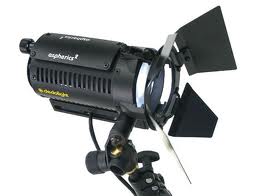
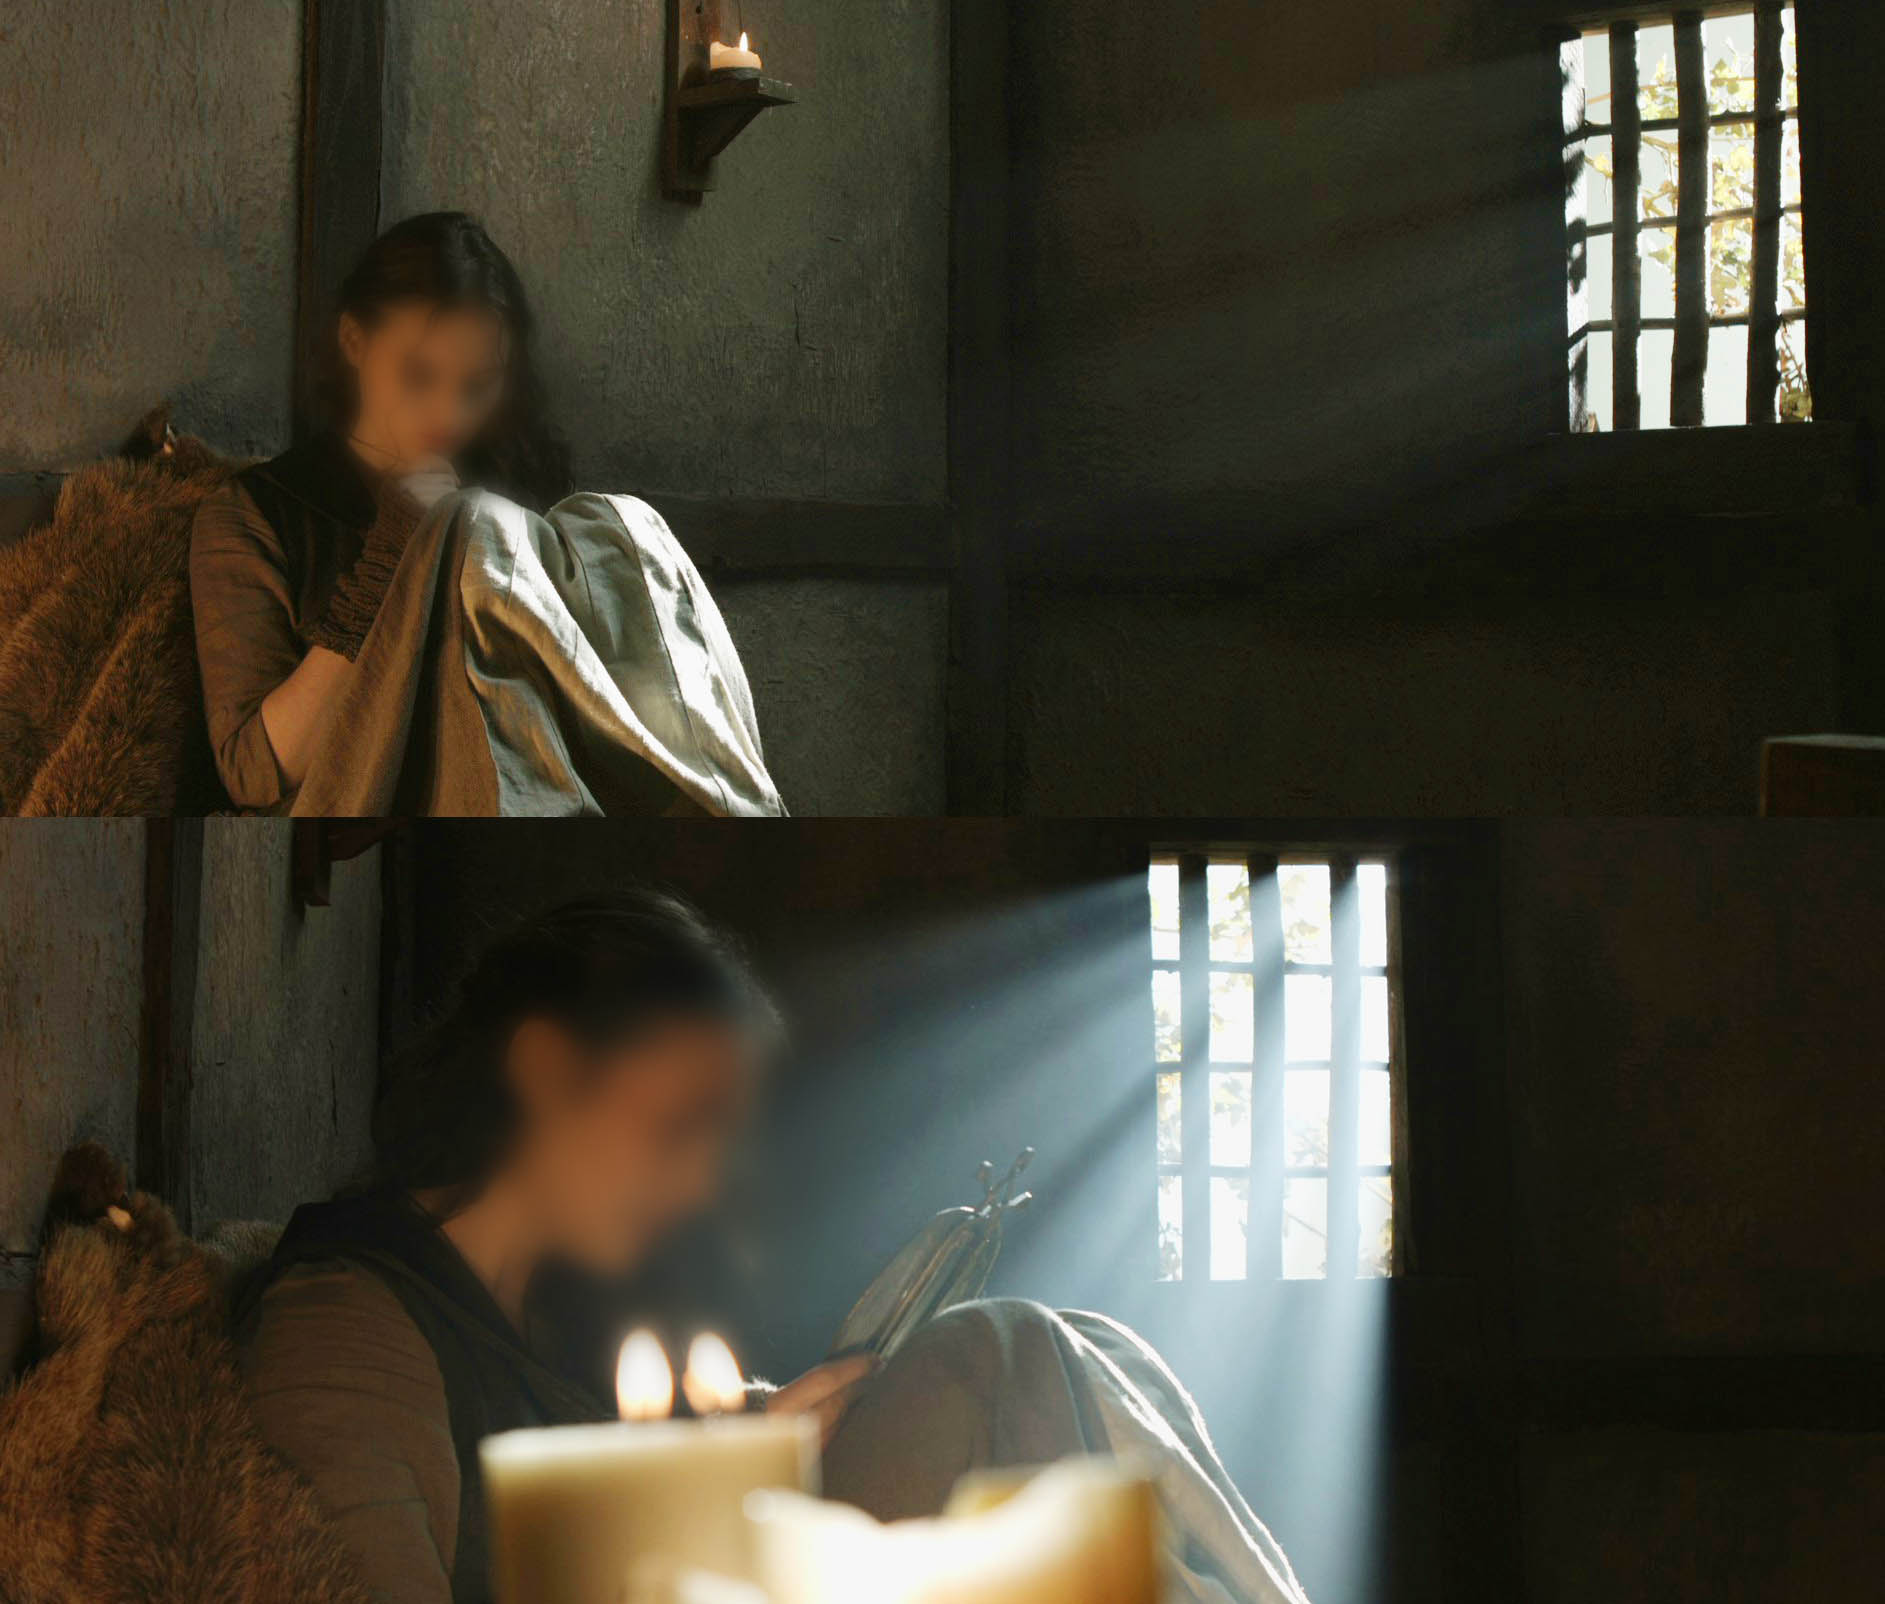
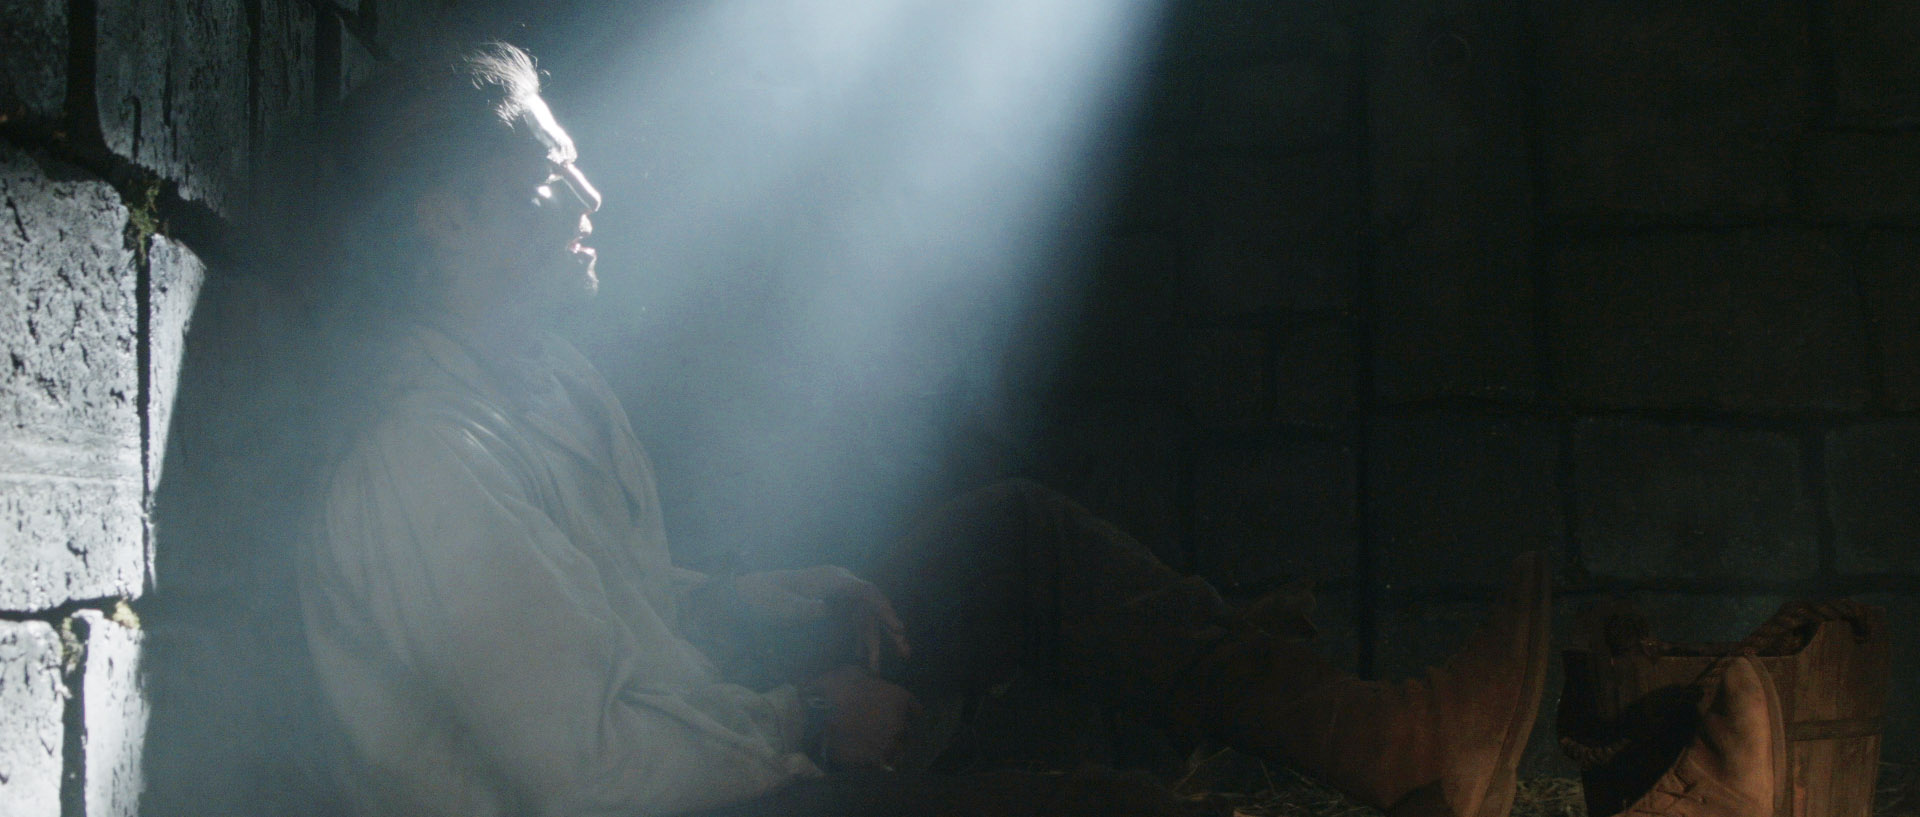
Sophie had dressed a floor lamp in next to the bed, which gave me the perfect motivation to clamp a dedo to the bedframe, uplighting Phil’s face. The cool M18 coming in from the rear right and the warm dedo coming in from the rear left picked out the actors’ profiles nicely, as you can see below. This is a kind of cross-backlight set-up, as explained in Lighting Techniques #2.

Frame grab (C) 2015 B Squared Productions
This CU of Tina shows how the M18 coming through the window worked as her key. (C) 2015 B Squared Productions

Immediately above the camera position there was a skylight with a roller blind. By opening or closing the blind I could effectively increase or decrease the level of fill in the lighting. For most of the scene I chose none. Some would argue that it’s best to add fill and then crush it out in post if you don’t like it, but I like to make decisions on the set wherever possible, to deliver the most cinematic image straight out of the camera.

The Magnum 650, a worthy successor to the classic 550

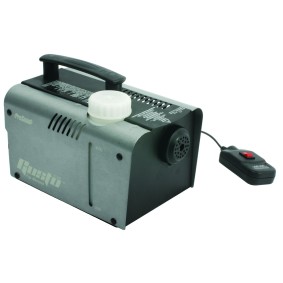
To soften the scene I pumped in lots of smoke. Col had kindly gifted me a Magnum 650 (to fill the smoke machine void in my life since my Magnum 550 packed up last year) and we let that baby rip in that tiny little room! The smoke helped add to the sense of decay and reacted beautifully to the curtains being opened mid-scene.

That’s all from the set of Crossing Paths. I believe the edit is now underway, and I look forward to seeing how this lovely little short film turns out.

Crossing Paths is a B Squared production (C) 2015. Find out more at facebook.com/Crossing-Paths-Short-Film-697385557065699/timeline/

Crossing Paths: Daylight Interior

Crossing Paths: Night Exterior

Col and Sophie smoke up the road before a take.

After a morning of playing with the sun, the next task on Crossing Paths was to light a night exterior scene.

The Blackmagic Production Camera, with a native ISO of 400, is not the most sensitive of cameras. But with this scene being a flashback, I gained a stop of light by changing my shutter angle to 360 degrees and making that extra motion blur part of the film’s flashback look. (Click here to read my post on Understanding Shutter Angles.)

ArriMax M18
ArriMax M18

Just as a DP normally looks to orientate a daylight scene to use the sun as backlight, so they often aim to do the same with the moon at night. Except of course, unless you’re shooting on a Sony A7S, the actual position of the moon is irrelevant because it’s too dim to shed any readable light. Instead you set up a fake moon – usually an HMI – in the position that works best for you.

I knew that there would be two main camera angles for this scene, in which Michelle runs out of her house and across the road. One would be a handheld tracking shot, leading Michelle as she runs. The other would be an angle looking up the road. So the first angle would be looking towards the house and the second would be at 90 degrees to that.

Gulliver
Gulliver

Where to put the backlight? (I was going to use an ArriMax M18 for the moon.) Clearly not behind the house, because I didn’t have a massive crane to put it on! Similarly I could not put it at the end of the road without it being in shot. The clear solution was to put it mid-way between these two positions, in a neighbour’s garden. From there it would provide 3/4 backlight (from the left) for the view down the road, and side-light (from the right) for the view towards the house, developing to 3/4 backlight as Michelle crosses the road.

To get my backlight fix at the start of the handheld leading shot, I placed a Dedo at the top of the stairs shining down.

3 x 300W Gulliver lamps, kindly supplied by spark Colin Stannard, were also used in the scene. Two were hidden behind trees down the road, pointing at parts of the background to stop it being black. (The road’s sodium streetlamps provided some nice bokeh as they reflected in parked cars, but did nothing to illuminate the scene.)

IMG_2644
A Gulliver, on the left of this image, shines on the front door through a tree.

The third Gulliver was used to 3/4 front-light Michelle in the first half of the leading shot. I put it on a C-stand, nice and high, shining through a tree so as to break up the light – always a good trick for frontal light sources at night.

To ensure Michelle’s face was visible in the second half of the leading shot, an 8’x4′ poly was used to bounce some of the “moonlight” back at her.

Frame grab from the leading shot. The warmer light from frame left is from the Gulliver shining through the tree, while the colder light from the right is from the M18.
Frame grab from the leading shot. The warmer light from frame left is from the Gulliver shining through the tree, while the colder light from the right is from the M18. (C) 2015 B Squared Productions

Here’s a lighting diagram of the whole set-up…

Sketch 2015-10-01 17_01_36Crossing Paths is a B Squared production (C) 2015. Find out more at facebook.com/Crossing-Paths-Short-Film-697385557065699/timeline/

Crossing Paths: Night Exterior

5 Tips for Perfect Shafts of Light

There’s nothing like a good shaft of light to add production value to your cinematography. But you can’t just shine a lamp through a window and expect to get Hollywood shafts. Here are the essential conditions you need:

1. You need focused light, i.e. a lamp with a lens. Source 4s work extremely well. HMI or tungsten fresnels will also do the job, and sometimes Dedos.

A Source 4 and Source 4 Junior firing beams through smoke
A Source 4
Source 4
HMI fresnel
HMI fresnel
Dedo, de-e-edo. Dedo come and me want go home.
Dedo

2. You need a smoke machine or hazer to volumise the light. A cheap one from Maplin will work, but as a general rule the cheaper the machine, the more its output will be wreaths of smoke rather than just thickening up the atmosphere. However, given time to disperse and some vigorous wafting with a flag or the clapperboard, any smoke will work.

ProSound GT-800 fog machine from Maplin
Phantom Pea Soup hazer

3. The smoke/haze needs to be backlit. The closer the light source is to being directly behind the smoke, the more the smoke will show up. So shoot towards windows.

These frames are the start and end positions of a tracking shot from Ren (with a top secret make-up effect!). Note how the shafts of light from the window are much more prominent when the camera is pointed more towards the light source.

www.rentheseries.com

4. A dark background will show up the smoke best. If you’re shooting in a house with white walls then you’re probably flogging a dead horse.

The dark prison walls here show up the shaft of light very nicely.

5. Keep other light sources away from the shaft. Competing lamps can muddy the shaft of light or maybe make it disappear altogether. Often I find that shafts of light work well as background interest, with the actors well in front of it, lit by other sources.

In this set-up for Ballet Pointe Shoes (dir. Gisela Pereira), I'm using the layers of scenery on the stage to separate layers. In the back layer there's a pair of cool, high Source 4s creating the crossed beams, while in the front layer warmer Dedos create shorter shafts of light.
In this set-up for Ballet Pointe Shoes (dir. Gisela Pereira), I’m using the layers of scenery on the stage to separate layers of lighting. In the back layer there’s a pair of cool, high Source 4s creating the crossed beams, while in the front layer warmer Dedos create shorter shafts of light.

Follow all these guidelines and you’ll get lovely shafts of light every time!

5 Tips for Perfect Shafts of Light