5 Lighting Tips from Classic Art

A few weeks ago I discussed compositional techniques which we can learn from the work of JMW Turner. This time I’m looking at the use of light, and I’m broadening the scope to cover a few other classical artists whose works have caught my eye at galleries lately.

Without artificial illumination, these old masters had to make the most of the light God gave them. Here are five examples of their techniques which we can trace directly forward to cinematographic techniques of today.


Cross-light

“Mornington Crescent Nude” (circa 1907) – Walter Richard Sickert

Decades before DPs started encouraging directors to shoot interior scenes towards windows to achieve the most interesting modelling, Sickert had the same idea. See how the light from the window in the background throws the model’s body into relief, giving it form and dimension? Cross-light is commonly used today in commercials for sport and fitness products, to emphasise muscle tone.

See also: Lighting Techniques #6: Cross-light


Background strokes

“Tancred’s Servant Presenting the Heart of Guiscard in a Golden Cup to Guismond” (circa 1675) – Adriaen van der Werff

What caught my eye about this painting was the slash of light on the background wall in the top left corner. It may seem trivial, but a little stroke of background light like this can really elevate the quality of a shot. Here it anchors the corner of the composition and gives us a hint of the room’s decor, adding interest to what would otherwise be a black void behind Guismond.

While lighting the subject of the shot is clearly a DP’s priority, it’s important to find time to paint in the surroundings even if they’re in the deep background or extreme foreground.

“Drive” (DP: Newton Thomas Sigel)

See also: 5 Ways to Use Hard Light Through a Window
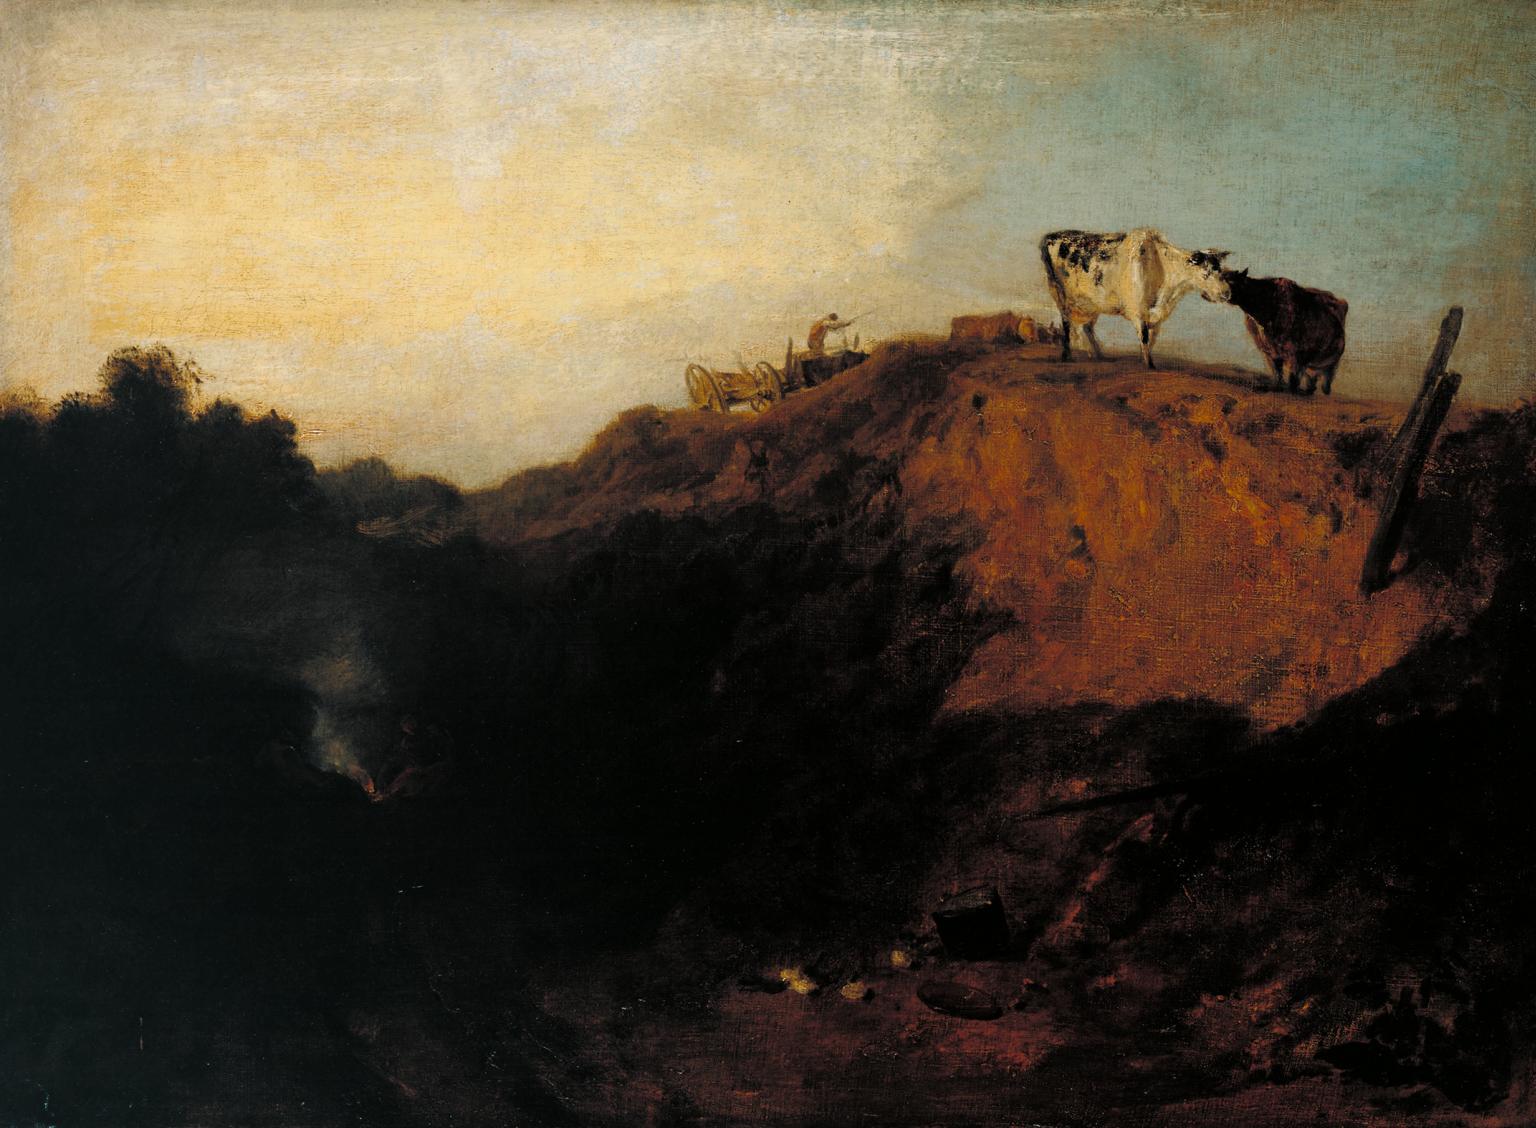
 

Haze

“Chloe Idille” (1811) – Salomon Gessner & Carl Wilhelm Kolbe

This monochrome etching has a tremendous feeling of depth, and it is achieved purely through contrast. The further away an object is, the more air there is between that object and your eye. Since air isn’t 100% transparent, that distant object appears lighter and lower-contrast than closer objects. Gessner and Kolbe capture this effect beautifully here.

Many cinematographers today use hazers to create or enhance this atmospheric effect, even for interiors. In the days of miniature effects, smoke was often used to create atmospheric haze and increase the feeling of scale. On Blade Runner, for example, Douglas Trumbull’s VFX crew sealed the motion control stage and used infra-red sensors linked to hazers to automatically keep the smoke level constant during the long-exposure passes over the futuristic cityscape.

“Blade Runner” (DP: Jordan Cronenweth)

See also: Depth Cues in Cinematography
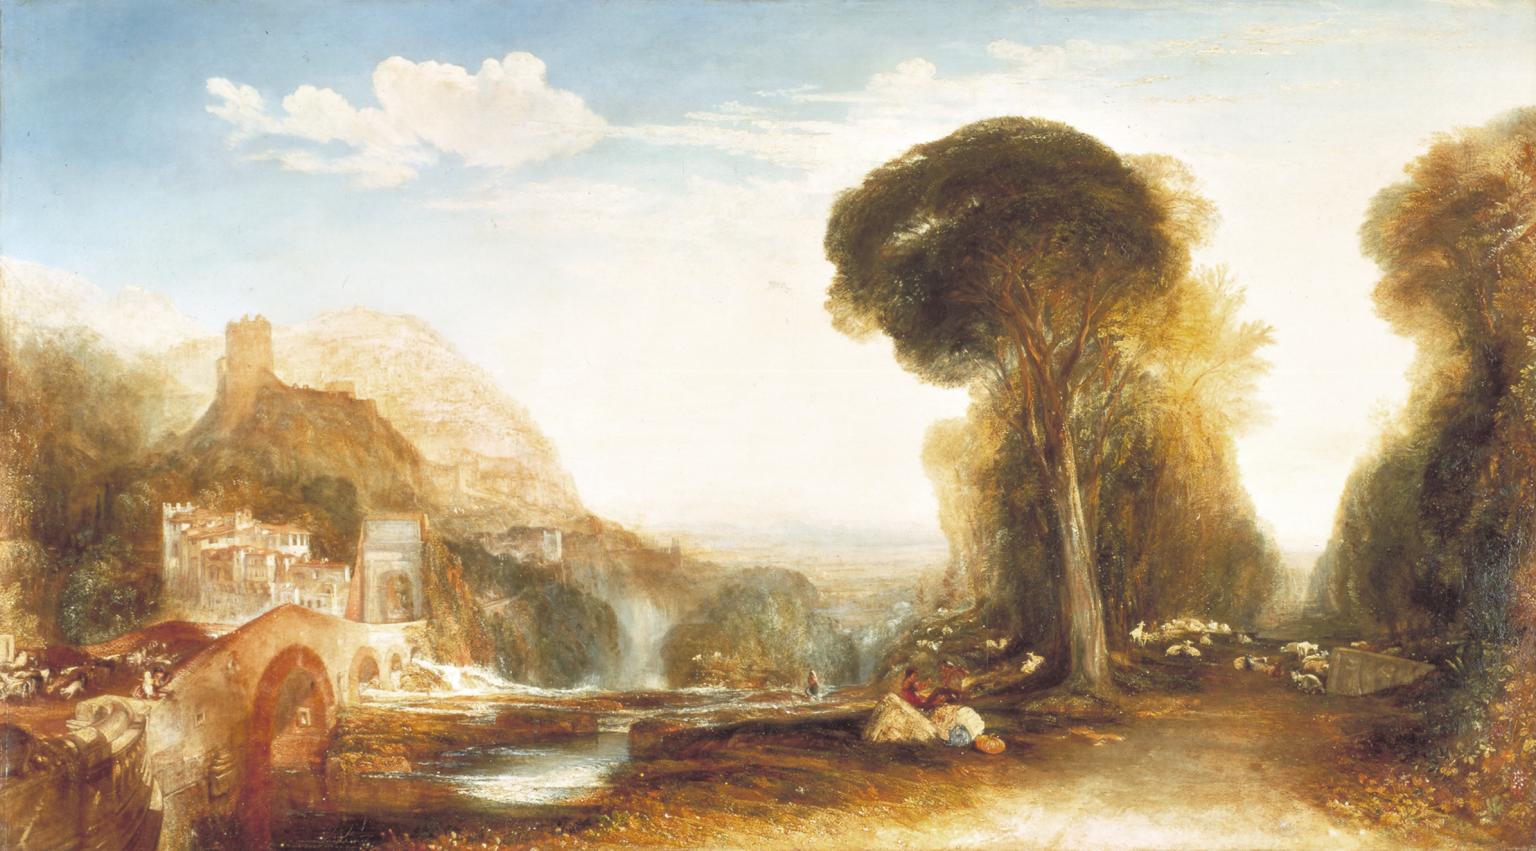
 

Golden hour

“Abingdon” (1806) – Joseph Mallord William Turner

Painters figured out centuries ago that the most beautiful light is found at the beginning and end of the day. It’s partly due to the cross-light effect (see above) of the lower sun, and partly due to the beautiful orange colour caused by the greater amount of atmosphere the sun’s rays must pass through. To shoot the perfect sunset, you’ll need patience, and a sun-tracker app or at least a compass. Ensure the schedule permits you to try again another day if clouds spoil the view.

“Raiders of the Lost Ark” (DP: Douglas Slocombe)

See also: Sun Paths


Wet-Downs

“The Boulevard Montmartre” (1897) – Camille Pissarro

This is the only night image in a series of impressionist oil paintings which Pissarro executed from a hotel window overlooking the Boulevard Montmartre. What makes it particularly beautiful is the wet street, turning what might otherwise have been a dull grey central swathe of the image into an arena of alternately shadowy and glittering reflections.

Cinematographers shooting night exteriors on streets will often have the tarmac hosed down for four reasons: (1) as already noted, the beauty of the reflections; (2) the deeper blacks and increased contrast; (3) the extra exposure gained by the light sources bouncing off the water; and (4) avoidance of continuity problems if it rains.

A scene from “Terminator 2” (DP: Adam Greenberg) on a street that’s been wetted down

See also: 7 Considerations for Night Shooting

5 Lighting Tips from Classic Art

5 Principles of Cinematography We Can Learn from Turner

Yesterday I took a trip to The Tate Britain to see what I could learn about light and composition from the world of traditional art. My background is more technical than fine art, so this world is quite new to me. Within quarter of an hour of arriving, I had fallen in love with the work of JMW Turner. The way this man captured the natural moods of light and weather is breathtaking.

Here are five of Turner’s techniques for creating beautiful images which we can apply to cinematography.


1. Negative space

One of the most powerful things you can do with an area of the frame is to let it go black. A great example is Bill Pope’s work on The Matrix. But 200 years before that, Turner was embracing the darkness, emphasising those areas in the light, and allowing the viewer’s imagination to fill in the gaps.

“Jason” (1802) – That dragon is lurking in the shadows like a dodgy monster costume in a B-movie.
“Sketch of a Bank, with Gipsies” (1809) – The titular gypsies are barely visible in the black shadows, betrayed only by the smoke from their fire.


2. Layering

Any artist creating a 2D image strives to give the impression of depth and dimensionality. There are a number of techniques that can be used to achieve this, but one which Turner uses repeatedly is layering. See how the paintings below delineate foreground (light), midground (dark) and background (light again). The midgrounds sink into shadow, becoming negative space, reinforcing the link and relationship between the foregrounds and backgrounds. At the same time, the foreground figures stand out clearly and eye-catchingly against the shade behind them.

“The Tenth Plague of Egypt” (1802)
“The Goddess of Discord Choosing the Apple of Contention in the Garden of the Hesperides” (1806) – This painting contains five layers: light-dark-light-dark-light, highlighting the two groups of people and the monster in the distance.


3. Framing

Although most images we see are framed, be it by a gilt picture frame or by the black edges of a phone screen, there is something aesthetically pleasing about adding a second frame within the image itself. An extreme example would be shooting through a window, framing the image on all four sides, but more commonly we frame two or three sides of the image. Turner frequently does this using trees, buildings and shadowy ground.

“The Decline of the Carthaginian Empire” (1817) – A backwards-‘J’-shaped frame is created by the dark foreground: the wall on the left, the shadowed floor across the bottom, and the dark space in the lower right. To balance the shorter part of the ‘J’ on the righthand side, the sun and its reflection (the focal point of the image) are placed left of centre.
“England: Richmond Hill, on the Prince Regent’s Birthday” (1819) – The dark ground and dark tree to the right create a backwards-L-shaped frame which appears to cradle the rest of the image like a waiter cradling plates in the crook of his elbow.


4. Dynamic Composition

The composition of the two paintings below fascinates me. Both seem to be two images in one: a deep view of a settlement on the left, and a tapering tunnel perspective on the right. As I studied them, I found my eyes “panning” from one side to the other. As cinematographers, we can use actual camera movement to create a dynamic shot, but we should not forget Turner’s lesson here, that there can also be dynamism in static frames.

“Rome, from the Vatican. Raffaelle, Accompanied by La Fornarina, Preparing his Pictures for the Decoration of the Loggia” (1820)
“Palestrina – Composition” (1828)


5. Colour Contrast

Apart from stunningly demonstrating Turner’s power to create mood and atmosphere (a core skill for any DP), the two paintings below are great examples of warm/cool colour contrast. The yellows, oranges and reds of fire and sunset are juxtaposed with the blues of the sky. The result is pictures that really “pop”, arresting the viewer’s attention. A modern cinematographer can readily achieve a similar effect by playing natural daylight, and daylight sources like HMIs and Kinos, against practicals and other tungsten sources.

“Peace – Burial at Sea” (1842) – Contrast in both hue and luminance make this a powerfully evocative painting.
“War. The Exile and the Rock Limpet” (1842) – Note how Napoleon’s blue uniform causes him to stand out against the oranges of the sky, whilst the unimportant, red-garbed soldier behind him is allowed to blend into the background.

 
See also: my trip to the National Portrait Gallery.

5 Principles of Cinematography We Can Learn from Turner

How “The Crown” Uses Broad Key Lighting to Evoke Tradition

Earlier this year I blogged about a visit to the National Portrait Gallery, studying the lighting in traditional portraits. I noted that, contrary to the current cinematographic trend for short key lighting, almost all of those paintings used broad key. And while watching the high-end Netflix series The Crown this week, I noticed the same thing. Why might this be?

Short key (left) vs. broad key (right). Photos from SLR Lounge

First of all, a reminder: a short key is a key light on the side of the face away from camera, while a broad key hits the side of the face towards camera. Short key is generally preferred amongst cinematographers because it gives better “modelling” – i.e. a better sense of the shape of the face – and focuses the viewer ON the face, rather than the ear and the side of the head. A broad key, meanwhile, presents less shadow to the camera, and arguably shows the hairstyle and the shape of the head better – which may be reasons for the preponderance of broad key in classical portraiture, which were more concerned with overall appearance than with emotion/performance.

An array of broad key paintings at the National Portrait Gallery

But I don’t believe these direct pros and cons were the primary motivation in cinematographer Ole Bratt Birkeland’s decision to use broad key lighting in a crucial scene from The Crown.

The central themes of the series, which dramatises the early life of the Queen, are tradition and duty. Queen Mary often reminds her granddaughter Queen Elizabeth II of the long and noble lineage of the English royal family, a weight of history and responsibility which Elizabeth keenly feels. “The crown must always win,” Mary intones in the trailer.

In episode 4 the young Queen seeks advice, desperate to ensure she does not tarnish the monarchy’s centuries-old reputation. To symbolise this burden, Birkeland evokes the imagery of traditional portraiture – the subjects of which were always high-born individuals, often royals. Consider this frame grab from the scene, beneath an official portrait.

mw58197

img_1647

See how the light models the face the same way in both images? Note also the absence of backlight in the frame grab, another feature common to traditional paintings, which typically relied on a single window light source. Elizabeth’s dark hair blends into parts of the dark background.

Combined with the timeless regal production design, this lighting subtly places the Queen within the frame of an official portrait, trapping her within the overwhelming tradition of the monarchy. Can I say for certain that Birkeland did this deliberately? No, but I’d be very surprised if he hadn’t looked at royal portraits while prepping the show, and I’d be equally surprised if they hadn’t at least influenced him unconsciously.

Either way, this is a first-rate example of the power of cinematography to enhance theme and narrative by guiding the viewer to make subconscious associations. If you haven’t seen The Crown, I can highly recommend it; it’s not just the cinematography that’s top notch.

How “The Crown” Uses Broad Key Lighting to Evoke Tradition

Lighting in Traditional Art

IMG_0879As I dig deeper into the craft of cinematography I feel the need to consume more references and inspiration than cinema itself can provide. To that end, I took a trip this week to the National Portrait Gallery in Trafalgar Square to see a little of  how light has been used in painting and photography over the last few centuries.

The light in many of the portraits is strikingly similar, with the subjects positioned near an unseen window in such a way as to light their up-side, the side of their face closest to the artist or viewer. This is known as a broad key, and in modern cinematography you don’t see it very often; a short key (‘lighting the down-side’) is almost universally favoured. The only convincing explanation I can offer for this is changing fashions.

The paintings that caught my eye were the ones that try something a little different with their lighting. I found it an interesting exercise to work out where the natural light was coming from and how I would recreate it with modern equipment. Here are three of my favourites…


Frederick, Duke of York and Albany by Sir David Wilkie (1823)

by Sir David Wilkie, oil on panel, 1822-1823, dated 1823

Rather than using the daylight to illuminate his subject’s face, Wilkie seats the duke with his back to the window, which cross-lights his sword nicely. The paper in his hand acts as a bounce board, throwing light back onto his face and shirt buttons. It’s great fun doing this in cinematography – firing a hot source in through a window and then seeing it bounce unpredictably off the set and costumes. If I was recreating this painting, the source might be a 6K HMI through a diffusion frame.


Thomas Henry Huxley by John Collier (1883)

NPG 3168; Thomas Henry Huxley by John Collier

I love how the top-light in this painting throws Huxley’s eye sockets into shadow, making him resemble the skull he’s holding. I’m guessing Collier didn’t pitch the portrait that way though! I might recreate this using a lightly diffused Joker Bug rigged to the ceiling, or a Source 4 Leiko fired up into an overhead bounce board.


The Mission of Mercy: Florence Nightingale Receiving the Wounded at Scutari by Jerry Barrett (1857)

NPG 6202; The Mission of Mercy: Florence Nightingale receiving the Wounded at Scutari by Jerry Barrett

The key light here is coming from the left – perhaps a 12K through a 12×12 full grid – but there’s a hotter shaft picking out Flo in the centre. For that I might use a 2.5K just out of frame, flagged to hit only her. At her feet there would have to be a silver reflector to kick that up-light onto the face of the kneeling woman. The characters on the right of frame are edged quite strongly by the light from the archway. (We know from looking at the shadows on the background buildings that it can’t be direct sunlight, so there must be a window or a very bright wall which that edge light is bouncing off.) I would use an 8×4 matte silver bounce board or maybe even a mirror board to recreate that.

That’s all for now, but look out for more art posts in the near future.

Lighting in Traditional Art