Each month I get a digital copy of American Cinematographer to my inbox, filled with illuminating (pun intended) articles about the lighting and lensing of the latest theatrical releases. As a rule of thumb, I only read the articles if I’ve seen the films. Trouble is, I don’t go to the cinema much any more… even before Coronavirus put a stop to all that anyway.
Why? TV is better, simple as that. Better writing, better cinematography, better value for money. (Note: I include streaming services like Netflix and Amazon under the umbrella of “TV” here.) But whereas I can turn to AC to discover the why and how of the cinematography of a movie, there is no equivalent for long-form content. I would love to see a magazine dedicated to the beautiful cinematography of streaming shows, but until then I’ll try to plug the gap myself.
I’d like to start with a look at the increasing use of anamorphic lenses for the small screen. Let’s look at a few examples and try to discover what anamorphic imaging adds to a project.
Lenses with an anamorphic element squeeze the image horizontally, allowing a wider field of view to be captured. The images are restored to their correct proportions in postproduction, but depth of field, bokeh (out of focus areas), barrel distortion and lens flare all retain different characteristics to those obtained with traditional spherical lenses.
The Cinematic look

The venerable Doctor Who, which started off shooting on 405-line black-and-white videotape more than half a century ago, has employed Arri Alexas and Cooke Anamorphic/i glass since the introduction of Jodie Whittaker’s 13th Doctor. “[Director Jamie Childs] suggested we shoot on anamorphic lenses to give it a more filmic look,” says DP Denis Crossan. “You get really nice background falloff and out of focus ellipses on light sources.”
While most viewers will not be able to identify these visual characteristics specifically, they will certainly be aware of a more cinematic feel to the show overall. This is because we associate anamorphic images – even if we do not consciously know them as such – with the biggest of Hollywood blockbusters, everything from Die Hard to Star Trek Beyond.
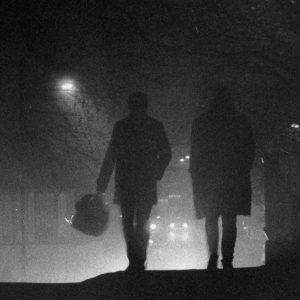
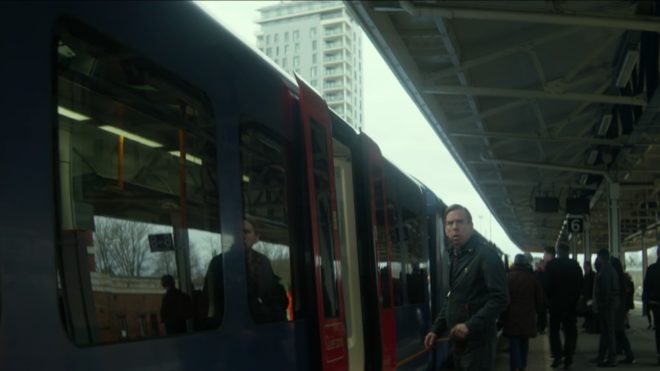
It’s not just the BBC who are embracing anamorphic. DP Ollie Downey contrasted spherical glass with vintage anamorphics to deliberate effect in “The Commuter”, an episode of the Channel 4/Amazon sci-fi anthology series Electric Dreams.
The story revolves around Ed (Timothy Spall) whose mundane but difficult life turns upside down when he discovers Macon Heights, a town that seems to exist in an alternate reality. “Tim Spall’s character is torn between his real life and the fantastical world of Macon Heights,” Downey explains on his Instagram feed. “We shot Crystal Express Anamorphics for his regular life, and Zeiss Super Speed Mk IIs for Macon Heights.”
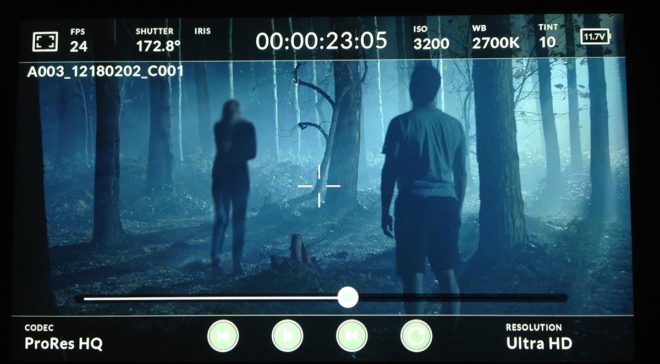
The anamorphic process was invented as a way to get a bigger image from the same area of 35mm negative, but in today’s world of ultra-high-resolution digital sensors there is no technical need for anamorphics, only an aesthetic one. In fact, they can actually complicate the process, as Downey notes: “We had to shoot 8K on the Red to be able to punch in to our Crystal Express to extract 16:9 and still deliver 4K to Amazon.”
Evoking a period
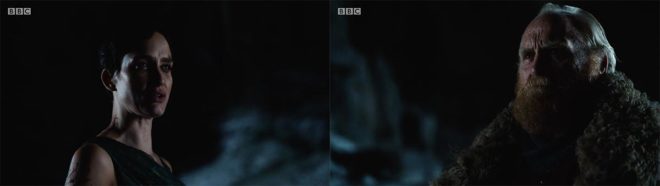
Back at the BBC, last year’s John le Carré adaptation The Little Drummer Girl uses anamorphic imaging to cement its late 1970s setting. The mini-series revolves around Charmian, an actress who is recruited by Israeli intelligence via the mysterious agent Becker. The truth is distorted throughout, just as the wide anamorphic lenses distort every straight line into a curve.
Reviewing the show for The Independent, Ed Cumming notes that director Park Chan-wook “does not aim to be invisible but to remind you constantly that what you are seeing is a creation. Take the scene at a beachside taverna in Greece, where Charmian and Becker start talking properly to each other. The camera stays still, the focus snaps between him and her.” Such focus pulls are more noticeable in anamorphic because the subject stretches vertically as it defocuses.
The Little Drummer Girl is slavish in its recreation of the period, in camera style as well as production design. Zooms are used frequently, their two-dimensional motion intricately choreographed with the actors who step in and out of multiple planes in the image. Such shots were common in the 70s, but have since fallen very much out of fashion. When once they would have passed unnoticed, a standard part of film grammar, they now draw attention.

Separating worlds
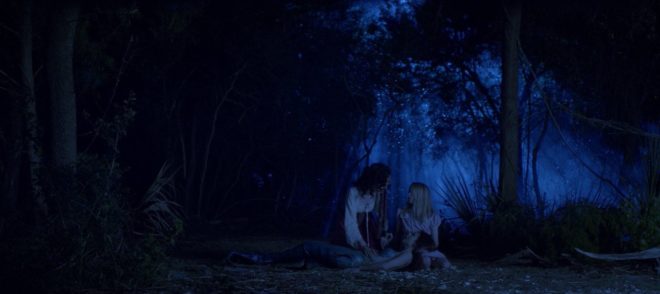
Chilling Adventures of Sabrina, a Netflix Original, also draws attention with its optics. Charting the trials and tribulations of a teenaged witch, the show uses different makes of lenses to differentiate two worlds, just like “The Commuter”.
According to DP David Lazenberg’s website, he mixed modern Panavision G series anamorphics with “Ultragolds”. Information on the latter is hard to find, but they may be related to the Isco Ultra Star adapters which some micro-budget filmmakers have adopted as a cheap way of shooting anamorphic.
The clean, sharp G series glass is used to portray Sabrina’s ordinary life as a small-town teenager, while the Ultragolds appear to be used for any scenes involving witchcraft and magic. Such scenes display extreme blur and distortion at the edges of the frame, making characters squeeze and stretch as the camera pans over them.

Unlike the anamorphic characteristics of Doctor Who or “The Commuter”, which are subtle, adding to the stories on a subconscious level, the distortion in Sabrina is extreme enough to be widely noticed by its audience. “Numerous posts on Reddit speak highly of Chilling Adventures of Sabrina’s content and cinematography,” reports Andy Walker, editor of memeburn.com, “but a majority have a collective disdain for the unfocused effect.”
“I hate that blurry s*** on the side of the screen in Sabrina,” is the more blunt appraisal of Twitter user @titanstowerr. Personally I find the effect daring and beautiful, but it certainly distracted me just as it has distracted others, which forces me to wonder if it takes away more from the story than it adds.
And that’s what it all comes down to in the end: are the technical characteristics of the lens facilitating or enhancing the storytelling? DPs today, in both cinema and long-form series, have tremendous freedom to use glass to enhance the viewers’ experience. Yes, that freedom will sometimes result in experiments that alienate some viewers, but overall it can only be a good thing for the expressiveness of the art form.
For more on this topic, see my video test and analysis of some anamorphic lenses.
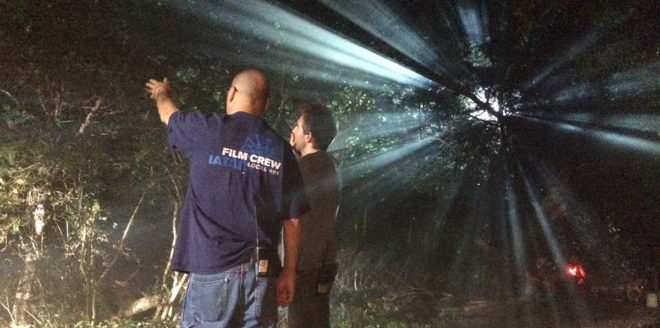
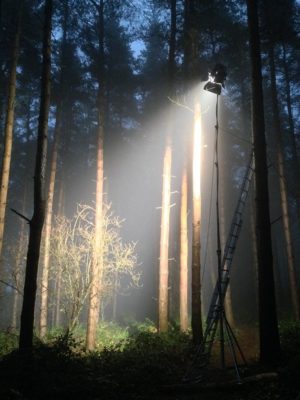 Forests typically have no artificial illumination, except perhaps practical torches carried by the cast. This means that the DP will primarily be simulating moonlight.