Corridors and Kitchens

I’ve been shooting films for Rick Goldsmith and his company Catcher Media for over 20 years now. “That’s longer than I’ve been alive,” said the make-up artist on U & Me, Catcher’s latest, when I told her. Ouch.

Like most of the films I’ve done with Rick, U & ME is a drama for schools, about healthy relationships. These projects are as much about giving young people a chance to be involved in the making of a film as they are about the finished product. This means that we have to be pretty light on our feet as a crew – always a good challenge.

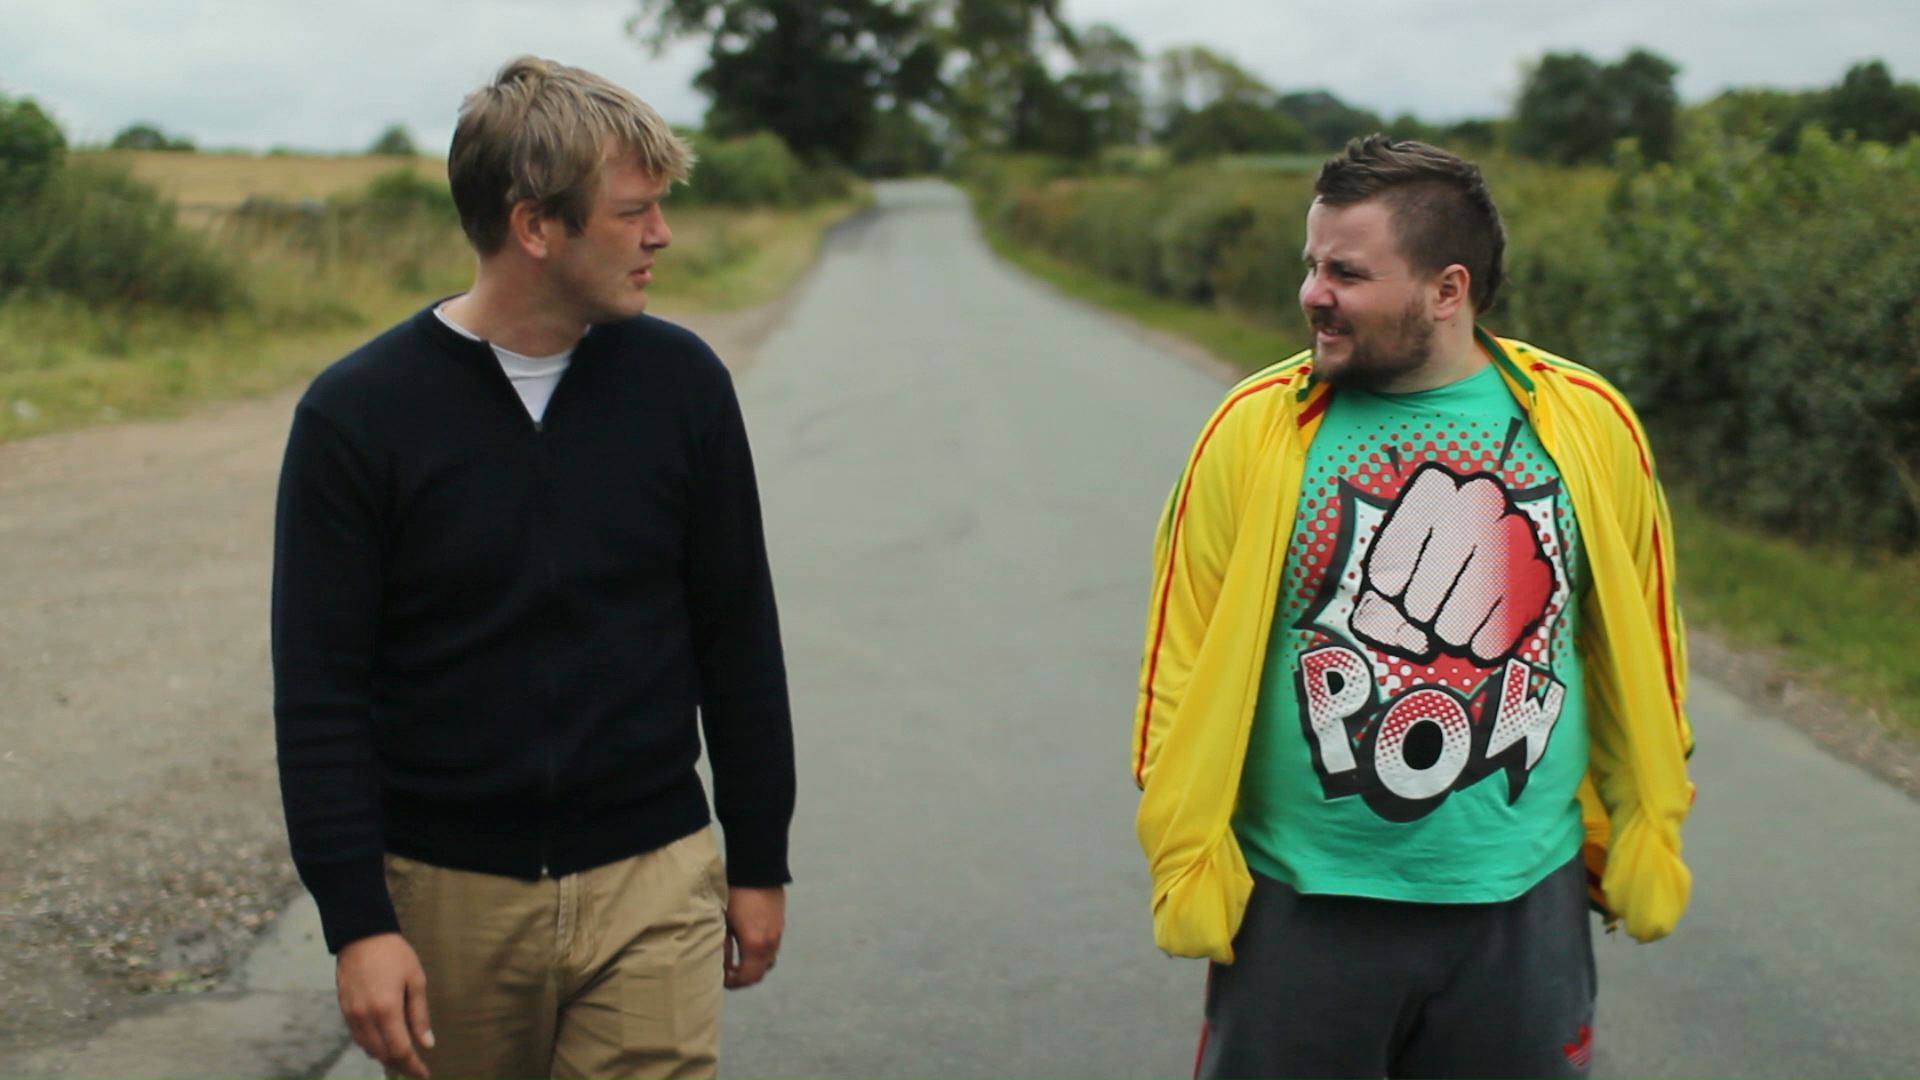
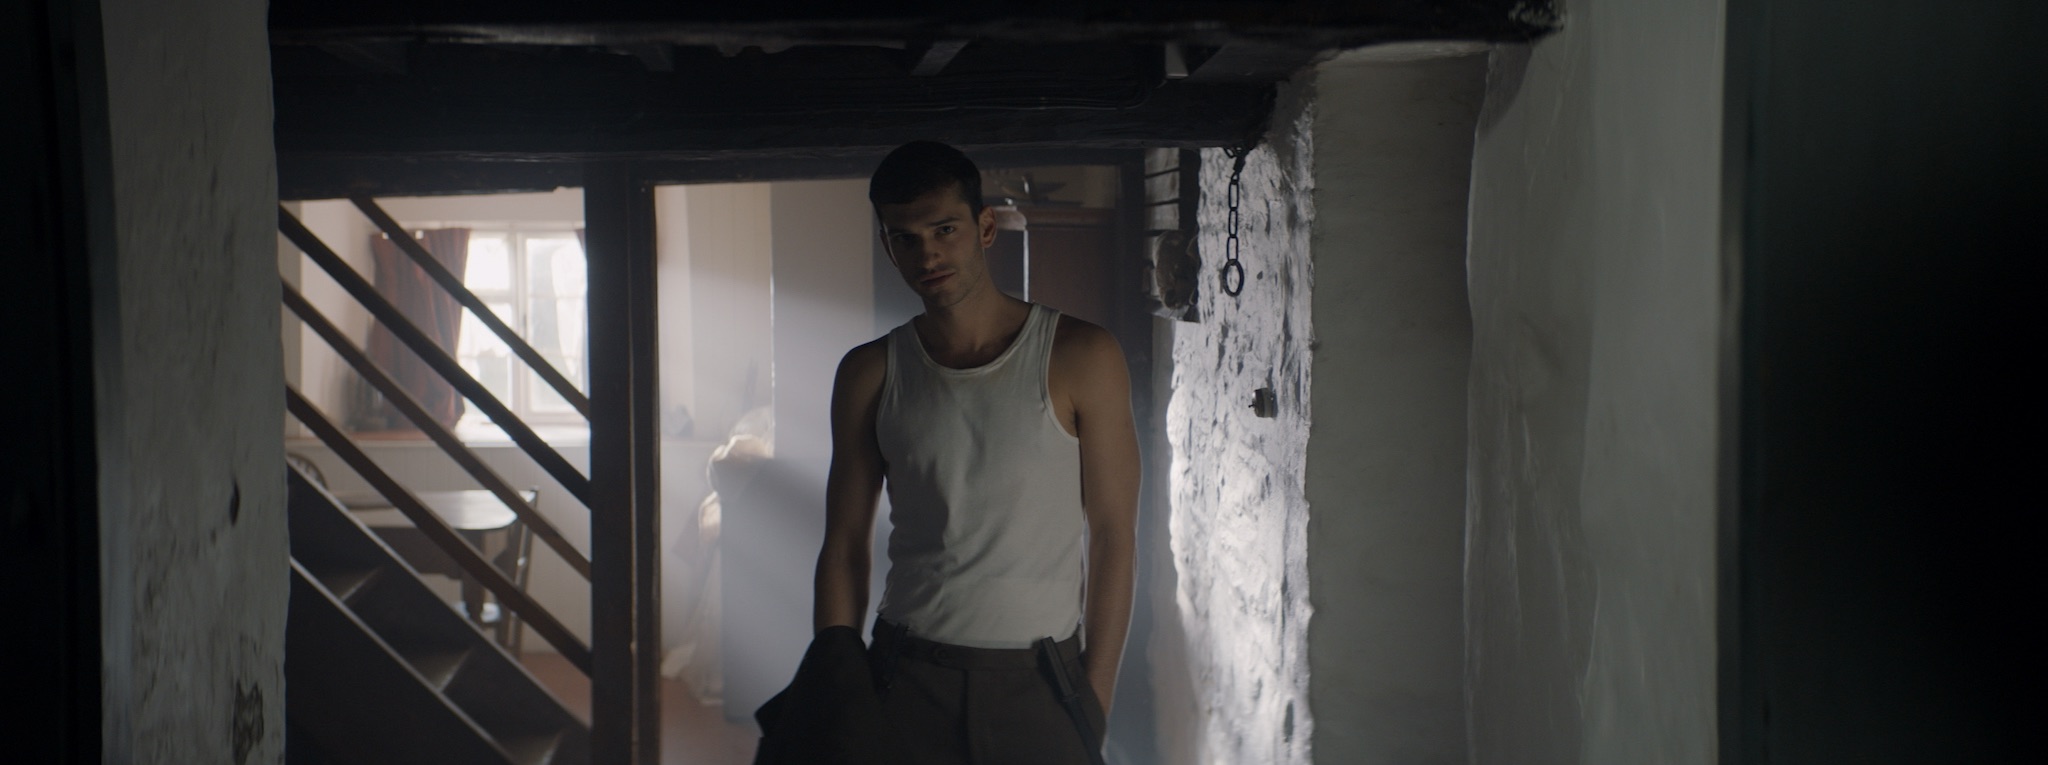
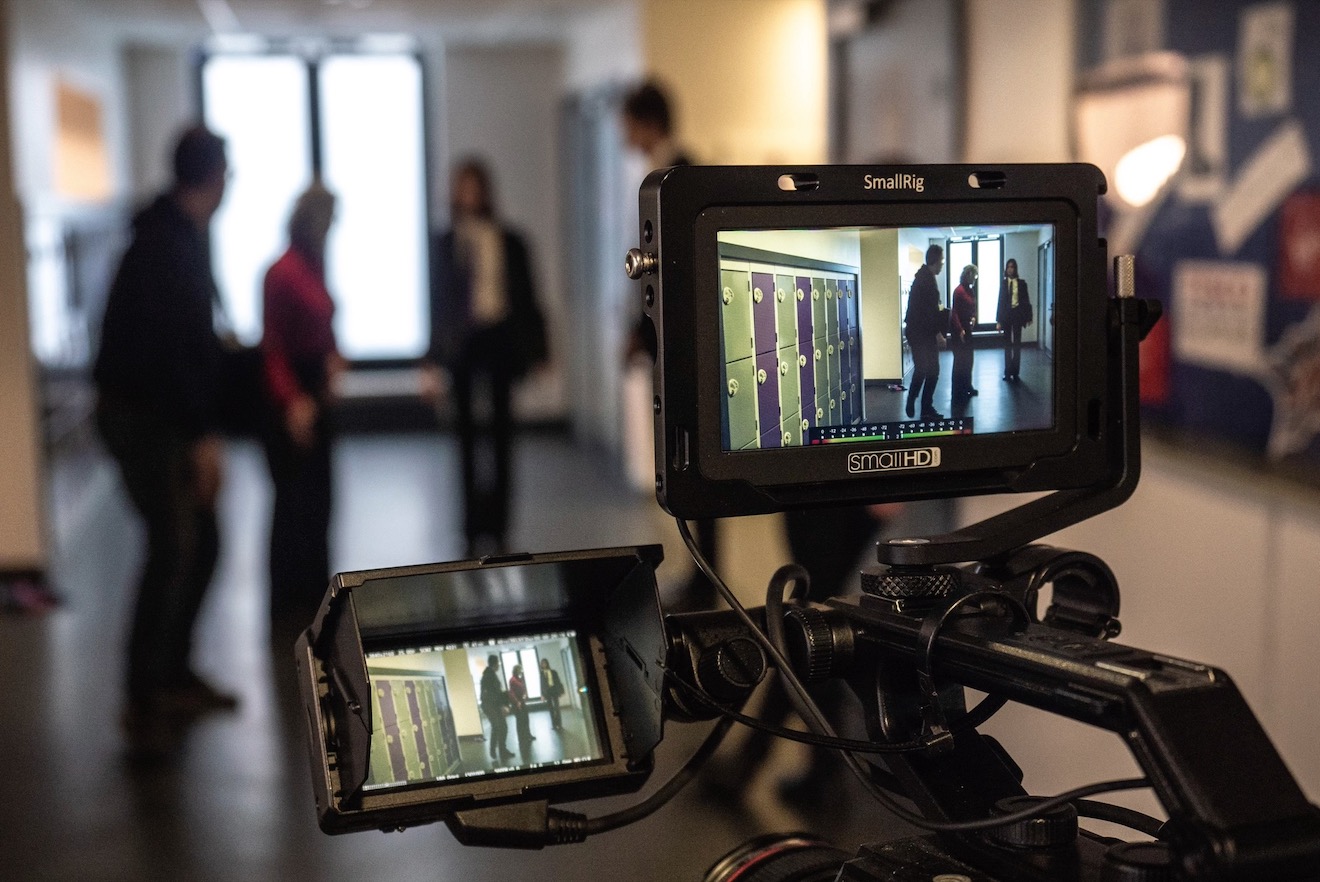
One of the main scenes was in the corridor of a school, or “academy” as they all seem to be called now (have we established yet that I’m old?). Rick had picked a corridor that was relatively quiet, though it was still impossible to film when kids were moving between lessons. It had a nice double-door fire exit at the end with diffuse glass. Any corridor/tunnel benefits from having light at the end of it. That’s not a metaphor; light in the deep background is a staple of cinematography, and this light kicked nicely off the shiny floor as well. Whenever framing permitted, I beefed up the light from the doors with one of Rick’s Neewer NL-200As, circular LED fixtures.

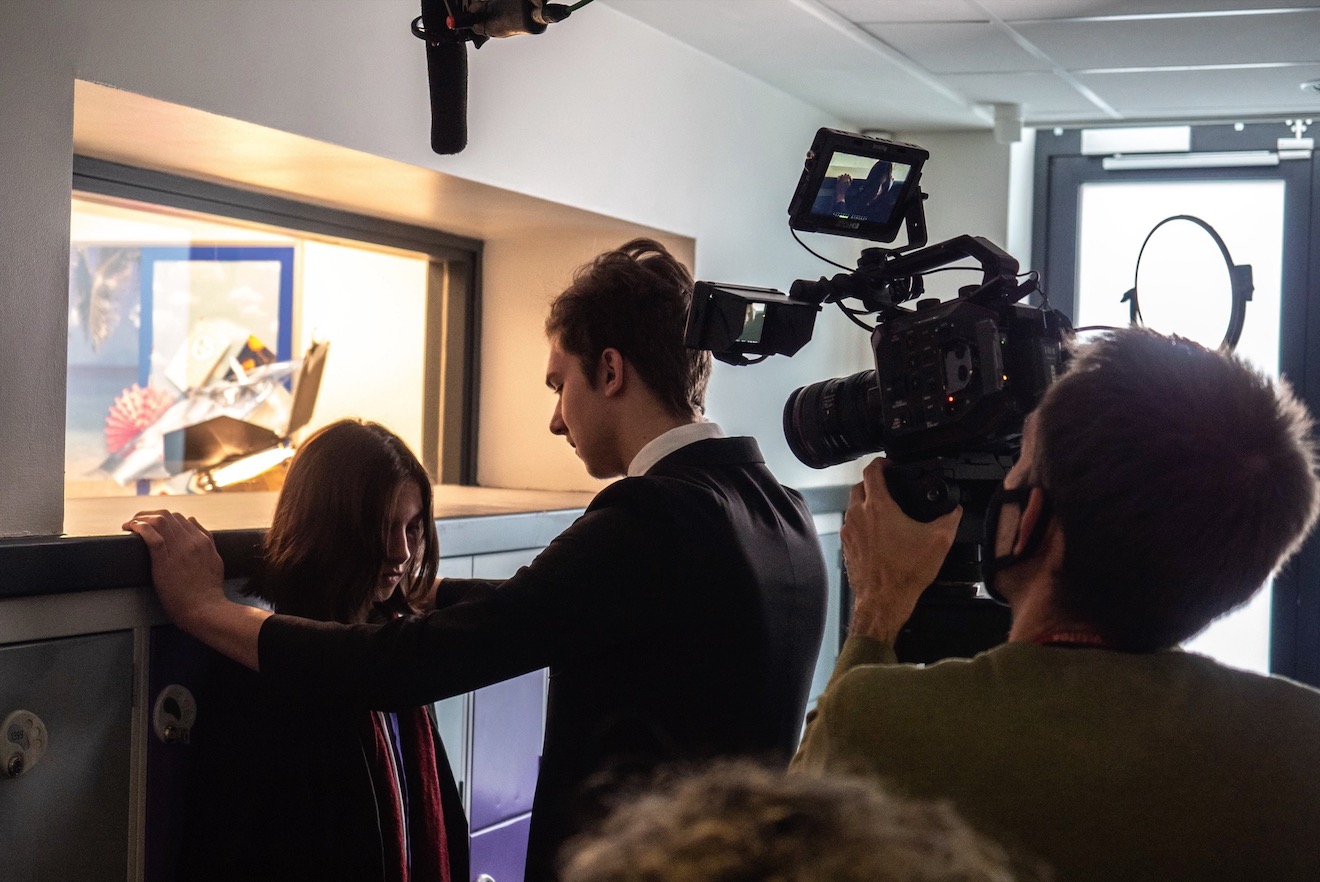
For the key light there was a convenient window above the hero lockers. The window looked into an office which – even more conveniently – was empty. In here I put an open-face tungsten 2K pointing at the ceiling. This turned the ceiling into a soft source that spilled through the window. I added another Neewer panel when I needed a bit more exposure.

I also wanted to control the existing overhead lights in the corridor. They couldn’t be turned off – I don’t think there were even any switches – so I flagged the ones I didn’t like using black wrap and a blackout curtain hung from the drop ceiling. I taped diffusion over another light, one that I didn’t want to kill completely.

It looked nice and moody in the end.

A brighter scene was shot in the kitchen of an AirBnB that doubled as accommodation for us crew. Here I used the 2K outside the window to fire in a hot streak of sunlight that spilt across the worktops, the actor’s clothes and the cupboards (bouncing back onto her face when she looked towards them).

The 2K would have been too hard to light her face with. Instead I fired one of the Neewers into the corner next to the window, creating a soft source for her key. The only other thing I did was to add another Neewer bouncing into the ceiling behind camera for later scenes, when the natural light outside was falling off and it was starting to look too contrasty inside.

It might not have been rocket science, but it was quite satisfying to get an interesting look out of ordinary locations and limited kit.

Corridors and Kitchens

Large Format

Recently I shot my second online cinematography course, provisionally titled The Secrets of Cinematography, which will be out in the spring. In it I shoot on a Z Cam E2-F6, a full-frame camera. As far as I can remember, the only other time I’ve shot full-frame was for the miniature map in Above the Clouds, captured on a Canon 5D Mk III. So I thought this would be a good time to post a few facts about large-format, and a good excuse to get some more use out of this graphic I created for the course…

First of all, some definitions:

  • Super-35, about 24x14mm, has been the standard sensor size since digital cinematography took off in the noughties. It’s based on an analogue film standard which has its own complex history that I won’t go into here.
  • A large-format digital cinema camera is any that has a sensor larger than Super-35. It’s not to be confused with large-format still photography, which uses much bigger sensors/film than any currently existing for moving images.
  • Full-frame is a subset of large-format. Confusingly, this term does come from still photography, where it is used to identify digital sensors that are the same size as a frame of 35mm stills film: 36x24mm.

These are the differences you will notice shooting in large-format versus Super-35:

  • Lenses will have a wider field of view. (You’ll need to make sure your chosen lenses have a large enough image circle to cover your sensor.)
  • If you increase your focal length to get the same field of view you would have had on Super-35, perspective will be rendered exactly the same as it was on Super-35…
  • … but the depth of field will be shallower…
  • … and you may see more imperfections at the edges of frame where the lens is working harder. (A Super-35 sensor would crop these imperfections out.)
  • Picture noise will probably be finer and less noticeable due to the photosites being larger and more sensitive.

In the case of full-frame, the crop factor is 1.4. This means you should multiply your Super-35 focal length by 1.4 to find the lens that will give you the same field of view on a full-frame camera. (Some examples are given in the graphic above.) It also means that you can multiply your Super-35 T-stop by 1.4 to find the full-frame T-stop to match the depth of field.

For a detailed comparison of Super-35 and full-frame, check out this test by Manuel Luebbers.

Large Format

What I Learnt from DSLRs

RedShark News recently published an article called “The DSLR is now dead”, based on the fact that the Canon 1D X Mark III will be the last flagship DSLR from the company and that mirrorless cameras are now first choice for most photographers. This prompted me to reflect on some of the things I learnt when I bought my first (and only) DSLR.

It was 2011, and I documented some of the challenges my new Canon 600D created for me in this blog post. But what the DSLR did really well was to introduce me to a workflow very similar in many ways to the bigger productions I’m working on now. Previously I had shot everything on prosumer camcorders, so the following things were new to me with DSLRs and have been constant ever since.


Shallow Depth of Field

I had been used to everything being in focus, so not really thinking about my aperture setting, just turning the iris dial until the exposure looked right. My Canon 600D set me on a journey of understanding f-stops, and eventually choosing a target stop to shoot at for focus reasons and then using lighting or ND filters to achieve that stop.


Prime Lenses

My lenses

Although for several years I owned a Canon XL1-S, which had interchangeable lenses, I only ever owned a couple of zooms for it. As far as I’m aware, no prime lenses to fit the XL1-S’s proprietary mount were ever made, so prime lenses were completely new to me when I got my 600D. As with aperture, it forced me to think about what field of view and degree of perspective or compression I wanted, select the appropriate lens, and then place the camera accordingly, rather than lazily zooming to get the desired framing.


Dual-System Sound

It’s weird now to think that I used to be tethered to the sound recordist before I switched to DSLR shooting. At the time I was doing most of my own editing as well, so syncing the sound was a pain in the arse, but it was a valuable introduction to this industry-standard way of working. It’s also weird to think that clapperboards were optional for me before this.


Building a camera rig

All my cameras before the 600D had a built-in viewfinder, handgrip, shoulder mount (if the camera was large enough to need one) and lens (except the XL1-S), and there was no need to add an external battery plate or a follow-focus. The idea that a camera rig needed to be built, and that it could be customised to suit different operators and situations, was a novel one to me. I have to say that I still prefer cameras that have more things built in, like the Alexa Classic. A good part of the reason I rarely use Reds is because they don’t come with viewfinders. Why anyone ever thinks a viewfinder is an optional part of a camera is utterly beyond me. It’s an important point of stabilising contact for handheld work, and your face shields it completely from extraneous light, unlike a monitor.


Tapeless recording

The 600D was my first camera to record to memory cards rather than magnetic tape. It was certainly scary to have to wipe the cards during a shoot, being careful to back everything up a couple of times first. Data wrangling was a tricky thing to deal with on the kind of tiny-crewed productions I was usually doing back then, but of course now it’s completely normal. Just last week I shot my new cinematography course and had the fun of staying up until 2:30am after a long day of shooting, to make sure all the footage was safely ingested! More on that course soon.

What I Learnt from DSLRs

“Annabel Lee”: Using a Wall as a Light Source

Here’s another lighting breakdown from the short film Annabel Lee, which has won many awards at festivals around the world, including seven now for Best Cinematography.

I wanted the cottage to feel like a safe place for Annabel and E early in the film. When they come back inside and discuss going to the village for food, I knew I wanted a bright beam of sunlight coming in somewhere. I also knew that, as is usual for most DPs in most scenes, I wanted the lighting to be short-key, i.e. coming from the opposite of the characters’ eye-lines to the camera. The blocking of the scene made this difficult though, with Annabel and E standing against a wall and closed door. In the story the cottage does not have working electricity, so I couldn’t imply a ceiling light behind them to edge them out from the wall. Normally I would have suggested to the director, Amy Coop, that we flip things around and wedge the camera in between the cast and the wall so that we could use the depth of the kitchen as a background and the kitchen window as the source of key-light. But it had been agreed with the art department that we would never show the kitchen, which had not been dressed and was full of catering supplies.

The solution was firing a 2.5K HMI in through one of the dining room windows to create a bright rectangle of light on the white wall. This rectangle of bounce became the source of key-light for the scene. We added a matt silver bounce board just out of the bottom of frame on the two-shot, and clamped silver card to the door for the close-ups, to increase the amount of bounce. The unseen kitchen window (behind camera in the two-shot) was blacked out to create contrast. I particularly like E’s close-up, where the diffuse light coming from the HMI’s beam in the haze gives him a lovely rim (stop sniggering).

Adding to the fun was the fact that it was a Steadicam scene. The two-shot had to follow E through into the dining room, almost all of which would be seen on camera, and end on a new two-shot. We put our second 2.5K outside the smaller window (camera left in the shot below), firing through a diffusion frame, to bring up the level in the room. I think we might have put an LED panel outside the bigger window, but it didn’t really do anything useful without coming into shot.

For more on the cinematography of Annabel Lee, visit these links:

“Annabel Lee”: Using a Wall as a Light Source