RedShark News recently published an article called “The DSLR is now dead”, based on the fact that the Canon 1D X Mark III will be the last flagship DSLR from the company and that mirrorless cameras are now first choice for most photographers. This prompted me to reflect on some of the things I learnt when I bought my first (and only) DSLR.
It was 2011, and I documented some of the challenges my new Canon 600D created for me in this blog post. But what the DSLR did really well was to introduce me to a workflow very similar in many ways to the bigger productions I’m working on now. Previously I had shot everything on prosumer camcorders, so the following things were new to me with DSLRs and have been constant ever since.
Shallow Depth of Field
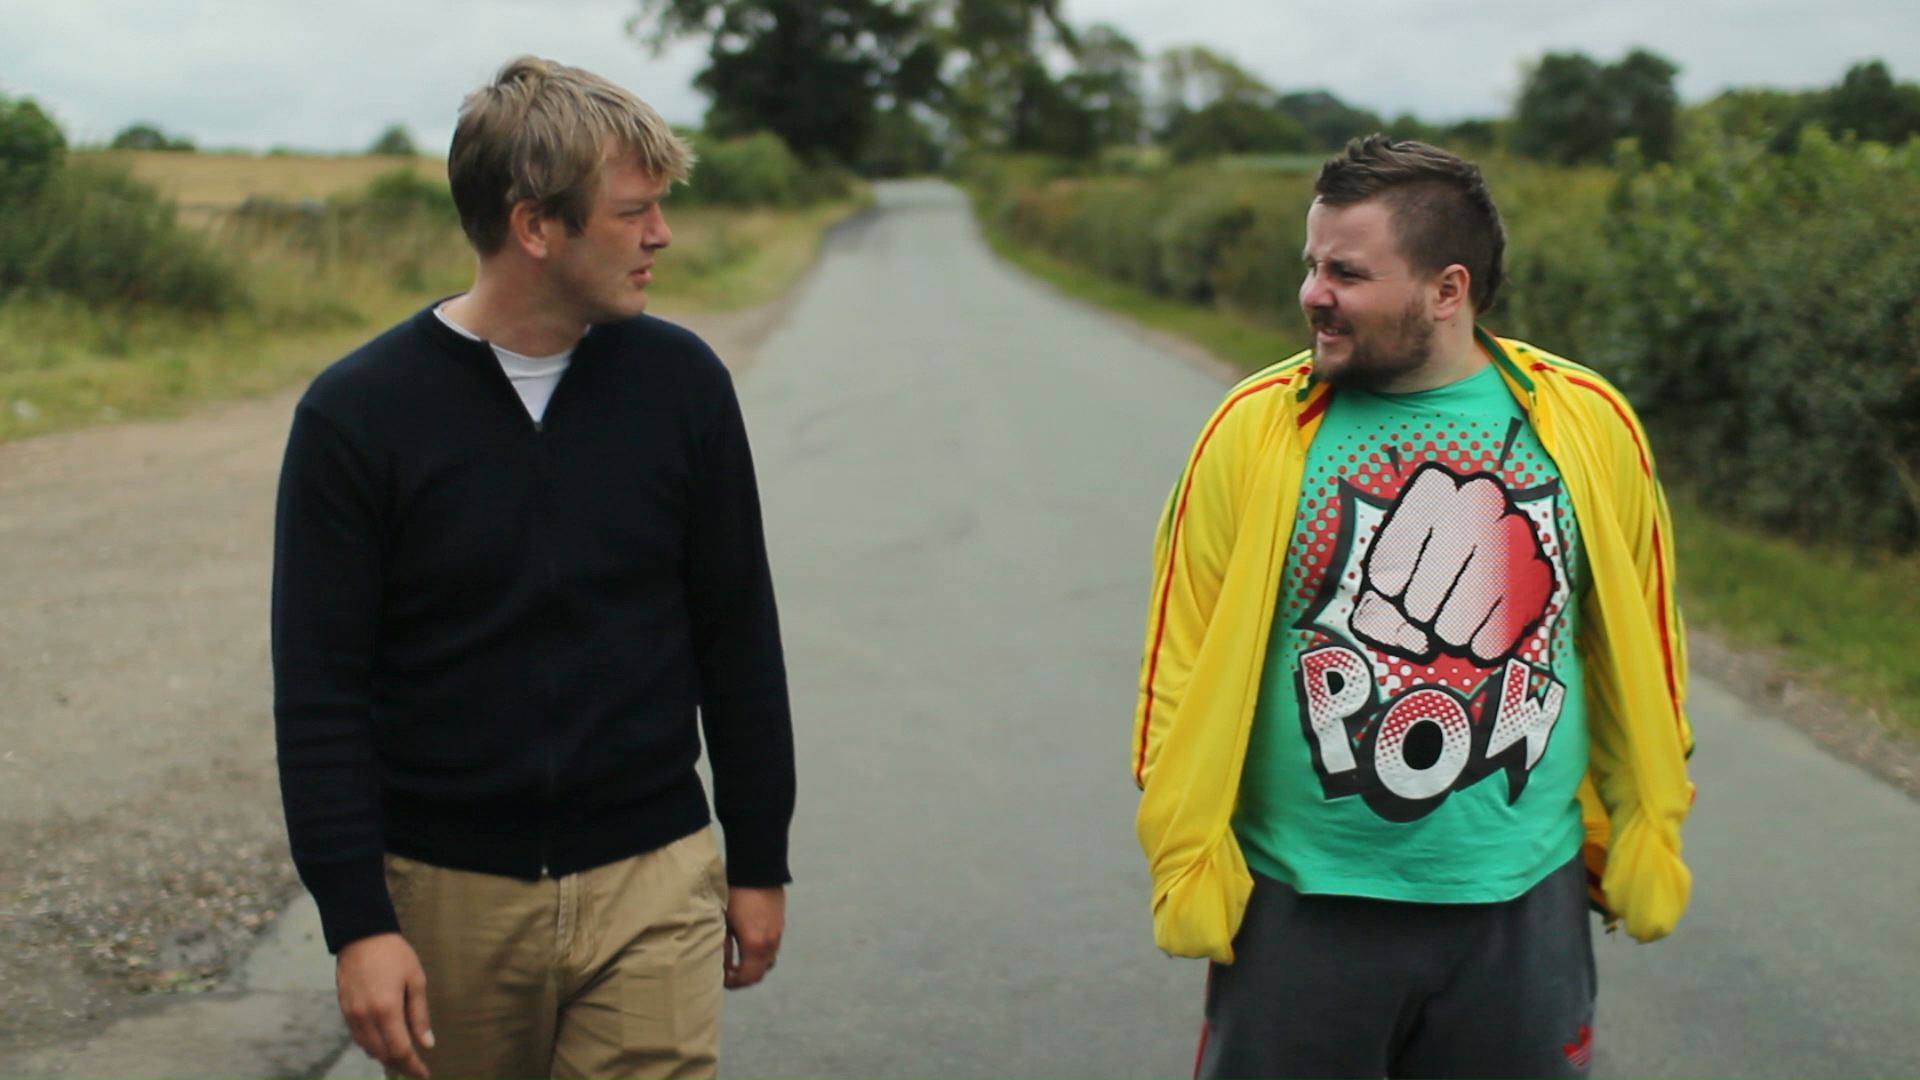
I had been used to everything being in focus, so not really thinking about my aperture setting, just turning the iris dial until the exposure looked right. My Canon 600D set me on a journey of understanding f-stops, and eventually choosing a target stop to shoot at for focus reasons and then using lighting or ND filters to achieve that stop.
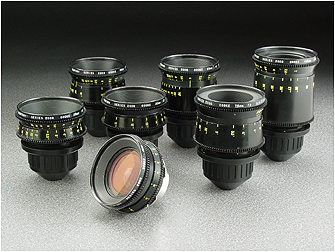
Prime Lenses

Although for several years I owned a Canon XL1-S, which had interchangeable lenses, I only ever owned a couple of zooms for it. As far as I’m aware, no prime lenses to fit the XL1-S’s proprietary mount were ever made, so prime lenses were completely new to me when I got my 600D. As with aperture, it forced me to think about what field of view and degree of perspective or compression I wanted, select the appropriate lens, and then place the camera accordingly, rather than lazily zooming to get the desired framing.
Dual-System Sound
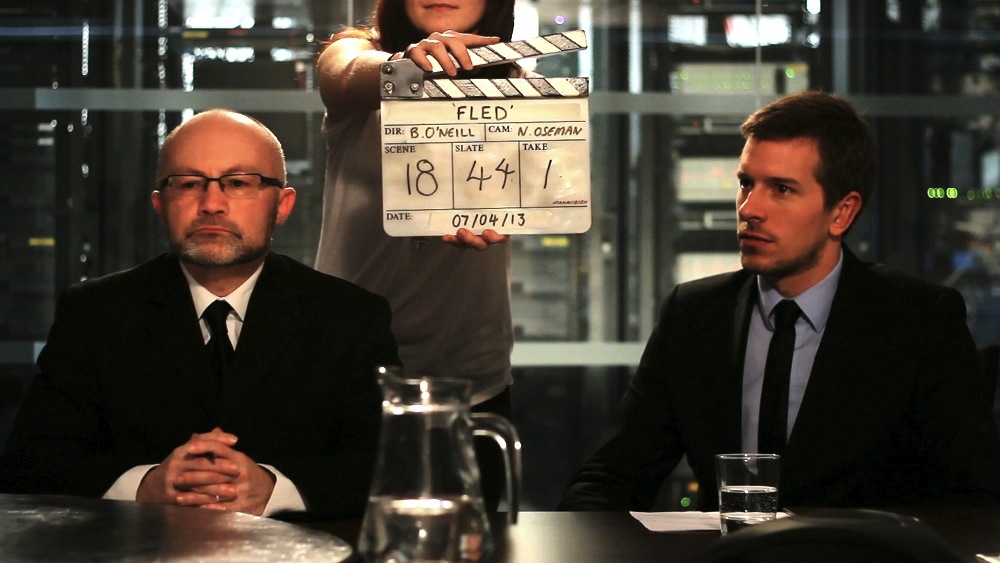 It’s weird now to think that I used to be tethered to the sound recordist before I switched to DSLR shooting. At the time I was doing most of my own editing as well, so syncing the sound was a pain in the arse, but it was a valuable introduction to this industry-standard way of working. It’s also weird to think that clapperboards were optional for me before this.
Building a camera rig

All my cameras before the 600D had a built-in viewfinder, handgrip, shoulder mount (if the camera was large enough to need one) and lens (except the XL1-S), and there was no need to add an external battery plate or a follow-focus. The idea that a camera rig needed to be built, and that it could be customised to suit different operators and situations, was a novel one to me. I have to say that I still prefer cameras that have more things built in, like the Alexa Classic. A good part of the reason I rarely use Reds is because they don’t come with viewfinders. Why anyone ever thinks a viewfinder is an optional part of a camera is utterly beyond me. It’s an important point of stabilising contact for handheld work, and your face shields it completely from extraneous light, unlike a monitor.
Tapeless recording
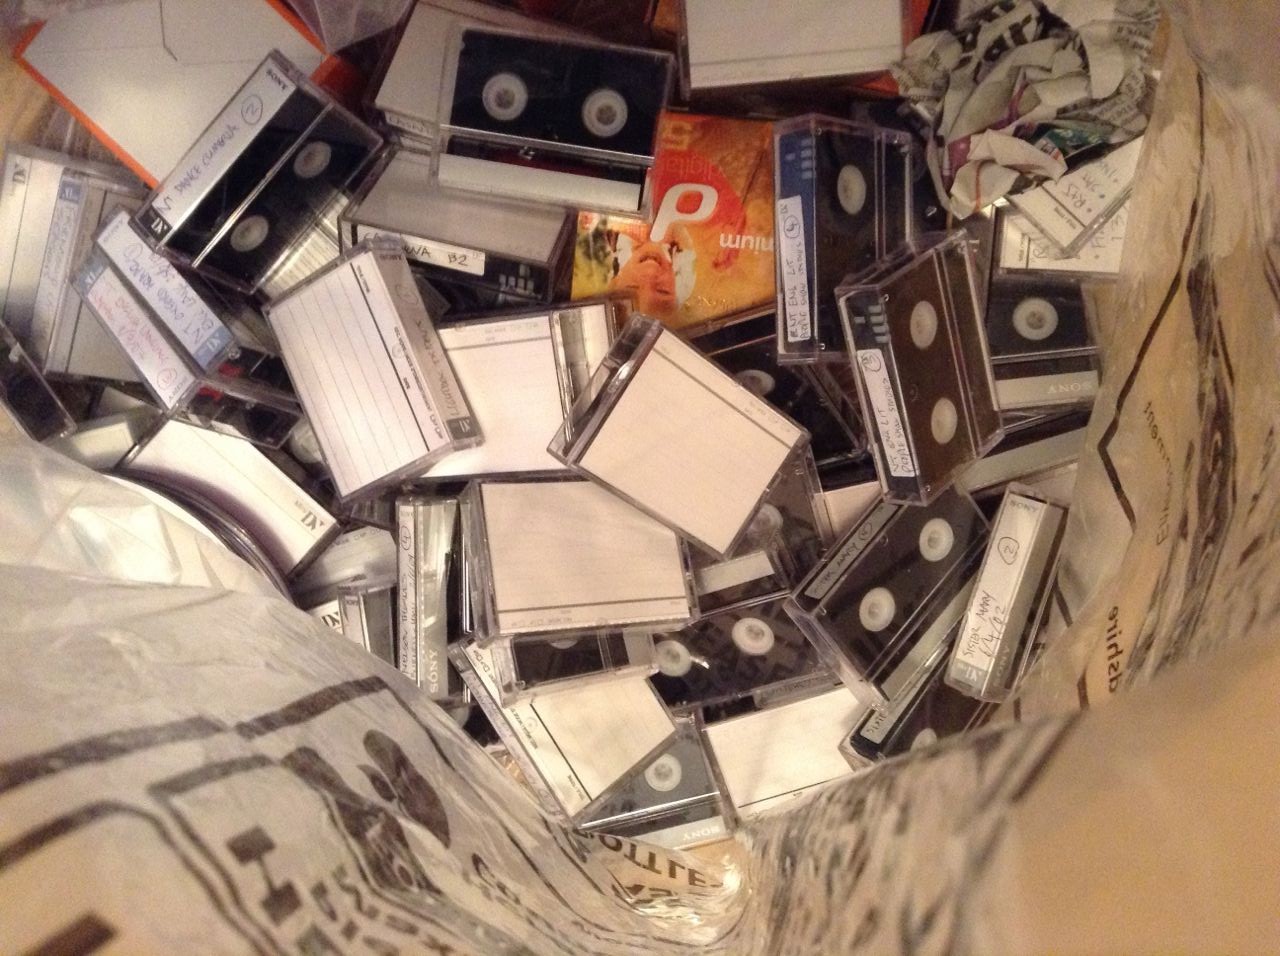
The 600D was my first camera to record to memory cards rather than magnetic tape. It was certainly scary to have to wipe the cards during a shoot, being careful to back everything up a couple of times first. Data wrangling was a tricky thing to deal with on the kind of tiny-crewed productions I was usually doing back then, but of course now it’s completely normal. Just last week I shot my new cinematography course and had the fun of staying up until 2:30am after a long day of shooting, to make sure all the footage was safely ingested! More on that course soon.