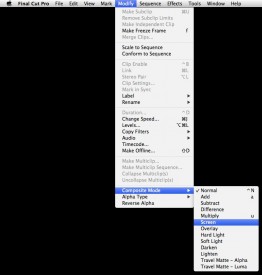
When it comes to shooting elements for VFX, green-screen gets all the press. But certain kinds of elements can be tricky to key well, and sometimes it’s not the right look. In the last few days Kate Madison and I have needed to shoot last-minute elements for some shots in Ren: The Girl with the Mark, and we turned to monochromatic backgrounds.
Why? How does it work? Well certainly you can key out black or white just like you’d key out green, but the most powerful way to use these backgrounds is not with keying at all, but by a bit of basic maths. And don’t worry, the computer does the maths for you.
If you’ve ever used Photoshop, you’ll have noticed some layer modes called Screen and Multiply. Final Cut Pro has the same modes (it also has Add, which to most intents and purposes is the same as Screen) and so do all the major editing and FX packages.
Screen adds the brightness of each pixel of the layer to the layer underneath. Since black has a brightness of zero, your black screen disappears, and the element in front of it is blended seamlessly into the background image, with its apparent solidity determined by its brightness.
Multiply, as the name suggests, multiplies the brightness of each pixel with the layer underneath. Since white has a brightness of one, and any number multiplied by one is that same number, your white screen vanishes. Whatever element is in front of your screen is blended into the background image, with darker parts of the element showing up more than lighter parts.
One of the elements Kate and I needed to shoot was a flame, to be comped onto a torch. We lit a torch and clamped it to a stand, shooting at night with the pitch black garden in the background. It was the work of moments to comp this element into the shot using Screen mode.
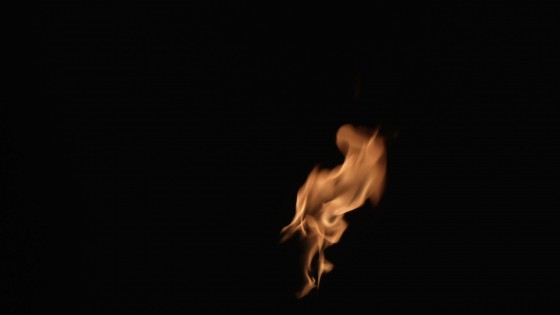
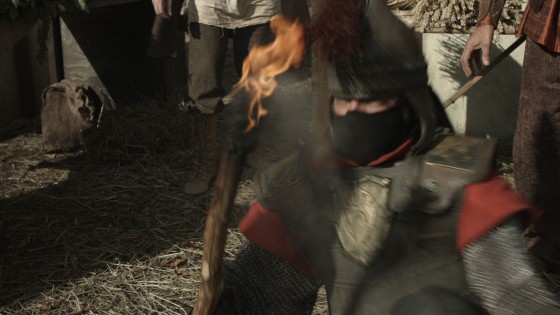
Fire is the perfect partner for black-screen shooting, because it generates its own light and it’s not solid. Solid objects composited using Screen/Add or Multiply take on a ghostly appearance – perfect for, er, ghost effects – but not ideal in other situations; because of the way Screen mode works, anything that’s not peak white will be transparent to some degree.
We shot some fast-moving leaves and debris against black, but only the high level of motion blur allowed us to get away with it. In fact, if you know you’re going to have a lot of motion blur, black-screen might be the ideal method, because it will be tricky to get a clean key off a green-screen.
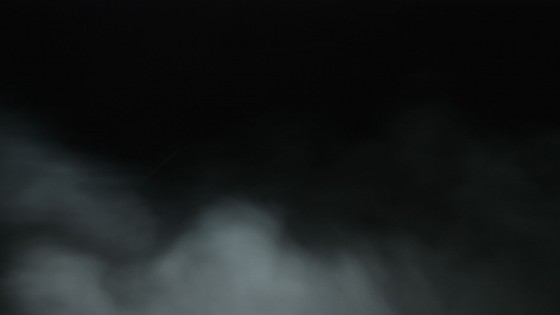
Other things that work well against black-screen are sparks, smoke and water/rain, again because they’re not solid. If you want to add rain or snow to a shot, black-screen is the way to go – check out my post about that here.
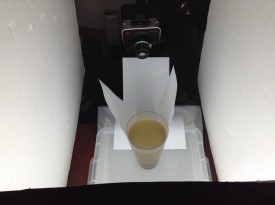
Yesterday Kate and I needed to shoot a whirlwind element. One of the VFX team suggested swirling sand in a vase of water. After a few experiments in the kitchen, we ended up using dirt from the garden. We used fluorescent softboxes for the background, ensuring we got a bright white background, and made weird arrangements of white paper to eliminate as many of the dark reflections in the vase as we could.

A few weeks back we shot hosepipe water against black, inverted it and used Multiply to superimpose it as blowing dirt.
With a little thinking outside the box, you can shoot all kinds of elements against white or black to meet your VFX needs. I’ll leave you with this featurette I made in 2006, breaking down the various low-tech FX – many of them black-screen – that I employed on my feature film Soul Searcher.