After a morning of playing with the sun, the next task on Crossing Paths was to light a night exterior scene.
The Blackmagic Production Camera, with a native ISO of 400, is not the most sensitive of cameras. But with this scene being a flashback, I gained a stop of light by changing my shutter angle to 360 degrees and making that extra motion blur part of the film’s flashback look. (Click here to read my post on Understanding Shutter Angles.)

Just as a DP normally looks to orientate a daylight scene to use the sun as backlight, so they often aim to do the same with the moon at night. Except of course, unless you’re shooting on a Sony A7S, the actual position of the moon is irrelevant because it’s too dim to shed any readable light. Instead you set up a fake moon – usually an HMI – in the position that works best for you.
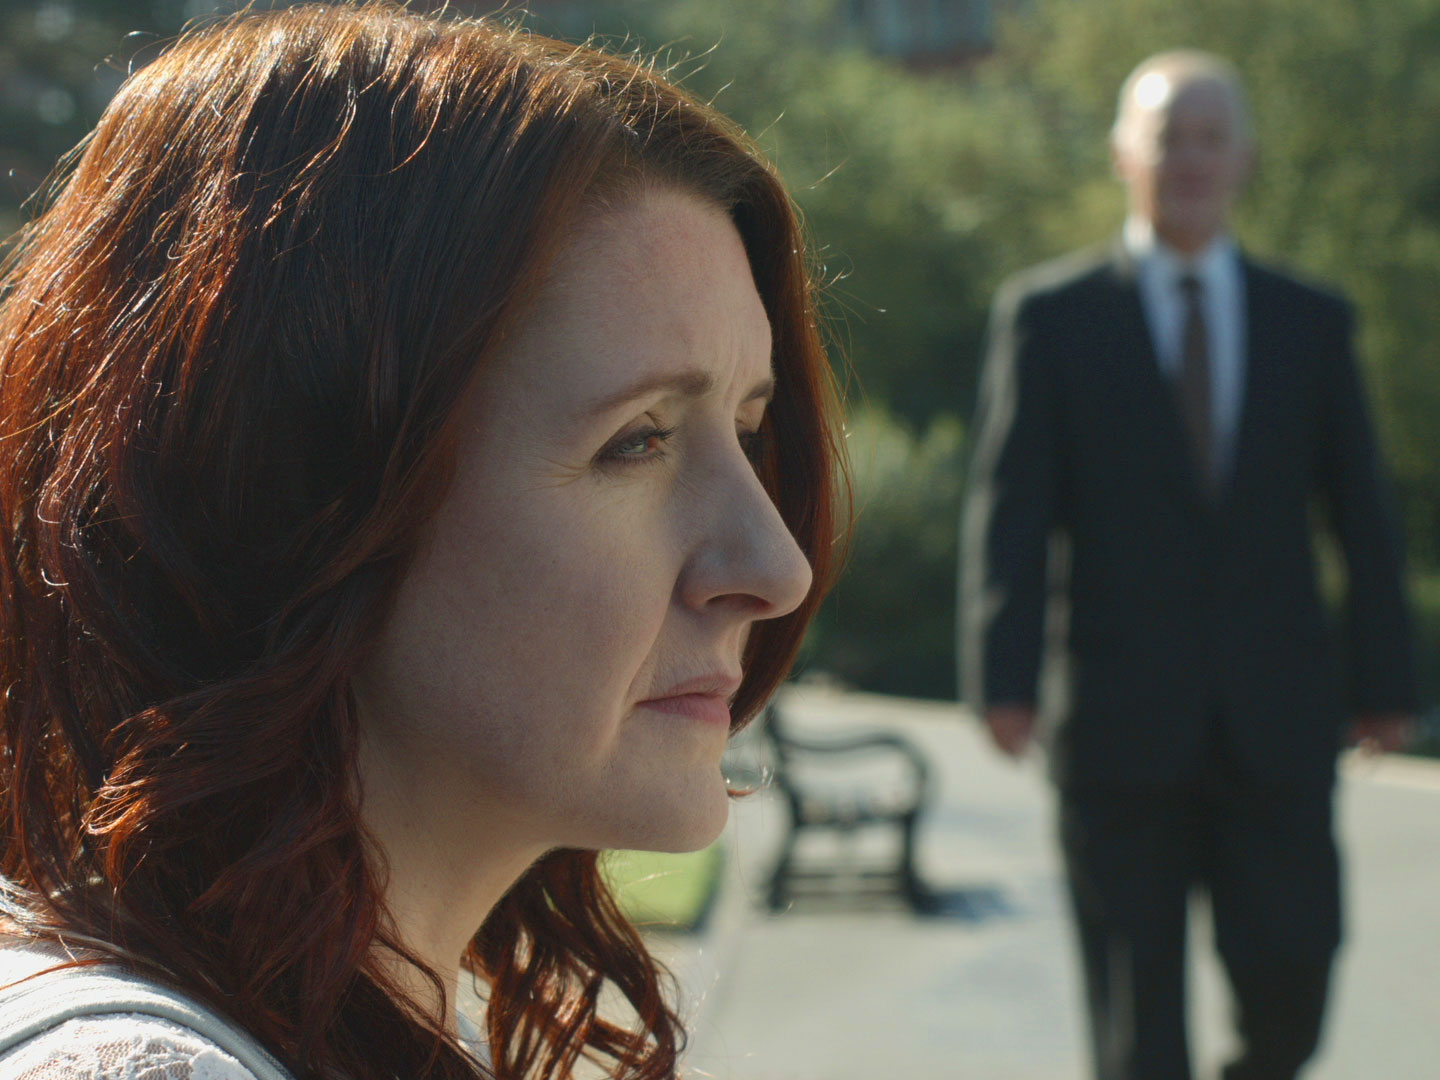
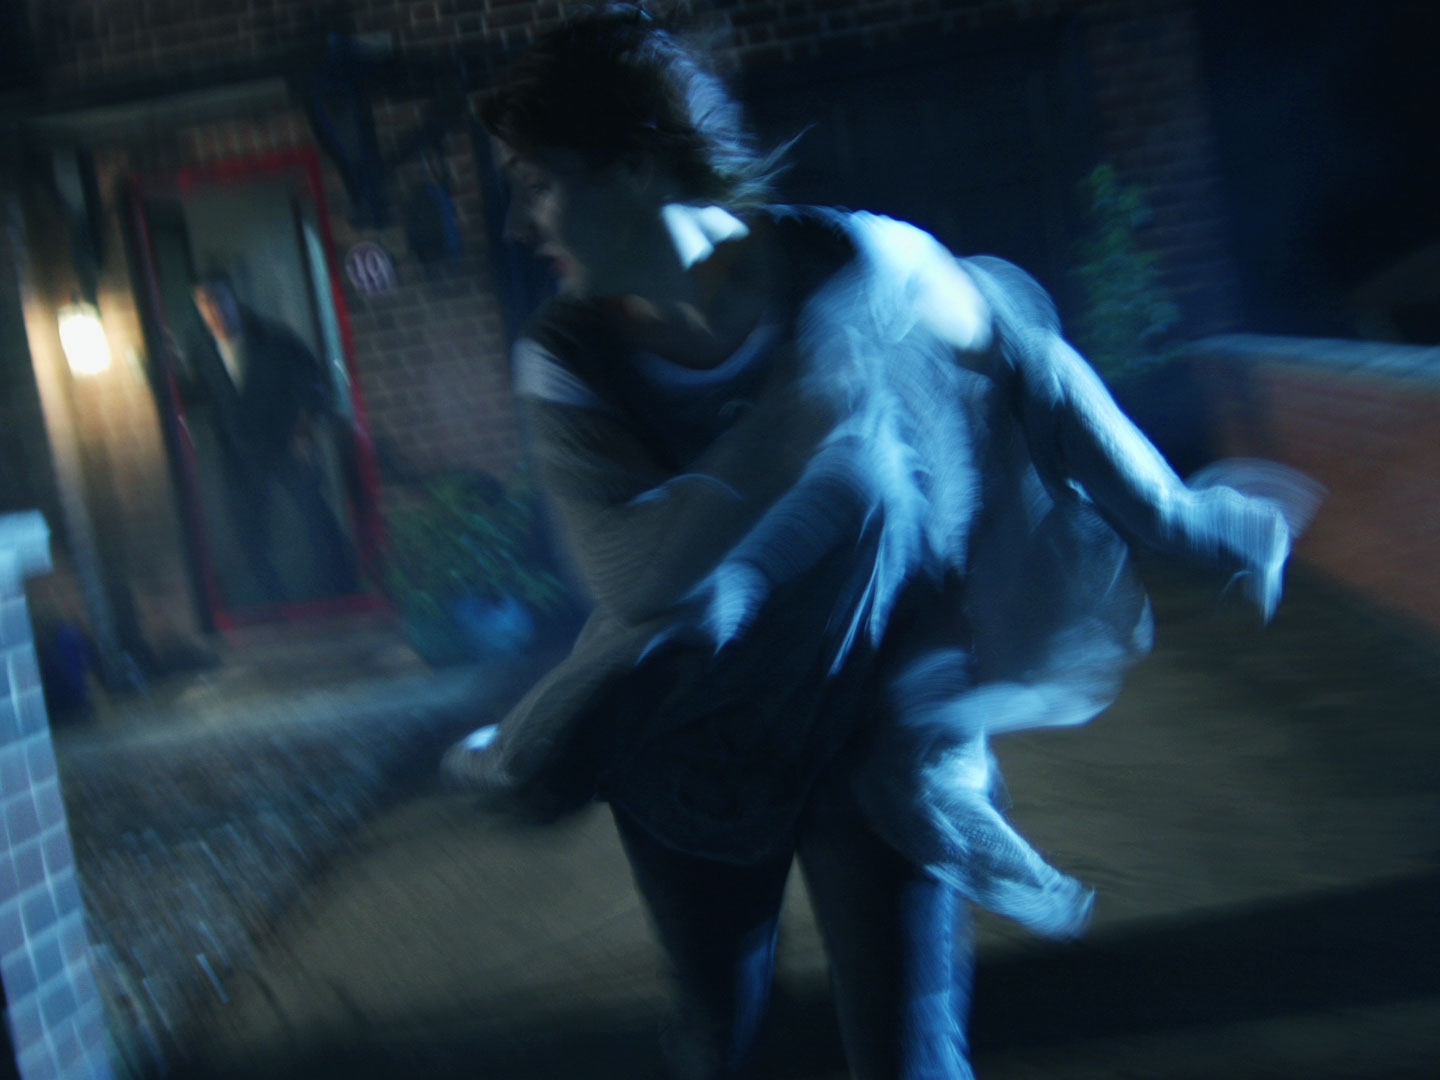
I knew that there would be two main camera angles for this scene, in which Michelle runs out of her house and across the road. One would be a handheld tracking shot, leading Michelle as she runs. The other would be an angle looking up the road. So the first angle would be looking towards the house and the second would be at 90 degrees to that.

Where to put the backlight? (I was going to use an ArriMax M18 for the moon.) Clearly not behind the house, because I didn’t have a massive crane to put it on! Similarly I could not put it at the end of the road without it being in shot. The clear solution was to put it mid-way between these two positions, in a neighbour’s garden. From there it would provide 3/4 backlight (from the left) for the view down the road, and side-light (from the right) for the view towards the house, developing to 3/4 backlight as Michelle crosses the road.
To get my backlight fix at the start of the handheld leading shot, I placed a Dedo at the top of the stairs shining down.
3 x 300W Gulliver lamps, kindly supplied by spark Colin Stannard, were also used in the scene. Two were hidden behind trees down the road, pointing at parts of the background to stop it being black. (The road’s sodium streetlamps provided some nice bokeh as they reflected in parked cars, but did nothing to illuminate the scene.)

The third Gulliver was used to 3/4 front-light Michelle in the first half of the leading shot. I put it on a C-stand, nice and high, shining through a tree so as to break up the light – always a good trick for frontal light sources at night.
To ensure Michelle’s face was visible in the second half of the leading shot, an 8’x4′ poly was used to bounce some of the “moonlight” back at her.
Here’s a lighting diagram of the whole set-up…
 Crossing Paths is a B Squared production (C) 2015. Find out more at facebook.com/Crossing-Paths-Short-Film-697385557065699/timeline/