A Cinematograper Prepares

One of the things which I believe separates a good director of photography from a bad one is preparation. On a big production you may have weeks of paid, full-time prep, but on a micro-budget movie you may be lucky to have a single meeting before the shoot. In the latter case you’ll have to use your initiative, put in the time for free, and use Skype a lot, but either way the quality of the prep can make or break the production.

Here are ten things a DP should do to set themselves up for success before the camera rolls. This is not intended to be an exhaustive list, rather it’s a run-down of the things which I have found to bear most fruit later on in the production.


1. Get inside the director’s head.

Some directors will come to you with a beautiful set of storyboards, concept art and reference images, but many won’t. Many will simply have an idea in their head of how they want it to look, and it’s your job to find out what that vision is. Often this will happen before full-time prep begins. It will consist of watching movies together, pouring over books of photos, sharing Pinterest boards or Dropboxes full of images, all the while discussing what they do and don’t like. The aim is to get such a clear idea of their vision that when you set up a shot you’ll deliver the mood they’re looking for first time.


2. Work with the art department.

Chatting over a set model helps identify potential lighting or lensing problems before construction begins.

The next person to get in sync with is the production designer. This is an incredibly important and symbiotic relationship; you have the power to completely destroy each others’ work, or to make each other look like geniuses! Two things you should talk about early on with the designer are the colour palette of the film (and any palettes specific to certain locations, plot threads or characters) and the aspect ratio: does the shape of the sets being designed fit the shape of the frame you’re planning to compose? Next you’ll want to discuss each set and the position of windows and practicals within it, to ensure that you’ll be able to get the lighting angles you need. For their part, the designer will want to quiz you on where the key camera positions will be, and the rough lens lengths you’ll be using, so they know where to put in the most detail and the important bits of dressing.


3. Get to know the needs of the other H.o.D.s.

Although the production designer is the most important head of department for a DP to work with, they are by no means the only one. The visual effects supervisor is increasingly a key collaborator; you should discuss the look you’re going for and how that will integrate with the VFX, and whether plates need to be shot at a higher resolution, in RAW, or any other technical requirements. You should familiarise yourself with the costume designs and discuss how those will integrate with the overall look. Similarly the make-up department will want to talk about about lens filtration, coloured lighting and anything else that may affect how their work looks. The line producer is a crucial person to get on the good side of. Sooner or later you’ll have to ask them for something expensive and unexpected, and they’re much more likely to say yes if you have tried to help them earlier on, by reducing your equipment list for example, or by hiring local camera assistants to save on accommodation costs.

Read my article on collaborating with other departments for more on this topic.


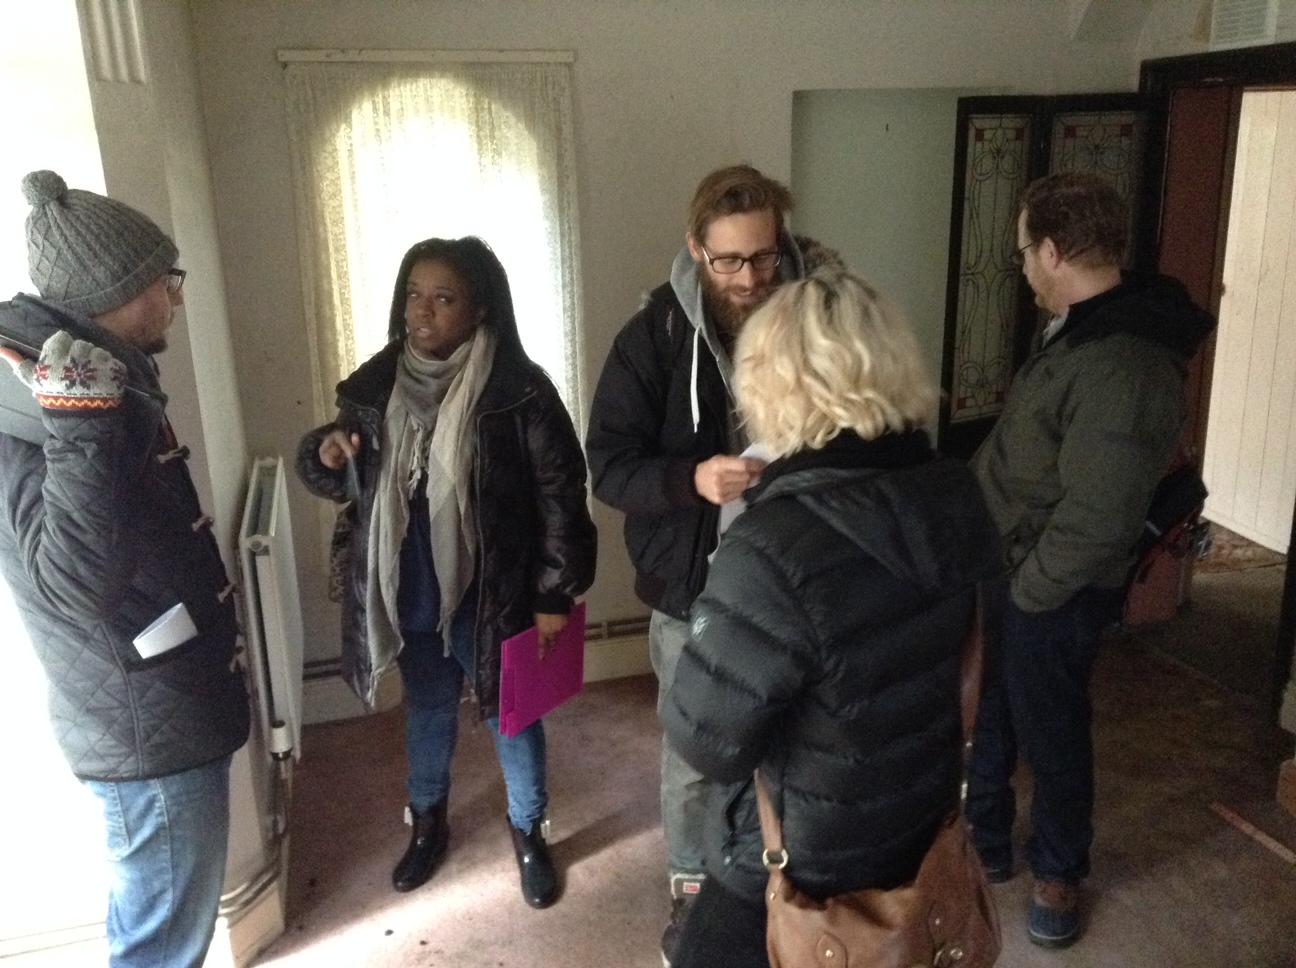
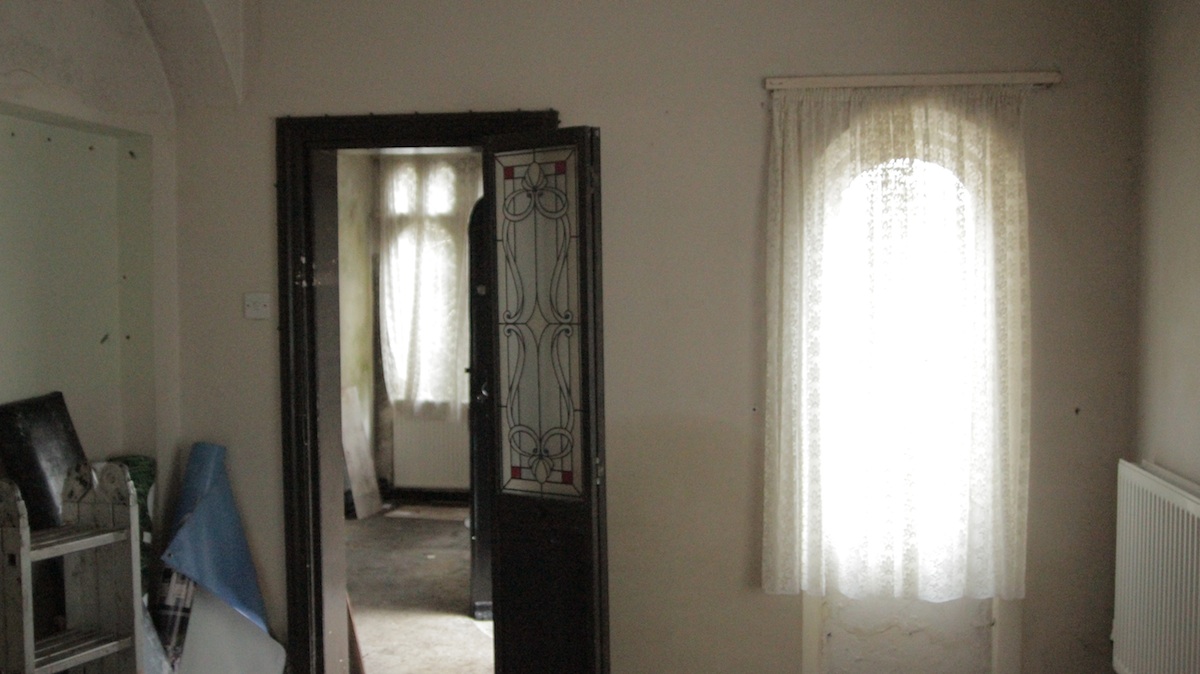
4. Check sun paths at locations.

Checking my compass at the stone circleWhen you start to scout the locations, you’ll want to pay careful attention to the direction of the sun. Which windows will it come through as it moves around over the course of the day? Are those trees or buildings likely to shadow that park bench where the characters will be sitting? With a bit of experience – and a compass, if it’s cloudy – you can estimate this, or use apps like Sun Tracker and Helios which are designed for exactly this purpose. For interiors, windows that never get direct sunlight are most convenient, allowing you to light them artificially, and thus constantly, without having to flag the real sun. For exteriors, shooting into the sun is generally most desirable, for the beauty of the backlight and the softness of the reflected fill. Of course, there will always be compromises with the other demands of the production.

See my article on sun paths for more on this.


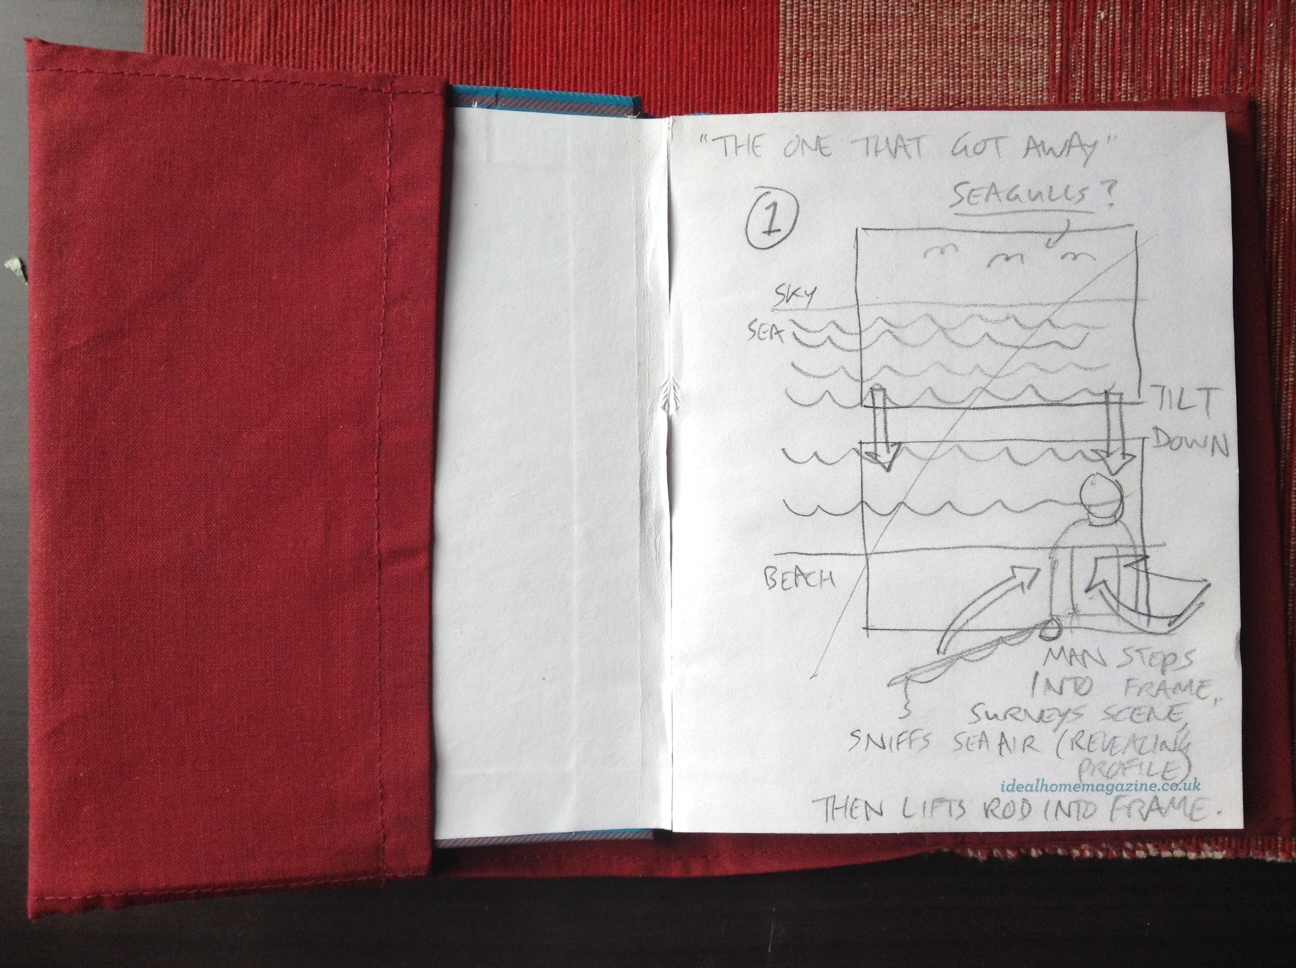
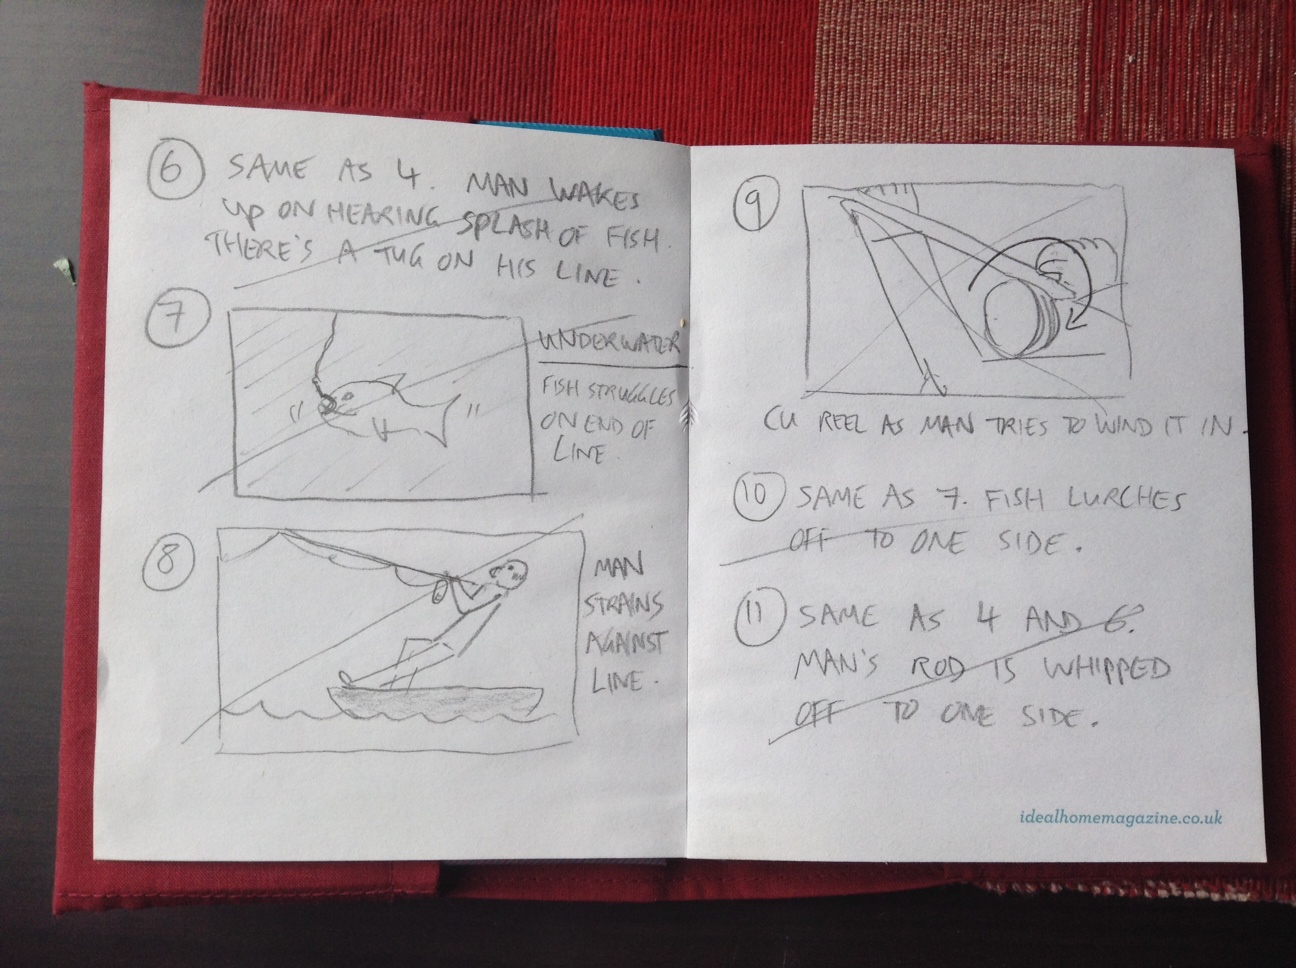
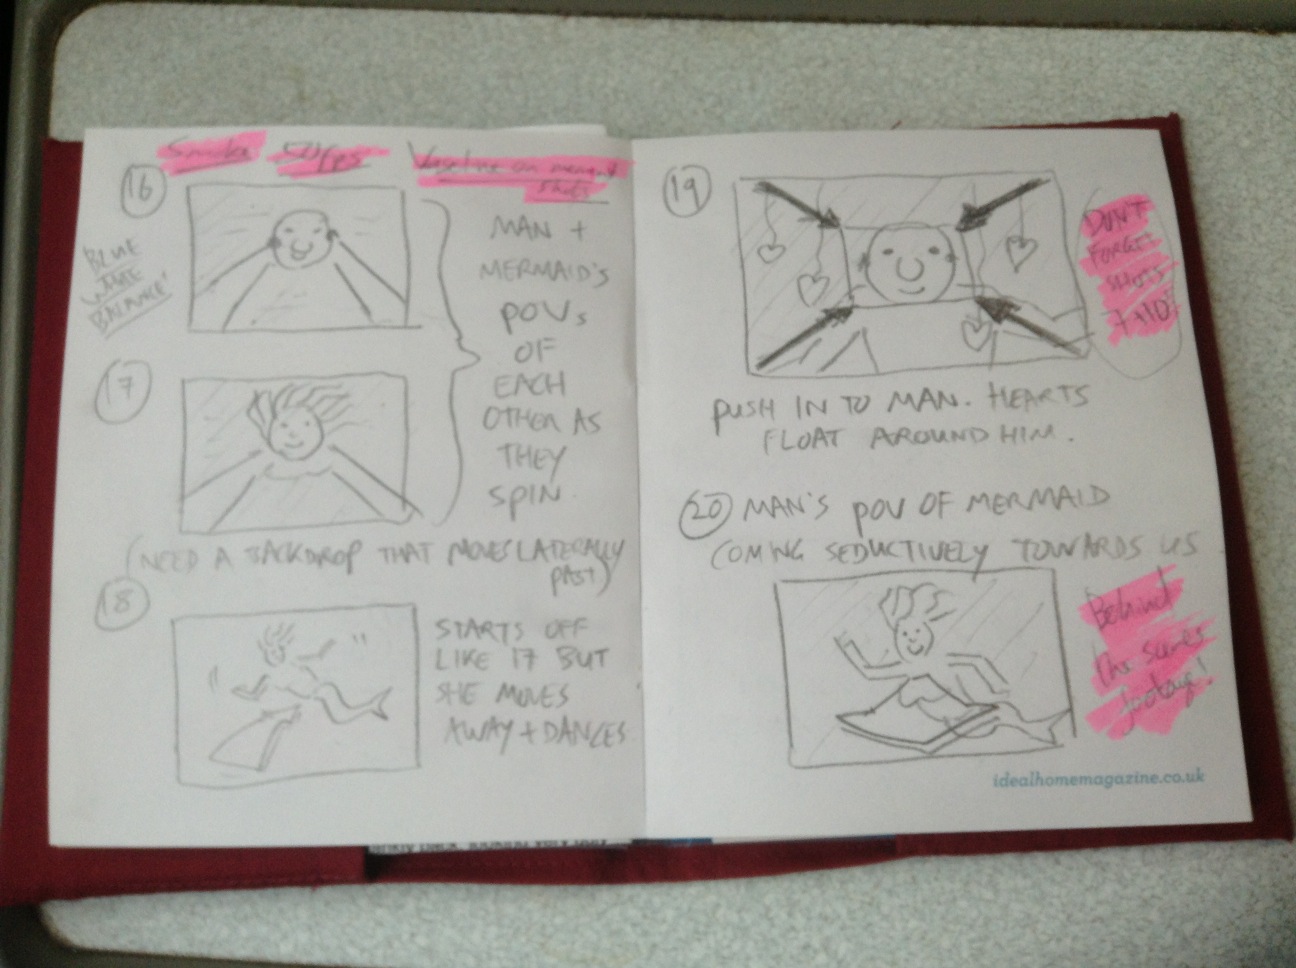
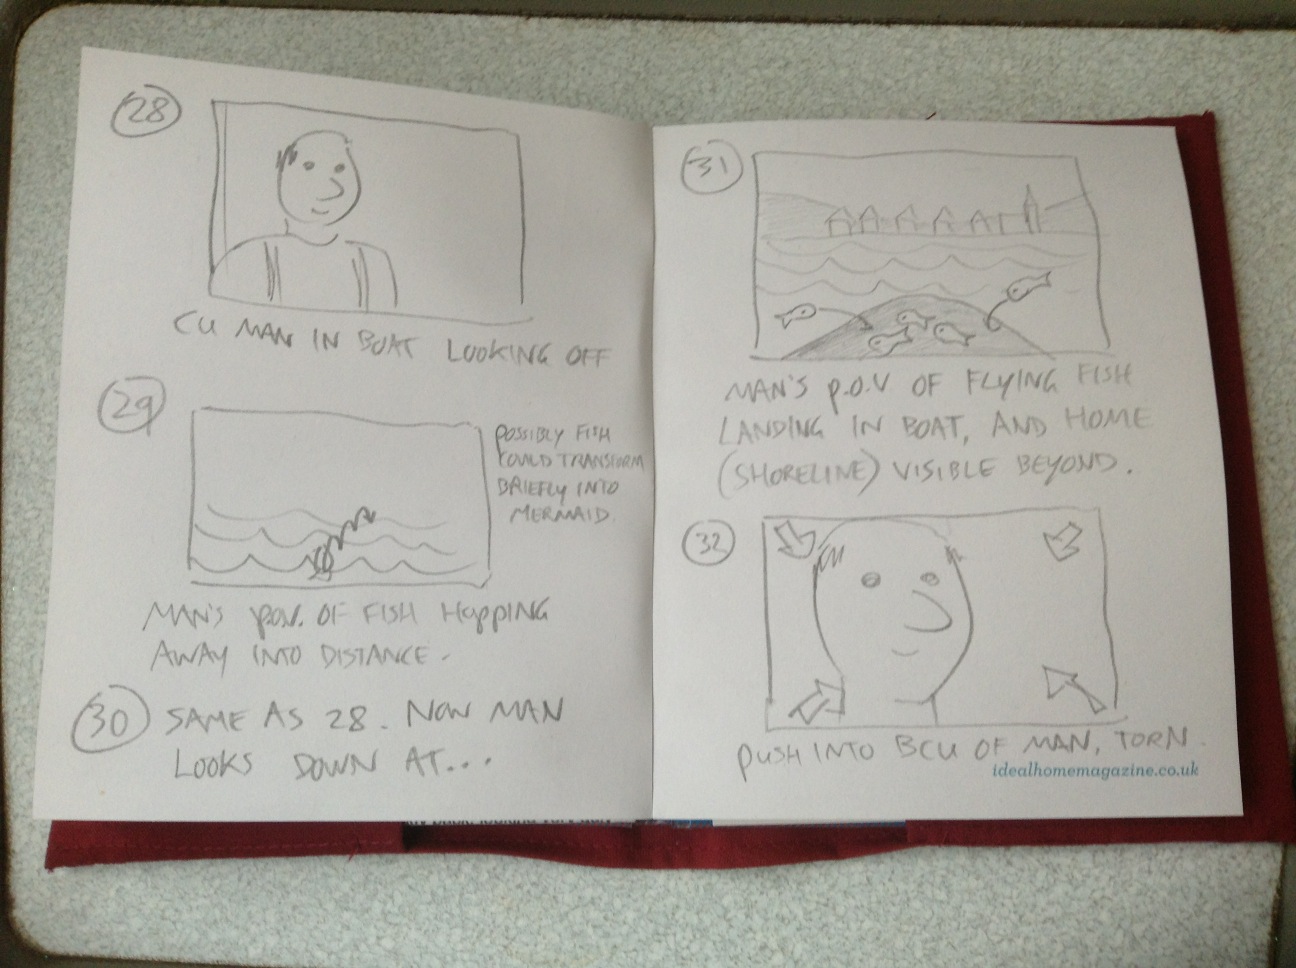
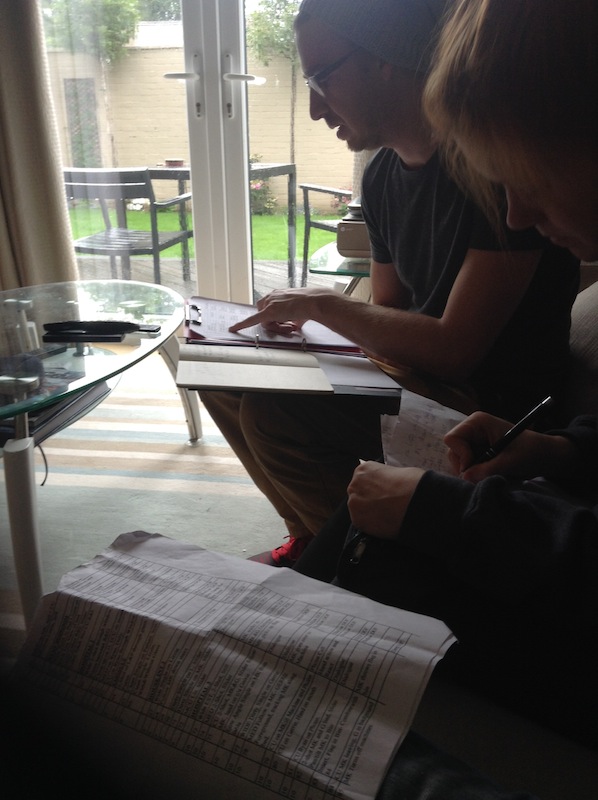
5. Develop the shot list with the director.

Each director has a different process, but often they will draft a shot list on their own before passing it to you for feedback. There are many things for a DP to consider when going through this list. Do the shots reflect the style and visual grammar you both discussed earlier? (If not, has the director had a change of heart, or have they simply forgotten? Directors have a lot to think about!) Do the shots provide enough coverage for the editor? Are there too many shots to realistically accomplish on schedule? (Very often there are!) What grip equipment will the camera movements require? Are any special lenses or filters required, e.g. a macro lens for an extreme close-up of an eye?


6. Shoot tests.

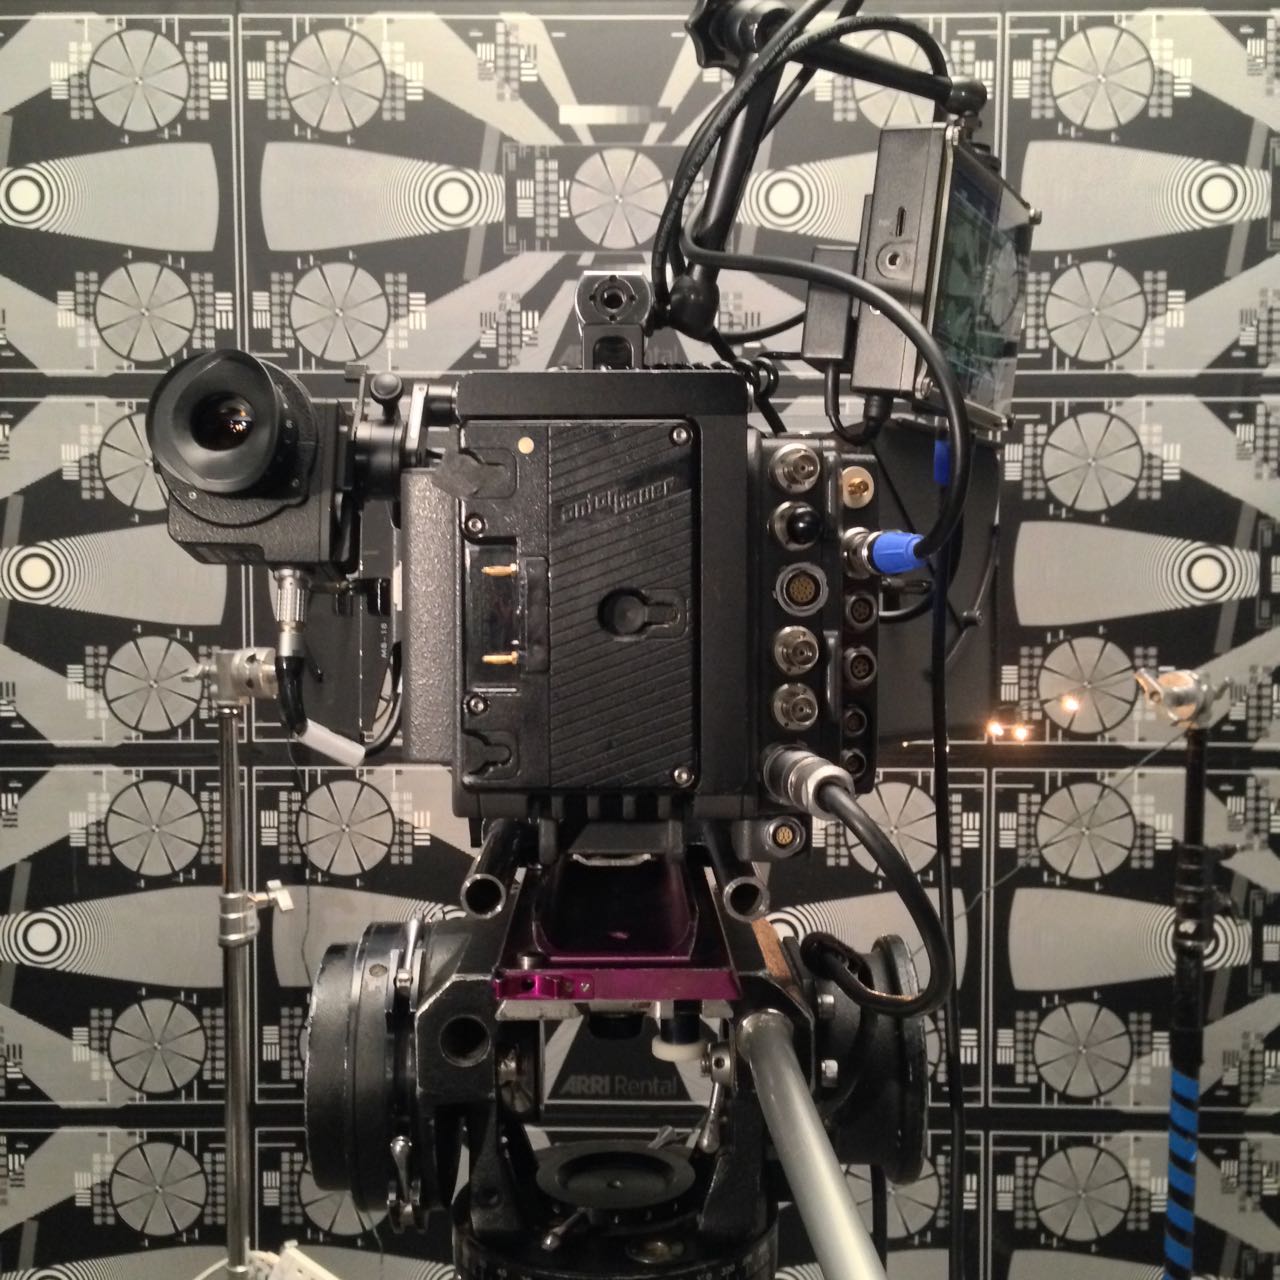
Testing is a crucial part of the prep for both technical and creative reasons. Usually you will want to test a few different cameras and lens sets, to see which best serve the story. For example, a period film lit with a lot of genuine candlelight may work best on a sensitive camera like the Panasonic Varicam combined with soft fall-off lenses like Cooke S4s, while a sci-fi thriller might be suited to a Red or Alexa and a set of anamorphics for those classic flares. Until you’ve tested them and compared the images side by side though, you can’t be sure, and neither can the director and producers. Often costume and make-up tests will be requested, which may be combined with the camera tests to see how the different sensors render them, or maybe done separately once the camera kit is locked down. These tests are also a great opportunity for the DP to demonstrate for the director the type of lighting you plan to use to, and to make sure you really are on the same page. Ideally a DIT (digital imaging technician) will be available to grade the test footage, developing LUTs (look-up tables) if required, and providing proof of concept for the finished look of the movie.

Check out my tests of Alexa ISO settings, spherical lenses and anamorphic lenses.


7. Discuss the schedule.

Once the 1st AD has drafted the shooting schedule, they will show it to the DP for feedback. When determining how much can be done in a day, the 1st AD is thinking of the script page count, and they may not have seen a shot list at this point. Along with the director, the DP must bring any concerns they have about the schedule to the 1st AD in prep, or forever hold your peace! Is there enough time to get those tricky camera moves you’ve planned? Has the re-light time for the reverse been factored in? Have things been arranged in a logical order for lighting, or will things have to be torn down and put back up again later? Does the schedule permit things to be shot at the best time of day for light? Are the night scenes actually scheduled at night or will the windows have to be blacked out? Are there critical close-ups towards the end of the schedule, when the cast will be tired and no longer look their best?

For more detail on this, check out my article about things to look for in a schedule.


8. Get to know the faces of your cast.

Legendary DP John Alton, ASC tests lighting angles with Joan Bennett

However good-looking the talent may be, they will always look better under certain types of lighting than others. Often you will figure out what suits each actor after a week or so of shooting, but ideally you want to find out before principal photography begins. You can do this during testing, if the cast are available and you have enough time – trying out different key angles, fill levels, backlight and lenses to see what works best for their individual faces. Apart from anything else, this is a great way to establish trust with the cast right from the start, assuring them that they are in safe hands. If testing isn’t possible, watch some of their previous work, looking carefully at how they have been photographed.


9. Mark up your script.

There’s no point in having lots of great ideas in preproduction if you forget them when you’re on set. Everyone has a different system, but you may wish to mark up your script and/or shot list. This could include using coloured highlighters to differentiate day and night scenes at a glance, underlining any references to mood or camera angles in the stage directions, or indicating beats in the development of the story or characters which need to be reflected in how things are lit or shot.


10. Plan your lighting.

Shop lighting planEveryone likes to get rolling as soon as possible after call time, and a big factor in achieving this is how quickly you can light. Ideally you will have planned the broad strokes of the lighting in preproduction, and communicated that plan to the gaffer. Budget permitting, the lighting crew can even pre-rig the set so that only tweaking is required when the whole unit arrives. In this case you’ll need to have been very clear and specific about what you want set up and where, drawing diagrams or approving those which the gaffer has drawn up. Often you’ll need to know the rough blocking of the scene before you can plan the lighting, so you should make sure the director indicates their intentions for this during scouts.


Every film is different, but follow the steps above and you’ll be well on your way to an efficient and productive shoot in 2018. Happy new year!

A Cinematograper Prepares

24 Things I Learnt from CineFest

img_1220Last week I was fortunate enough to attend the Bristol International Festival of Cinematography: five days of masterclasses and panel discussions with a range of DPs from Oscar-winners like Chris Menges, ASC, BSC and Billy Williams, BSC, OBE to emerging cinematographers like Rina Yang. It was fascinating to watch the likes of Williams lighting the purpose-built set and explaining his decisions as he went. I learnt a huge amount, so I decided to share some of the opinions and nuggets of wisdom I collected.

  • Everyone agrees that the role of the DP is being diminished. Films are more collaborative than they used to be, often with lots of input from the VFX team right from the start.

Getting Work

  • You have to create your own luck. (Rina Yang)
  • Going to LA parties and schmoozing helps. (Roberto Schaefer, AIC, ASC)
  • Each clip on your showreel should make the viewer feel something. (Matt Gray, BSC)

Prep

  • Director Philippa Lowthorpe and Gray, her DP, spent weeks of prep getting on the same page when they worked together – chatting, exchanging photos, films, and so on.
  • Spend as much time as you can with the director in the early stages of prep, because as you get closer to the shoot they will be too busy with other stuff. (Schaefer)
  • Start with ten ideas about how you want to approach the cinematography of the film. If you hang onto five of them throughout the shoot you’re doing well. (Gray)
  • Hire a gaffer who knows more than you do. (Schaefer)

Equipment

  • On Gandhi, co-cinematographer Billy Williams, BSC, OBE was granted only half of the lighting kit he asked for. That was a $22 million movie which won eight Oscars!
  • Schaefer usually carries a 24’x30′ mirror in his kit, in case he needs to get an angle from somewhere where the camera won’t fit.
  • Schaefer doesn’t used OLED monitors to light from, because the blacks are richer than they will ever be seen by an audience on any other device, including in a cinema. He won’t judge the lighting by the EVF either, only a monitor calibrated by the DIT.
  • Focus drop-off is faster on digital than on film. Hence the current popularity of Cooke lenses, which soften the drop-off.
  • Nic Knowland, BSC uses a DSLR as a viewfinder to pick his shots. He also likes to record takes on his Convergent monitor so he can review them quickly for lighting issues.

On Set

  • You have to give the actors freedom, which may mean compromising the cinematography. (Nigel Waters, BSC)
  • Gray would never ask an actor to the find the light. The light needs to find them! As soon as actors are freed from marks, they can truly inhabit the space. [Note: in my experience, some actors absolutely insist on marks. Different strokes for different folks.]
  • On digital, everyone wants to shoot the rehearsal. (Schaefer)
  • Digital encourages more takes, but more takes use up time, drains actors’ energy and creates more work for the editor. Doing fewer takes encourages people to bring their A game to take one. (Williams)
  • Director Philippa Lowthorpe prefers a DP who operates because there is no filter between the ideas you’ve discussed in prep and the operation of the camera.

Lighting

  • Sometimes when you start lighting a set, you don’t where you’re going with it. You build a look, stroke by stroke, and see where it takes you. (Knowland)
  • Williams advocates maintaining the same stop throughout a scene, because your eye gets used to judging that exposure.
  • Knowland relies more on false colours on his monitor than on his light meter.
  • Schaefer often foregoes his traditional light and colour meters for an iPad app called Cine Meter III.
  • Knowland will go to 359º on the shutter if he’s struggling for light.
  • It’s worth checking the grade on a cheap monitor or TV. That’s how most people will watch it. (Schaefer)
24 Things I Learnt from CineFest

The Script and the Cinematographer

cover pageWhen I read a script that I’m going to shoot, there are a number of things I’m looking out for. I want to identify the themes and the character arcs, so that I can come up with ways of reflecting these in the cinematography (see my previous blog post for examples). And on a more mundane practical level, I’m figuring out what equipment is required, and which scenes or sequences might be difficult photographically.

To demonstrate my thought process in planning a project, I thought I would share with you today the things I highlighted in a particular script and why. The script in question is The Gong Fu Connection, written by Ted Duran, and we start shooting it this Friday. It’s an action-comedy drama in which a young Chinese businessman learns a life lesson via his connection with an Englishman who has introduced Kung Fu in a farm community in Sussex. You can help us make the film by going to www.indiegogo.com/projects/the-gong-fu-connection and contributing, or by spreading the word on your social media networks.

Throughout the script I’ve highlighted the time of day in the slug lines. One of the first things I need to know as a DP is, “Are there are night scenes?” because that will have a big effect on the lighting equipment needed. Ted’s script is nice and specific, not just DAY or NIGHT, but DAWN, MORNING, AFTERNOON, EVENING and DUSK. This is a really helpful starting point in considering the light. In general I see that there are a lot of daylight exteriors, so bounce and negative fill are going to be my two chief weapons.

The very first slug line is:

1. INT. VICTORIA STATION – MORNING

Day or night?
Day or night?

Immediately I’m wondering, “Is this going to be a guerilla shoot or are we going to have permission?” Clearly we will never be allowed large lighting set-ups and we will always be working around the general public. Battery-powered LED panels will come in handy here.

A little lower down the page is:

3. INT. RESTAURANT – DAY

Straight away I’m thinking, “Should it be night instead?” Even though in summer you may go to a restaurant in daylight, somehow it feels like it wouldn’t look right on camera. I make a note to discuss this with Ted on the recce, and indeed we end up deciding to shoot it after dark.

The next scene features a phone conversation. I make a note to ask if the person on the other end of the line will be seen.

Another station scene contains the direction:

He gets on the train… The train whizzes past an urban landscape…

I highlight this, to remind myself that this is a hidden extra scene – on board the train, as opposed to at the station. Again I’m wondering what the extent of permissions will be and what restrictions there may be on equipment. I also highlight other hidden extra scenes later on – an interior bedroom scene in which a character sees another character outside through the window, and a montage set in a variety of different places and times.

I highlight the following in a café scene:

Time passes, we see the clock tick past… Half an hour and two coffees later…

Maybe there are jump cuts here to show the passing of time? I’ll want to adjust the keylight outside the window to simulate the progress of the sun.

A violent flashback takes place in an apartment. Although the script specifies DAY, the content makes me imagine the look a little differently. I write the following notes: “Dingy look? TV light? Maybe night. Rough, handheld fight. No finesse or control.” Ultimately Ted and I do decide to set the scene at night. The flickering TV set will be a key light source. The handheld look will contrast with the more slick steadicam and tripod work which will characterise the Kung Fu fights later on in the film.

A more pastoral scene features two characters walking and talking beside a lake. I write: “Watery reflections? Bounce M18 off surface of water?” I’m thinking to enhance the beauty of the setting by using the rippling water surface to bounce an ArriMax M18 onto the characters’ faces.

A direction later on reads, “He is lost in his own world.” I write “push in?” beside this as a shot suggestion. Then I read:

Startled, he turns around to see a man towering over him in his dressing gown with a long plaited beard, who looks at him with a frown on his face.

This character, Mandragor, clearly has a special signficance, a mystical presence. I write “special lighting for Mandragor?” next to this passage. This will probably be stronger backlight or perhaps an unusual eyelight of some kind. I highlight his other appearances in the film too.

A dark room in a grungy pub

A dawn scene specifies that “the sun has just risen”, which I highlight. If it’s a cloudy day, or we’re unable to shoot at dawn, I may need to fake this with an orange-gelled HMI.

Later on, a direction reads:

RICKY smiles, then looks at AERONA dreamily.

I highlight this and write “classic beauty shot” above. I won’t go as far as a soft-focus filter, but the lighting needs to be particularly flattering here to represent Ricky’s enamoured POV.

A flashback in a pub has a nice clear description which is a great springboard for the cinematography:

… Playing pool in a dark room in a grungy pub…

I’m immediately thinking smoke, shadows, pools of light from the over-table fixtures. I also highlight the word “laptop” since the screen will be a light source which I may want to use or beef up with a hidden LED panel perhaps.

Scenes in moving cars are always tricky

Later on I’ve highlighted a dialogue scene in a moving car. I need to talk to Ted about how he wants to shoot it, and to think about how the camera can be rigged to get those shots.

The only time a specific shot is mentioned in the script is here:

Ricky is running as fast as he can. We see a close up on his face as he thinks.

I highlight this, knowing that it will be tricky to accomplish and hoping that Colin Smith, our steadicam operator, will be up to the challenge!

Having read the script a couple of times, I go back and make some notes on the cover page about the general photographic approach:

City – dark, dingy, oppressive, handheld, little/no eyelight – handheld?

Country – light, backlit, bounce-from-below

Characters with no connection – Lucia, the bad guys, Ricky to begin with – are framed in clean singles. Handheld or stiff tripod.

Characters with connection – Matthew, his posse, Ricky as the film goes on – are framed in 2- shots and dirty singles. There are more fluid shots with pans or tracks.

And that’s all. Some of these notes are just for me to think about, while others raised questions I needed to ask the director and producer about. Preparation is key in filmmaking, and in the heat and stress of the shoot I’ll be glad I gave some consideration to these issues in advance.

The Script and the Cinematographer

Sun Paths

Checking my compass at the stone circle

I’ve spent the last three days in Sussex, scouting locations for a short film called The Gong Fu Connection. Written and directed by Ted Duran, the film follows a young man as he learns Kung Fu, not just the fighting but the whole lifestyle. Themes of sustainability and connection to nature are woven throughout.

The script is predominantly daylight exterior, with many picturesque rural settings including a number of farms. As director of photography, my main concern during the recce was to make the best use of the natural light. That meant checking the orientation of each location to the sun path.

Apps like Helios exist to show you the sun path on your iPhone or iPad wherever you are, but I find that for most locations such precision is unnecessary. A simple compass and a bit of guesswork based on the time of year can tell you what you need to know.

The best direction to shoot is usually towards the sun. This gives everything a lovely halo of backlight, while illuminating it softly from the front with “north light”. If north light isn’t enough, you can choose your reflectors at will – soft or hard, white or silver or gold – to mould the frontlight. For more on this, see my blog entry on moulding natural light. (One exception to this rule of thumb is establishing shots of buildings, which look best in crosslight.)

The shooting schedule is still in flux, so I was able to give the Gong Fu Connection’s production team my recommendations about when scenes should be shot for the best light.

An Artemis screengrab showing various focal lengths and the compass bearing at the lower centre

One app I did use extensively on the recce was Artemis, the virtual director’s viewfinder. Although Ted and I didn’t use it for picking lenses at this stage, it was useful to take screengrabs so I could get a sense of how the location would look with different focal lengths. Artemis also handily displays the compass bearing at the bottom of the screen – something I only noticed after I’d spent the whole three days photographing my pocket compass!

Of course there are plenty of other things to look out for on a location recce – check out my post on Ten Questions to Ask on a Recce. And if you’re scouting locations without your DP, read my earlier post about what you can look out for on their behalf.

Support The Gong Fu Connection and get access to exclusive rewards on Indiegogo.

Sun Paths

Last Week of Preproduction on A Cautionary Tale

Amelia's dress, designed and made by Sophie Black
Amelia’s dress, designed and made by Sophie Black

We’re less than one week out from shooting A Cautionary Tale, with many aspects of the production coming together nicely, but others proving more challenging.

Regular readers may recall that after Stop/Eject, a project where the last few weeks of preproduction were marred by both lead actors and many crew pulling out, I vowed never again to make a film where people weren’t paid. (Puppet films excepted.) When I took on A Cautionary Tale, I figured this rule didn’t apply. After all, it wasn’t “my” film; I didn’t originate it, and I wasn’t producing it, so it wasn’t my call whether people were paid or not.

I was disappointed, but not surprised, when our lead actor pulled out about ten days ago, after being offered a lucrative alternative. Just like on Stop/Eject, it has proven very hard to find a suitable replacement, someone willing to travel way outside of London, for no money, for “just another” short film. And the search continues.

Another hiccup has been the cinematography. By mutual agreement, the DP who I originally selected left the project about a week ago. The lesson learned here is that, just like an actor, a DP must be right for the project. If you are working with limited resources, you need someone who relishes the challenge, rather than feeling restricted by it. Alex Nevill has stepped up to the plate, and I’m sure he’ll do a terrific job.

The knock-on effect has been that only today have we been able to start confirming equipment hires. For a while it looked like we might have to shoot on a DSLR, but Alex has been able to get us a great deal on a Red One MX.

Tomorrow our loyal band of runners and production assistants begins cleaning out the cottage at Newstead Abbey. On Tuesday, the art department led by Amy Nicholson will descend on the location and begin the huge task of painting and dressing it to become a writer’s study from 1903. Then, over the course of our three-day shoot, Amy’s team will have to redress it three times to bring it through the twentieth century to the present day.

Despite all the drama, I’m looking forward to the shoot. Many of the crew have worked with me before, including gaffer Colin Smith, costumer Sophie Black, sound mixer David Bekkevold, and of course Amy, and I know they’ll do me proud. And I’m sure there will be new great working relationships forged in the white heat (or more literally, freezing cold) of A Cautionary Tale’s shoot too. Stay tuned.

Last Week of Preproduction on A Cautionary Tale

A Cautionary Tale: Recce #2

Left to right: Tom Walsh (1st AD), Sophia Ramcharan (producer), Benjamin Maier (DP), Amy Nicholson (production designer) and Steve Deery (writer)

Following our positive recce of Newstead Abbey last month, we returned there yesterday, this time with new crew members Benjamin Maier (director of photography), Tom Walsh (first assistant director) and designer Amy Nicholson’s assistants Anya and Charlotte. It was an opportunity for Ben to assess the power, lighting, lens and grip requirements, for Tom to consider the logistics of working in the place, and for the art department to take measurements.

Amy and her team are sinking their teeth into the project. Initial ideas of a single feature wall which would be re-wallpapered for each of the film’s four time periods have expanded into full-blown redecoration of the room. This will create a whole different mood and palette for each period and really up the production values.

After leaving the gatekeeper’s cottage, we drove up to the lake to show Ben where the waterside scenes would take place. His immediate observation, which had escaped me on the previous recce because I was wearing my director’s hat, was that it was in the worst possible orientation to the sun: the actors would be flatly lit. We walked around the lake to a cool Victorian folly that looked like part of a miniature castle. Here the light would strike from a better angle, and indeed it was a better location in every respect except for one. I can’t tell you what that one is because it would give away the ending of the film.

Sophia and Steve on the folly overlooking the lake

This recce was my first chance to use Artemis, a virtual director’s viewfinder app which I recently purchased. At £20.99 it’s very pricey, but where it scores over other, cheaper viewfinder apps is in its vast array of cameras you can choose from. You don’t have to worry about calculating crop factors; you simply select your camera from the menu, along with the lenses you have available, and Artemis shows you the field of view you’ll get with each one. On the wide end it’s limited by the iPad camera’s lens length, which in terms of a Super-35mm sensor at 16:9 is equivalent in height to a 22mm lens and in width to about 25mm, but you can purchase an optional wide angle lens adaptor to get around this. I have yet to use the app’s more advanced features, but it’s certainly cheaper than a real director’s viewfinder, and much more convenient than carting a DSLR and lenses around, which is what I did on the first recce.

The cottage exterior seen from amongst the trees opposite, through the Artemis director's viewfinder app
The cottage exterior seen from amongst the trees opposite, through the Artemis director’s viewfinder app

In other areas of preproduction, I’ve had initial Skype chats with the two lead actors, which led to some suggestions for little additions to the script, and I’ve been continuing to watch genre films for inspiration, taking in The Silence of the Lambs, The Woman in Black (2012) and The Innocents lately.

A Cautionary Tale: Recce #2

Writing a Shot List

Some of my rough storyboards for Stop/Eject

How does a filmmaker decide what angles to shoot from? Speaking for myself, it’s a hard process to analyse, as many of the decisions are made without much conscious thought. Often I just sit down and imagine the scene playing out in my head. Since childhood I’ve been pretending to be a camera – closing one eye and moving my head to mimick a crane shot, for example, as I pushed my Lego car along – so in imagining the scene I automatically create shots and edits in my head. Then it’s just a case of writing them down, or sketching them as storyboards. I suspect that some of the time – perhaps a lot of the time – I’m subconciously recalling similar scenes in other films I’ve seen and copying their shots.

Sometimes it does require more thought to choose between a number of options. It’s about picking the angle, the lens, the movement that has the right feel for that moment of the story. “If I push in on a short lens, it will feel more dramatic and intimate, but maybe a cool, detached look would be better, using a long lens and remaining static… What do I want the audience to feel?”

Throughout my career, I’ve always shot-listed or storyboarded in a linear fashion – “I’ll be on this shot, then I’ll cut to this one, then this one, then back to the first one, then to the second one which has now dollied in closer, etc….” It made perfect sense to me, because that’s how the film would ultimately appear to the viewer. Knowing the order in which angles would be seen, I could choose to transition between two angles with a camera move, rather than a cut. I could be sure that I wasn’t wasting time on set shooting extraneous material.

But of course, this linear approach to shot planning lacked flexibility. If the action changed on set when blocking it with the actors, I often struggled to integrate this into my plans. And if I needed to change the sequence in the edit, it was often challenging to make the shots work in a different order, because I hadn’t covered the whole scene from a particular angle, or I’d built in a camera move which was now redundant.

Storyboards by Luis Gayol for The Dark Side of the Earh

Other directors plan their shots more in terms of coverage. They might do this via a floorplan showing the camera positions. They’re making sure that, across the sum total of their camera angles, all of the action can be seen clearly and with the appropriate tightness or wideness of framing. They’ve not decided where each angle will be used, only that these are angles they will probably need somewhere in the edit. They’re giving themselves options.

I used to think of giving yourself options as a weakness in a director. Surely you should know now what you want, rather than figuring it out in post? But as I’ve come to realise, particularly in my experience of working with a separate editor for the first time on Stop/Eject, until you’re away from the baggage of the shoot and you’re actually putting the stuff together, you simply can’t know for sure what the best way to edit it is going to be. You can’t predict every nuance of a performance in preproduction, you can’t predict exactly where the pace may flag and need tightening, and you can’t predict which shots or pieces of action will be unsuccessful due to problems on the day with the execution.

So in writing the shot list for A Cautionary Tale last week, I’ve tried to lean much more towards the coverage style of planning. Inevitably the result is a halfway house, or more optimistically perhaps a hybrid, between the linear and coverage styles. I look forward to seeing what impact this has on the editing process.

Continuing this theme, in my next blog post I’ll break down how I chose the shots for a sequence in Stop/Eject, and look at how those decisions ramified in production and post.

Writing a Shot List

A Cautionary Tale: Newstead Abbey Recce

At the weekend I travelled up to Nottingham for a Cautionary Tale recce with producer Sophia Ramcharan, writer Steve Deery and production designer Amy Nicholson. (I am directing.) We visited Newstead Abbey, a historic house that was once home to Lord Byron – a fitting setting for a film about authors, especially since I had earlier decided that the lead character’s idol would be Mary Shelley, a friend of Byron’s. The staff and local council had been extremely helpful and had already hosted an initial recce by Sophia and her assistant.

We were looking for a gothic cottage overlooking a lake. The abbey’s grounds contain two cottages and two lakes. Unfortunately neither cottage overlooks either lake. The offices overlook one of the lakes, but only from the first and second floors, ruling out any lights or cameras pointing into the room from outside, which I felt were critical to the look and storyline.

The gatekeeper's cottage
Steve and Amy chat outside the gatekeeper’s cottage

We viewed the gatekeeper’s cottage, a beautiful little gothic edifice that has been abandoned inside for many years. A number of problems were immediately obvious. Firstly, a busy main road was a stone’s throw away, threatening the aural illusion of a period setting. Secondly, vehicles entering the grounds (which are open to the public) pass immediately outside the cottage. Thirdly, none of the rooms were particularly big. Fourthly, the least small of the rooms looked out on the tarmac drive and a speed limit sign, with trees beyond.

Stained glass in the interior doors is a nice feature of the gatekeeper's cottage.
Stained glass in the interior doors is a nice feature of the gatekeeper’s cottage.

On the plus side, the architecture was everything I had hoped for both inside and out, with stained glass in the interior doors, and vaulted windows. Its abandonment also meant that potentially we could modify it however we wanted without inconveniencing anyone.

Next we viewed the rose gardener’s cottage on the opposite side of the grounds. This is larger and also abandoned inside, to the extent that the first floor has been declared unsafe. The living room presents a blank slate, but didn’t capture my imagination or Amy’s the way the gatehouse had.

The surroundings are also problematic. They are clearly a formal garden on a country estate, whereas our fictional cottage is supposed to be isolated. Speaking of isolation, the gardener’s cottage is in a very quiet location, but its lack of a functioning mains supply means a noisy generator would have to be employed to run the lights.

The larger lake
The larger lake

We moved on to look at the lakes. The smaller one initally seemed more appropriate, but unlike its larger counterpart it lacks for a suitably dramatic point at which to stage the film’s climax. I began to realise that characters could be seen leaving the gatekeeper’s cottage and disappearing into the trees opposite it, before emerging from the (entirely different) trees next to the lake. Such is the cheated geography often required in filmmaking.

Room with a view... but not a very good one.
Room with a view… but not a very good one.

We returned to the gatehouse, now analysing it in much more detail. Could the drive be framed out? Was it possible to shoot the house from amongst the trees without seeing the park gates? Could the speed limit sign be temporarily removed? Could the necessary interior action be staged in the relatively confined space? What was the widest shot I could get in there with my widest lense? Could the radiators be removed or would they have to be covered? What about the seventies fireplace? How much of the kitchen – which we wanted to avoid dressing – would be seen when the door was open?

Having answered as many of these questions as we could, we departed for a production meeting. Later, Amy and I agreed how the interior would be laid out. Then, on the train home, I drafted a shotlist, which for me is the ultimate test of whether  a location will work. The results are reassuring, but nevertheless we have given ourselves a week to find alternatives to Newstead Abbey, in case there is an even better location out there somewhere.

A Cautionary Tale: Newstead Abbey Recce

Handheld Thoughts

In the new year I’ll be teaming up with Sophie Black once again to photograph her new short film, Night Owls, a tale of unexpected friendship with echoes of Juno and Lost in Translation. It’s early days yet, but we’ve already discussed a fluid, handheld feel as being the dominant look.

Conveniently I came across this video recently, thanks to nofilmschool.com, in which DP Sean Bobbitt delivers a masterclass in handheld camera operation. He covers it from all angles, from wearing the right clothes and stretching beforehand, to developing a rapport with the actors you’re dancing around.

There are many variations of handheld cinematography. Bobbitt talks about trying to keep the camera as stable as possible, to reduce the shake to the absolute minimum the human body can transmit to an object it’s holding. But, as he also mentions, sometimes directors ask for more energy in the camerawork – they want a lot of sway and “fidgeting”.

Halo Haynes and Mark Drake, the cast of Night Owls

A director may want you the operator to stay rooted to one spot, like a tripod with a bit of wobble, or they may want you to execute a carefully planned move – like a dolly or a steadicam with wobble. Or they might give you freedom to move around the action, framing one actor or another as you see fit. Crash zooms might be part of the agreed look, or they might be banned.

All this needs to be discussed in advance.

And if you’re going to do improvised movements, what does that mean for the lighting? It makes it more difficult. For an interior scene, which most of Night Owls is, it means relying heavily on practicals – light sources that are visible on camers, e.g. table lamps – and throwing light into the room from outside doors and windows. (Incidentally, I was lucky enough to attend a masterclass by DP Chris Menges last week and he spoke of his belief that lights should always be kept outside the room so as not to clutter up the actors’ space and eyelines with equipment.)

So these are some of the things that are swirling around in my head right now as I contemplate the Night Owls shoot on the horizon.

Now for the catch. That shoot can only happen if our crowd-funding campaign reaches its £2,000 total by January 2nd. Please check out Night Owls’ Kickstarter page and put a little bit of money in the pot if you can, or if you can’t, spread the word.

Thank you and merry Christmas!

Handheld Thoughts