The One That Got Away: Festival Results

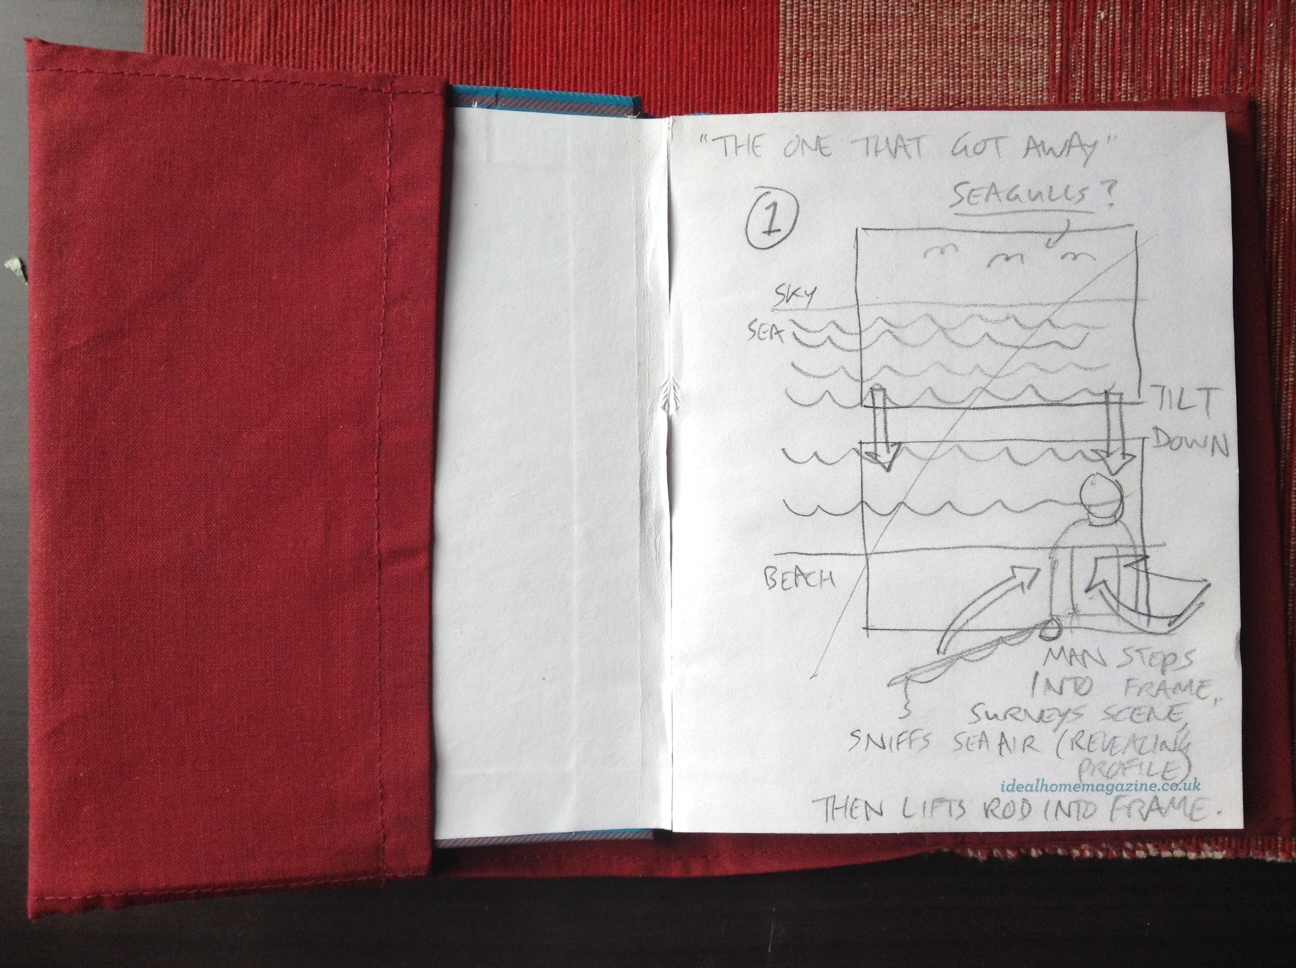
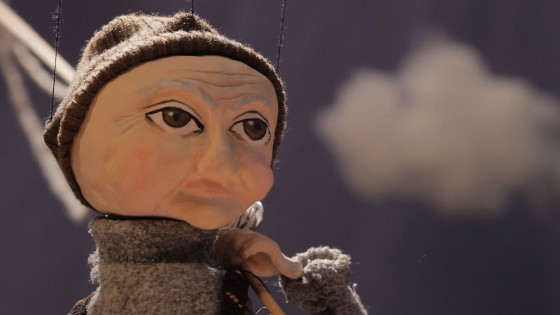
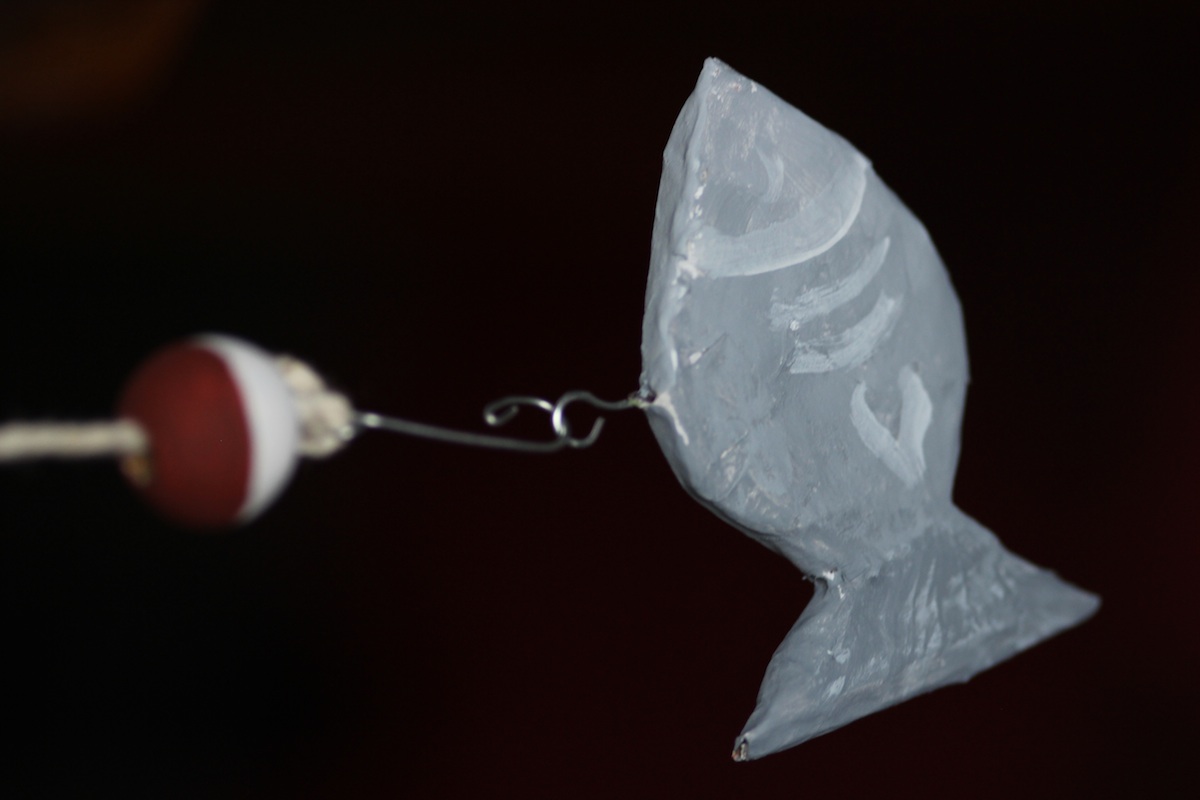
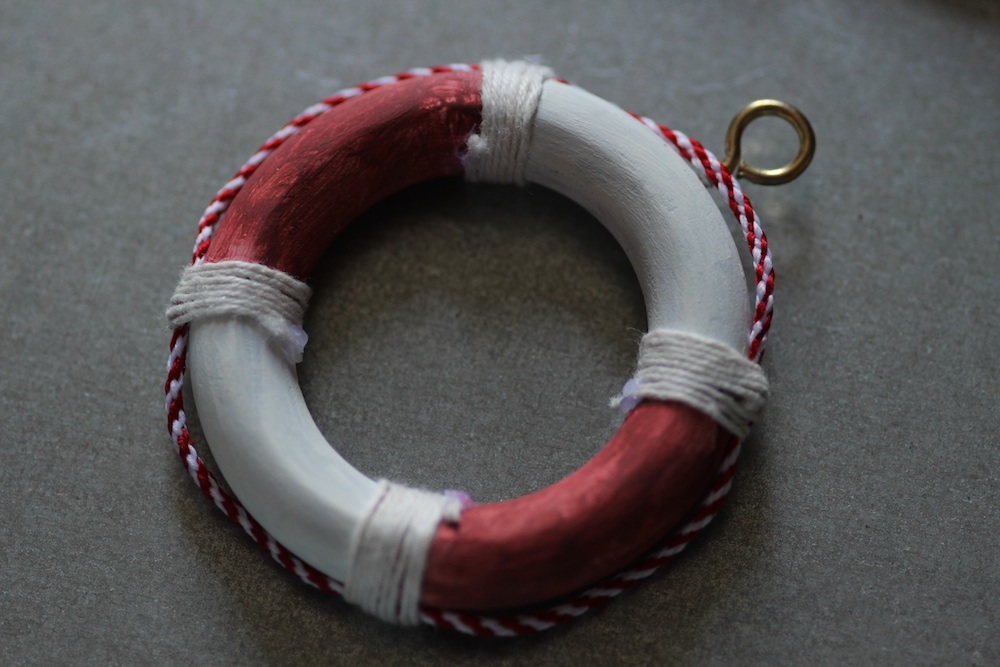
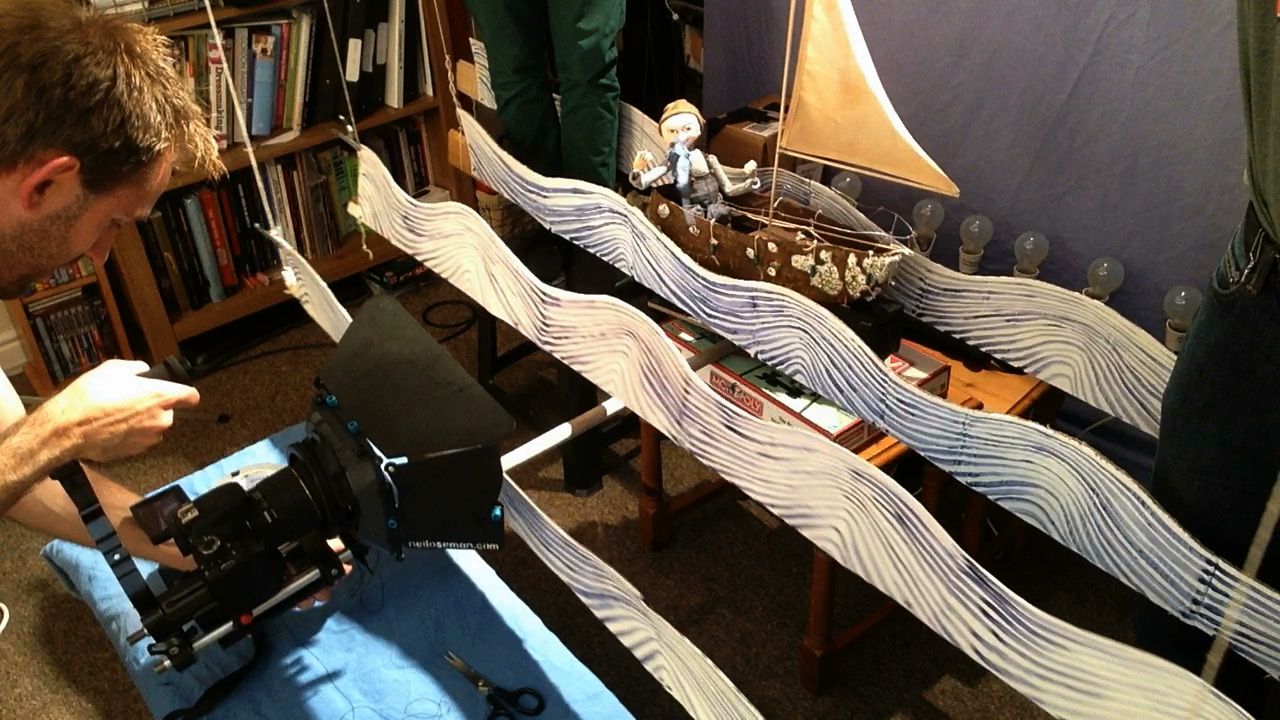
In 2013 Katie Lake and I made a little puppet film for the Virgin Media Shorts competition, called The One That Got Away. Although it failed to make the shortlist, I believed it had legs, so I started entering it into festivals. Today I’m going to talk about how it fared. A little later in the year I’ll do the same thing for my other 2013 short, Stop/Eject, and between the two posts I hope to help you answer the question, “Is it worth entering my film into festivals?”

To start with, here’s the film.

It cost next to nothing to make, so I decided to enter it only into festivals that had no entry fee. I created accounts on the festival submission platforms Short Film Depot and Reel Port. Both sites have systems whereby you purchase credits (known on Short Film Depot as ‘reels’ and on Reel Port as ‘stamps’), which you can then use to pay for submissions. As far as I know, this payment is purely a middleman fee and doesn’t go to the festivals themselves. Both sites allow you to upload your film, which is then sent automatically with your submissions.

The_One_That_Got_Away_ posterShort Film Depot allows you to upload your first film for free, with subsequent uploads costing 3 reels (€3 – currently about £2.15). Each festival submission costs 2 reels(€2 – about £1.45).

Reel Port is free to upload your film to. Each festival submission costs one stamp. Stamps are priced on a sliding scale: buy just one and it will cost you €3 (£2.15), whereas a book of 5 is €12.50 (£9), a book of 20 is €39 (£28) and a book of 50 is €75 (£54). So if you buy in big bulk, you could pay as little as £1.08 per submission, plus currency exchange fees. More likely, you’ll end up with leftover stamps you never use!

I entered The One That Got Away into 36 festivals over the course of about 18 months: 23 entries on Reel Port, 12 on Short Film Depot, and one directly to the Worcestershire Film Festival (which was completely free).

The total cost was €98.95, or about £71 plus currency exchange fees – that’s about twice the film’s budget! I should point out that I made one exception to the ‘no entry fee’ rule: that total cost includes €12.50 I spent on entering the film into Encounters. This was a discount rate because I was entering Stop/Eject at the same time. Why did I pay for Encounters? Because of their Depict Competition (which The One That Got Away didn’t actually qualify for, being over 90 seconds) they seemed to be associated with very short films, and with hand-made animation-type films. Plus I knew the festival director from doing FilmWorks.

How many of those 36 festivals did the film get into?

Two. Worcestershire Film Festival, and Belo Horizonte International Short Film Festival in Brazil. Belo Horizonte’s notification email told me that The One That Got Away “was one of the 12 selected for the Children’s Exhibition, among 2,700 subscribers.” That gives you an idea of the kind of odds you’re up against with a festival submission. Suddenly 2 out of 36 doesn’t seem so bad.

Shooting The One That Got Away. A row of 100W bulbs can be seen on the right.
Behind the scenes of The One That Got Away

I have great admiration for what the guys at Worcestershire Film Festival are doing, and it was really great to go along and see the film with an audience, but at the moment it’s quite a new and low-key festival. For all I know, the same is true of Belo Horizonte, though I wasn’t about to fly to Brazil to find out. (They were not offering to pay my travel.) I’d estimate a total audience reach of about 100-150 people for those two screenings. Less, I would guess, than it’s had online. And apart from a little bit of buzz amongst my social media network generated by the announcement of these festival selections, there have been no other benefits.

I leave you to decide for yourself whether you think it was worth all those entries and the cost of £71. A full list of festivals entered follows.

Look out for my future post on Stop/Eject’s festival entries. Since that film was crowd-funded, we were able to take a very different approach and enter a lot of top tier festivals, so it will be an interesting comparison.

The One That Got Away submissions via Reel Port:

  • Anibar International Animation Festival, Republic of Kosova
  • 12th International Festival Signes de Nuit,  France
  • Kinodot Online Festival of Creatibe Short Film, Russian Federation
  • The International Bosphorous Film Festival, Turkey
  • Exground Filmfest, Germany
  • Encounters Short Film and Animation Festival, UK
  • 9th International Short Film Festival, Lithuania
  • Cinefiesta, Puerto Rico
  • Mobile SIFF – Shanghai International Film Festival, China
  • Odense International Film Festival, Denmark
  • Concorto Film Festival, Italy
  • 20min|max, Germany

Submissions via Short Film Depot:

  • Short Shorts Film Festival & Asia
  • International Short Film Week, Regensburg
  • Seoil International Extreme-short Image & Film Festival
  • Curocircuito – Santiago de Compostela International Short Film Festival
  • Tehran International Short Film Festival
  • Kaohsiung Film Festival
  • Asiana International Short Film Festival
  • Bogota Short Film Festival
  • Belo Horizonte International Short Film Festival (accepted)
  • Kuku International Short Film Festival for Children and Youth, Berlin
  • Off-courts Trouville
  • Uppsala International Short Film Festival
  • Shnit International Short Film Festival
  • Manlleu Short Film Festival
  • Sapporo International Short Film Festival & Market
  • Sao Paulo International Short Film Festival
  • Seicicorto International Film Festival Forli
  • Festival Silhouette
  • China International New Media Shorts Festival
  • Plein la Bobine
  • Corti da Sogni Antonio Ricci – International Short Film Festival
  • FEC Festival – European Short Film Festival
  • Mecal Barcelona International Short Film and Animation Festival

Direct submissions:

  • Worcestershire Film Festival (accepted)


The One That Got Away: Festival Results

Festival Screenings and DCPs

Stop-Eject poster 857x1200Last summer I completed two short films as director, the 17-minute fantasy-drama Stop/Eject and the two-minute  puppet fantasy The One That Got Away. After a year of entering them into festivals around the world without getting anywhere, I was beginning to give up hope of them ever getting selected. But I’m delighted to say that both have been recently accepted for festivals taking place this month.

Stop/Eject will get its world premiere at Raindance Film Festival in London. Raindance is amongst the UK’s most prestigious festivals, counting amongst its previous premieres Memento and The Blair Witch Project.

The One That Got Away will get its first overseas screening at Belo Horizonte International Short Film Festival in Brazil.

The welcome news of these festival selections had me scrambling into the archives of this blog for the post I wrote last year on making a DCP (digital cinema package). Since the decline of film as an exhibition format, DCPs are the new standard for delivering movies to a cinema.

I needed to transcode The One That Got Away’s 1080P ProRes 422 (HQ) master into a DCP. Belo Horizonte accept 25fps DCPs, so I skipped the frame rate conversion. I dropped the ProRes file into a new timeline in Final Cut Pro and set the sequence frame size to 1998×1080, the standard resolution for a non-Cinemascope 2K DCP. I then used the Motion tab to blow up the image slightly to fill the width of the frame, losing a little at the top and bottom of the image in the process.

The_One_That_Got_Away_ posterI used Final Cut Pro’s ‘Export using Quicktime conversion’ to export the ProRes file as two mono WAVs and an 8-bit TIFF sequence. (16-bit is preferable for DCPs, but the film had been edited in Final Cut 7, which only deals with 8-bit colour space.) I then followed OpenDCP‘s straightforward three-step interface to transcode to JPEG-2000, then MXF, then wrap it all up with the XML files. I didn’t need to worry about disc formatting, because the festival accepted an FTP upload of the files.

Before uploading The One That Got Away’s DCP to the festival, I decided to test it at home as best as I could, so I downloaded a free trial of EasyDCP which let me check the first 15 seconds. The colours were screwed up, but that’s normal. Home computers can’t handle the XYZ colour space of DCPs.

Stop/Eject’s DCP was created last year, as documented in the post mentioned above, Making a DCP. I purchased a 500GB Lacie Rugged USB hard drive to put it on, not knowing at the time how big the files would be. I now know that 2K DCPs at a reasonable quality are about 1GB per minute, so Stop/Eject’s is 17GB. A memory stick big enough to put that on would have been expensive last June, perhaps more expensive than the Lacie Rugged. But over a year later, a Corsair 32GB USB 3.0 stick is only £15.45 and there are even cheaper brands on the market too. Plus, of course, a stick is much easier to post to a festival than a hard drive, and far less likely to get damaged on the way.

So I bought the Corsair stick and booted up my Mac in Ubuntu, as detailed in last year’s post. I formatted the stick as EXT-2 rather than 3, as Raindance’s documentation seemed to favour the former. I copied the files across from the Lacie Rugged. Then it was just a case of packaging it up and sending it off with back-up copies on DVD and Blu-ray, and a press kit for good measure.

Incidentally, Stop/Eject’s DCP runs at 24fps for maximum compatibility, extending the running time of the film by about 45 seconds over the original 25fps version. I had wondered for some time if, when the film finally got into a festival, this longer running time would be an issue. After all, at nearly 17 minutes at 25fps, Stop/Eject is quite a long short already. I’m told that Raindance almost decided against selecting it because of its length. And the judging panel had been watching a 25fps screener. How would they feel about screening an even longer version? I contacted the festival, explaining the situation and offering to make a 25fps DCP if need be, but they were fine with it running at 24fps. Apparently they allow for runtime discrepancy when scheduling.

Well, that all got very dry and technical, didn’t it?

Hurray! My films got into festivals!

Festival Screenings and DCPs

Lighting The One That Got Away

Lighting plan for the daylight scenes

Here’s a breakdown of the lighting choices made on my little puppet film, The One That Got Away. You can watch the film over at the Virgin Media Shorts website. If you enjoy it, please use the tweet button to register your vote and help us get a place on the shortlist.

Conventional wisdom with marionettes is probably to go for very flat lighting with no backlight, to make it as difficult as possible to see the strings. But on TOTGA I wanted to embrace and celebrate the tactile, handmade look of the puppets and sets, so I chose a traditional three-point lighting scheme that imparted depth and made no effort to hide the strings.

Normally I shoot wide open – typically f1.8 – on my DSLR, but as the puppets were small the depth of field would have been ridiculously shallow at that aperture. Instead I lit the set very brightly (about 3KW of tungsten horsepower in our cramped living room – not very pleasant during a heatwave!) and stopped down to around f4.

Daylight

The clouds cast shadows on the sky, but I think that adds to the charm.

For the daylight scenes I used my three open-face tungsten Arrilites: a 1K poking over the top of the backdrop for backlight, another 1K with tough-spun diffuser off camera left for key, and an 800W bouncing off the ceiling for fill. This last lamp was gelled blue to suggest ambient skylight.

I tried to simulate the camerawork that would have been used had this been shot at sea with real actors, so:

  • the camera bobs up and down in wide shots, as if Henry’s boat is being shot from another vessel;
  • the camera and boat are fixed in close-ups, with the background bobbing up and down, as if we’re now shooting on a tripod in Henry’s boat.

Underwater

A cool white balance and blue gels help to give an underwater look.

The underwater dream sequence was all shot dry-for-wet at 50fps for a watery slow motion. Using Magic Lantern I dialled in a cool white balance of around 2500K, and pumped in smoke to add diffusion and suggest currents. (I wished I’d use a lot more smoke, but we would have all choked to death.)

I used just two light sources: the 1K backlight, now gelled blue, and the other 1K, bounced off sheets of silver wrapping paper tacked loosely to the ceiling. This is exactly the same method I used for a scene in Ashes – flapping a piece of card at the wrapping paper makes the light ripple in a very watery way.

Shallow depth of field working nicely in the romantic underwater dream sequence

The underwater lighting scheme was a lot darker than the daylight one, so I opened up to around f2, giving a crazily shallow depth of field that worked nicely for this dream sequence. The mermaid’s close-ups were all shot through a CD case for an old-school soft-focus look.

I would have liked to have shot this sequence handheld, but a lack of crew meant I had to lock the camera off so I could operate the smoke machine, fan the wrapping paper and move little fish through frame.

Sunset

When Henry awakens from his dream, the fish escapes and he gives chase. Orange gels and lens flare were used to suggest the sun getting lower in the sky, until finally Henry and his quarry are silhouetted against the solar disc itself. This is a domestic 100W tungsten bulb peeking over the back wave. The only other light source is a row of six more such bulbs under a sheet of orange gel, just behind and below the first one.

The sun is an ordinary 100W tungsten lightbulb.

As the scene moves into twilight, the first bulb is removed and the orange gel over the other six is replaced with a purple one. The 1K backlight is turned back on (possibly it would have been more realistic without, but I’m just a sucker for backlight) and some pink fill is provided by placing a sheet of Minus Green gel on the other 1K and bouncing it off a reflector.

Pink and purple gels are used to give a post-sunset tinge to the final scene.

That’s all folks. Please do tweet about the film (being sure to include the title The One That Got Away and the hashtag #VMShortsVote for it to count as a vote) and click here to watch the behind-the-scenes featurette if you missed it.

Lighting The One That Got Away

The Making of Henry

Guest blogger Katie Lake tells the story of how Henry Otto, the marionette star of The One That Got Away, came into this world. Click here to watch the film and please tweet about it to help us make the competition shortlist.

1. The head
1. The head

It started as a whim, a crazy idea. I have wanted to do a puppet film with Neil for a while. But if I couldn’t make a puppet, there would be no puppet film. No pressure.

I started with his head. I wound newspaper around metal wire that would become his controls, then covered the newspaper ball with a layer of air-drying clay, shaping his head, and face. I did a test with lights to see if I liked the shape I got (1). 

2. Body, hands, arms and legs

I then made his body. This started out as a toilet roll tube, covered in papier-mâché, and his arms and legs were rolled up newspaper “beads”. I then painted them beige, and sculpted hands using more clay over wire. I fit the legs and arms with wire, and before I put him together this was how he was looking (2). I liked the big head, spindly legs and long arms. So together he went. 

I made the start of a neck, and then painted his face. He now had an expression, a look, a character. I (hesitantly) fell in love with Henry when I first sculpted his head and face, but was really worried that I wouldn’t be able to do him justice with paint. Thankfully I was pleased with the results. And this is when I knew the name swirling around in my head, was the name he was going to be. There is something about him that reminds me of my maternal grandfather’s side of the family, so Henry is sort of an homage.

3. Strung up, with trousers

He then needed some clothes. Despite, or maybe because of my costume background, deciding what clothes to make for him was by far the hardest bit. In the end we decided jeans were a good place to start. I drafted a pattern in cloth, then altered it, and cut them out of an old charity shop skirt. I also gave him some hand stitched details around the waist. I temporarily strung him up, and tested out what we could get him to do. This was also his first camera test (3).

4. Hat
4. Hat and sweater

It was now that we realised he needed lateral head controls (one on either side of his head so we could make him look left and right). Oops. I attached lateral controls to the outside of his head as I didn’t want to risk drilling, so he now needed a hat or wisps of hair to hide the wire. He also needed a top, and boots.

4. Boots
5. Boots

Enter Jo Henshaw, who kindly offered to come and help out. She helped finalize costume design decisions, and made him his cute beanie (out of an old sleeve) and started his sweater (out of an old sweater) (4).

I made boots (out of more toilet roll tubes cut and bent, glued into shape and then papier-mâchéd, and then painted black) (5). I should also mention stop-motion animator Emily Currie, another helpful volunteer, who used her expertise to ensure the lateral controls stayed put.

6. The finished puppet

Henry’s sweater was then sewn onto him, covering the multiple pieces. I kept the arms separate for greater movement. I finished him off with braces made out of old shoe laces, made buttons out of clay which I painted brown, sewed a patch onto his arm from an old scrap and aged his costume with some brown and black paint.

Lastly I strung him up using extra strong navy thread. The T bar I made using a piece of flat doweling, some screw eyes (upcycled from old curtain rings) and nails to make the cross bars removable. And Henry was ready for his debut (6).

You can visit Katie’s blog at www.katiedidonline.com. To find out what Henry’s up to, why not befriend him on Facebook?

Tomorrow I’ll look at the camera and lighting techniques used to shoot the film.

The Making of Henry

Pulling Strings – Behind the Scenes of “The One That Got Away”

Here’s a behind-the-scenes featurette looking at the making of my little puppet film.

This featurette was an experiment in shooting and editing entirely on my iPad, so please excuse the poor sound and clunky cutting.

Click here to watch The One That Got Away itself. Please help the film make the shortlist of the Virgin Media Shorts competition by visiting that link and using the tweet button underneath the video. The entry with the most tweets between now and July 28th will be shown in cinemas nationally.

Pulling Strings – Behind the Scenes of “The One That Got Away”

The One That Got Away – Watch it Now

Henry, the star of the show
Henry Otto, the star of The One That Got Away

My brand new short, a 2 minute puppet odyssey about an old fisherman who catches more than he bargained for, is now online to watch:

http://www.virginmediashorts.co.uk/film/4869/the-one-that-got-away#.Ue1bi5WAdGB

It’s an entry to Virgin Media Shorts, and you can help us make the shortlist by using the tweet button under the video. The film with the most tweets between now and Sunday (28th) gets a guaranteed place on the shortlist, meaning it will be shown nationally in cinemas and be in with a chance of winning the filmmakers £30,000 to fund their next project.

Please note that only the tweet button (not Facebook, Google+ or any of the others) can be used to register a vote. Alternatively you can write your own tweet, so long as it includes the name of the film – The One That Got Away – followed by the hashtag #VMShortsVote.

Thanks everyone. Stay tuned all week for The-One-That-Got-Away-related goodies, including a behind-the-scenes featurette tomorrow.

Film credits:

Written, designed, constructed and puppeteered by Katharine Lake

Assisted by Emily Currie, Sebastian Fuller, Jo Henshaw, John R. Mason and Ian Tomlinson

Sound design, music and mixing by Matt Katz

Directed, photographed and edited by Neil Oseman

The One That Got Away – Watch it Now

Working with Puppets

The set
The set

Right now I’m in the middle of shooting The One That Got Away, a tale of an old man, the sea and a mermaid, told using marionettes. Puppets are a fairly new thing to me, my one prior brush with them being the seven-foot-tall Wooden Swordsman in The Dark Side of the Earth. Here are some things you might want to consider if you’re thinking of going all Thunderbirds yourself…

  1. Puppets are slow. Expect your shoot to take at least twice as long as it would with live actors.
  2. Puppets can’t do much. You’ll need to break your shots into small chunks because it’s difficult to make a puppet do multiple different things in the same take. In the edit you’ll find yourself favouring the wider shots because the body language of the puppets will typically be far more expressive than the face.
  3. Make time for rehearsals. It’s a lot of work to build puppets and you may forget, or run out of time, to make sure they will move convincingly ahead of the shoot. Even an experienced puppeteer will need time to get to know your puppets in order to get the best out of them.
  4. Think carefully before building your sets. Are they going to be big enough to get the shots you need without seeing off the edge? There can be a tendency to focus on making everything work for one master wide shot, but what about your reverses – is there enough set for those too? And where will your puppeteers stand/sit/crouch/lie to operate the characters? If you’re using marionettes you must consider the strings as well, ensuring that no part of the set or lighting equipment will get in their way.
  5. Sound design and music are important to any film, but with puppets and animation they will often have to do more than their fair share of the work to breathe life into the characters. Get someone good on board to take care of this vital area.
Henry, the star of the show
Working with Puppets

The One That Got Away

Meet the star of my next film, a Virgin Media Shorts entry called The One That Got Away.

Say hello to Henry
Say hello to Henry

He’s being made by my wife Katie, on whose idea the film is based. As usual, you can follow the making of this project right here at neiloseman.com

Meanwhile Stop/Eject is within reaching distance of completion. All the music, sound and VFX are in place. This weekend the final credits roller will go on, and on Monday Jose Pereira and I will do the final 5.1 surround sound mix at Alchemea College near Islington.

Work is gathering pace on my next major production too, the title of which I’m still keeping secret. Currently the script is at fourth draft stage, and I hope to reveal some of the behind-the-scenes talent attached soon. Stay tuned.

The One That Got Away