It’s an entry to Virgin Media Shorts, and you can help us make the shortlist by using the tweet button under the video. The film with the most tweets between now and Sunday (28th) gets a guaranteed place on the shortlist, meaning it will be shown nationally in cinemas and be in with a chance of winning the filmmakers £30,000 to fund their next project.
Please note that only the tweet button (not Facebook, Google+ or any of the others) can be used to register a vote. Alternatively you can write your own tweet, so long as it includes the name of the film – The One That Got Away – followed by the hashtag #VMShortsVote.
Thanks everyone. Stay tuned all week for The-One-That-Got-Away-related goodies, including a behind-the-scenes featurette tomorrow.
Film credits:
Written, designed, constructed and puppeteered by Katharine Lake
Assisted by Emily Currie, Sebastian Fuller, Jo Henshaw, John R. Mason and Ian Tomlinson
Update: if you missed the live version you can watch a recording of it by clicking the play button above. I was meant to make a guest appearance in it but they ran out of time.
Back in 2008 I helped out briefly on a feature-length Lord of the Rings fan film called Born of Hope. Directing this epic production, producing it, financing most of it, and even acting in it, was the extremely tenacious Kate Madison. “It’s incredible to see what craftsmanship, sensitivity and attention to detail is being brought to bear on this ambitious project,” said Weta Workshop chief Richard Taylor. Check the film out below – it’s an impressive achievement. And it’s had a staggering 23 million views.
Kate is now embarking on a new project, a fantasy web series called Ren, and to mark the launch of its crowdfunding campaign she’s hosting a special webcast this Saturday night. The evening of entertainment will start at 8pm with a Born of Hope screening with live commentary from cast members. There will also be a live Q&A where they’ll answer your questions about BoH or Ren or whatever you’d like to ask. There will also be fun giveaways, live link-ups, special guests (including Yours Truly), and much more.
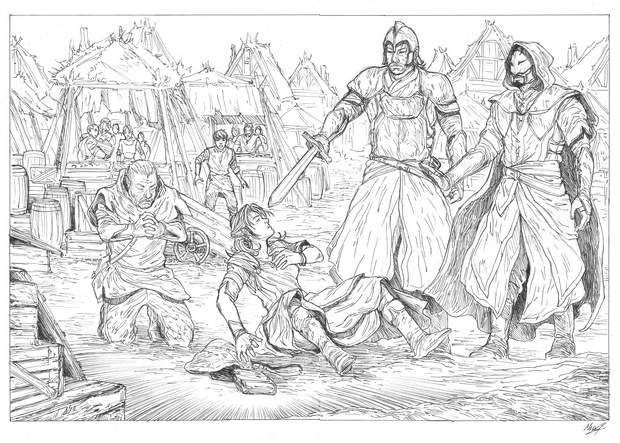
Ren encounters the Masked Man, the leader of the Kah’Nath – Concept art by Max von Vier
“I’ve been keen to get another project on the go and have been contemplating various formats,” Kate says. “Web series have become a popular medium for independent filmmakers and I find that the potential for shaping an ongoing storyline for, and with, the fans is very appealing”.
The series is named after its lead character, who lives a quiet life in a small village until dramatic events, involving an ancient powerful spirit and the ruling warrior order of the Ka’Nath, force Ren to leave her safe existence and find the truth behind the web of lies she’s believed in all her life.
“The inspiration for the show is very much rooted in great fantasy stories like The Lord of the Rings, but epic books and TV series like Game of Thrones and the more lighthearted Legend of the Seeker have also influenced me in the creation of Ren,” says Kate. She adds that one of the most important features of Born of Hope was the fan base that helped finance, design and even act in the film and that she is keen to involve the fans even more in this project. “The series is in the very early stages, with only the first season written, so we will look to the online fan community to influence what happens… and yes, even be in it!”
The New Talent Summit at the Princess Anne Theatre, Bafta
Yesterday I attended the Filmmakers Market at Bafta, a day of masterclasses, round-table discussions and one-on-one surgeries. Highlights included frank discussion about the ups and downs of directing with Bharat Nalluri (Life on Mars), Penny Woolcock (Tina Goes Shopping) and Neil Marshall (The Descent), and career tips from a panel comprising the NFTS, BFI, Film London and others. Here are the stand-out nuggets I took away from the event:
Even in this age when it’s relatively easy to make a micro-budget feature, shorts are still considered the best calling cards. One of the panellists claimed that if you make a bad first feature it will be a decade before anyone lets you make another one…. A truth all too familiar to me.
Most of us aspire to work in feature films, but don’t forget that most working directors are employed in TV, and even if you do become successful in the cinematic arena, chances are that you will have got there by laying down the groundwork in TV, music promos or commercials.
Although there are exceptions (Bryan Singer, Robert Rodriguez…) generally no-one under 35 is going to make a decent feature film; you just don’t have enough life experience. Based on how my work has matured as I speed towards that unfortunate age I am inclined to believe this.
Qualities that make a good director: understanding of story and editing; ability to listen and communicate, particularly with actors; the flexibility to turn the inevitable compromises of the shoot into improvements. “The enemy of art is the absence of limitations,” said Orson Welles.
All three of the director panellists dislike storyboarding and rehearsals because they kill the on-set spontaneity, but they concede that preparation is necessary even if it all goes out of the window when you start to work with the actors on the day.
The director’s job is to create an environment in which the cast can do their best work. Every actor/director relationship is different – figure out what each person needs from you.
What do you reckon to this advice? What great tips have you heard for new and emerging filmmakers?
(By the way, I highly recommend getting yourself on Bafta’s mailing list because they often have interesting events like this.)
Me, Georgina Sherrington, Amelia Edwards, Therese Collins and Oliver Park at the screening. Photo: Denis Baudin
Last weekend Stop/Eject, two years in the making, got its first proper screening at the Mac in Birmingham, to an invited audience of cast, crew and sponsors.
The film had been in postproduction for fifteen months – as long as my feature Soul Searcher. With every film I make I want the quality to improve, which means more time, and I want to do fewer jobs myself and turn them over to talented specialists, which again means more time because they’re all fitting it in as a favour around paying work.
The DVDs and Blu-rays arrived in the nick of time.
So it might have taken a while, but it was worth it, and it seems that everyone who came along on Saturday agreed. Those of you cast/crew/sponsors who have a Blu-ray copy will be able to see the huge difference wrought by editor Miguel Ferros versus my original cut.
But even since picture lock back in January the film has come on leaps and bounds. The actors were all convinced that the edit had changed since they saw it at the ADR session, but actually all that had changed was the soundtrack. Henning Knoepfel’s sound design and Scott Benzie’s beautiful music, both delicately mixed by Jose Pereira, bring a whole new dimension to the film. Again, if you have the DVD or Blu-ray, be sure to check out the Superior Sound Reproduction featurette for a glimpse into the transformative process of postproduction audio.
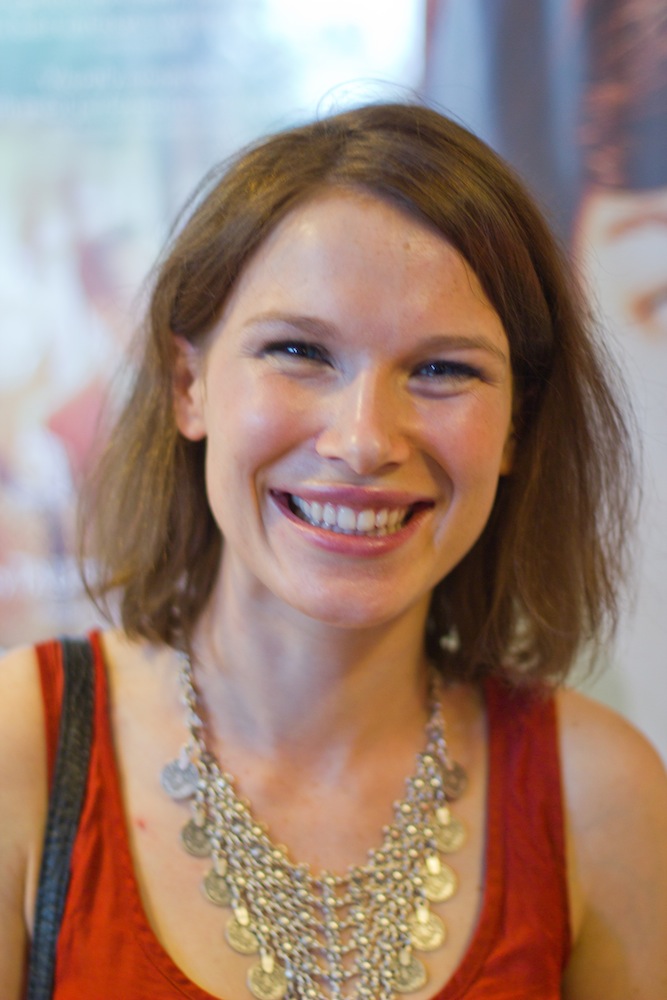
Georgina Sherrington. Photo: Paul Bednall www.paulbednallphotography.co.uk
The day itself was really nice, with most of the key people attending and everyone having a good time. After the screening many of us went on to Fletcher’s Bar and Restaurant to drink, chat and gather around a TV to watch Record & Play: The Making of Stop/Eject.
As usual with these events there is a tinge of sadness. Will I ever see some of these lovely people again? Will we get to work together in the future? With all the good will going round at a premiere, you want to start shooting a new film with the same team the next day, but of course it never works out that way.
Anyway, thanks once again to everyone who came and everyone who supported Stop/Eject. Venice Film Festival has already turned down the film, but there are plenty more to enter and you’ll all get to see it eventually on the festival circuit or (ultimately) online.
Here’s a VFX breakdown that didn’t make it onto the Stop/Eject DVD, showing how rotoscoping and compositing techniques were brought to bear on a shot of Kate passing through Dan.
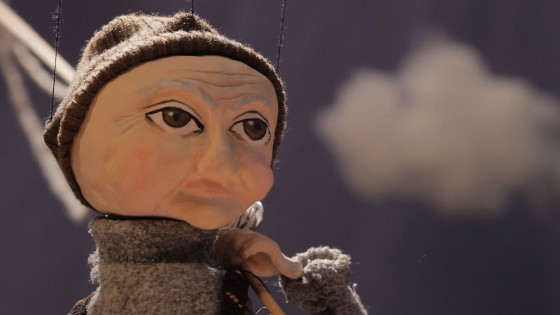
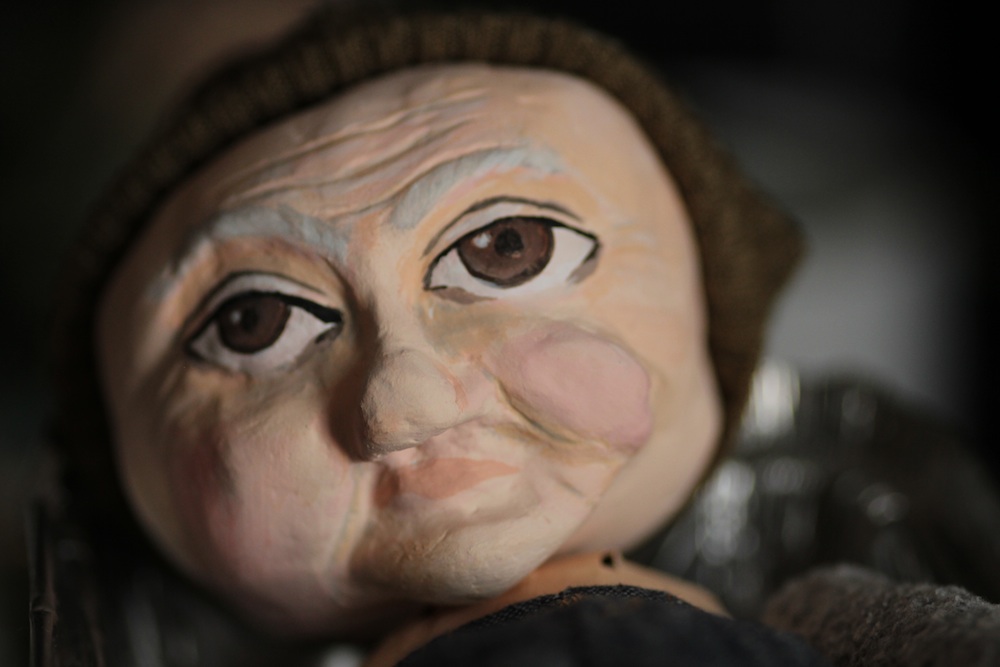
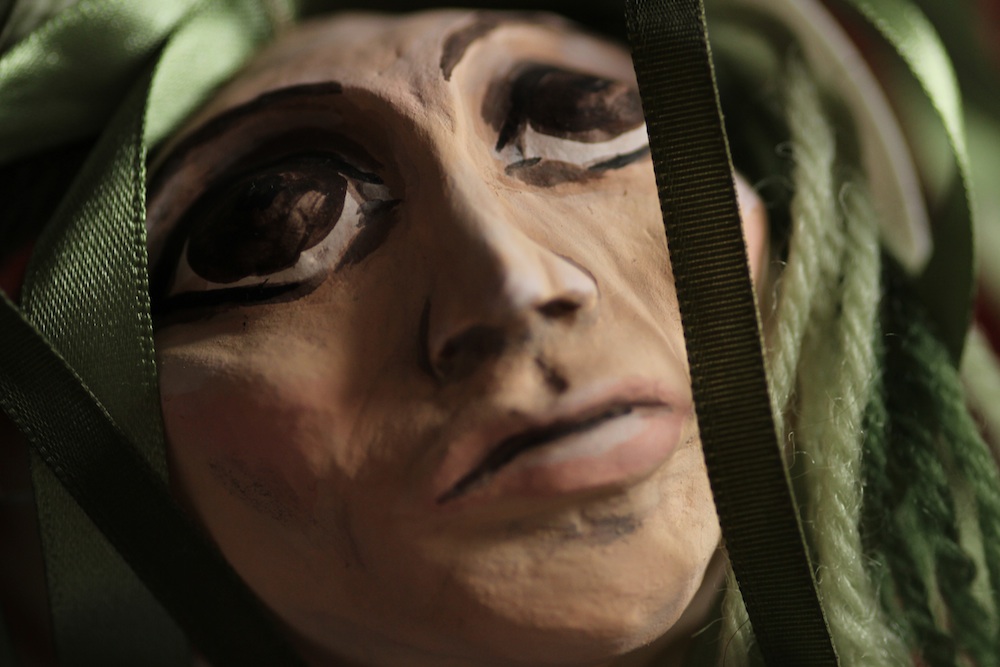
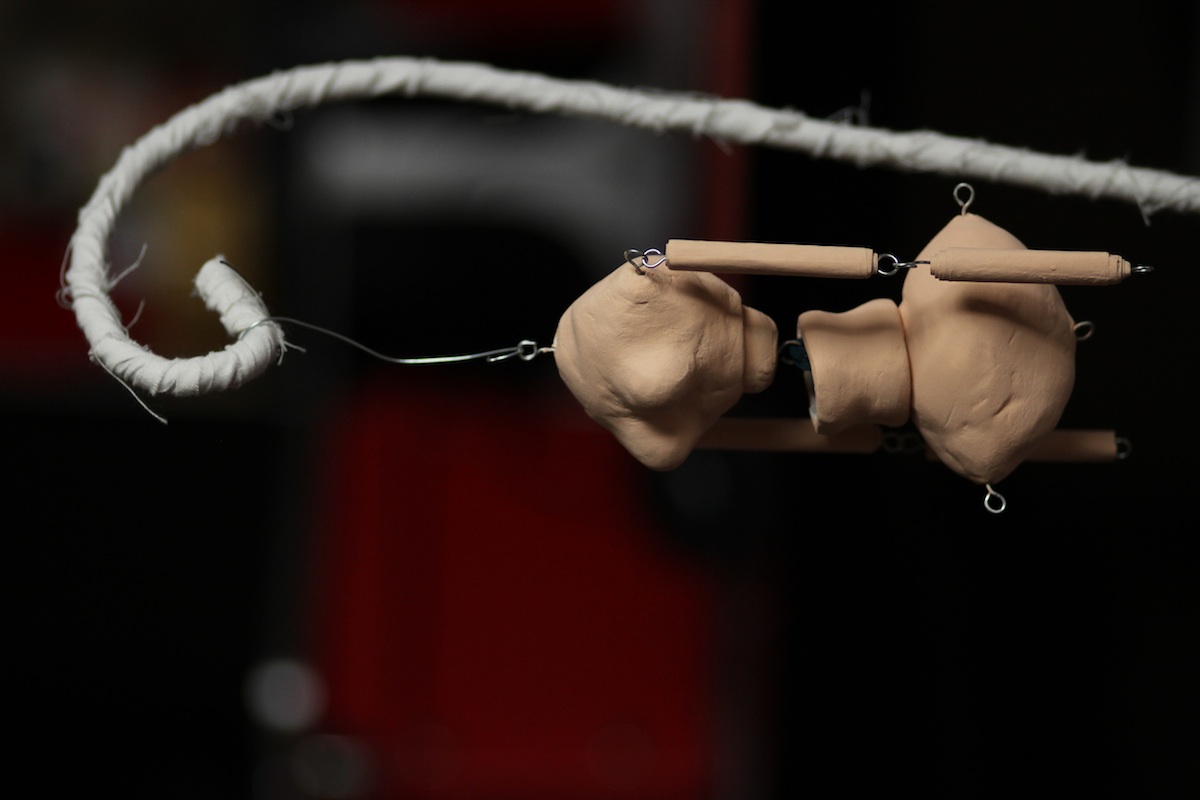
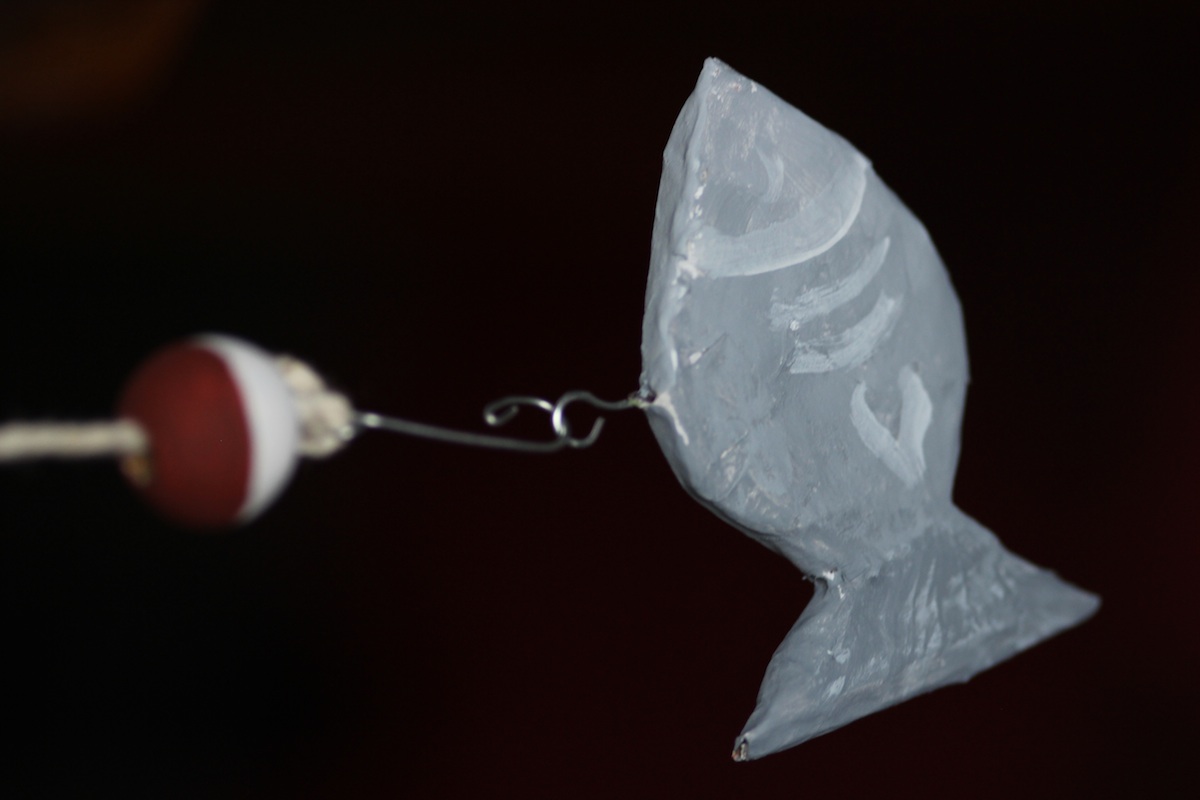
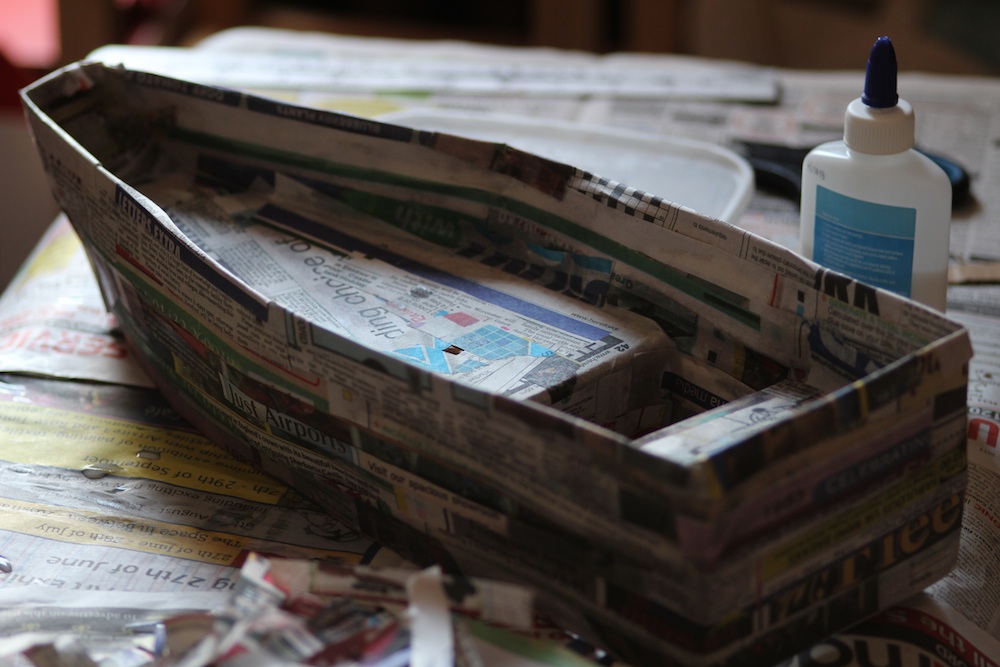
Right now I’m in the middle of shooting The One That Got Away, a tale of an old man, the sea and a mermaid, told using marionettes. Puppets are a fairly new thing to me, my one prior brush with them being the seven-foot-tall Wooden Swordsman in The Dark Side of the Earth. Here are some things you might want to consider if you’re thinking of going all Thunderbirds yourself…
Puppets are slow. Expect your shoot to take at least twice as long as it would with live actors.
Puppets can’t do much. You’ll need to break your shots into small chunks because it’s difficult to make a puppet do multiple different things in the same take. In the edit you’ll find yourself favouring the wider shots because the body language of the puppets will typically be far more expressive than the face.
Make time for rehearsals. It’s a lot of work to build puppets and you may forget, or run out of time, to make sure they will move convincingly ahead of the shoot. Even an experienced puppeteer will need time to get to know your puppets in order to get the best out of them.
Think carefully before building your sets. Are they going to be big enough to get the shots you need without seeing off the edge? There can be a tendency to focus on making everything work for one master wide shot, but what about your reverses – is there enough set for those too? And where will your puppeteers stand/sit/crouch/lie to operate the characters? If you’re using marionettes you must consider the strings as well, ensuring that no part of the set or lighting equipment will get in their way.
Sound design and music are important to any film, but with puppets and animation they will often have to do more than their fair share of the work to breathe life into the characters. Get someone good on board to take care of this vital area.
The finished Stop/Eject DCP. Not as cool as a roll of 35mm.
Now that huge reels of 35mm film are all but obsolete, Digital Cinema Packages (DCPs) are the new means of getting a film to a cinema. Many top film festivals will only screen off a DCP or 35mm print, and in terms of picture and sound quality and compatibility it is your best option for screening at theatrical venues in general. Much has been written about how you can make a DCP at home for nothing, but having just gone through the process myself for Stop/Eject I’m going to round up some of the best sources of information I came across and enlarge on the area of disc formatting which hasn’t been too well covered elsewhere.
To ensure maximum compatibility of your DCP you need to:
convert your film to 24fps if it isn’t already at that frame rate
use a standard 2K aspect ratio, 2048×1080 or 2048×858
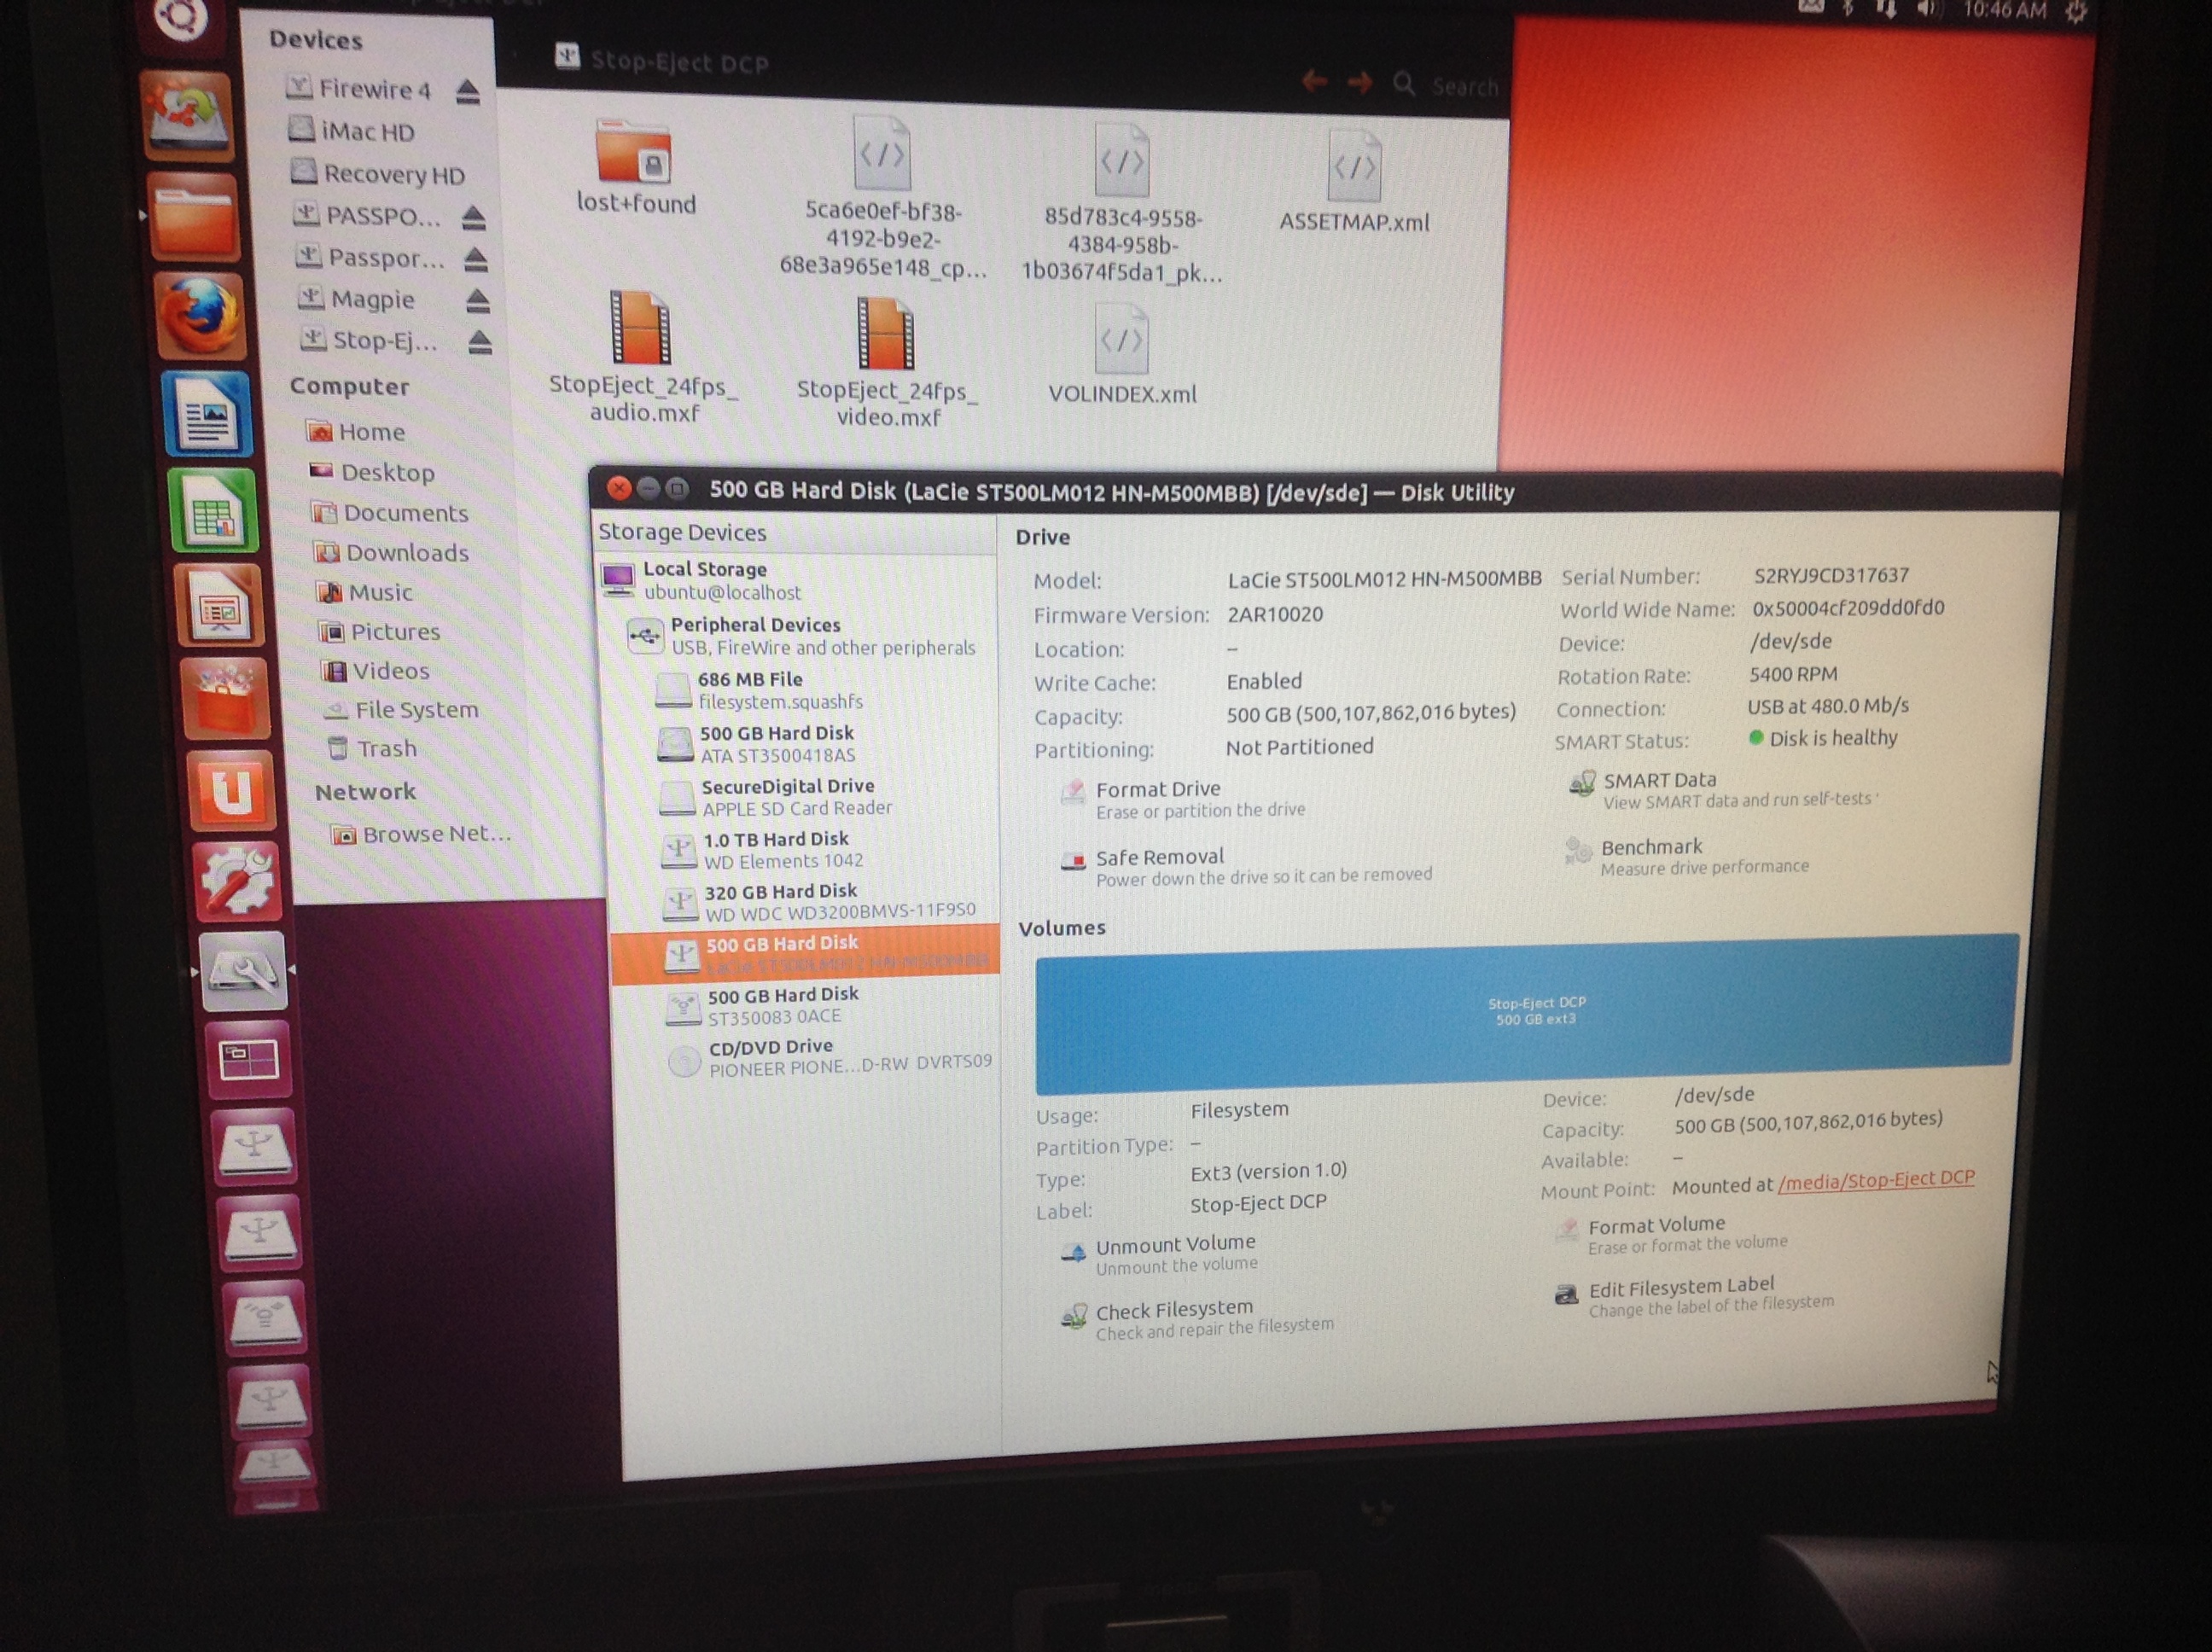
Step 5: the formatted drive as seen in Ubuntu, with the DCP files copied over
So, here is the process I went through. I was starting out with 25,409 uncompressed 16-bit TIFF files representing each individual frame of Stop/Eject, and six mono 24-bit linear PCM WAV files for the 5.1 surround soundtrack. The TIFFs were in 1080P (1920×1080) letterboxed to an aspect ratio of 2.35:1.
First of all I used Photoshop to batch convert all the TIFFs to the 2048×858 aspect ratio. This is actually 2.39:1 rather than the 2.35:1, so it meant cropping a sliver of the actual picture off the top and bottom, not just the black bars, as well as enlarging the picture slightly. It took my poor iMac about 12 hours to convert the 25,409 frames. I’m sure there’s quicker batch conversion software out there than Photoshop if you hunt around though.
Next I used a free piece of audio software called Audacity to slow down each of the six audio files by 4% so that they will match the images when they run at 24fps. (Stop/Eject was shot and edited at 25fps.) Thanks to Matt Cameron’s blog for this tip.
Then I downloaded and ran OpenDCP, the brilliant free software that actually creates the Digital Cinema Package for you. It’s very simple to use, but check out the help Wiki and Danny Lacey’s seminal blog post to guide you through it. The end result was six files: four XML files and two MXF files, one for sound and one for picture. Encoding at the default bitrate of 125mb/s, which the Wiki says is more than good enough for 2K at 24fps, Stop/Eject’s DCP was just under 17GB, so about 1GB per minute.
Now the tricky bit – copying those six files onto an EXT3 formatted drive. EXT3 is a Linux file system, and is not supported by MacOS. So I downloaded Ubuntu, a free operating system which does support it. (Choose the 64-bit download unless you have quite an old computer.) The downloaded file is a disc image (.ISO) which you can burn to DVD using Disk Utlity (found in the utilities sub-folder of MacOS’s Applications folder). Then restart your Mac, with the DVD still in the drive, and hold down C when you hear the chimes. This will boot up your Mac in the Ubuntu operating system. (You can release C when you see the black screen and Ubuntu logo.)
Once Ubuntu was running, I right-clicked the LaCie Rugged in the list of drives in the lower left of the desktop and chose format from the contextual menu. To get more than the default options, I clicked Disk Utility in the dialogue box that came up. I could now select EXT3 as the file system (leaving the other settings at their default values). When I clicked format, Ubuntu didn’t seem to be doing anything, but after a few minutes the Disk Utility showed that the volume had been created. I could then close the Disk Utility, and drag and drop the six DCP files from another hard drive (MacOS formatted) onto my newly EXT3 formatted LaCie. Apparently you can put these files inside a folder if you want, but again to be extra safe I put them in the root directory.
After completing the DCP I took it to the Courtyard, my local arts centre, where head projectionist Simon Nicholls was kind enough to let me test it. To my very pleasant surprise it worked perfectly, uploading at about real time via the Doremi server’s USB 2 socket and playing shortly afterwards with superb sound and picture quality. Much as I love celluloid, the ease and cheapness of this process are breathtaking, the purchase of the hard drive being the only cost. I’ll let you know how I get on running it at other cinemas.
Here is a visual progress report on my Virgin Media Shorts entry for this year, The One That Got Away. Katie has been doing some great work, and thank you to Jo Henshaw and Emily Currie for helping out too.
The heroThe love interestAnd the rest of herSomething fishySomething else fishyMy contribution to the proceedingsMy favourite prop
Today I thought I’d share the process I figured out for creating looping menus in Encore for DVD and Blu-ray. If, like me, you want to do it all from scratch rather than using any of the built-in templates, the process isn’t particularly intuitive, and was sufficiently different from DVD Studio Pro (the software I’m used to) to leave me scratching my head from time to time, but here’s how I did it in the end. I’ll use Stop/Eject‘s main menu as the example. I’m going to assume you already know the basics of Encore and can find your way around Photoshop.
First of all you have to understand how DVDs and Blu-rays (henceforth collectively referred to simply as “discs”) work. They’re not like websites or Flash movies where you can do anything you want; the specifications are quite narrow. A motion menu consists of two elements:
The background, which is a video (typically with audio) that you can create in Final Cut Pro, Premiere, or whatever.
The button highlights, which show the user which button is currently selected. The user will only ever see one of these at a time.
Hang on – background, button hightlights…. but what about the buttons themselves? These have to be part of the background. Yes, you can import your background movie as a Quicktime into Encore and then add buttons to it within Encore, but when you come to build your disc the software will render those buttons into the background movie. All the disc player can deal with is a background movie and the highlights.
I prefer to build my buttons into the background movie in my editing software (Final Cut) rather than add them in Encore, and that’s the approach I’ll outline here.
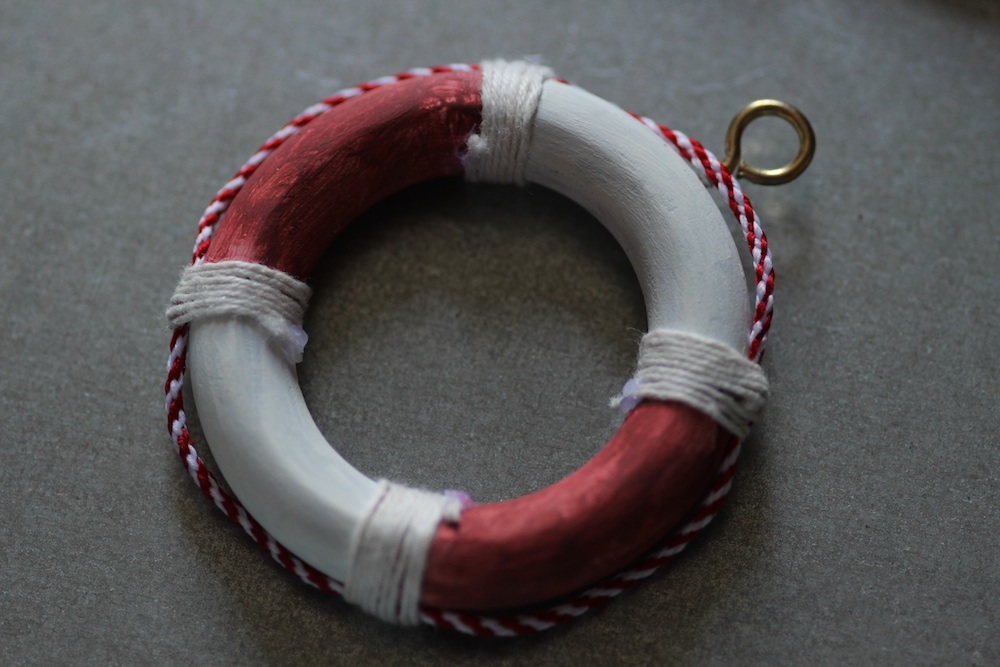
Another crucial point to understand is that each button highlight can only be one colour. So look at the Stop/Eject main menu below. The button highlights are the white rings. They could not be red-and-white striped rings, like life preservers; they can only be one solid colour.
Stop/Eject’s main menu with all the button highlights visible
So, now you appreciate all of the above you can get started on your menu. The first step for me was shooting and editing the background movie, although for most people this will be a computer-generated graphic rather than something shot with a camera. It’s important to think about where your loop point is going to be so that the menu will loop smoothly.
The following video shows my edited background movie. The buttons were created in Photoshop and added to the movie in Final Cut, before exporting as a ProRes Quicktime (with these buttons now baked in) ready to be imported into Encore.
In Encore I can now create a new menu and use the pick-whip in the properties panel to select my Quicktime file as the source for both the video and the audio. I can also set the loop point in the same panel.
I need to make sure that the loop point is at a place in the video where the audio track is silent or at least is playing a constant background noise – e.g. an air conditioning hum – that will not jump unpleasantly when the menu loops. You’ll notice that my menu’s audio track has a beat or two of silence around the loop point. If you’re using music, don’t start it immediately at the loop point as many players take a fraction of a second to kick in the audio after they loop.
I also need to ensure that all of the buttons have appeared before the loop point. This is because the loop point is the place at which the player will start displaying the button highlight. If your menu loops back to a point before the buttons have appeared, the user will momentarily see the highlight without the corresponding button.
To create the button highlights, right-click (or ctrl-click if you’re using a single button mouse) on the menu and choose “edit menu in Photoshop” from the contextual menu. Photoshop will open with a still of your menu as it appears at the loop point. Annoyingly, this still will be in standard definition even if you’re creating a Blu-ray disc, so the first thing you’ll need to do in Photoshop is to change the pixel aspect ratio to square and re-size the image to 1920×1080.
For each button, create a new group in the layers palette and give it a name that starts with (+). When you go back to Encore it will recognise this folder as pertaining to a button. Within the group, make a new layer and call it (=1)highlight. Draw your button highlight on this layer, remembering that it can only be one colour.
Now we need to pause a moment and consider hit areas. When your disc is played in a computer, the user can select buttons with the mouse. The hit area determines what part of the screen the user must hover the mouse pointer over for the button to be considered selected. This area MUST be rectangular. For each button, Encore will look at all the layers within the relevant group and draw the smallest possible rectangle that will completely enclose all those layers; that will be your button’s hit area.
In my case, right now the only layers in my groups are the white rings which are the button highlights themselves. But what if someone hovers the mouse over the words “special features”? I want the button to be selected then too, so in the (+)special features group I’ll create a second layer (critically, it must be below the highlight layer) and draw a rectangle where I want my hit area to be. I can then click the eye icon next to this in the layer palette so it becomes invisible and doesn’t ruin the look of my menu.
The main menu with the hit areas visible
Another restriction of the DVD/Blu-ray specs is that button hit areas can’t overlap. Given the restriction I mentioned earlier, that they must be rectangular, you can see from the layout of my menu that it isn’t possible for the hit areas of Play Movie and Scene Selection to include the text for those buttons without overlapping each other. I choose not to compromise the design of the menu and trust that users will soon find the hit area with a quick sweep of the mouse over the whole image.
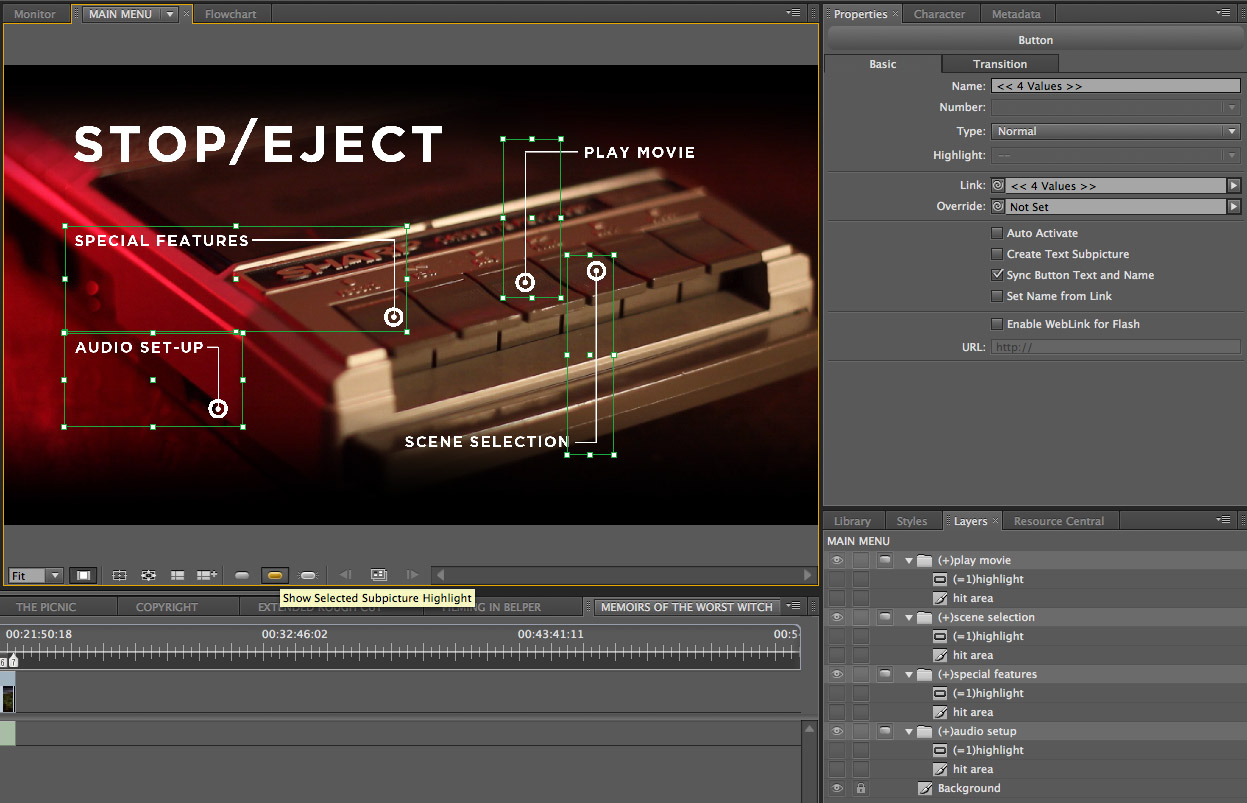
I save the image in Photoshop and return to Encore. I can now see the button hit areas outlined on the menu. If I click the icon for “show selected subpicture highlights” (see below image) I can see the highlights too. It’s now simply a case of setting the target for each button using the pick-whip in the properties panel.
The Encore interface with the button to view the highlights hovered over
When users return to the main menu, after they’ve visited the special features menu, for example, I don’t want them to have to sit through the intro part of the menu again; I want them to go straight to the loop point. So I’ll go to the main menu button in the special features menu and set the target – not using the pick-whip, but through the pull-down menu. I’ll select “specifiy link” and in the dialogue box which appears I make sure to tick the “set to loop point” checkbox.
One final point. The version of Encore I used (CS5.1) has a bug whereby any motion menu longer than 70 seconds will not loop smoothly; a second or so of black will appear each time the player gets to the end of the loop. This issue does not occur in Encore’s preview, only when you’ve burnt the disc. There’s no workaround that I can find other than shortening the menu.
I hope this has been some help to those of you out there who are still burning your films onto physical discs. Let me know if you’d like to hear more about any part of the disc authoring process.