I eat breakfast at the hotel with the co-writer. We talk about dodgy Alan Moore adaptations and the perfection of Die Hard. When we get to the production office I’m still trying to figure out the lighting list, which is tricky because my gaffer is in transit from Poland! The office is in a castle, which is very cool but you have to go outside to make phone calls; the thick stone walls cut out all reception.
Paul is sitting doing storyboards, and he talks me through what he’s drawn for the first few days. They’re crude, but they give me an idea of how flexible I’ll have to be on lighting to accommodate the roving Steadicam moves he wants. I show him my blog post on 2.39:1 composition to see how he feels about things like short-siding, formal composition, squeezing people into the edges of frame. He’s up for all of it, which is great.
Julian, the production designer, takes me around the rooms we’ll be shooting in at the castle. We talk about where we can help each other out.
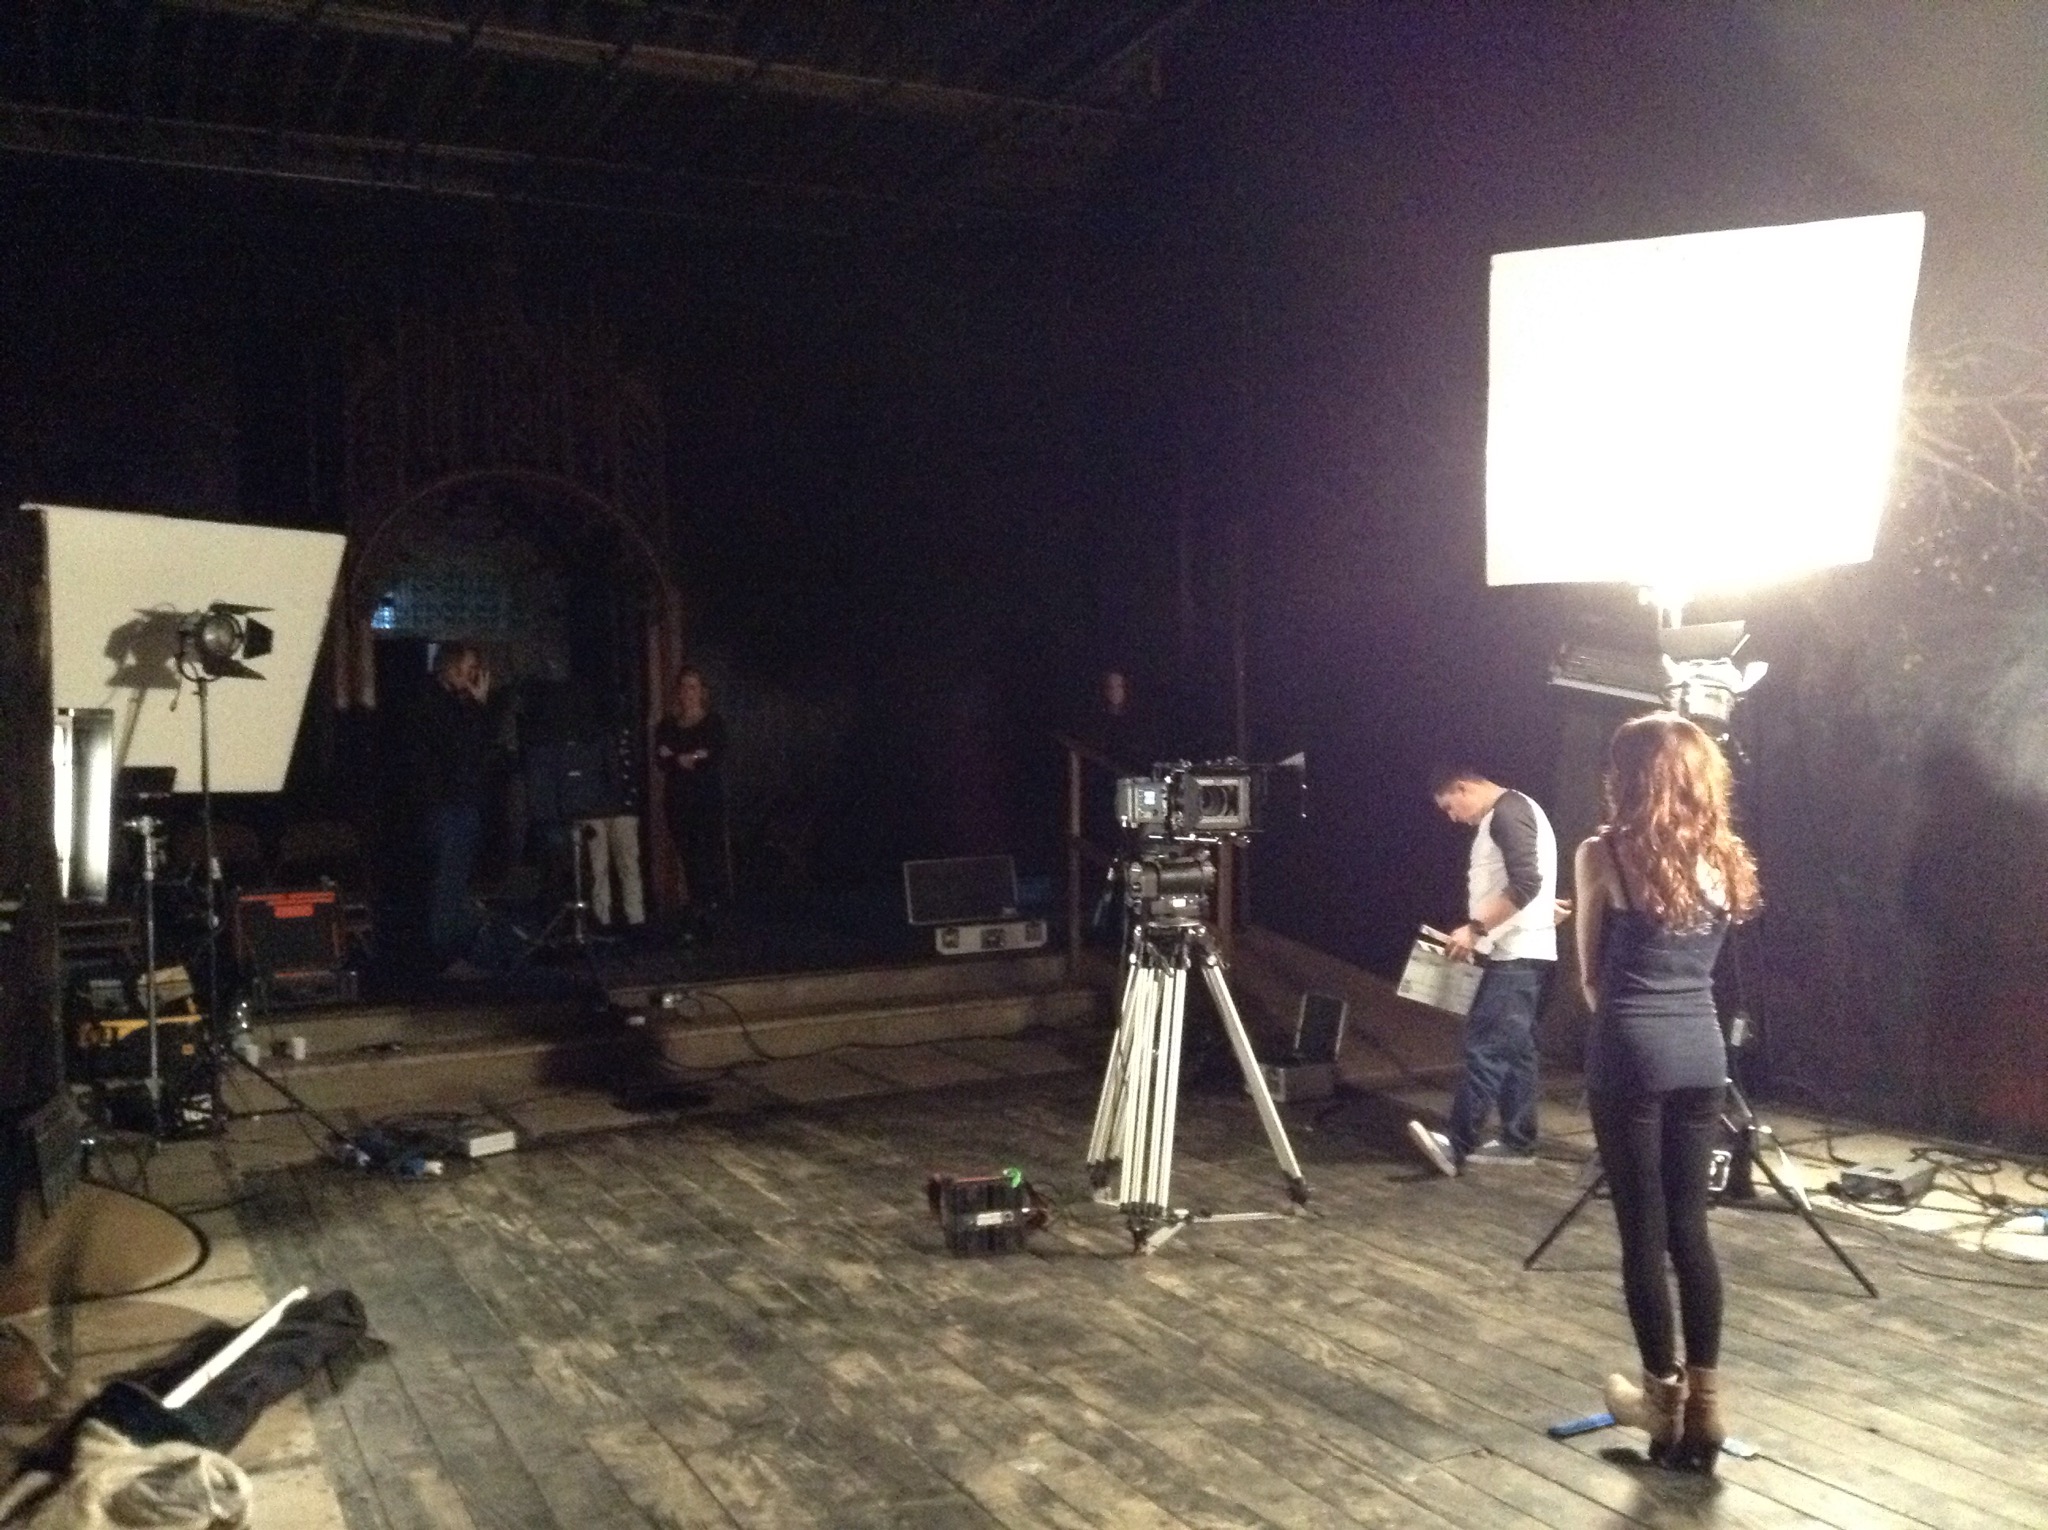
After lunch it’s time to set up for the make-up tests. An Alexa, the Cooke S4 primes, a monitor and some basic lighting gear has been delivered for this. I pick a room in the castle from which I can easily eliminate the natural light and while Rudy, my AC for the afternoon, sets up the camera, I establish a 3-point lighting set-up. We have three actors and four make-ups in total to test. I also want to test Soft FX filters and see if any of them will work for the show. We try different strengths (1/2, 1 and 2) on the first actor and quickly we all agree on 1/2. It gives the image a filmic softness without looking cheesy.
Leaving the 1/2 Soft FX in for the rest of the tests, I experiment with different lighting to see how the prosthetics and straight make-up react. I try four different keys: a 650W tungsten fresnel bounced from the side, the 650 bounced from above, the 650 direct and a kinoflo direct. I had issues on Ren with kinoflos causing shine, but here we seem to be fine. I test with and without fill, with hard and diffused backlights, and with bounce from below. We also look at cooler and warmer white balances to see how moonlight and candlelight will affect the make-up. What’s great about these tests is that I can play with the looks and get immediate feedback from Paul as he stands at the monitor. He really responds to the moodier looks, which makes me very happy.
Heretiks: Day -2
Up at the crack of dawn to travel back to Wales, armed with a nice new warm coat, ski socks and thermals! On the train I read some relevant American Cinematographer articles and watch Ida. Stylistically it’s nothing like Heretiks will be, but I want to see how they handle some similar themes visually. It is as beautifully shot as everyone says it is.
I arrive at the production office…
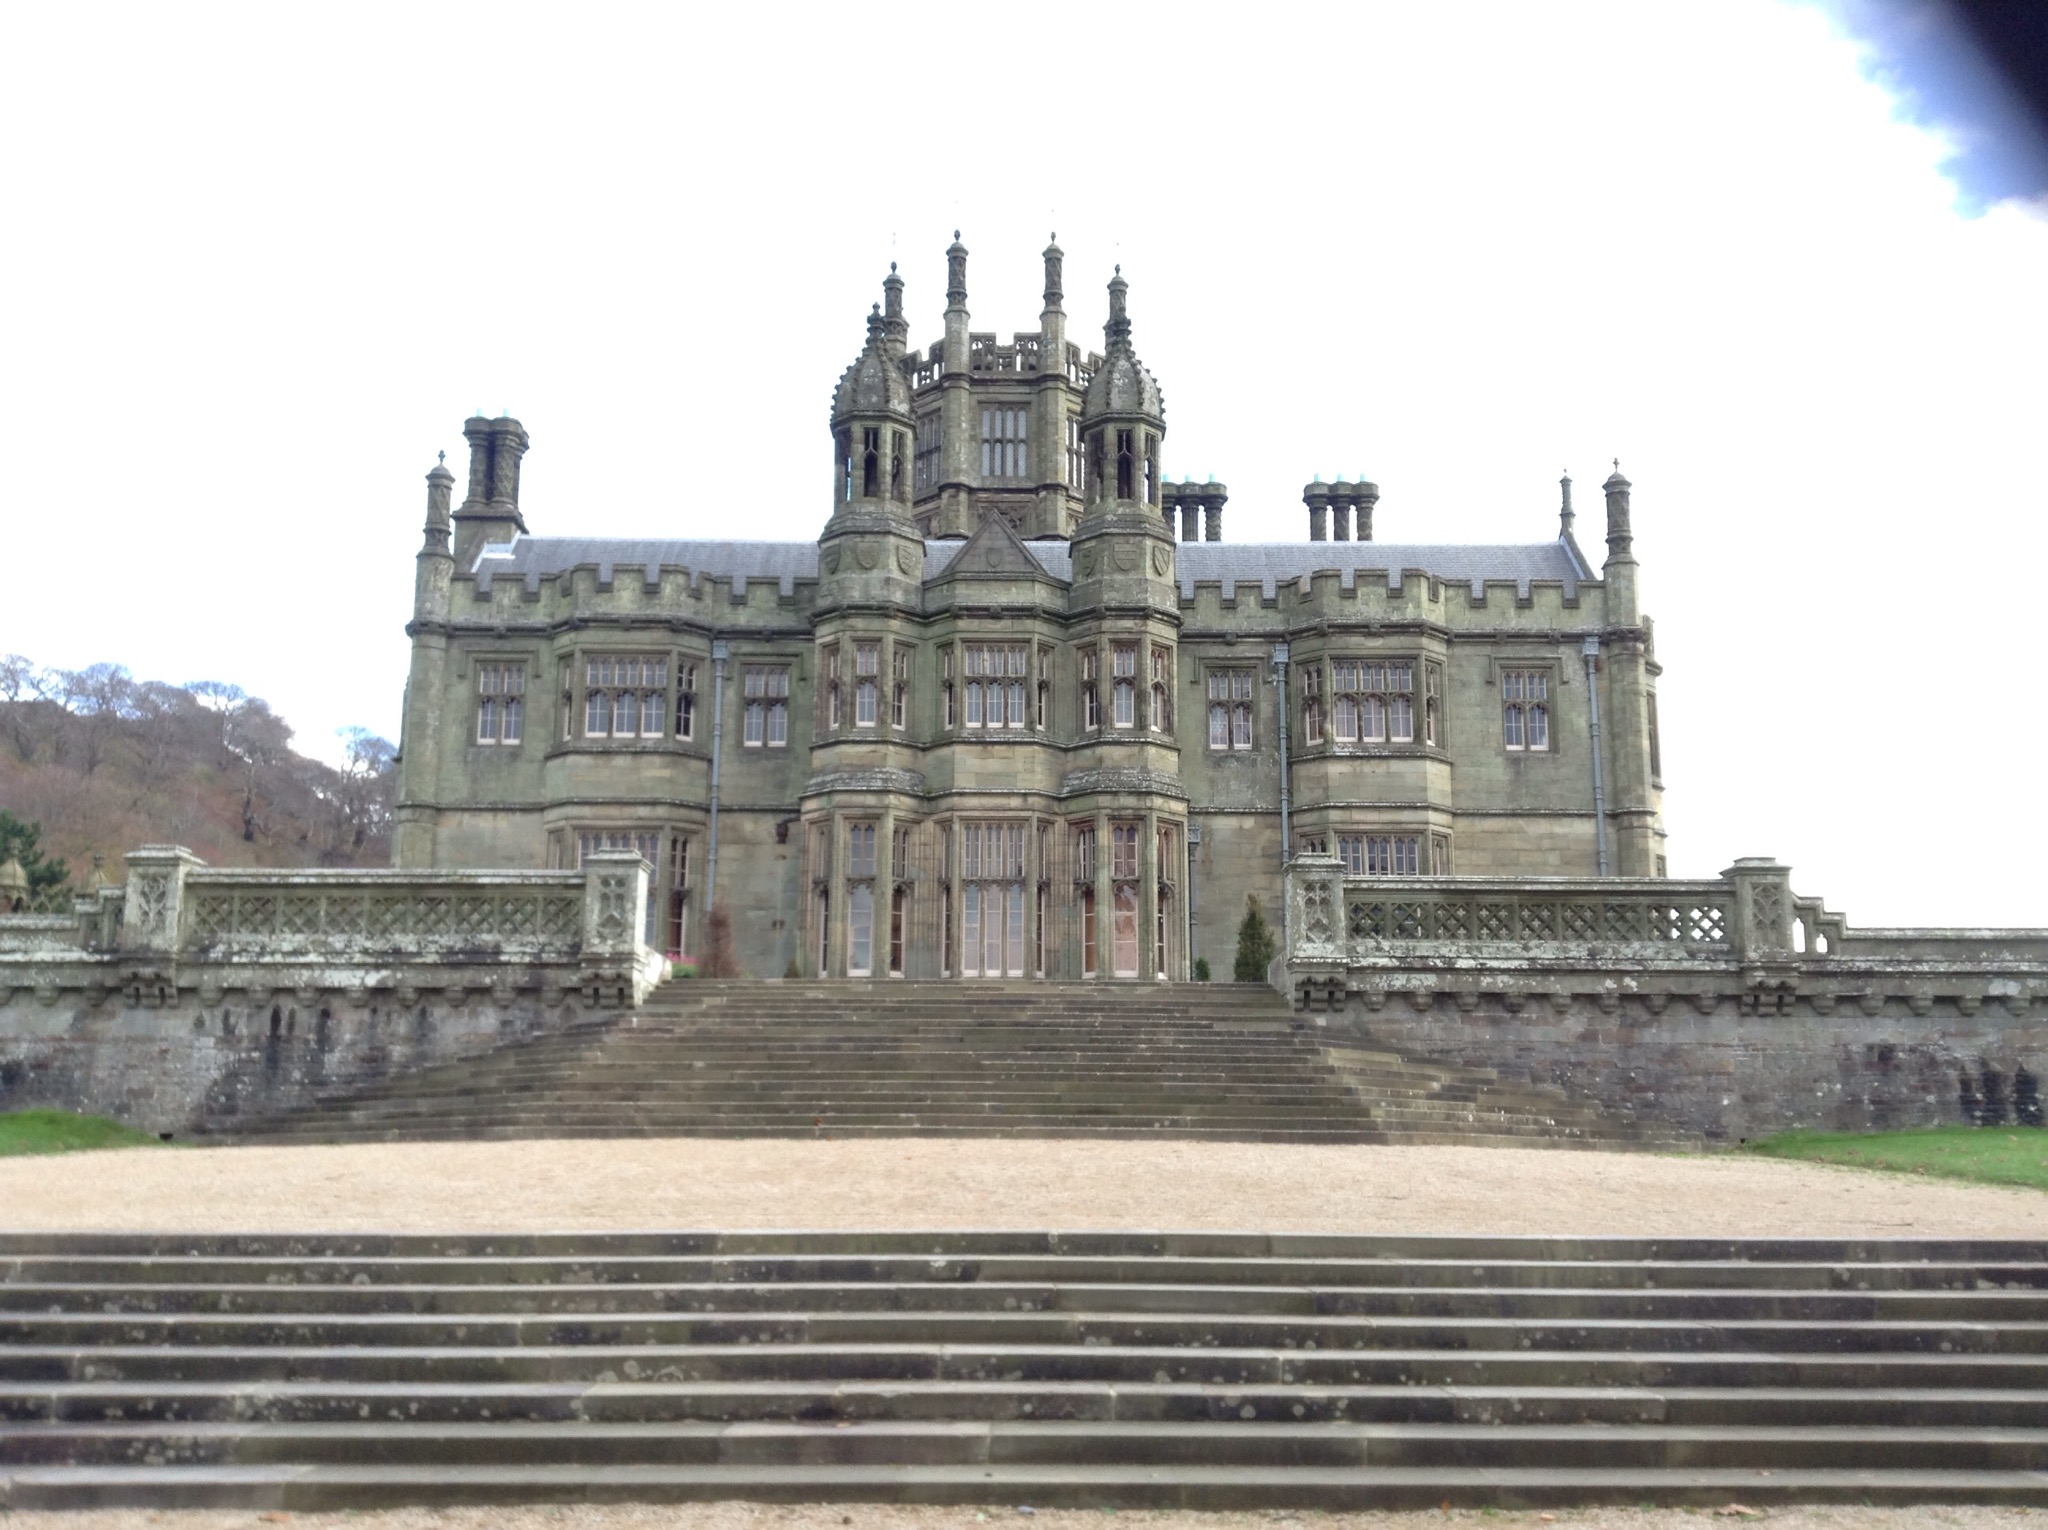
We have a big production meeting, going through the schedule day by day to address the concerns of the various departments. Naked flames vs. LED candles are discussed again. Having dealt extensively with the latter on The First Musketeer, I’m keen not to go down that route again. I get to see some initial make-up tests, and there’s lots of back-and-forth with me, Ben (the gaffer), the rental house and production about the lighting list, trying to get it down to a level that works for the budget and the size of our lighting crew.
Back at the hotel I write a risk assessment – urgh – apparently insurance companies expect these from all HoDs now. Dinner with one of the writers and one of the producers – they’re very nice, as is everyone on the team. Then I get to work on some lighting plans.
Heretiks: Hitting the Ground Running
 I just got hired last-minute to photograph a 17th Century supernatural thriller feature. At this stage I don’t know how much time I’ll have and how much I’ll be allowed to say about it, but I thought I would try a daily blog. It might make a nice change to “bring you along” on a shoot. So let’s dive right in.
November 11th
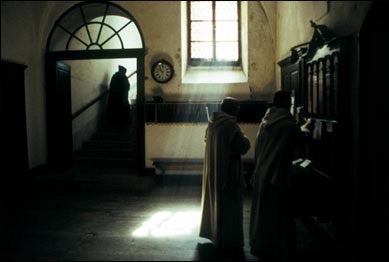
I’m one of several DPs to meet with Paul, the director, about the project. Since first being contacted about it yesterday (sound recordist David kindly recommended me) I’ve only had time to read the script, watch the trailers for Paul’s last two films and do a quick google for some reference images. Several of those images are from The Devil’s Backbone, a film that sprung to mind as I read the script for Heretiks. Another image is the one in this post. I love the idea of the God rays coming in but not hitting the characters; they’re trying to be divine but falling short. I suggest to Paul that this could be a visual theme, and he seems enthusiastic. The meeting goes very well.
Paul’s keen on using a lot of Steadicam, so even though I haven’t got the gig yet I call Rupert (my 1st AC and Steadicam op on Exile Incessant) and sound him out.
November 12th
Mid-morning I get a call from the producer, offering me the job. I immediately confirm Rupert and spend the next few hours trying to fill out the rest of the camera, grip and lighting crew. After a brief discussion with Paul about shooting format, we quickly settle on the Alexa. I call the rental house, 180 Degrees in Bristol, to introduce myself, confirm the camera package and Cooke S4 lenses, and add an extra item or two.
Around 5pm I set off for South Wales, to be ready for tech scouts the next day. Rammed into a rush-hour train from Paddington, I go through a hardcopy of the script with a biro and two highlighter pens: blue for lighting, pink for camera. I also compile a character cheat sheet, because the script has a lot of characters and I know I’ll get them mixed up otherwise. It will also help to track their journeys through the story.
November 13th
I wake up to a wet, windy and bitterly cold Welsh morning. I’m going to need to buy thermal underwear before the shoot starts. A dozen of us pile into a minibus and drive to the first of our two main locations. As Paul talks everyone through the scenes, I struggle to keep up, being less familiar with the script than the others, some of whom have already been on the project for weeks. We don’t have a gaffer for the shoot yet, but a friend of the production manager’s has come along to draw up a lighting list. I’m also liasing with the effects supervisor and the production designer as we consider the requirements of each room. The first location is home to a protected bat colony, so only a specific type of bat-friendly smoke can be used.
After a very welcome pub dinner, we proceed to the second location. By this time it’s much clearer what Paul and Justin (the production designer) are aiming for. I can’t wait to see Justin’s plans come to life. When the recce is finished, we go through the schedule to determine which days will require naked flames – requiring an additional effects person on set. Then I head home, finishing my script mark-up on the way. I have the weekend off, then it’s back to Wales on Monday to start prep in earnest.
5 Things Directors Should Know About Cinematography
 Any director worth their salt will be skilled in telling a story with the camera. But, quite understandably, they’re not familiar with the key concepts of cinematography – particularly the lighting side of cinematography – which a DP employs every day to create images that have impact, mood and production value. For the most part, directors don’t need to know these things – after all, that’s what the DP’s there for – but understanding a few of the basic concepts can help set up your film for visual excellence before the DP even gets involved.
1. We don’t light from the front.
It is logical to assume that light coming from behind the camera will give the best illumination to a scene. And on a purely cold, scientific level, it’s true. But on an aesthetic level, it couldn’t be more wrong. Quite apart from the practical issues of boom shadows and actors squinting in the sun, frontlight gives a flat, depthless image similar to a photo taken with flash.

Similarly, anyone who has taken photos with a camera in automatic mode will have been told – or quickly learnt – that shooting towards the sun, or when indoors, towards a window, is a bad idea, resulting in silhouettes and/or blown-out skies. So directors are often surprised when towards the sun (or a window) is EXACTLY the direction I want to shoot in, because it supplies beautiful backlight and allows me to fill in the shadow side – the side towards camera – as I see fit. No, it’s not going to be a silhouette (unless that’s what we’re going for) because I have a lamps and I have manual control of my iris.
2. Dark scenes do not require a camera with good low light sensitivity.
It depends what you mean by dark. A scene that is dark as a creative decision won’t actually be dark in reality because it will still be lit, perhaps highly lit, to create a moody, contrasty look. Therefore the camera’s sensitivity is not much of an issue.
A scene that is dark because you don’t have the budget to light it properly – yes, that’s going to need a sensitive camera if you’re going to see anything but noise.
3. You can’t fix everything in the grade.
It is truly amazing what can be done with today’s colour correction software, but there are two things it can’t do: it can’t save an image that was seriously underlit or underexposed, and it can’t change the angle or quality of light. Colour and intensity, yes. Angle and quality (soft/hard), no. And since these are the main things a DP determines, grading can never replace a good cinematographer. If it doesn’t look good on the monitor on the day, it will probably never look good.
4. We can’t light without seeing the blocking.
I can’t count the number of times I’ve turned up on set and asked to see the blocking, and been told no because the actors actors are in make-up, “but they’re going to stand kind of here.” In most circumstances, the first scene of the day should be blocked BEFORE the actors go to make-up. That way the DP can be lighting while the cast is getting made up, which is much more time efficient. Otherwise the DP tinkers about trying to light the space and looking at their watch, then when the talent comes out everyone is kept waiting while the DP changes all the lighting. Because inevitably the actors will want to do something different than what the director had in mind, or the director forgot to mention that one of the actors has to be seen coming through the door at the start, etc, etc. Blocking can also throw up problems with the scene which can be solved by various other departments while make-up is going on.

5. A good camera and a good DP are not substitutes for good design.
Light and lensing can only do so much. If what’s put in front of the camera doesn’t look good to start with, there’s very little I can do about it. Get an art director. Please, please, please, get an art director. They will do much more for the look of your film than I can. I don’t care if it’s a futuristic sci-fi movie or a gritty drama shot in a student flat, you need an experienced person with an artistic eye adding character to the sets and locations, developing a palette and composing everything beautifully for the camera.
Stop/Eject Now on YouTube
After 18 months in the making and 2 years on the festival circuit, the short fantasy-drama Stop/Eject is now available to watch for free on YouTube. Here it is…
Stop/Eject stars Georgina Sherrington – best known as Mildred Hubble from ITV’s The Worst Witch – as a grieving widow who discovers a mysterious old tape recorder that can stop and rewind time… but can she save her husband?
The journey of getting Stop/Eject to the screen has had its ups and downs, with the whole project almost collapsing in autumn 2011, before being reborn and shot in April 2012, then a very quiet period of rejection upon rejection from festivals until its official selection for Raindance 2014 and its subsequent long-listing for a Bafta this year. A feature-length version was even in development for a while, until I realised that the concept just doesn’t work beyond a short. For me the high-point was a screening last week ahead of Back to the Future at the Arts Picturehouse in Cambridge, with a buzzing audience of almost 100 people.
Those of you who have been waiting a while to see Stop/Eject, I very much hope you enjoy it. If you want a copy to own, we’re selling a very small number of DVDs and Blu-rays that are left over – go to stopejectmovie.com/buy.html
9 Tips for Easier Sound Syncing
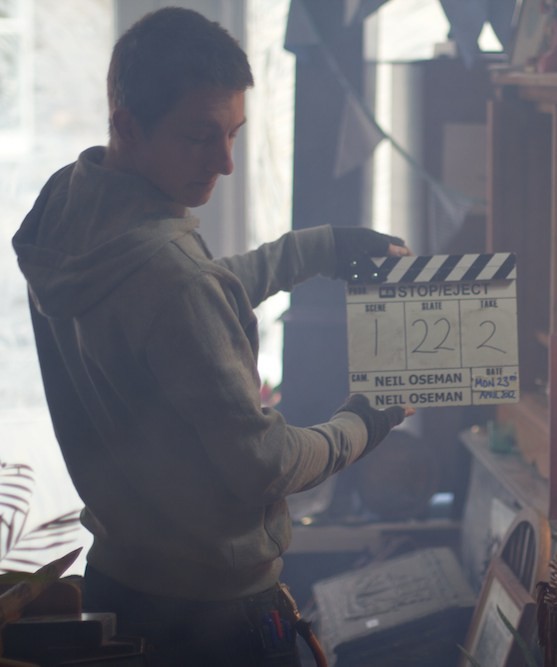
While syncing sound in an edit recently I came across a number of little mistakes that cost me time, so I decided to put together some on-set and off-set tips for smooth sound syncing.
On set: tips for the 2nd AC
- Get the slate and take number on the slate right. This means a dedicated 2nd AC (this American term seems to have supplanted the more traditional British clapper-loader), not just any old crew member grabbing the slate at the last minute.
- Get the date on the slate right. This can be very helpful for starting to match up sound and picture in a large project if other methods fail.
- Hold the slate so that your fingers are not covering any of the info on it.
- Make MOS (mute) shots very clear by holding the sticks with your fingers through them.
- Make sure the rest of the cast and crew appreciate the importance of being quiet while the slate and take number are read out. It’s a real pain for the editing department if the numbers can’t be heard over chit-chat and last-minute notes from the director.
- Speak clearly and differentiate any numbers that could be misheard, e.g. “slate one three” and “slate three zero” instead of the similar-sounding “slate thirteen” and “slate thirty”.
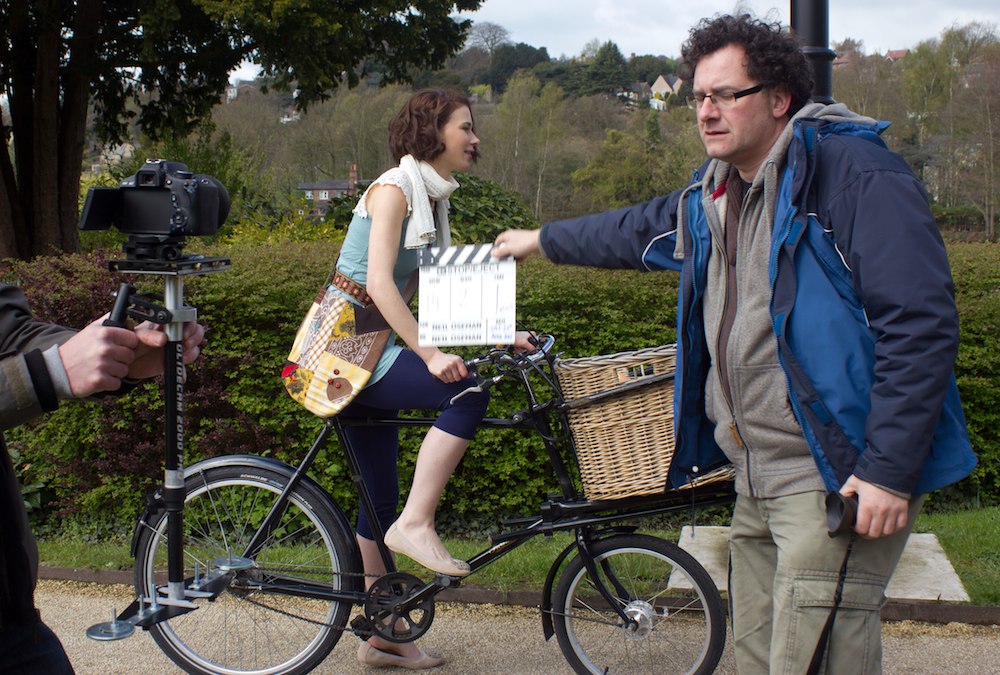
For more on best slating practice, see my Slating 101 blog post.
Off set: tips for the DIT and assistant editor
- I recommend renaming both sound and video files to contain the slate and take number, but be sure to do this immediately after ingesting the material and on all copies of it. There is nothing worse than having copies of the same file with different names floating around.
- This should be obvious, but please, please, please sync your sound BEFORE starting to edit or I will hunt you down and kill you. No excuses.
- An esoteric one for any dinosaurs like me still using Final Cut 7: make sure you’ve set your project’s frame rate correctly (in Easy Setup) before importing your audio rushes. Otherwise FCP will assign them timecodes based on the wrong rate, leading to errors and sound falling out of sync if you ever need to relink your project’s media.
Follow these guidelines and dual system sound will be painless – well, as painless as it can ever be!
Classic Single Developing Shot in Back to the Future: Part II
“What the hell’s going on, Doc? Where are we? When are we?”
“We’re descending towards Hill Valley, California, on Wednesday, October 21st, 2015.”
“2015? You mean we’re in the future?”
Yep, we’re all in the future now.
The Back to the Future trilogy are the films that made me want to be a filmmaker, and 30 years has not dulled their appeal one bit. In a moment I’ll give a single example of the brilliance with which Robert Zemeckis directed the trilogy, but first a reminder…
If you’re in the Cambridge area, you can see Back to the Future along with my short film Stop/Eject at the Arts Picturehouse next Monday, Oct 26th, 9pm. You need to book in advance here.
If you can’t make it, I’m pleased to announce that Stop/Eject will be released free on YouTube on November 1st.
 Anyway, back to Back to the Future. Robert Zemeckis is a major proponent of the Single Developing Shot – master shots that use blocking and camera movement to form multiple framings within a single take. Halfway through BTTF: Part II comes a brilliant example of this technique. Doc has found Marty at his father’s graveside, the pair having returned from 2015 to a nightmarish alternate 1985. In an exposition-heavy scene, Doc explains how history has been altered and what they must do to put it right.
It could have been very dull if covered from a lot of separate angles (and not acted by geniuses). Instead Zemeckis combines many of the necessary angles into a single fluid take, cutting only when absolutely necessary to inserts, reverses and a wide. Here are the main framings the shot moves through.
It starts on a CU of the newspaper…

…then pulls out to a 2-shot…
…which becomes a deep 2 as Doc walks away…
…before pushing in to Doc at the blackboard…
…and panning with him to the DeLorean…
…then pulls back out to include Marty again…
…rests briefly on another 2-shot…
…then becomes a deep 2 once more as Doc moves away…
…then a flat 2 again…
…then a deep 2 again…
…then pushes in to a tighter 2 as Marty realises it’s all his fault…
…then it becomes an over-the-shoulder as Marty turns to Doc at the DeLorean…
…then a 50/50 as they face each other…
…then it tracks back to the blackboard…
…and tracks in further to emphasise the reveal of the second newspaper…
…then dollies back with Marty as he takes it into the foreground…
…then dollies into a tight 2 to end. I wonder how many takes they did of this, and how many different takes are used in the edit. Just after the reveal of the second paper there’s a cut to Einstein the dog, and when we come back to the developing shot the framing is slightly different, suggesting the dog shot is there to allow a splicing of takes more than anything else. All the other cuts in the scene are strongly motivated though, and seem to be there for narrative reasons rather than take-hopping.
Given the shortness of the lens – not more than a 35mm, I reckon – it’s likely that Michael J. Fox had to deliberately move out of the camera’s way at certain points, and the table seen in the opening frame may have been slid out by grips early on in the take to facilitate camera movement. I’d love to see some behind-the-scenes footage from this day on set, but none seems to exist.
So there you have it, one small example of the inventiveness which makes these films so enduring. Now stop reading this and get back to your trilogy marathon!
Crossing Paths: Daylight Interior
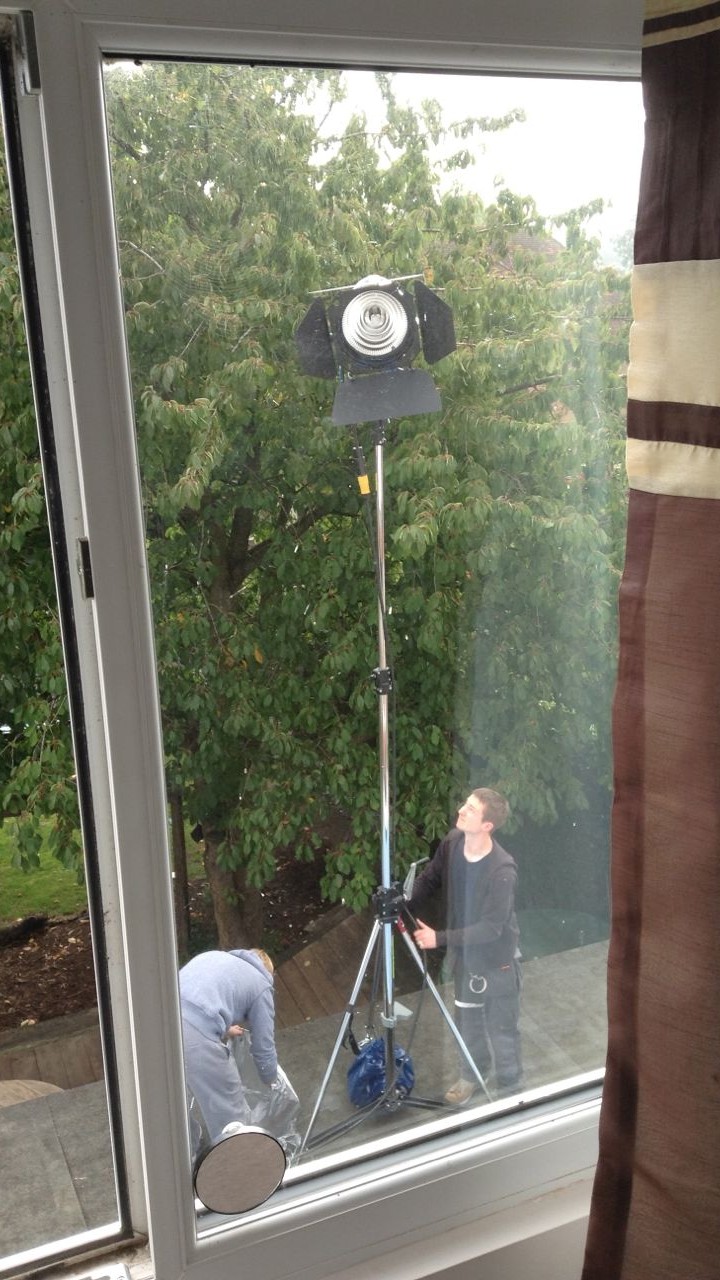
The final scene of Crossing Paths to go before the camera was a sombre daylight interior in a bedroom. If you’ve read my last two blog posts you’ll know that backlight is the central pillar of my approach to lighting both day exteriors and night exteriors. Daylight interiors are no different.
For day exteriors your backlight is the sun. For night exteriors it’s usually the moon. For day interiors it’s windows.
On the location recce I’d agreed with director Ben Bloore and production designer Sophie Black that we were going to shoot mostly towards the bedroom’s window. Given that the bed was the focal point of the scene, this decision was also cinematographically sound because it made for the most depth in the image, the window being in a dormer that distanced it from the bed.
To punch up the natural light coming in through the window – which was on the second floor – I had my crew clamber up on the flat roof of the extension and erect our Arri M18 on a double wind-up stand. Luckily the geography of the room and the blocking permitted the M18’s light to hit Tina’s face as she lay in the bed.
Sophie had dressed a floor lamp in next to the bed, which gave me the perfect motivation to clamp a dedo to the bedframe, uplighting Phil’s face. The cool M18 coming in from the rear right and the warm dedo coming in from the rear left picked out the actors’ profiles nicely, as you can see below. This is a kind of cross-backlight set-up, as explained in Lighting Techniques #2.

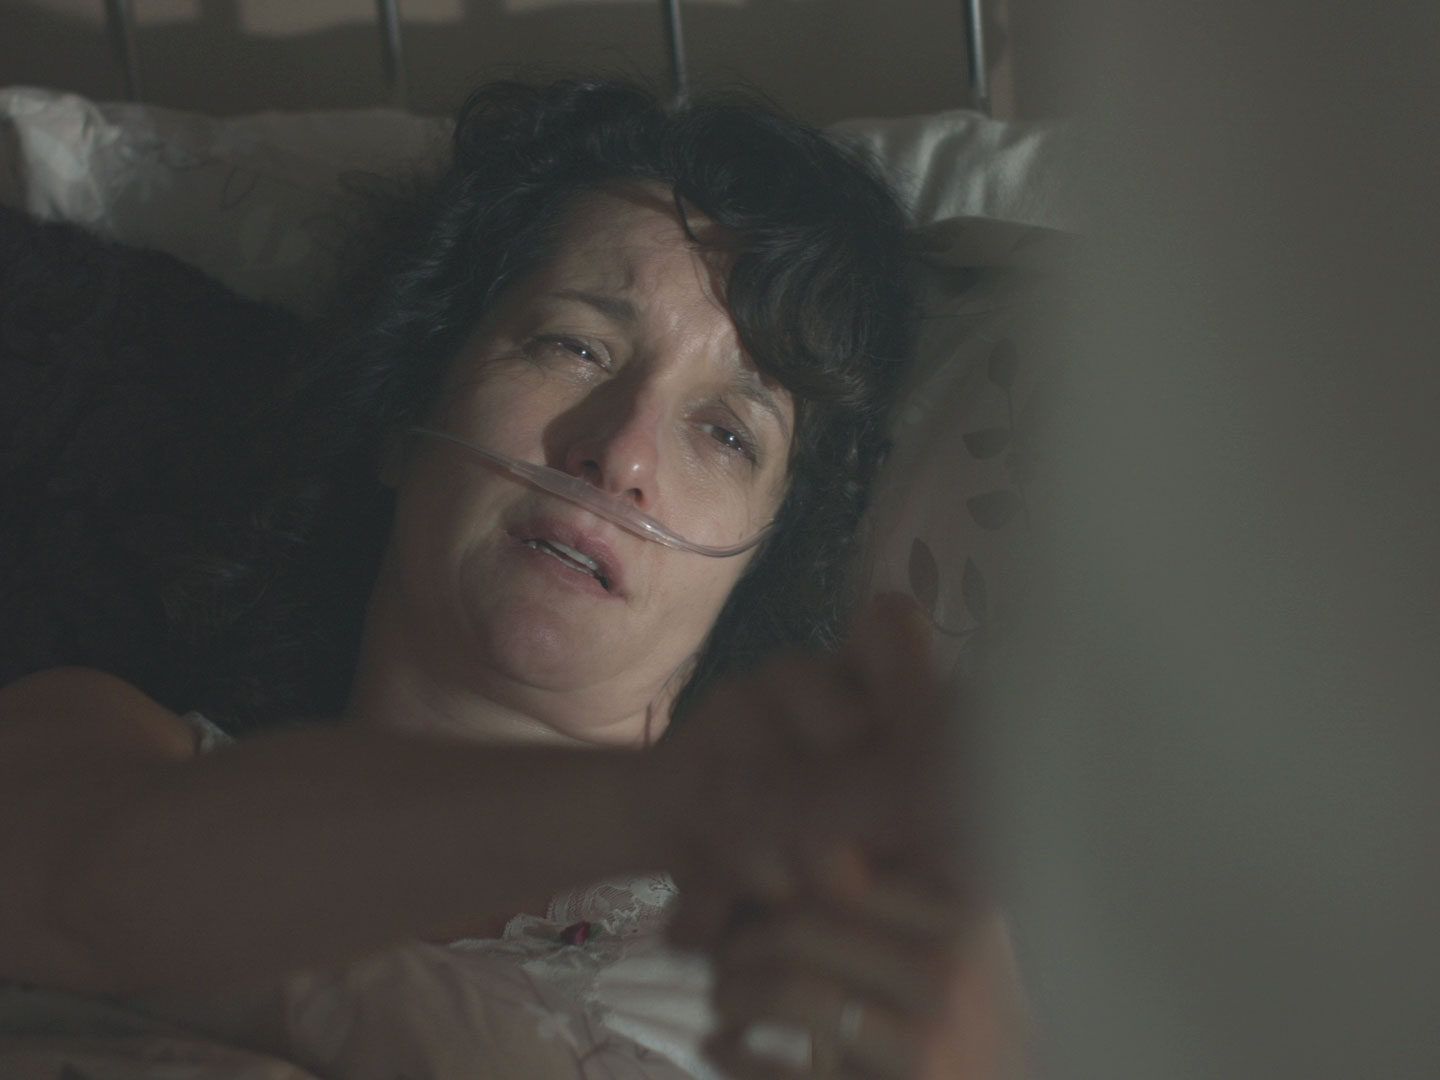
Immediately above the camera position there was a skylight with a roller blind. By opening or closing the blind I could effectively increase or decrease the level of fill in the lighting. For most of the scene I chose none. Some would argue that it’s best to add fill and then crush it out in post if you don’t like it, but I like to make decisions on the set wherever possible, to deliver the most cinematic image straight out of the camera.

To soften the scene I pumped in lots of smoke. Col had kindly gifted me a Magnum 650 (to fill the smoke machine void in my life since my Magnum 550 packed up last year) and we let that baby rip in that tiny little room! The smoke helped add to the sense of decay and reacted beautifully to the curtains being opened mid-scene.
That’s all from the set of Crossing Paths. I believe the edit is now underway, and I look forward to seeing how this lovely little short film turns out.
Crossing Paths is a B Squared production (C) 2015. Find out more at facebook.com/Crossing-Paths-Short-Film-697385557065699/timeline/
Crossing Paths: Night Exterior

After a morning of playing with the sun, the next task on Crossing Paths was to light a night exterior scene.
The Blackmagic Production Camera, with a native ISO of 400, is not the most sensitive of cameras. But with this scene being a flashback, I gained a stop of light by changing my shutter angle to 360 degrees and making that extra motion blur part of the film’s flashback look. (Click here to read my post on Understanding Shutter Angles.)

Just as a DP normally looks to orientate a daylight scene to use the sun as backlight, so they often aim to do the same with the moon at night. Except of course, unless you’re shooting on a Sony A7S, the actual position of the moon is irrelevant because it’s too dim to shed any readable light. Instead you set up a fake moon – usually an HMI – in the position that works best for you.
I knew that there would be two main camera angles for this scene, in which Michelle runs out of her house and across the road. One would be a handheld tracking shot, leading Michelle as she runs. The other would be an angle looking up the road. So the first angle would be looking towards the house and the second would be at 90 degrees to that.

Where to put the backlight? (I was going to use an ArriMax M18 for the moon.) Clearly not behind the house, because I didn’t have a massive crane to put it on! Similarly I could not put it at the end of the road without it being in shot. The clear solution was to put it mid-way between these two positions, in a neighbour’s garden. From there it would provide 3/4 backlight (from the left) for the view down the road, and side-light (from the right) for the view towards the house, developing to 3/4 backlight as Michelle crosses the road.
To get my backlight fix at the start of the handheld leading shot, I placed a Dedo at the top of the stairs shining down.
3 x 300W Gulliver lamps, kindly supplied by spark Colin Stannard, were also used in the scene. Two were hidden behind trees down the road, pointing at parts of the background to stop it being black. (The road’s sodium streetlamps provided some nice bokeh as they reflected in parked cars, but did nothing to illuminate the scene.)

The third Gulliver was used to 3/4 front-light Michelle in the first half of the leading shot. I put it on a C-stand, nice and high, shining through a tree so as to break up the light – always a good trick for frontal light sources at night.
To ensure Michelle’s face was visible in the second half of the leading shot, an 8’x4′ poly was used to bounce some of the “moonlight” back at her.
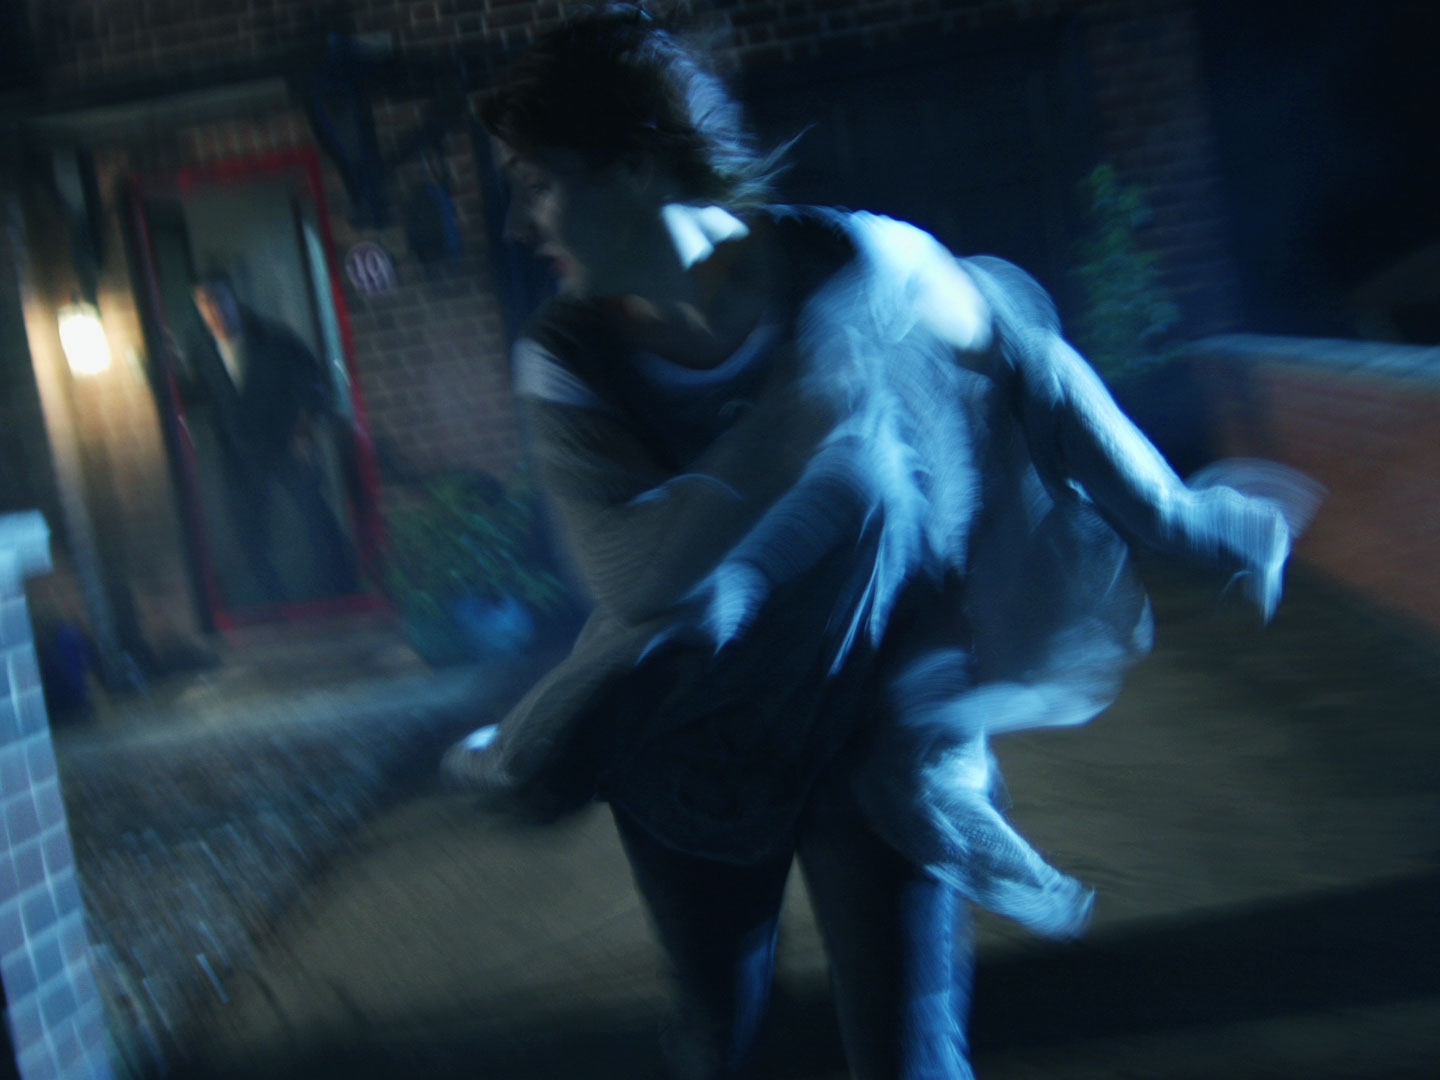
Here’s a lighting diagram of the whole set-up…
 Crossing Paths is a B Squared production (C) 2015. Find out more at facebook.com/Crossing-Paths-Short-Film-697385557065699/timeline/
Crossing Paths: Day Exterior

The sun is an awesome light source, but you’re not alone as a DP if you sometimes feel it’s the enemy. Shooting Ben Bloore’s Crossing Paths at the weekend, I was very lucky to be met with a perfect blue sky, but even so there was work to do in maintaining and sculpting the light.
The first step on the road to succesfully photographing day exterior scenes is choosing the right location. Crossing Paths is mostly about two characters sitting on a park bench. It needed to look serene and beautiful – which means backlight.
The initial location had an east-facing bench, so I asked for the scene to be scheduled in the evening. That way the characters would be backlit by the sun as it set in the west.

The location was later changed to Belper River Gardens (where, three years earlier, I had shot scenes from Stop/Eject). The new bench faced west, which meant shooting in the morning so it would be backlit from the east.
In a rare instance of nature co-operating, the sun blazed out over the trees at about 8am and perfectly backlit the actors as we set up for the master shot. I used an 8’x4′ poly to bounce the light back and fill in their faces.
As we moved into the coverage, a very tall tree started to block some of the sunlight. This was where our hard reflector came in. This is a 3’x3′ silver board mounted in a yoke so that it can easily be panned and tilted.
Col set up this reflector in a patch of sunlight, ricocheting it onto the back of the actors’ heads, maintaining the look of the master shot.

Later one of the characters stands up and looks down on the bench. We needed to shoot his CU for this moment without him squinting into the sun, and without harsh shadows on his face. Cue the next tool in our sun control arsenal: the silk. Stretched across a 6’x6′ butterfly frame, the silk acted like a cloud and softened the sunlight passing through it.


You need to think carefully about what order to do your coverage in with natural light, particularly if the day is as sunny as this one was. I asked to leave the shots looking south last, so that the sun would have moved round to backlight this angle.
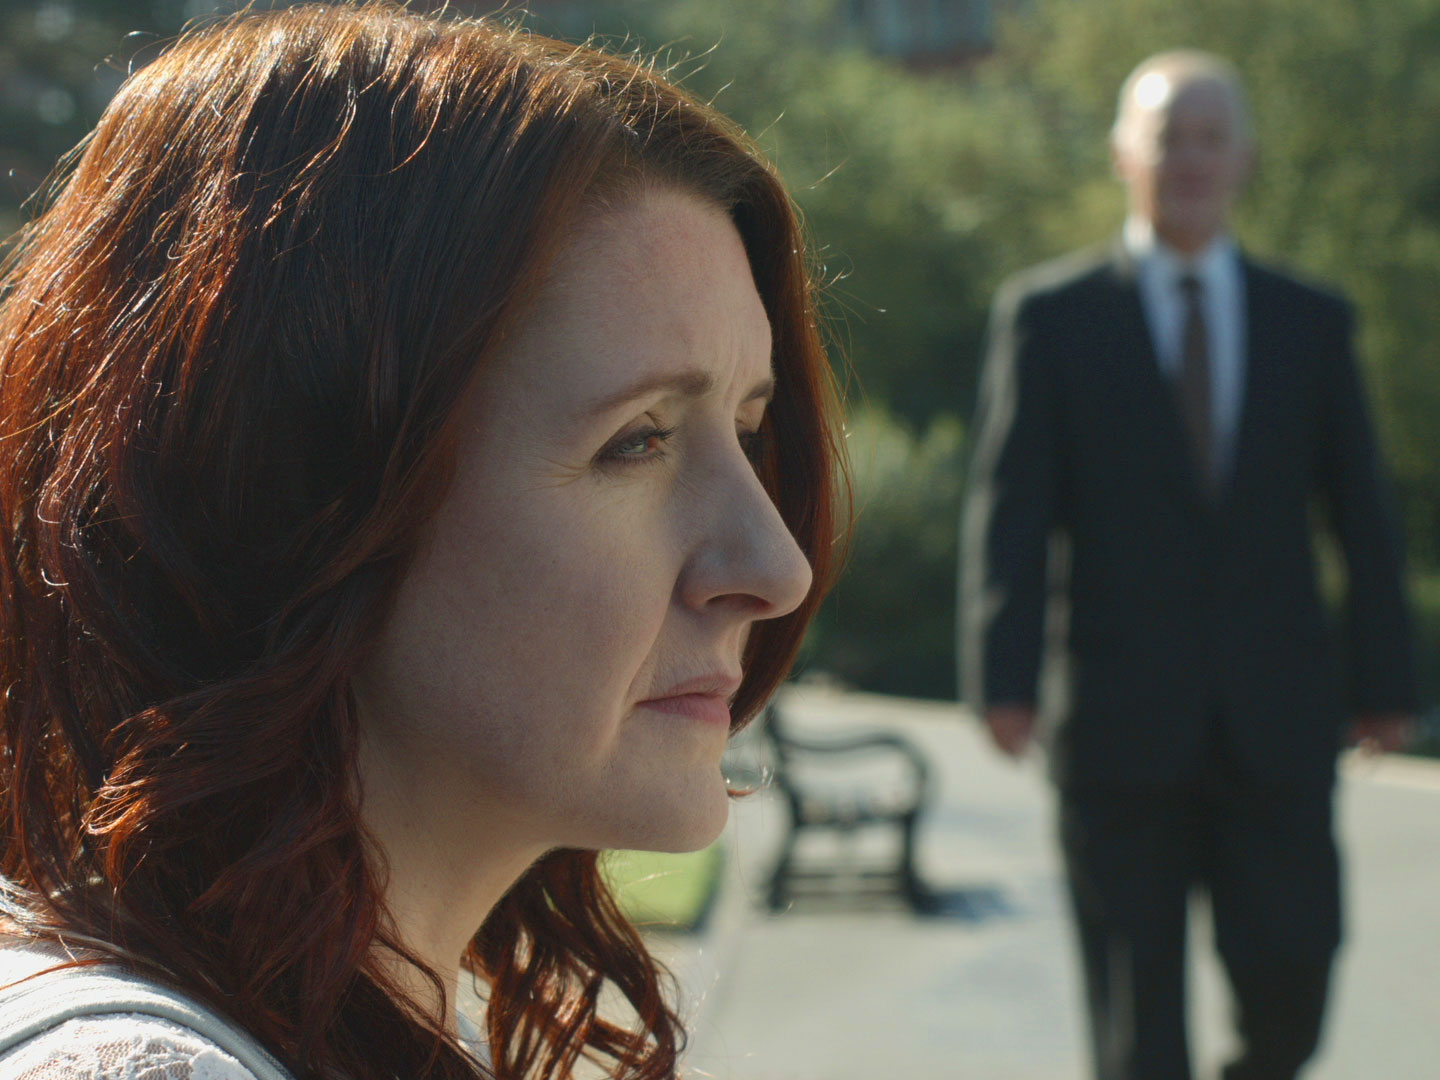
What if it had been an overcast day? Well, it wouldn’t have looked as good, but we were tooled up for that eventuality too. We had an ArriMax M18 which could have backlit the actors in all but the widest shots (for which we would have had to wait for a break in the clouds) and a 4’x4′ floppy for negative fill if the light was too flat. More on those some other time.
Related posts:
Lighting ‘3 Blind Mice’ – using positive and negative fill and artificial backlight for day exterior scenes
Sun Paths – choosing the right locations for The Gong Fu Conection
Moulding Natural Light – shooting towards the sun and modifying sunlight
Crossing Paths is a B Squared production (C) 2015. Find out more at facebook.com/Crossing-Paths-Short-Film-697385557065699/timeline/