The Art and Science of White Balance

Mixed colour temperatures in “Annabel Lee”

Colour temperature starts with something mysterious called a “black body”, a theoretical object which absorbs all frequencies of electromagnetic radiation and emits it according to Planck’s Law. Put simply, Planck’s Law states that as the temperature of such a body increases, the light which it emits moves toward the blue end of the spectrum. (Remember from chemistry lessons how the tip of the blue flame was the hottest part of the Bunsen Burner?)

Colour temperature is measured in kelvins, a scale of temperature that begins at absolute zero (-273°C), the coldest temperature physically possible in the universe. To convert centigrade to kelvin, simply add 273.

Tungsten bulbs emit an orange light - dim them down and it gets even more orangey.
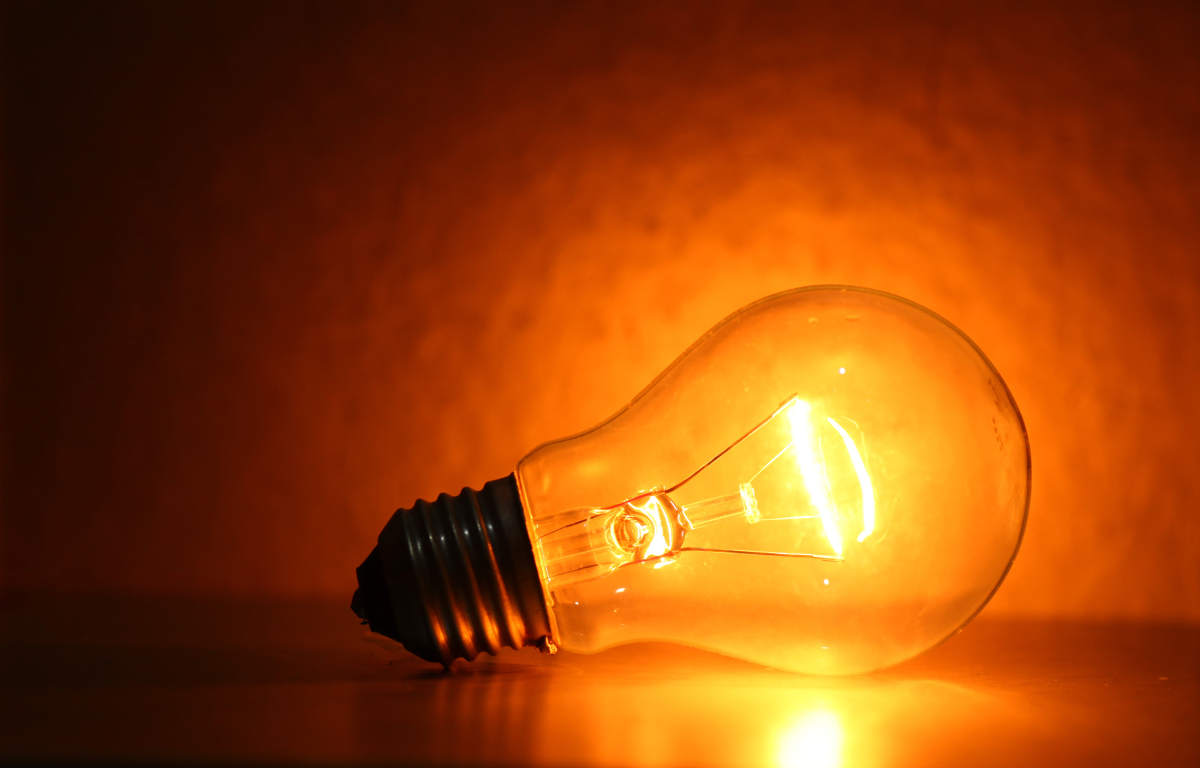
The surface of the sun has a temperature of 5,778K (5,505°C), so it emits a relatively blue light. The filament of a tungsten studio lamp reaches roughly 3,200K (2,927°C), providing more of an orange light. Connect that fixture to a dimmer and bring it down to 50% intensity and you might get a colour temperature of 2,950K, even more orange.

Incandescent lamps and the sun’s surface follow Planck’s Law fairly closely, but not all light sources rely on thermal radiation, and so their colour output is not dependent on temperature alone. This leads us to the concept of “correlated colour temperature”.

Colour temperature chart
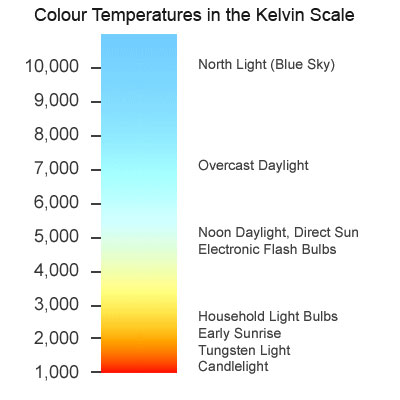
The correlated colour temperature of a source is the temperature which a black body would have to be at in order to emit the same colour of light as that source. For example, the earth’s atmosphere isn’t 7,100K hot, but the light from a clear sky is as blue as a Planckian body glowing at that temperature would be. Therefore a clear blue sky has a correlated colour temperature (CCT) of 7,100K.

LED and fluorescent lights can have their colour cast at least partly defined by CCT, though since CCT is one-dimensional, measuring only the amount of blue versus red, it may give us an incomplete picture. The amounts of green and magenta which LEDs and fluorescents emit varies too, and some parts of the spectrum might be missing altogether, but that’s a whole other can of worms.

The human eye-brain system ignores most differences of colour temperature in daily life, accepting all but the most extreme examples as white light. In professional cinematography, we choose a white balance either to render colours as our eyes perceive them or for creative effect.

6000K HMI lighting photographed at 3200K to give a moonlight feel to “Heretiks”

Most cameras today have a number of white balance presets, such as tungsten, sunny day and cloudy day, and the options to dial in a numerical colour temperature directly or to tell the camera that what it’s currently looking at (typically a white sheet of paper) is indeed white. These work by applying or reducing gain to the red or blue channels of the electronic image.

Interestingly, this means that all cameras have a “native” white balance, a white balance setting at which the least total gain is applied to the colour channels. Arri quotes 5,600K for the Alexa, and indeed the silicon in all digital sensors is inherently less sensitive to blue light than red, making large amounts of blue gain necessary under tungsten lighting. In an extreme scenario – shooting dark, saturated blues in tungsten mode, for example – this might result in objectionable picture noise, but the vast majority of the time it isn’t an issue.

Left: daylight white balance preset (5,600K). Right: tungsten white balance preset (3,200K)

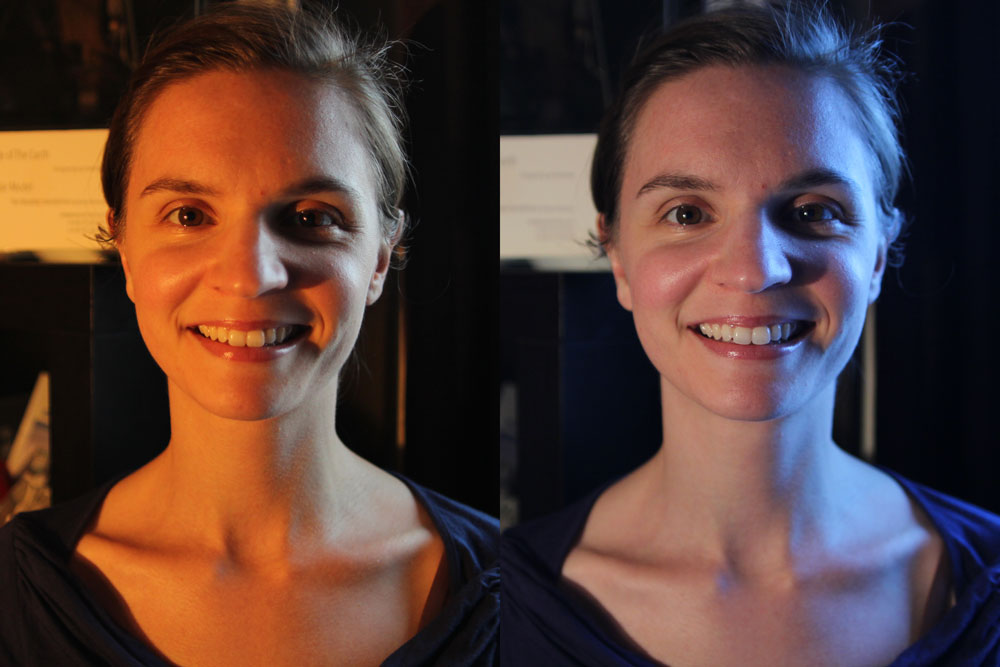
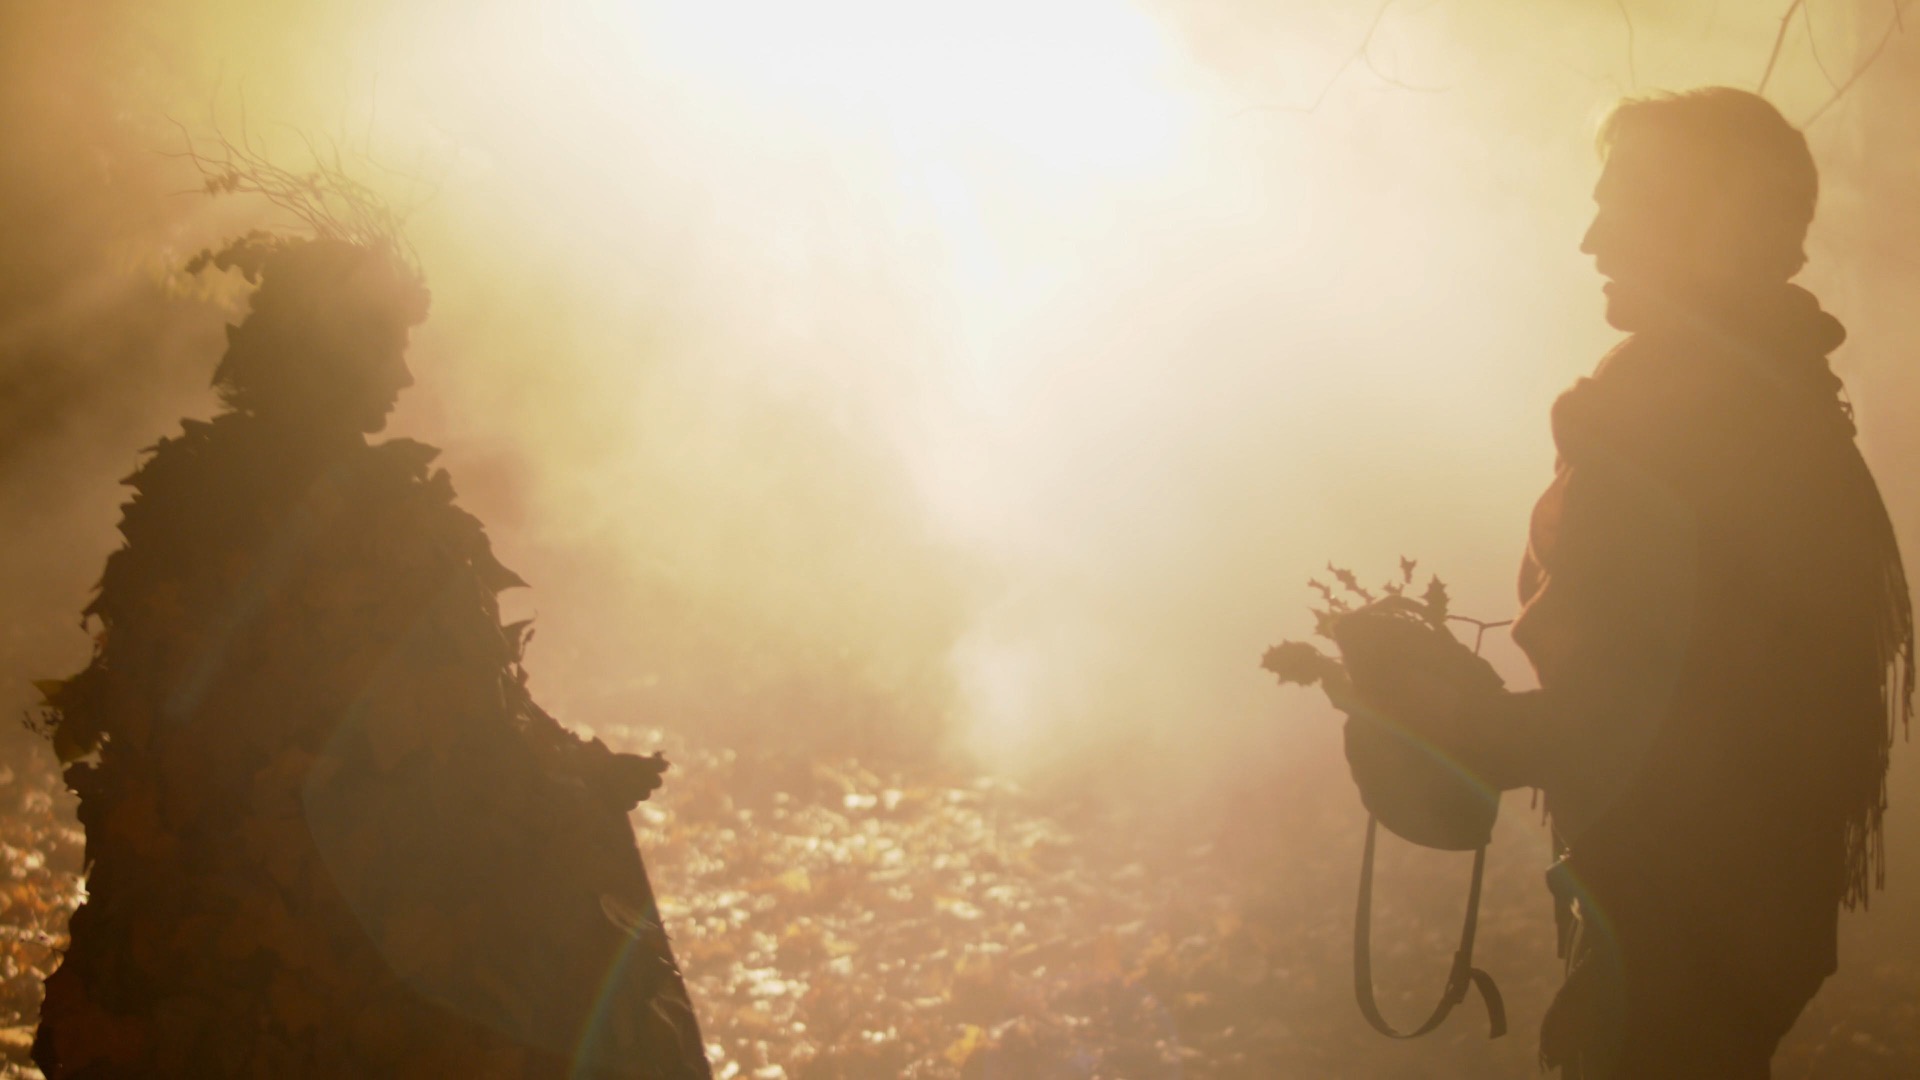
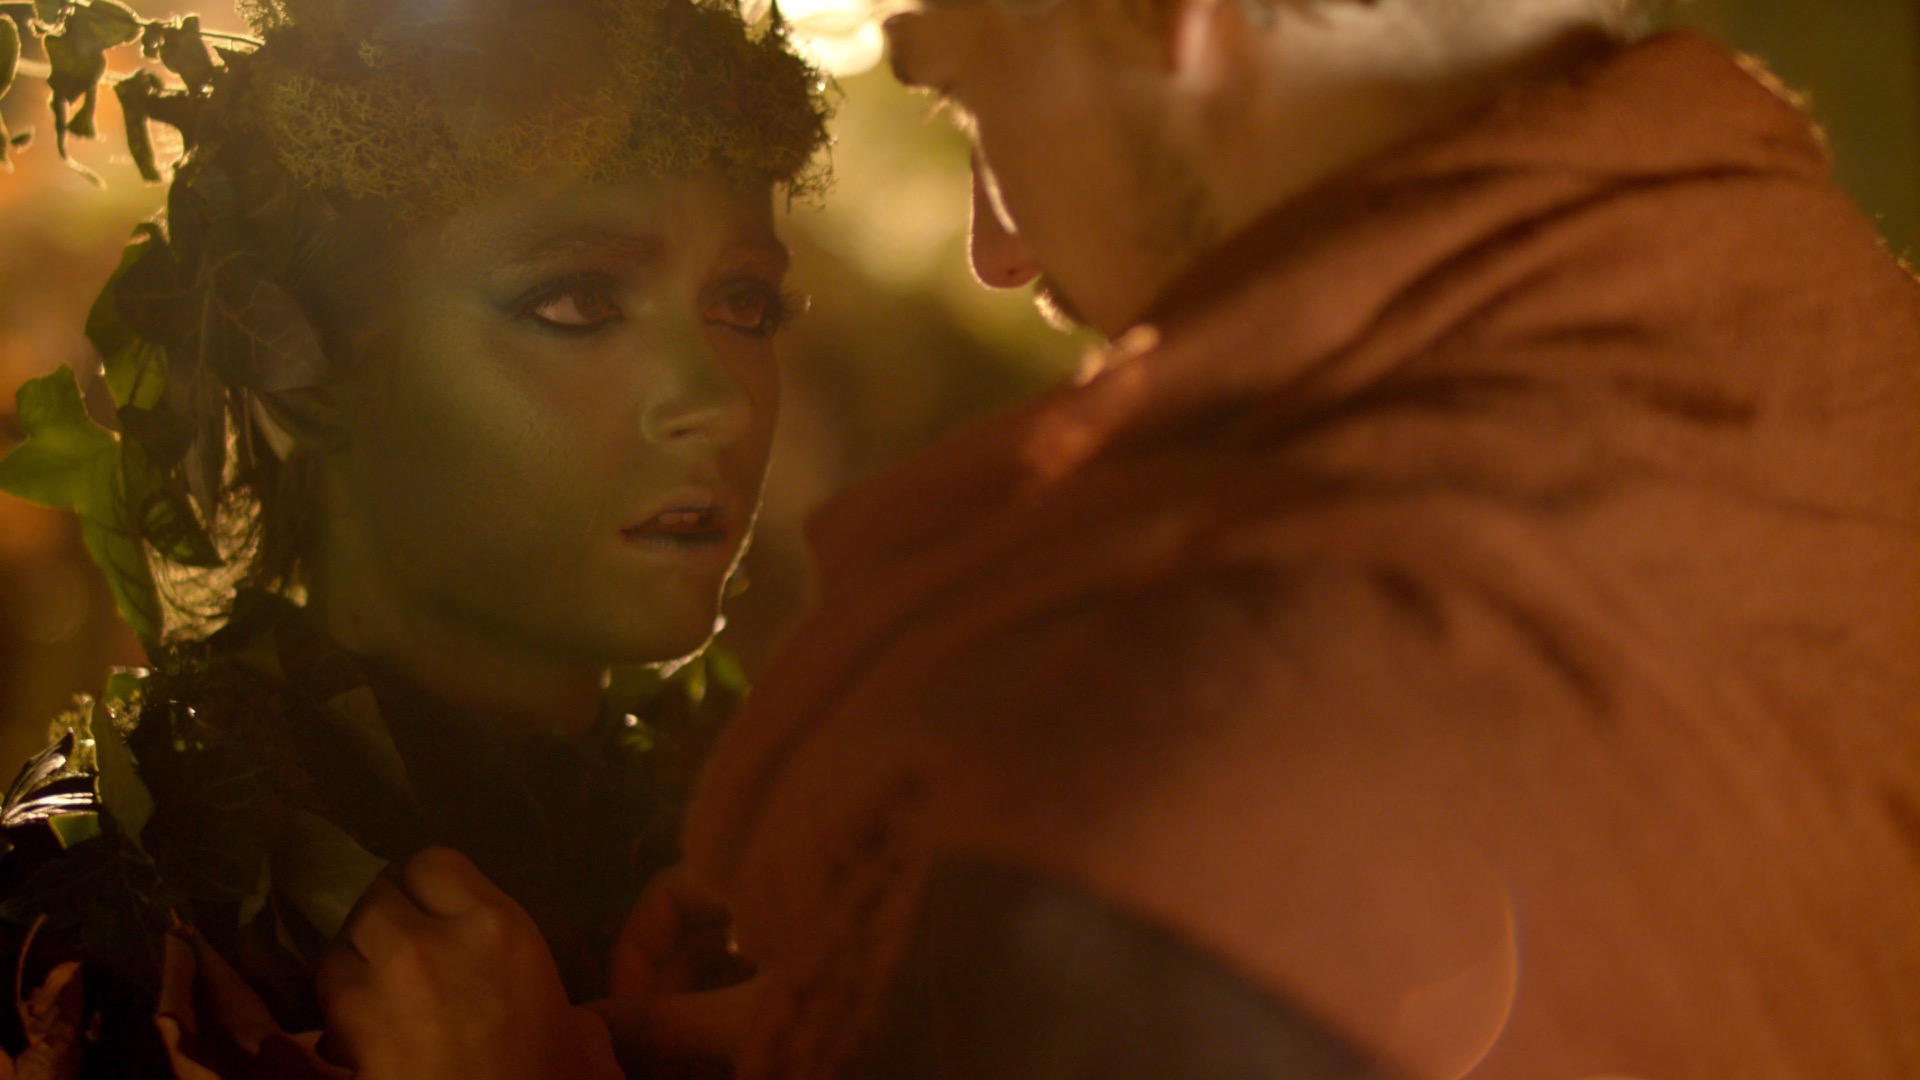
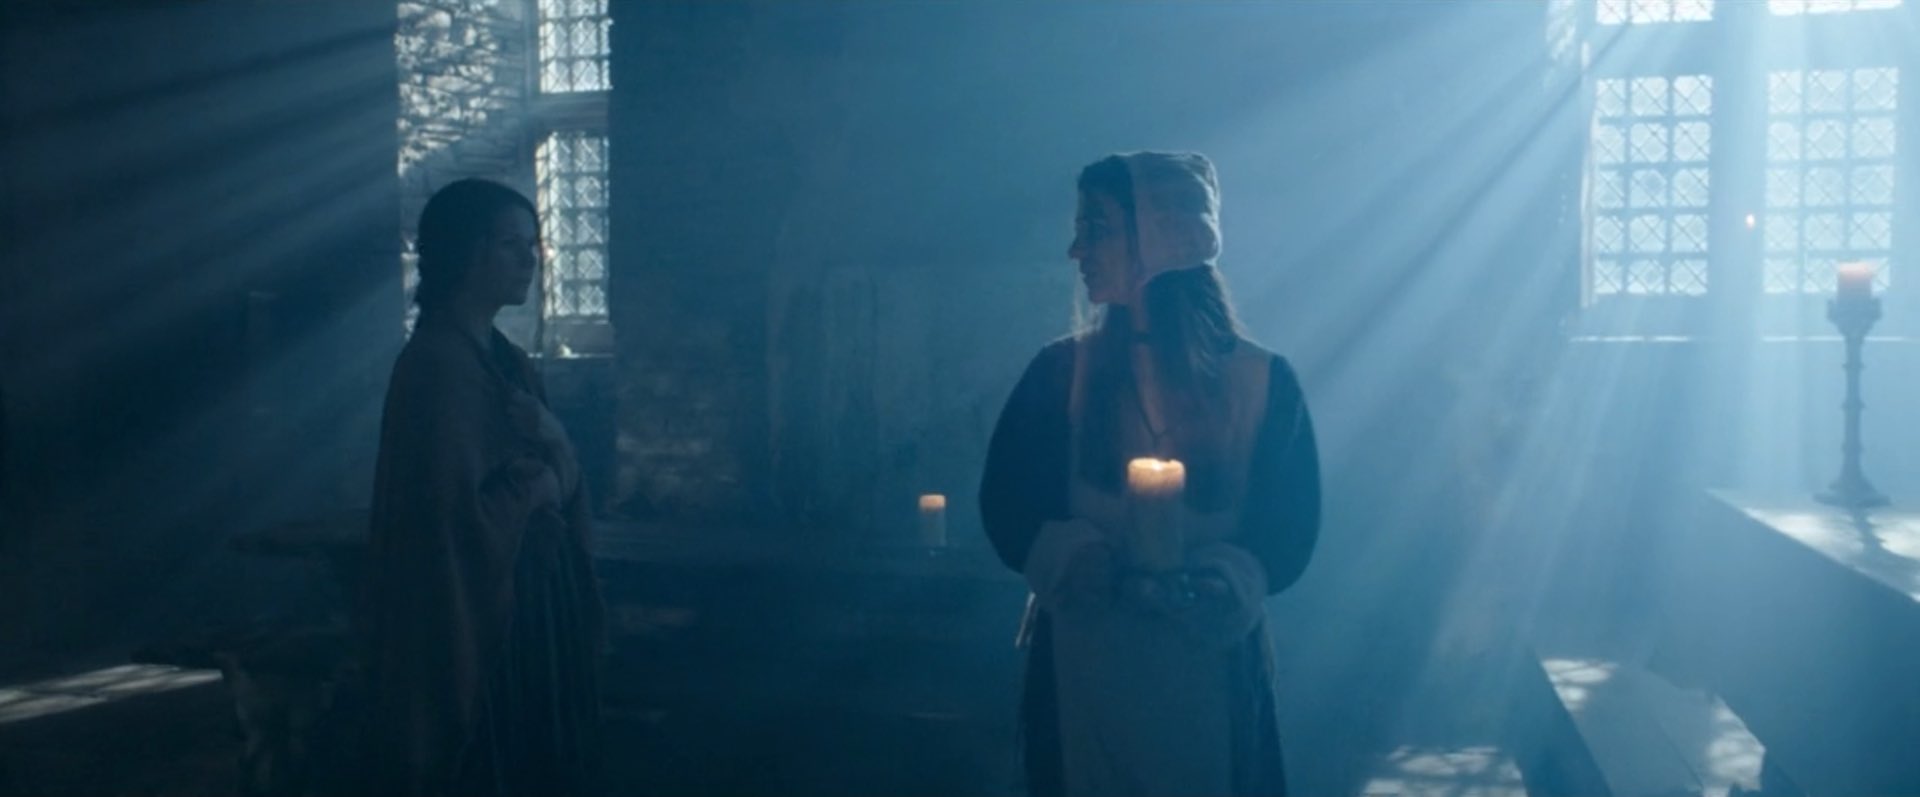
The difficulty with white balance is mixed lighting. A typical example is a person standing in a room with a window on one side of them and a tungsten lamp on the other. Set your camera’s white balance to daylight (perhaps 5,600K) and the window side of their face looks correct, but the other side looks orange. Change the white balance to tungsten (3,200K) and you will correct that side of the subject’s face, but the daylight side will now look blue.

Throughout much of the history of colour cinematography, this sort of thing was considered to be an error. To correct it, you would add CTB (colour temperature blue) gel to the tungsten lamp or perhaps even place CTO (colour temperature orange) gel over the window. Nowadays, of course, we have bi-colour and RGB LED fixtures whose colour temperature can be instantly changed, but more importantly there has been a shift in taste. We’re no longer tied to making all light look white.

A practical light of the “wrong” colour temperatures in “Finding Hope”

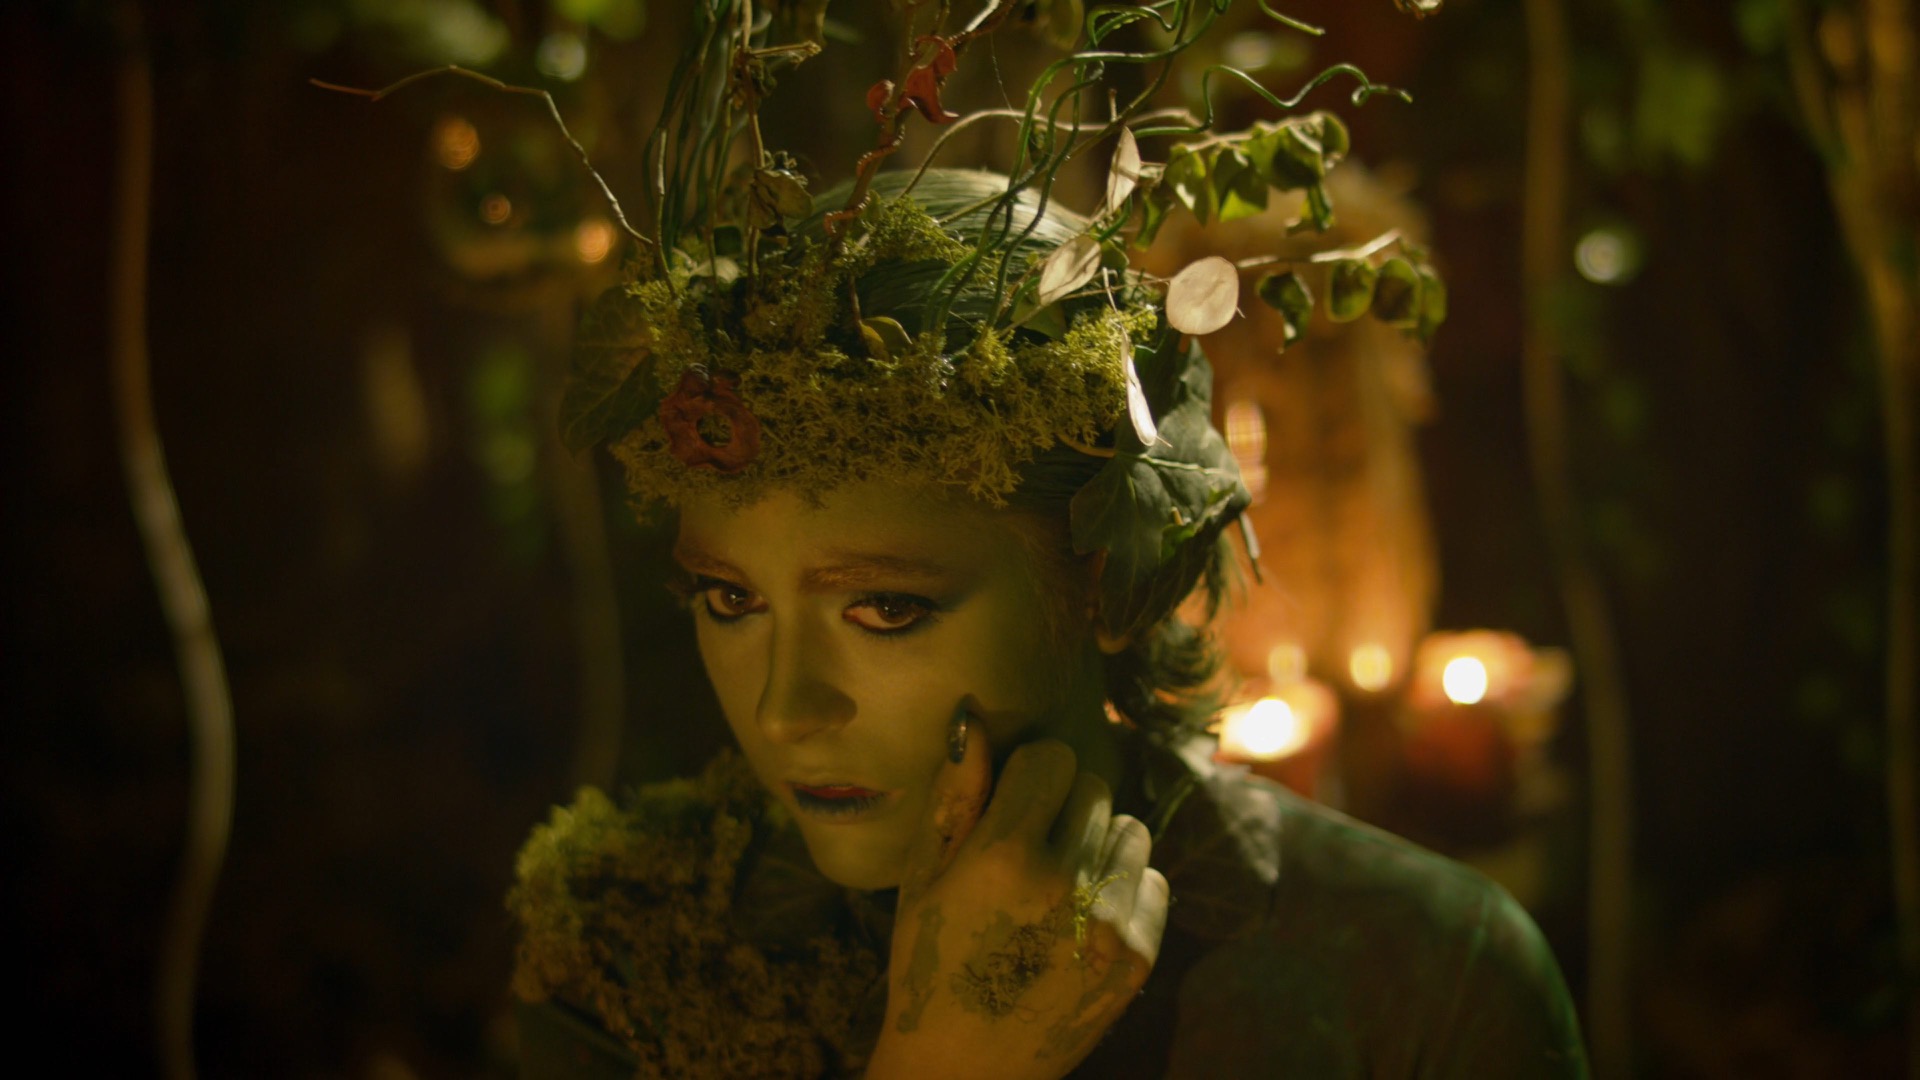
To give just one example, Suzie Lavelle, award-winning DP of Normal People, almost always shoots at 4,300K, halfway between typical tungsten and daylight temperatures. She allows her practical lamps to look warm and cozy, while daylight sources come out as a contrasting blue.

It is important to understand colour temperature as a DP, so that you can plan your lighting set-ups and know what colours will be obtained from different sources. However, the choice of white balance is ultimately a creative one, perhaps made at the monitor, dialling through the kelvins to see what you like, or even changed completely in post-production.

The Art and Science of White Balance

The Cinematography of “Alder”

Back in February 2019 I spent a long day in Black Park, a forest behind Pinewood Studio, shooting a short film called Alder for director Vanda Ladeira. A little late perhaps, but here are my reflections on the cinematography and general experience of making this experimental fairytale.

The film is about a forager (Odne Stenseth) who does not realise he is being watched by the very spirit of the forest, the titular Alder (Libby Welsh). As he cuts a sprig of holly, or steps on a mushroom, he is unknowingly causing her pain. Meanwhile a group of ghosts – Alder’s former victims? – cavort in the woodland, and strips of film made with ground-up human bone reach out from the trees to ensnare the forager.

Vanda contacted me after seeing my work on Ren: The Girl with the Mark. She was keen for Alder’s lair to have the same feel as Karn’s house in that series. We had a number of meetings to discuss the tone, visuals and the logistics of the shoot, which initially was going to take place over two days but was eventually compressed to one.

In October 2018 we conducted a recce in a forest that we ultimately weren’t able to use. I remember at the time that I was considering shooting the project on celluloid, tying in with the plot point about Alder making film from her victims’ bones. I dropped the idea after taking light readings on that recce – when it was very overcast – and realising just how dark it could be under the tree canopy.

We ultimately shot on a Blackmagic Ursa Mini and Xeen primes, provided along with the lighting kit by gaffer Jeremy Dawson. The Blackmagic sensors seem to do very well with earthy tones, as I noticed on the village set of Ren, and the Ursa rendered the browns of the bracken, the soil and the forager’s costume nicely. Jeremy also provided us with a jib which enabled us to underscore the forager’s action with some definite moves: an introductory crane down; a dramatic pull up as he drives his knife into a tree; and a frantic boom down with him as he searches for his lost compass. In Alder’s lair we kept the camera drifting from side to side or up and down to bring energy to her more static scenes.

Lighting for the forager’s scenes was all natural, with just a little bounce or negative fill from time to time to keep some shape to the image. An Artem smoke gun, operated by Claire Finn, was used on almost every shot to give the forest some life and mystery, and also to keep the backgrounds from getting too busy; the grey wall of smoke serves to fade the background slightly, keeping the eye focused on the foreground action.

As there was no dialogue, I was free to change the frame rate expressively. Examples include: over-cranking close-ups of the forager’s feet and hands in contact with nature, emphasing the sensuality of his unwitting connection to Alder; over-cranking the dance of the ghosts to make their movements even more beautiful and supernatural; and under-cranking the forager slightly to enhance his panic when he finds himself lost and surrounded.

Alder’s lair was a set built by Denisa Dumitrescu in the forest. I took broadly the same approach to lighting it as I had for the reference scene from Ren, making some holes in the branch-covered roof and shining a blinder (a bank of four LED spotlights) through it to produce dappled shafts of sunlight. On the floor around Alder were a number of candles; we beefed up the light from these by skipping an 800W tungsten lamp off a bounce board on the floor.

The biggest challenge was the meeting between the two main characters, a scene scripted for daylight which we were forced to shoot after dark due to running behind schedule. It was the longest and most important scene in the film and suddenly the cinematography had to be completely improvised. We did not have anywhere near the lighting package that a woodland night exterior normally calls for – just 800W tungsten lamps, a few LED fixtures, and a generator only powerful enough to run one of each.

What I ended up doing was putting an 800 in the background, ostensibly as a setting sun, and bouncing a blinder off poly-board as fill. We shot the whole scene through in a single handheld shot, once with smoke and once without, then picked up a few close-ups.I tried to hide the lack of light in the background by allowing the 800 to flare the lens and render the smoke almost impenetrable at times. Vanda and her editor, Tom Chandler, leant into the strange, stylised look and bravely intercut the smoky and smokeless takes. The result is much more magical and expressive than what we would have shot if we had still had daylight.

You can watch the finished film here. It won me Best Cinematographer at the New York Cinematography Awards (August 2019) and Film Craft Award: Cinematography at Play Short International Film Awards (2019).

The Cinematography of “Alder”

How to Make a Living from Cinematography

Seven years ago, I transitioned to making a living purely as a director of photography on drama. I’ve since added writing and making an online course to my repertoire, but drama is still paying most of the bills. If you’re doing bits of what you love around a day job in an office, or freelance corporate videos, being able to leave those things behind you and pay the rent with stuff you enjoy doing can seem like the Holy Grail. So below I’m going to list the three things which I think, in combination, allowed me to make that transition.


1. Quantity of experience: putting in the hard graft

When I stopped doing corporates in 2014, I had been in the industry for a decade and a half. I had made two no-budget features off my own back, and photographed half a dozen other no-budget features and countless shorts, as well as the rent-paying work on participatory films, training videos and web video content. (Whether this kind of stuff really counts as being in “the industry” is debatable, but that’s a subject for another post.)

When I apply for a job I always start by introducing myself as a DP with x years of experience, because I think it speaks volumes about my passion and commitment, and proves that I must have talent and be pleasant to work with, if I’ve been able to keep doing it for so long.

The number of IMDb credits I had is also important. I had almost 50 at the time I made the jump, over half of those as a cinematographer.

How many years of experience and how many IMDb credits you need before you can make the jump could be more or fewer than I needed, depending on the other two factors on this list and the quality of the contacts you make. (I haven’t included contacts as a separate item on this list because it comes naturally out of the jobs you do. Artificially generating contacts, for example by attending networking events, does not lead to jobs or career progression, at least not in my experience.)


2. Quality of experience: getting that killer production on your reel

I first noticed a change occurring in my career when I added material from Ren: The Girl with the Mark to my showreel. There was a noticeable increase in how often I was getting short-listed and selected for jobs. And The First Musketeer, in conjunction with Ren, led directly to my first paid feature film DP gig.

What was it about these two projects which enabled them to do for my career what fifteen years’ worth of other no-budget projects couldn’t? Production value. Simple as that. They looked like “real” TV or film, and not in the way that your friends and family will look at anything you shot and go, “Wow, that looks like a real film!” They looked – even to people in the industry – like productions that had serious money behind them. And people are lazy when they’re looking at showreels. If they’re hiring for a job that has serious money behind it, they want to see material on your showreel that appears to have serious money behind it.

Most scripts that you will read for shorts or no-budget features will be written to make them achievable with little or no money. Often they will be set mainly in one house (the director’s, or a bland-looking Airbnb) in the present day, with no production design and only three or four characters. If the script is well written, and you’re an actor, then working on such a project could be great for your career. For most crew members, it’s a waste of time.

For DPs in particular, quality production design is incredibly important on your showreel. Most people who watch your reel won’t really be able to separate the cinematography from the overall look of the piece – the art, the costumes, the make-up, the locations – so getting showreel material that is visually stunning from all departments is the only way to kick your career up to the next level.


3. The Fear: making a living at it because you have to

Before I stopped doing corporates, I thought I was making every effort to get work as a drama DP. But I was wrong. As soon as I gave up the safety net of corporates, my whole attitude to drama work changed. Suddenly I had to do it, and I had to get paid reasonably well for it, otherwise I wouldn’t be able to pay my rent. It made me drive a harder bargain when negotiating my fee, it made me turn down unpaid projects and as a consequence it changed the way producers and directors saw me, and the kinds of projects they would consider me for.

Do not underestimate the value of The Fear. It’s not a magic wand, and you do need to have the experience and the killer production(s) on your reel before you make the jump, but The Fear will give you wings and help you get to the other side.

How to Make a Living from Cinematography

6 Things to Beware of with Vintage Lenses

Ever since digital cinematography became the norm, DPs have sought to counter the format’s perfection with characterful vintage lenses. Having just completed a feature film shoot, Hamlet, on Cooke Panchros and a Cooke 10:1 Varotal, I’m over the moon with the beautiful, creamy, organic look they brought to the production. However, I can’t deny that they have some disadvantages over modern glass which you should take into consideration before choosing the vintage approach.


1. Softness

Vintage lenses simply aren’t as sharp as their modern counterparts, particularly at the edges of frame and particularly when the iris is wide open. On Hamlet I deliberately shot with the Panchros wide open to soften the image, rather than adding a diffusion filter like I’ve often done in the past, but that look is not for everyone, and it does make things a little harder for your focus puller. Be sure to test the sharpness and view the results on a large screen before committing.


2. BreathING

https://www.youtube.com/watch?v=YcpLAk34fkk

Breathe is the phenomenon whereby a lens appears to zoom slightly in or out when the focus is pulled. The Cooke Varotal is especially prone to this. As a result, my focus puller Aristide Russo had to be very gentle with his pulls otherwise the breathing was distracting.


3. Veiling

Many DPs love lens flares, and beautiful, natural flares were one of the reasons I picked the vintage Cooke glass. But look out for veiling flare – a milkiness and lift in the shadows affecting the whole frame. I noticed this a lot when shooting under the practical fluorescents in Hamlet‘s stage set, especially with handheld shots where the veiling would appear and disappear depending on the camera’s angle to the lights. I decided to embrace it and make it part of the film’s look, but if maintaining high contrast at all times is important to you, lenses without modern coatings may not be the right choice.


4. Vignetting

Check for dark patches in the corners of your image. The Varotal I used vignetted at certain parts of the zoom range and not at others, so the dark corners would appear and disappear during a zoom. Although not ideal, it isn’t noticeable most of the time. Besides, I figured that most colourists add vignettes to most shots anyway, so I was simply saving them a little time!


5. Mechanics

Older lenses are, quite naturally, less reliable. Even if they have been rehoused, like our Cooke “Century” Panchros had been in 2000, you may find that the iris and/or focus sticks sometimes. Our 25mm started to play up halfway through our shoot, forcing Aris to use the rosettes to support the matte box, otherwise the motor wasn’t powerful enough to turn the focus ring. This possibility was flagged for me during testing when we had a similar issue with the 50mm. Even if all your lenses seem to be fine during prep, know that a vintage lens could start misbehaving at any time, and your rental house may not have another on the shelf to replace it with.


6. Uniformity

Don’t expect a set of vintage primes to all have the same maximum aperture or the same external configuration. The iris ring might be buried in the matte box, the matte box might not fit on at all, or it may be impossible to engage both iris and focus motors at the same time.


All this sounds quite negative, but the flares, softness, breathing and vignettes can be absolutely beautiful. Be aware of the downsides of using vintage glass, absolutely, but if they suit your story then embrace the flaws and get ready to be blown away by your dailies.

In case you missed them the first time, I’ll leave you with some highlights from my Hamlet lens tests.

6 Things to Beware of with Vintage Lenses