Looking Back: “Daemos Rising”

Who is that handsome young chap?Last month saw the re-release of Reeltime Pictures‘ Daemos Rising, an unofficial Doctor Who spin-off film I photographed way back in 2003. It’s lovely to know that the film is popular enough for a high street release after so much time, and watching it again brought back many memories. Let the sharing of these memories commence…

2003 was Doctor Who’s 40th anniversary year, but the show had been off the air for over a decade and many fans, myself included, thought it would never return. In September I was weeks away from the start of principal photography on my second (and last) no-budget feature, Soul Searcher, but I was delighted to take a break from the stresses of self-producing to DP a tribute to the show I’d grown up with. “You won’t hear anything more from me now for a week,” I announced on my Soul Searcher blog on September 16th, “for I shall be ensconced in a cottage in a woodland area of Dorset (or possibly Devon – they’re easily confused), shooting a Doctor Who spin-off film for Reeltime Pictures. As you do.”

Screen Shot 2016-08-13 at 14.59.00
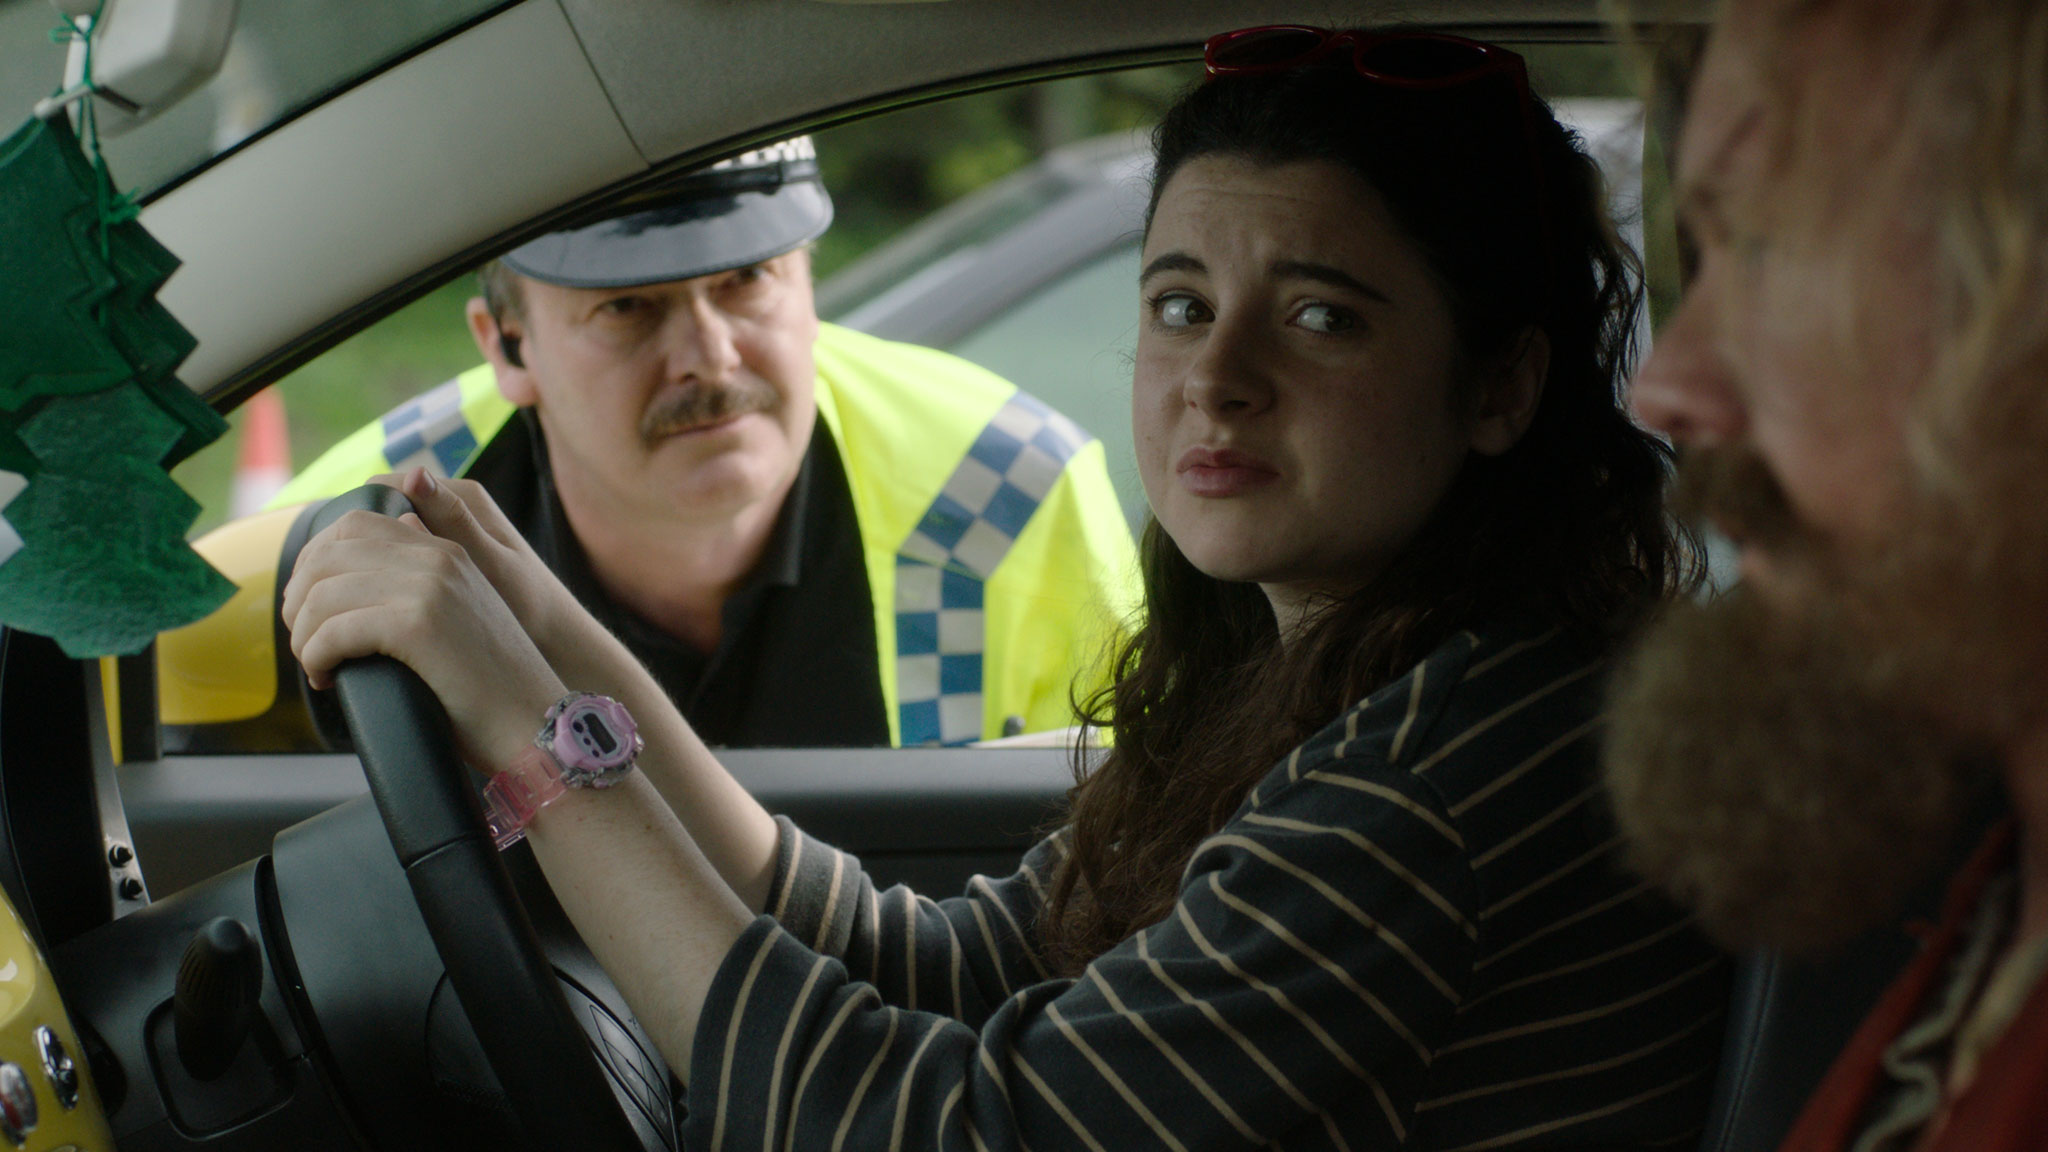
The location was in fact in Devon: the home of Ian Richardson, who has since sadly passed away. (Ian had an illustrious stage and screen career, including the lead role in the original UK version of House of Cards.) Although Ian’s involvement would be limited to a voiceover, his son Miles Richardson played the role of Douglas Cavendish, an ex-UNIT operative troubled by a time-travelling ghost, a creepy moving statue and of course the Daemons. For those non-Whoovers amongst you, the Daemons are a devilish alien race featured in a classic Third Doctor serial. Reaching its tentacles deep into the expanded Who-niverse, Daemos Rising was also a sequel to a prior Reeltime production, Downtime, and was tied in to a spin-off book series.

Screen Shot 2016-08-13 at 15.16.32
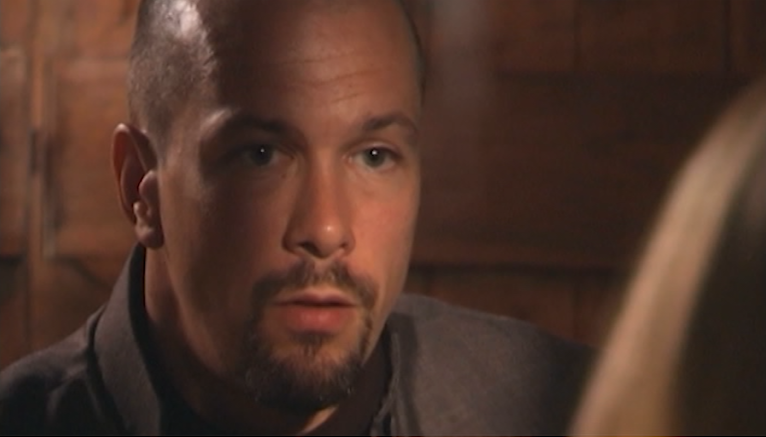
It was Miles who recommended me to director Keith Barnfather, having worked with me earlier that year on a feature called Blood Relative. Miles was joined on screen by his wife Beverley Cressman, playing Brigadier Lethbridge-Stewart’s daughter Kate. Rounding out the cast of three, as the aforementioned spectre, was Andrew Wisher, whose father Michael was the very first (and arguably best) actor to portray Dalek creator Davros.

The shoot didn’t start well. On the journey down to Devon, the prop shaft (bit that connects the engine to the wheels) dropped out of our rental van on the M5! Luis, the driver miraculously got us onto the hard shoulder while we still had some momentum, and the DVD extras include footage of us recovering as we awaited the RAC.

But this brush with death aside, I remember the shoot as a very happy one. It was a small team, just the three actors, Keith, his partner Anastasia, writer David J. Howe and his wife Rosie, and Luis on sound. We all stayed at the cottage, which was lovely, and enjoyed many a home-cooked meal and showbiz yarn. Miles and Andrew even gave an impromptu rendition of Billy Joel’s a cappella classic The Longest Time at one point.

Screen Shot 2016-08-13 at 14.57.17

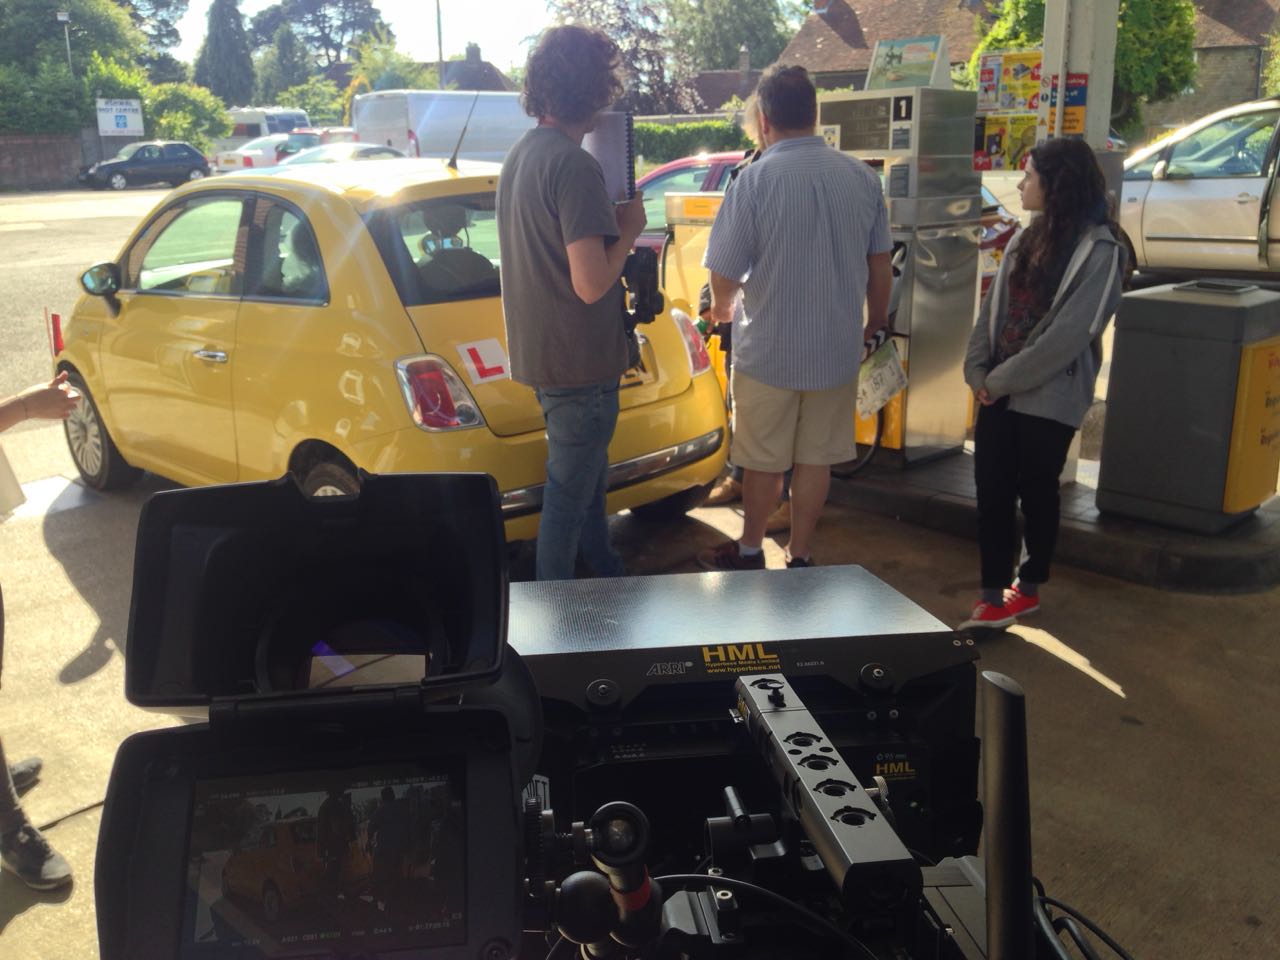
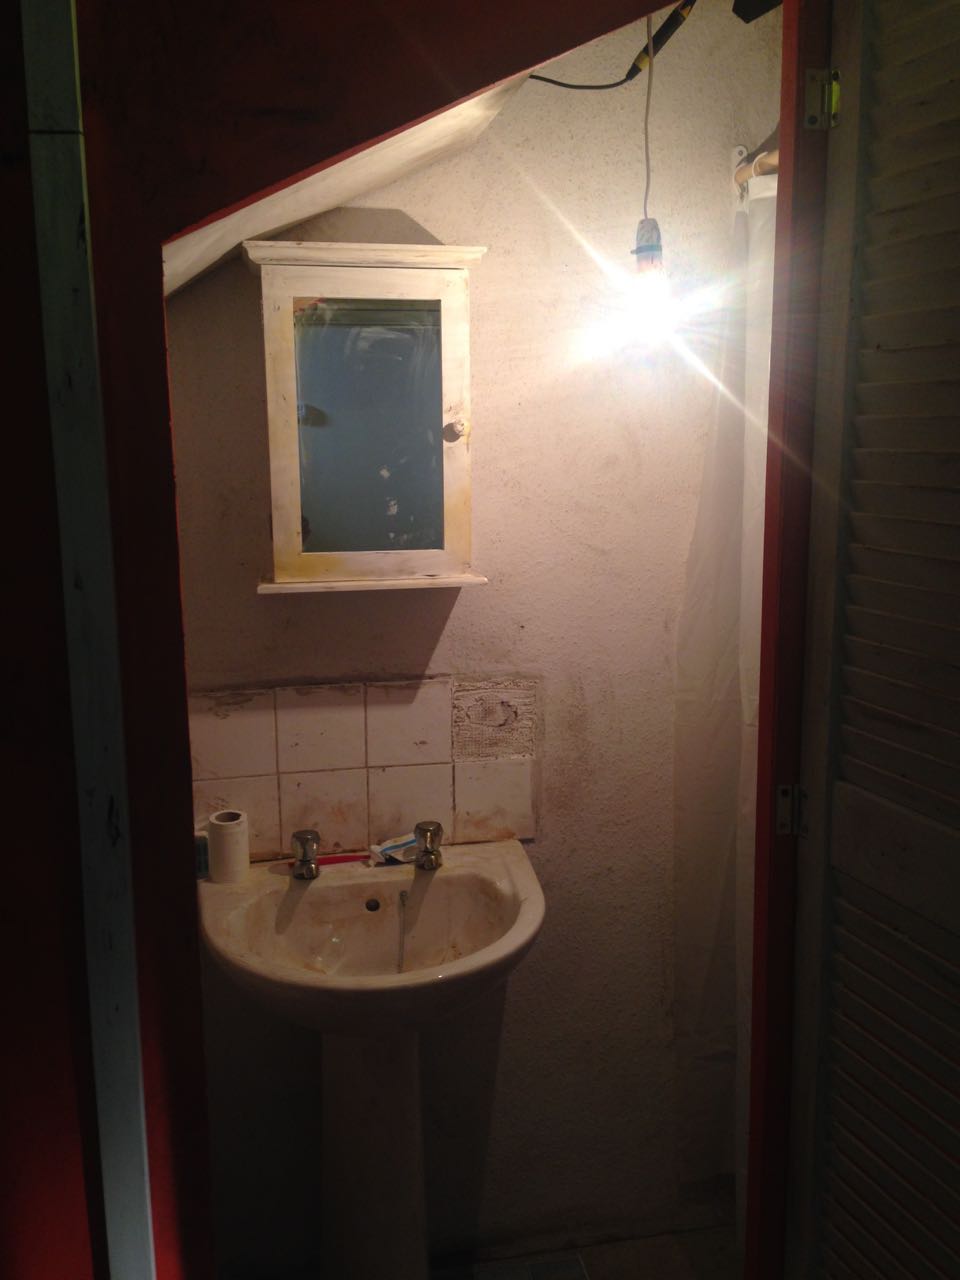
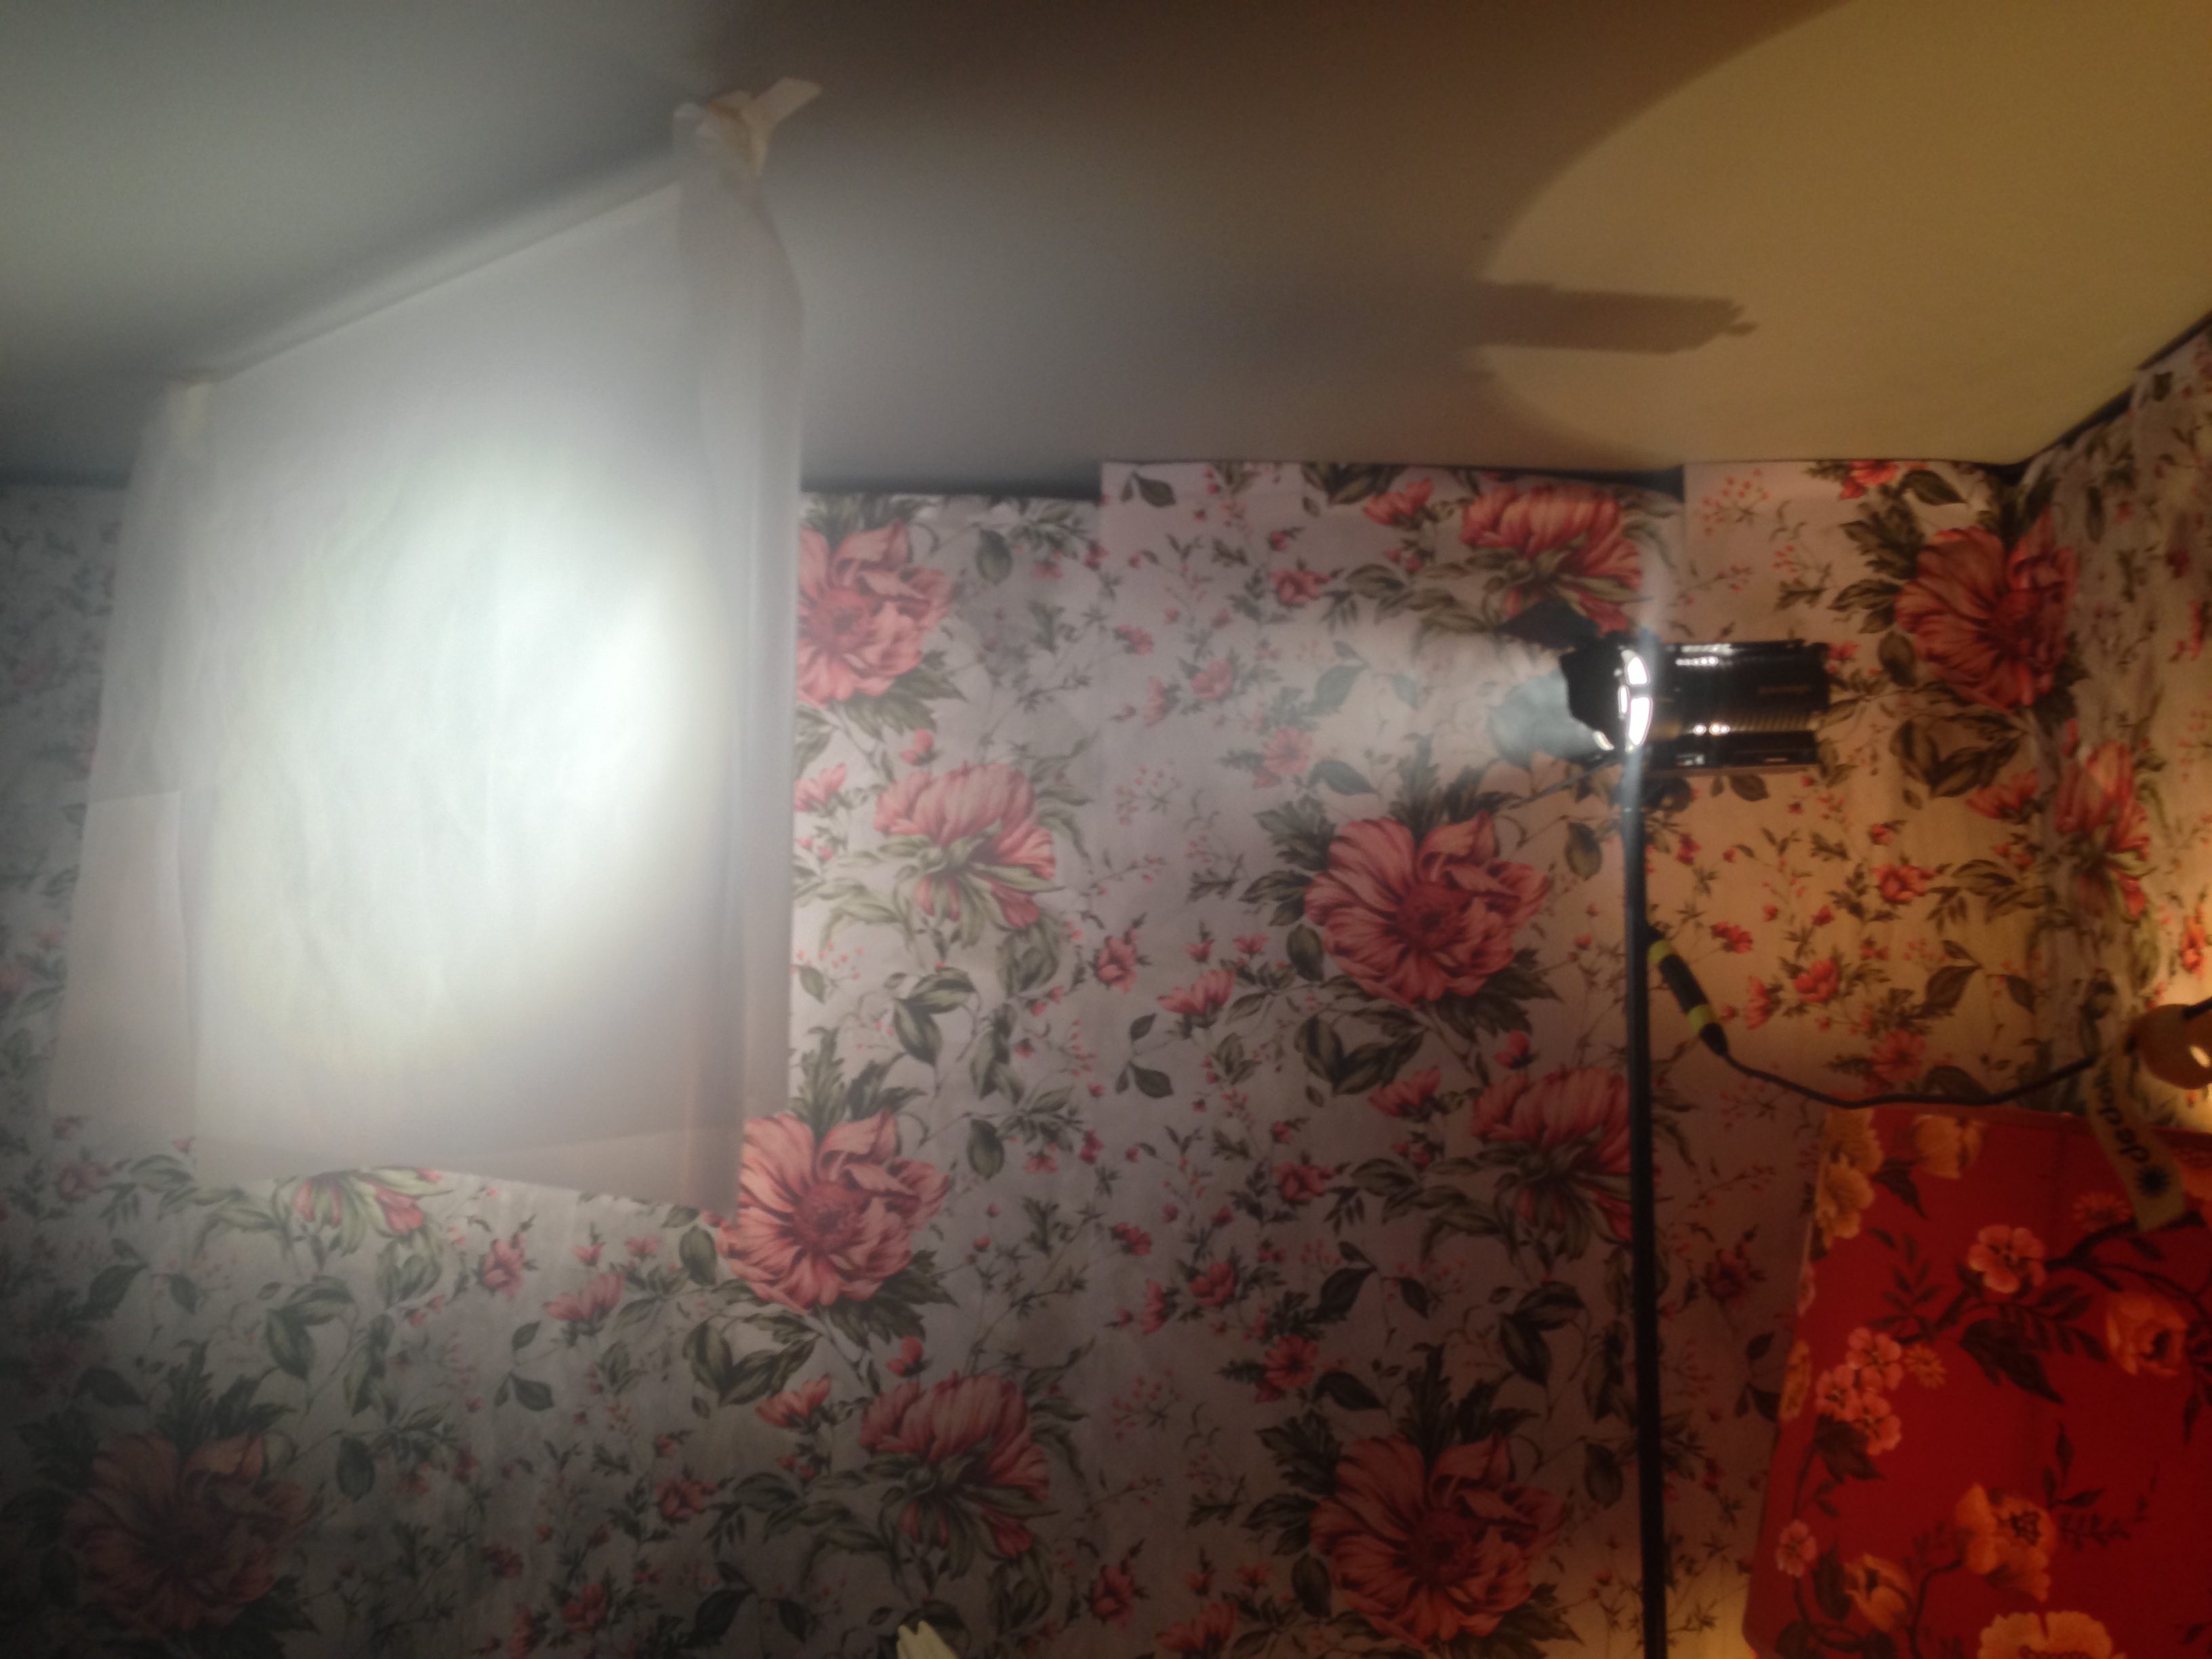
It was the era of Mini-DV, so I was shooting on my Canon XL1-S in glorious 576i. (I remember the damp playing havoc with the DV tapes when we shot the third act in a cave system called Kent’s Cavern.) I also supplied the lighting package, which consisted of 2 x 800W Arrilites, 2 x 1000W Arrilites and a vintage 5K Mole Richardson fresnel. The latter required a local electrician to wire us a 32A socket into Ian’s fusebox! Back then I used only hard light because I didn’t know any better, and it gave everything a distinctive noir style.

Screen Shot 2016-08-13 at 15.15.26 (2)
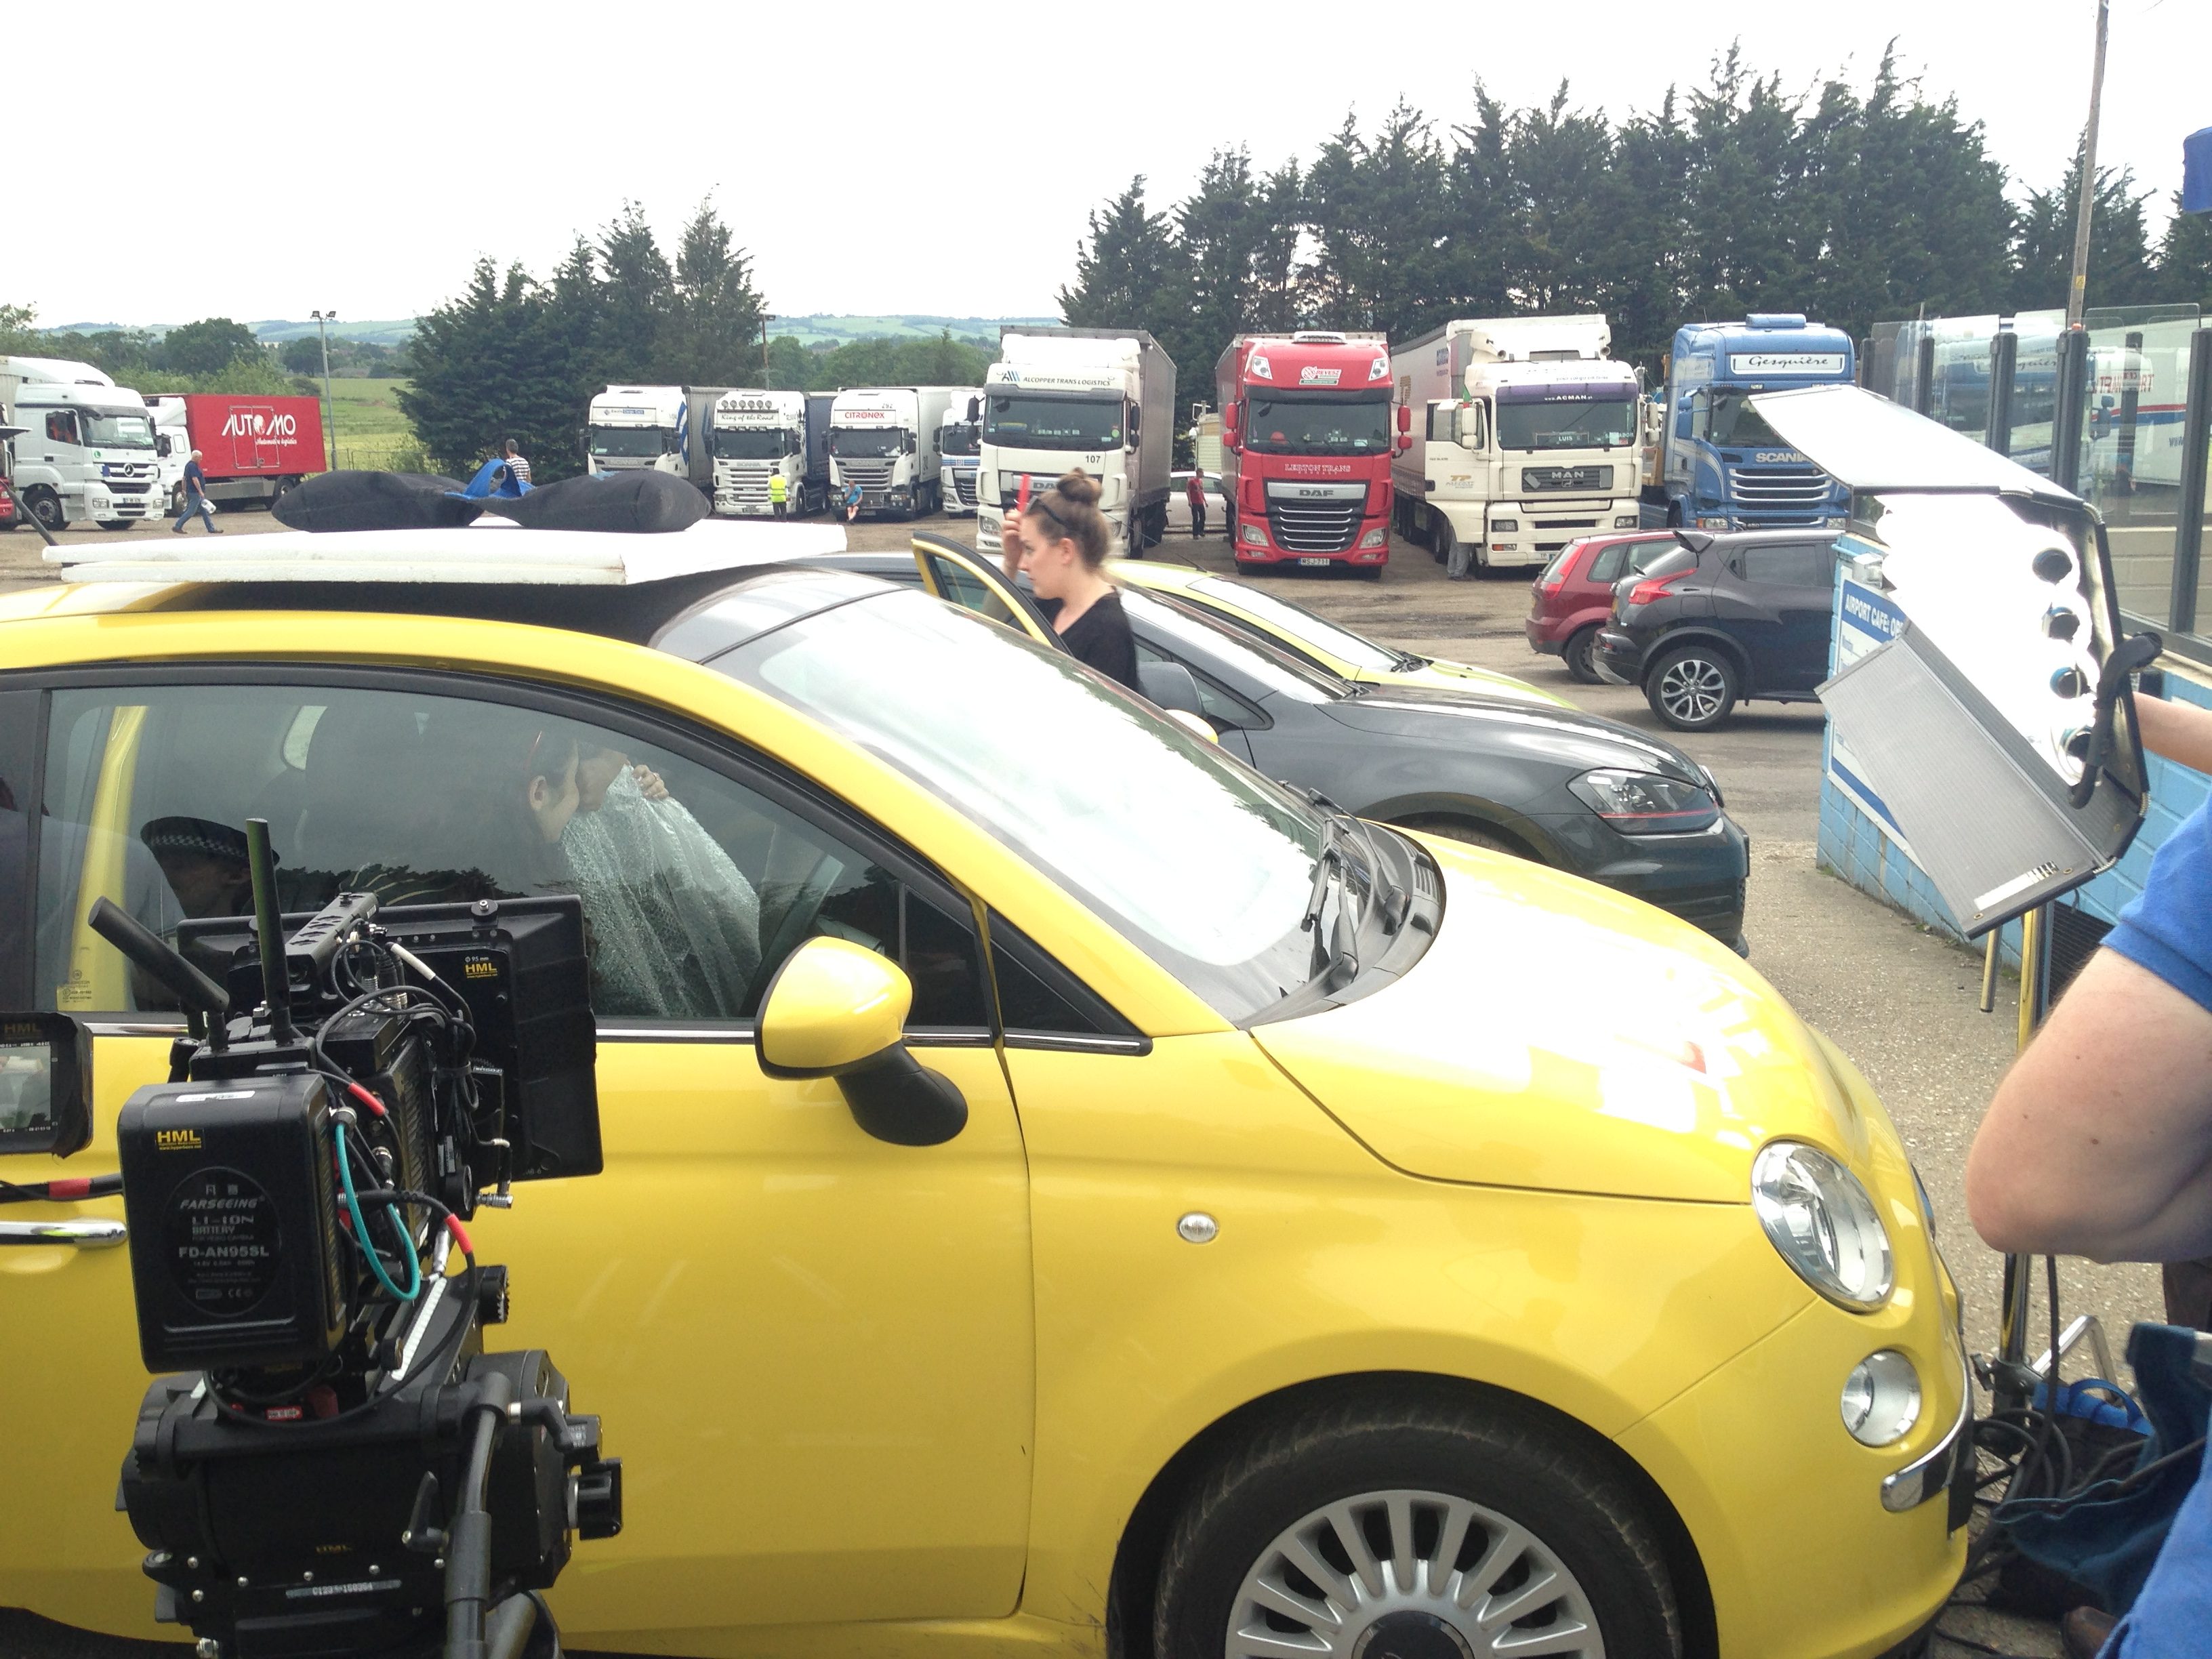
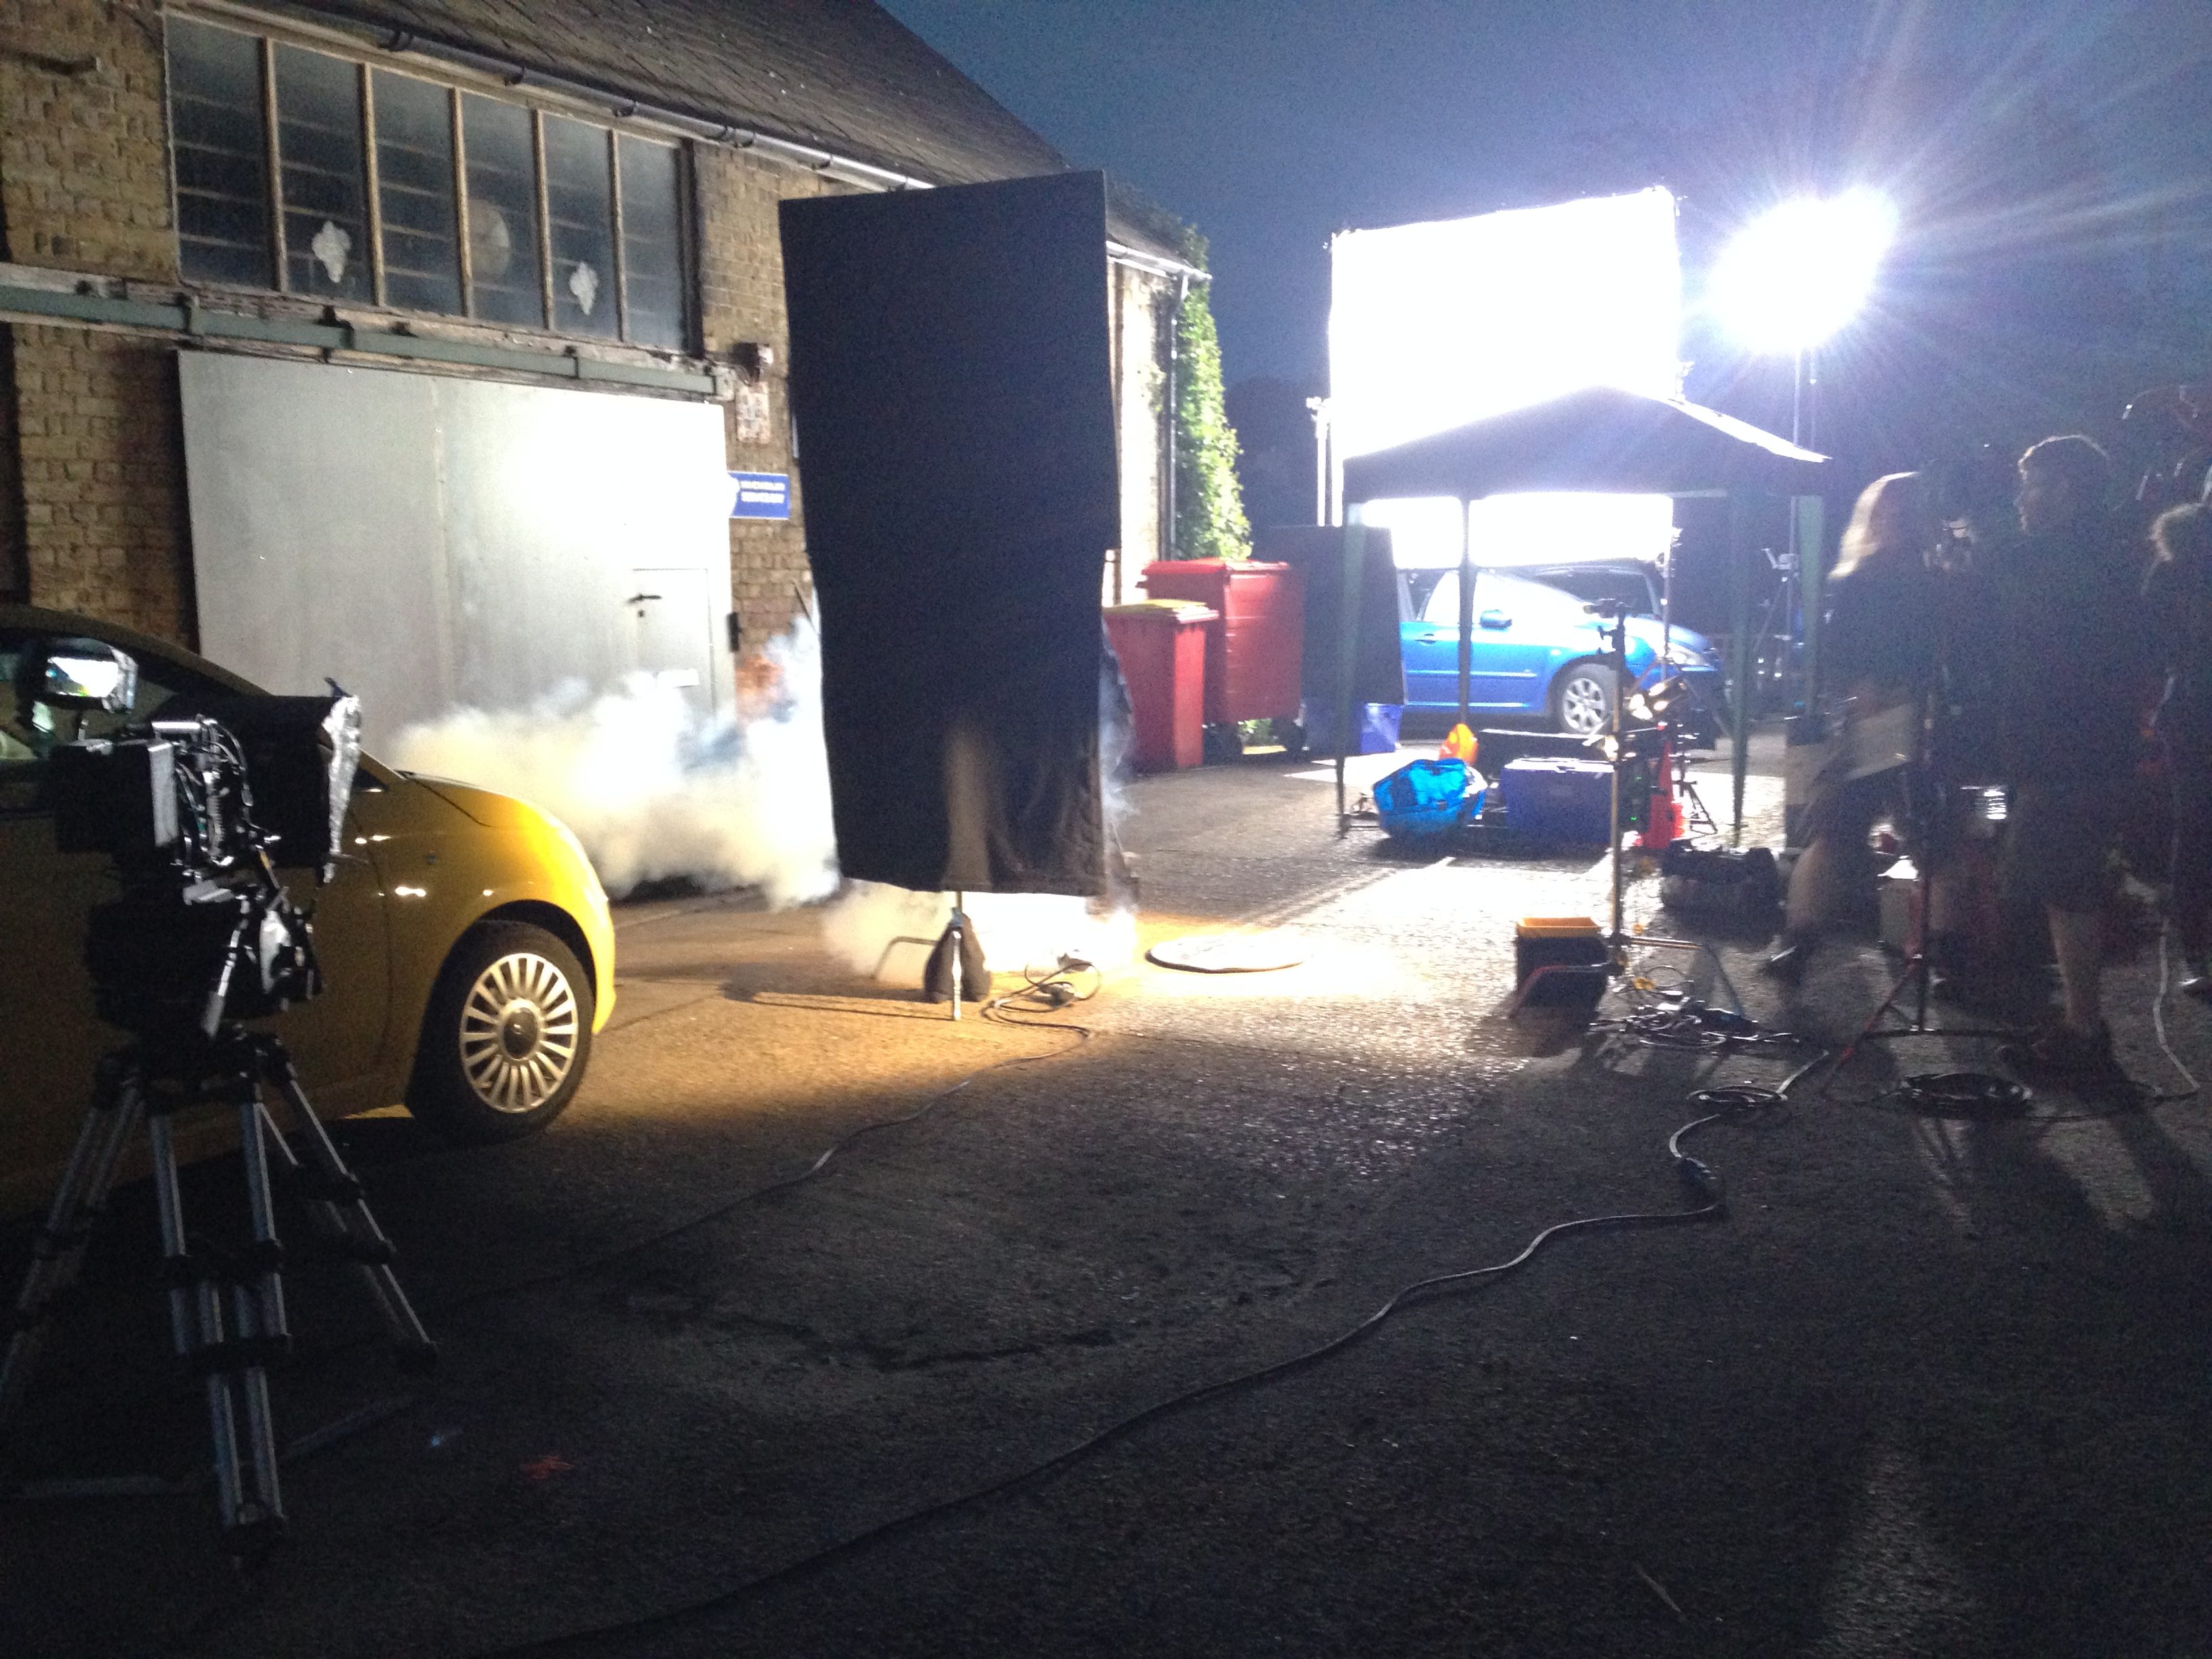
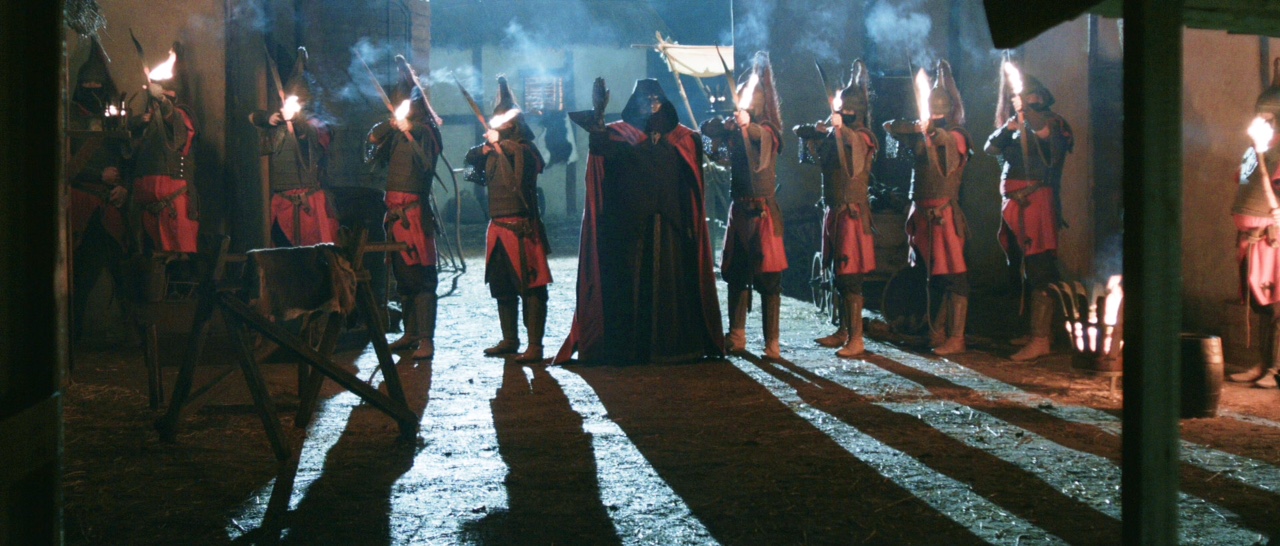
Speaking of a distinctive style, Daemos Rising is a significant milestone in my career because it was the first time I ever used smoke. The script called for spooky mist in several scenes, so Keith bought a Magnum 550 and we ended up using it on all the night exteriors. He kindly gifted me the machine at the end of the shoot, and needless to say I never looked back. Many a cast and crew may think of their poor lungs and rue the day that Keith Barnfather gave Neil Oseman his first smoke machine!

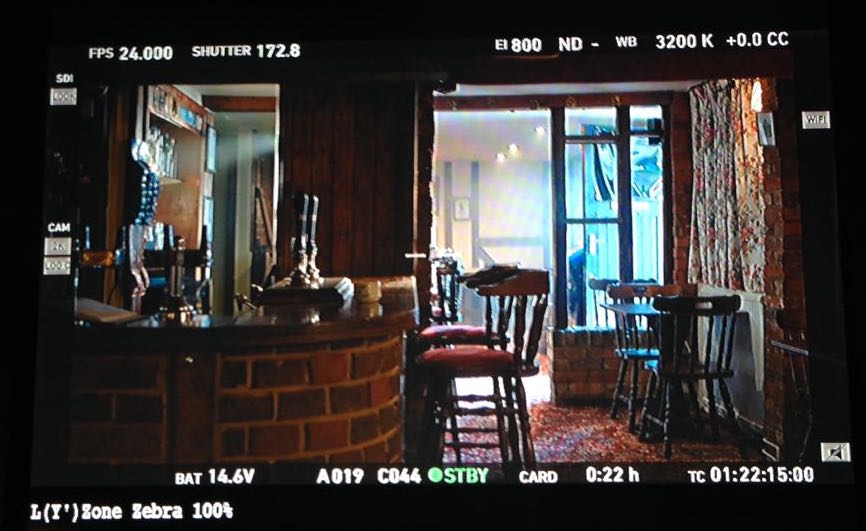
While the day interior lighting looks rough to me now, I think many of the night scenes still look pretty good 13 years on. Although my lamps were all tungsten, and the XL1 didn’t allow me to dial in a white balance, I would point the camera at something red and force the camera to white-balance on that, turning everything a nice James Cameron cyan.

Screen Shot 2016-08-13 at 15.01.20Just days after we wrapped, the BBC announced that Doctor Who would return in 2005. I fear the new generation of kids who now form the core of Who’s avid audience might find Daemos Rising a little slow and talky, but for fans of the classic series there is lots to enjoy. The tone and storyline are very Who, and there are several easter eggs scattered throughout the film. And some aspects of Daemos Rising fit the new series’ continuity too, including the Brigadier’s daughter Kate — now played by Jemma Redgrave – and UNIT’s Black Archive.

The re-release provides the opportunity to watch Daemos Rising in the aspect ratio we originally intended, 16:9 (the original DVD having been masked only to 14:9) and also offers the option of 5.1 surround sound. It’s available now from Amazon and high street retailers.

Looking Back: “Daemos Rising”

Lighting in Traditional Art

IMG_0879As I dig deeper into the craft of cinematography I feel the need to consume more references and inspiration than cinema itself can provide. To that end, I took a trip this week to the National Portrait Gallery in Trafalgar Square to see a little of  how light has been used in painting and photography over the last few centuries.

The light in many of the portraits is strikingly similar, with the subjects positioned near an unseen window in such a way as to light their up-side, the side of their face closest to the artist or viewer. This is known as a broad key, and in modern cinematography you don’t see it very often; a short key (‘lighting the down-side’) is almost universally favoured. The only convincing explanation I can offer for this is changing fashions.

The paintings that caught my eye were the ones that try something a little different with their lighting. I found it an interesting exercise to work out where the natural light was coming from and how I would recreate it with modern equipment. Here are three of my favourites…


Frederick, Duke of York and Albany by Sir David Wilkie (1823)

by Sir David Wilkie, oil on panel, 1822-1823, dated 1823

Rather than using the daylight to illuminate his subject’s face, Wilkie seats the duke with his back to the window, which cross-lights his sword nicely. The paper in his hand acts as a bounce board, throwing light back onto his face and shirt buttons. It’s great fun doing this in cinematography – firing a hot source in through a window and then seeing it bounce unpredictably off the set and costumes. If I was recreating this painting, the source might be a 6K HMI through a diffusion frame.


Thomas Henry Huxley by John Collier (1883)

NPG 3168; Thomas Henry Huxley by John Collier

I love how the top-light in this painting throws Huxley’s eye sockets into shadow, making him resemble the skull he’s holding. I’m guessing Collier didn’t pitch the portrait that way though! I might recreate this using a lightly diffused Joker Bug rigged to the ceiling, or a Source 4 Leiko fired up into an overhead bounce board.


The Mission of Mercy: Florence Nightingale Receiving the Wounded at Scutari by Jerry Barrett (1857)

NPG 6202; The Mission of Mercy: Florence Nightingale receiving the Wounded at Scutari by Jerry Barrett

The key light here is coming from the left – perhaps a 12K through a 12×12 full grid – but there’s a hotter shaft picking out Flo in the centre. For that I might use a 2.5K just out of frame, flagged to hit only her. At her feet there would have to be a silver reflector to kick that up-light onto the face of the kneeling woman. The characters on the right of frame are edged quite strongly by the light from the archway. (We know from looking at the shadows on the background buildings that it can’t be direct sunlight, so there must be a window or a very bright wall which that edge light is bouncing off.) I would use an 8×4 matte silver bounce board or maybe even a mirror board to recreate that.

That’s all for now, but look out for more art posts in the near future.

Lighting in Traditional Art

“Above the Clouds”: Week 4

IMG_0725Day 18 / Tuesday

Yesterday some of the crew started the long drive up to Skye, but for a lucky few – me, MUA Helen and actors Naomi and Andy – our journey starts today with a flight from Luton to Inverness. From there it’s a two-and-a-half-hour drive across the Highlands to the Kyle of Kochalsh, where Gary is waiting for us with his motorhome and the crafty table all set up. Soon afterwards the vans arrive, and the Yellow Peril. From 4pm we are shooting on a little ferry, big enough to hold three or four cars, as it pootles back and forth, back and forth between Skye and the mainland. It is, I think, the most stunning location I have ever shot in. The mountains tower over us from either side of the water, which sparkles in the sun. Although the light turns cloudy pretty quickly, the scene looks epic. All I do is add the usual dashboard LEDs in the picture car, and some sky bounce from Celotex, and darken the skies a little with an ND grad.

IMG_0713

Day 19 / Wednesday

For some reason there’s no water at the cottage where many of us are staying, so it’s a slightly whiffy cast and crew that rocks up in another stunning location this morning. In common with the whole shoot to date, the weather – and therefore the light – is very changeable. We have to roll between the squalls that drift across the valley. An interesting continuity issue arises with the mountains in the background of shot: the light on them keeps changing as clouds move across them. The weather here really is something else; this morning we saw a rainbow so close and so low to the ground that it felt like we could have walked over and touched it.

IMG_0751In the afternoon we’re at yet another stunning location, a bench overlooking a bay. For once the light is fairly constant and sunny, which gives us lovely sparkles in the sea. Again I frame the master like the painting in the Turner, with the horizon bang on the vertical centre of frame: clouds above, landscape and characters below. When we flip around to shoot the singles, the light is hard on the actors’ faces, but frontal, which at least is the most flattering kind of hard light. And it fits well with the dialogue, which references it being sunny, so it wouldn’t make sense to put a diffusion frame up. All I do is have runner Jacob stand just out of frame with some poly, which lifts the shadows a little and makes sure we see into Naomi’s eyes when she looks away from the sun.


Day 20 / Thursday

IMG_0768Various small driving scenes to start with. Rupert and Max reconfigure the camera as per our test of week 2, and I climb into the Yellow Peril’s modest rear seat to capture the action. I black out the rear window to get a classic dark-to-light depth effect: underexposed backs of seats in the foreground, the actors (including Naomi’s reflection in the rear view mirror) correctly exposed in the midground, and the view through the windscreen slightly overexposed in the background.

We also shoot exterior up-and-pass shots of the car amidst the spectacular scenery, before crossing the Skye Bridge to record a scene in a mainland village. Here we’re shooting dusk-for-night, so I set the white balance to 3,200K and heavily grad the sky. For shots inside the car, I plaster multiple Litepads over the windscreen, gelled with half CTO. The intention was for these to represent the car’s courtesy light, but with a fair amount of daylight coming into the vehicle the effect is more subtle, serving only to warm up what would otherwise be very cold skin-tones at 3,200K.

IMG_0775On the final set-up, appropriately enough, a car with clouds painted on it happens to drive by. And with that, principal photography is wrapped. There is a fifth week to do at some point, perhaps September, when a certain critical role has been cast, but for now the shoot is over. Andy, Naomi, Helen and I will meander back to Inverness tomorrow, while the rest of the crew drive south. I’ve had a great time, and I look forward to seeing a rough cut and shooting the remaining scenes later in the year.

Keep up to date with Above the Clouds on the official Facebook page or Instagram account.

“Above the Clouds”: Week 4

“Above the Clouds”: Week 3

IMG_0572Day 12 / Sunday

A split day, starting with two scenes at two different petrol stations (one of them open!). It’s a sunny day and when the cast stand next to the Yellow Peril (the picture car) they are bathed in yellow bounce. We build on this by bouncing more light with the gold side of a Lasolite.

IMG_0590Next we have some interiors in a soup kitchen, which will intercut and contrast with the dining room scenes from day one. Whereas the dining room had perfect three point lighting with a Rembrandt key, I want the soup kitchen to look much less pleasant, so I use toplight, broken keys and cross-light to bring out the texture of the peeling walls.

Our last scene is a night exterior. A sodium vapour security light which we can’t turn off is already backlighting the set. Rather than fighting it, we beef it up using the 1.2K gelled with Urban Sodium. This forms half of a cross-backlighting set-up, paired with a 1×1 LED panel gelled with Quarter Plus Green. Another 1×1 gelled with Mustard Yellow provides a pool of light in the background, while the 4×4 Kino gelled wth full CTB supplies a tiny bit of ‘moonlight’ fill. I’ve never lit a scene with so many different colours, but it feels realistic because there are so many different kinds of streetlamps and security lights in our towns and cities these days.


Day 13 / Monday

IMG_0595In the pub all day. The scenes are meant to have an evening feel, so we black out the windows with thin weed-blocking material which lets a little light through, and close the curtains. On a tungsten white balance we get just a little blue glow coming through the curtains. The window in the door has no curtains, so we gel it with .9 ND and it looks convincingly dusky outside.

Fairly standard stuff today, lighting wise. Cross-backlighting for bar scenes, a bit of blue glow in the deep background from a kino to give depth and show up the smoke.

We echo the Turner scenes with a symmetrical shot of Andy and Naomi seated in front of the fireplace. For a soft, pleasing key we bounce fire both the Dedos into a poly board. A double CTO-gelled LED panel on the floor enhances the backlight from the fire, and the pub’s practicals do the rest.

One of the last close-ups we do has an alcove in the background. It bothers me that the brickwork in there is the same shade and tone as the foreground brickwork – we’re losing the dimensionality – so I have Colin run in with a bit of half CTB to cool down the sconce slightly and separate the alcove.


Day 14 / Tuesday

IMG_0612

IMG_0613More micro sets in Leon’s living room. One of them is a tiny under-the-stairs bathroom, which we light with a single bare bulb hanging down into the shots. Again the Alexa’s dynamic range allows me to hold all the highlights and shadows, even when Andy is inches from the bulb, and it looks completely authentic on camera.

For the first time I try gelling the Rosco Litepads to match the tungsten Dedos. It doesn’t work; the Litepads are noticeably greener. If I try that again I’ll need to spend some time to find the correct cocktail of minus green and CTO gels.


IMG_0633Day 15 / Wednesday

After one final micro set in Leon’s living room we move upstairs for some crucial scenes in the master bedroom. I light it with a 2.5K HMI coming in through the window, that being really the only option. I shape this with gels, diffusion and black-out on the window or the lamp-head itself. For example, when we do Naomi’s close-ups I stick two or three layers of opal to the middle section of the window. That way we keep the nice hot streaks on the background wall, but Naomi has a much softer light on her.

The only other sources are the two 6×2″ Litepads hidden in the wardrobe behind a key prop, dimmed right down so they just silhouette the prop very, very slightly. For the final bedroom scene I go purely with available light, since the sun is now shining in at a nice angle, hitting the bed and bouncing back up into Naomi’s face.

It’s our last day in Kent, and many of the crew will be returning home tonight and commuting for the rest of the week, so it feels like the end of an era. Nevertheless, we remain detached and professional. No-one kidnaps Naomi’s stuffed dog Rupert and messages a picture of him tied up and gagged with gaffer tape, and definitely no-one retaliates by kidnapping Colin’s dashboard Spider-pig.


Day 16 / Thursday

IMG_0642

We are at Longcross Studio & Test Track, an ex-MOD facility in Berkshire. We stage a traffic jam on a road originally built for tank trials. The 85mm lens gets more use than it has the whole shoot so far. The compression of perspective works perfectly for the scene, enhancing the feeling that the characters are hemmed in both physically and psychologically.

Most of the action takes place inside the car and is shot raking across the characters from a side window. To get the best shape to the natural light, we black out the sunroof and place negative fill on the window closest to camera, then bounce in extra light through the windscreen.

The rota polar sees extensive use again, although sometimes it reveals weird circular patterns in the car’s window glass.


IMG_0650Day 17 / Friday

Our second day at Longcross, and this time we’re using the main loop of track. It’s non-exclusive, so occasionally a prototype sports car zooms past us, or a stills photographer hanging out of the boot of an SUV.

Day-playing grip Darren has brought his universal mount which we use as a hostess tray, shooting in through the passenger or driver’s windows. (Leon is not a fan of bonnet-mounted shots.) The rig prevents us from closing the window, which necessitates minor rewrites, but the shots look great and allow us to cover large swathes of dialogue relatively quickly.

The picture car is towed on an A-frame by Andrew’s Landrover. Riding in the Landrover are Leon, Rupert and me, each with a monitor. Leon’s shows a clean picture, Rupert’s of course has focus assist, and I switch mine between clean and false colours so that I can monitor the exposure as we go around the track. Leon connects his mixer to the Landrover’s stereo so that we can all hear the dialogue. Communication back to the picture car is achieved via radio with Max, hiding on the back seat, popping out to slate and even reading in lines for a phone conversation.

IMG_0658Col rigs the two 6×2″ Litepads to the dashboard. They mitigate the sunroof’s toplight by filling in the shadows very slightly, but more importantly they put a sparkle in the actors’ eyes, which always helps the performances come across on camera. I take a light reading inside the Yellow Peril before each lap, but due to the number of trees around the track, light levels during the takes are about two stops below what I get in the car park when we’re prepping. Fortunately the cloud cover is fairly consistent today so there aren’t hot patches of sun to contend with.

Today wraps the English portion of principal photography for Above the Clouds, and we sadly say goodbye to Colin, Zoë, Alice and Andrew. It’s been a really fun team to work with, and it will be strange next week without them.

“Above the Clouds”: Week 3

“Above the Clouds”: Week 2

Day 7 / Monday

image
One of our biggest days, shooting several key scenes from the first act of the movie. We’re in the Turner Contemporary in Margate, and getting this location is a big coup for the production. On the flip side, the amount of material we have to get through in our nine hour day is only achievable if lighting is kept to an absolute minimum. I know from the photos that Leon has shown me that there is plenty of natural light from the floor-to-ceiling windows and bright white walls. I also know that with eight scenes on the day’s schedule, there isn’t time to rig the kind of extensive negative fill we used at the roadside cafe last week.

We start in the Turner’s cafe, where angles towards the windows look great with the beach and seafront in the background and the daylight wrapping softly from behind and one side. In the opposite direction the light is extremely flat, but there is no time to do anything but hand-bash a little negative fill, grin and bear it.

Upstairs in the gallery, the sea-view windows are so big and there is so much bounce off the walls that there is only about a single stop’s difference between looking towards the window and looking away from it. Nonetheless, we bring in poly and Celotex for the seaward shots to add a little shape and put nice reflections in the talent’s eyes.

Responding to the formality of the gallery setting, there is an unspoken agreement between Leon and I to shoot on sticks and compose centrally or symmetrically. I end the day feeling that we have captured some of the film’s most iconic images.


imageDay 8 / Tuesday

Back in Margate for seafront exteriors. The weather is lovely to start with, but gradually goes down hill as the day progresses. For the first scene we have light cloud, and we use the 8×8 full grid cloth as a bounce to fill in the shadows. For close-ups we add silver from Celotex or a Lasolite to give the talent extra radiance and a glint in their eyes. (See my post on Health Bounce for more on this.)

The influence of yesterday’s gallery scenes is still being felt on the compositions. In wide shots I try to use the horizon to divide the frame into two halves, like the diptych the characters were looking at in the Turner: one above the clouds (or more accurately OF the clouds), and one below. I use a graduated ND filter on most of the day’s wide shots. Even though the Alexa’s dynamic range means that grads are rarely necessary to retain the detail in skies, and they can be added in post, I prefer to get the look in camera, especially on a micro-budget project where time in the grading suite may be very precious.

The day ends with a dusk shot of Oz shuffling along the seafront, which we shoot in the window between the streetlights coming on and the daylight dropping off completely. I set the white balance to 3200K to emphasise the evening look. The colour and positions of the streetlights aren’t great, but there is a lot of production value in the backdrop of Margate, bathed in cool ambience and sprinkled with points of light.


imageDay 9 / Wednesday

Our first scene is on a layby overlooking an estuary. Again the weather starts off nice but deteriorates as the day goes on. By the time we get back to Leon’s for the next scene, the rain is getting noticeable enough that continuity with adjacent scenes is an issue. We decide to wrap for the day.

The camera team uses the time to re-build the Alexa Mini as small as possible and test different lenses inside the picture car for upcoming driving scenes. Our main angles will be from the back seat, looking diagonally forwards for three-quarter singles and straight ahead for a central shot over both driver and passenger’s shoulders to the windscreen. We find that the 24 and 32 work well for the former, and the 20 for the latter. We have a 14, because I knew space would be tight in the car, but it just looks like a Top Gear Go Pro shot.


imageDay 10 / Thursday

We’re in another tiny set in Leon’s living room. Production designer Zoë Seiffert has dressed it as a beautiful/hideous den of clashing patterns and colours, and practical lamps. First up is a day scene, newly added to the script, so as with the Travel Inn I fire in the 2.5K HMI, this time with the curtains open. That might seem like a ridiculous amount of light for a room only about 10ft square, but only a powerful source like that creates all the bounce and ambience that sun would. I make sure the direct beam only really hits the floor. For some shots I put a white sheet over the carpet to maximise the bounce off the floor.

For the night scenes Colin puts all the practicals on dimmers and I place one of Leon’s ETC Profiles outside the window with Urban Sodium gel. Although the curtains will be closed, they are thin enough to be backlit by this ‘streetlight’. The bulb is even visible through the curtains sometimes, but it totally passes as a streetlight. That’s the only source of light when the characters first enter in silhouette, before turning up the practicals.

imageTo beef up the practicals, we rig a couple of Dedos to the top of the set and direct one through sheets of Opal hung from the ceiling, as a key, and use the other as backlight with half CTO on it. We tweak them around shot by shot to follow the blocking. For a scene with more character conflict, I lose the backlight and go hard with the key.

Later we move to another location – conveniently the cottage neighbouring the one where most of us are staying – for a little doorstep night scene. Again I rake the 2.5K along the front of the building, through the full silent grid cloth. In the singles we beef up the existing exterior sconce with three tungsten globes wrapped in Opal. I would rather have used an 800 bounced off poly, for a softer texture, but our package is pretty lacking in tungsten units.

After wrapping we throw a surprise birthday party for Zoë. Colin lights the party with a remote-controlled colour-changing LED fixture and smoke.


imageDay 11 / Friday

We have two hours in a charity shop to set up (including blacking out windows), shoot two scenes, and tear down. Leon decides to shoot them both using only torchlight, and choreographs the cast to light each other throughout the scenes. We hide silver Lasolites and other bounces around the set to reflect the torchlight when it doesn’t make sense for the actors to point their torches where they’re needed. We smoke up the shop heavily to show up the beams.

To anchor the shots, so the pools of torchlight aren’t floating around in a black nothingness, I set two lamps in the background. One, a Divalite gelled with Urban Sodium, spills out of a changing room, and the other, a 1×1 LED panel gelled heavily blue to suggest a computer screen, glows out from behind the counter. As well as adding colour, and colour contrast, to the scene, the pools of light from these two lamps serve to silhouette the characters so you get a sense of where they are when the torch beams aren’t on them.

image

We move to a forest car park for the film’s only major night exterior. With our HMI package consisting of only a 2.5K and 1.2K, and no tungsten bigger than a Dedo, this was always going to be challenging. We place the 2.5K in the deep background, purely to light up the smoke and foliage behind the action. The action itself is lit by the 1.2K and two 1×1 LED panels, plus smaller panels taped to the dashboards of the vehicles in the scene.

To get it all done with the time and resources we have, a compromise must be made somewhere with the lighting. I decide that this compromise will be motivation of sources. Other than dashboard lights, there should really only be one source in this scene: the moon. If I had time, I would move the biggest source around to backlight every shot and then bounce it back as sidelight. Instead we leave the HMIs mostly where they are, and fly the 1×1 panels around to backlight or sidelight as needed. It makes no sense whatsoever, but it looks good.

“Above the Clouds”: Week 2

“Above the Clouds”: Week 1

Principal photography has begun on my latest feature, Above the Clouds, a comedy road movie written by Simon Lord and directed by Leon Chambers. The film stars Naomi Morris as Charlie, an 18-year-old learner driver who sets off on an epic road trip from Margate to Skye with a ‘gentleman of no fixed abode’ as her responsible adult.


imageDay 1 / Monday

It’s a very different shoot to my last one. With a five figure budget and a total crew of about ten or twelve, we’re lean and mean. About a quarter of that crew are working for me – 1st AC Rupert Peddle and 2nd AC Max Quinton, veterans of Heretiks, and my long-serving one-man lighting team, Colin Smith. We’re shooting on an Alexa Mini. Although it’s lovely how much lighter it is than the full-size model, it’s quite fiddly. It doesn’t help that the EVF is faulty, and while we wait for a replacement Max has to change many of the settings via a smartphone app. The lenses are Arri/Zeiss Ultra Primes, my first time with these, and I’m once again using a half Soft FX filter to take off the digital edge.

We start with a dining room scene. As many of the sets will be, it’s built in director Leon Chambers’ living room, so it’s not very big. We’re prepared for this though, and Leon has purchased several Rosco Litepads in 6″x2″, 4″x4″ and 12″x12″ sizes. We stick a 4×4 to the wall behind each character as hairlights, and rig the two 6x2s, at a perpendicular angle to each other, to a flag arm. Wrapped in unbleached muslin, they’re a pleasing key.

image

After lunch we move into the shed, dressed as a young artist’s studio, complete with coloured string lights. Colin and I add three tungsten bulbs as additional practicals, plus a couple of the Litepads amongst the rafters. Outside the window we place a 4×4 kino or 2.5K HMI depending on the time of day.


imageDay 2 / Tuesday

Today we’re in Leon’s kitchen primarily, but with several of the scenes spilling into the hall and porch. We put our two HMIs outside the windows and initially use an LED panel on top of a cabinet and my brand new torch gaffered to the side of a cabinet to augment these for a scene that is meant to have an evening feel. Then we move onto a proper daylight scene and those have to go, to ensure all the light seems to be coming in from outside. The other reason they have to go is that we are now doing an ambitious steadicam shot which moves from the kitchen to the hall and porch, then back into the kitchen, then back into the hall and porch as characters exit the house. To the two HMIs we add the 4×4 kinoflo shining down the stairs, augmenting the natural light coming down from the landing windows. Thanks to the Alexa’s large dynamic range, we are able to accomplish the shot without any clipping, even when the door opens and when the characters move through the darkest part of the hall. The rest of the day passes in variations on the theme. I quickly find that the window positions are limiting and a fair bit of head scratching to make the angles work goes on before we wrap.


Day 3 / Wednesday

Back in the kitchen, one of our first scenes involves heavy smoke as a story beat. I decide to go with purely natural light, so that it’s soft enough to illuminate the smoke evenly, rather than producing shafts or pools.

After lunch we shoot a dusk scene in broad (albeit overcast) daylight. I cool down the white balance to 4300K and use a .9 soft edge graduated ND, just edging into frame, to bring down the sky a little.

Later we move to a garage, a scenario in which all the light is coming from outside through the door. Although this looks flat when the camera is looking into the garage, I decide not to fight that. When we look the other way I use matt silver bounce and a 4×4 kino to fill in.


Day 4 / Thursday

image

We’re on location at a roadside cafe, and I agonised long last night about how much lighting gear we should take. We don’t have transpo or security so reducing the kit means a lot less hassle for us all, though generally I prefer to have everything to hand just in case. Ultimately I decided to keep it small – just LEDs, a 4×4 kino and then flags and bounce – knowing from location photos that there will be plenty of natural light.

In fact there’s too much. The photos failed to warn me of the skylights, which take a while to block with floppy flags and Easy Up walls clipped between them. Leon has set me up for success though by choosing to shoot the scene with the windows (and therefore the key light) in the background. Flagging the skylights and ambience allows the window light to wrap around the actors in a pleasing fashion, and makes for great modelling in the close-ups, with the window light hitting the talent’s down-sides. This natural light approach requires you to work with and respond to that natural light as well, and so I embrace the appropriate ‘broken key’ look that the sun position creates on male lead Andrew, a homeless man with a troubled past. (‘Broken key’ is a term Shane Hurlbut uses to describe a key light striking the talent not quite from the side, but slightly behind.)

imageLater we shoot a scene in the Fiat 500 ‘Yellow Peril’ outside in the car park. I use a rota polar to find the perfect amount of reflection in the car windows, striking a balance between seeing some clouds (the film is called Above the Clouds after all) and seeing the characters inside.

Again the 4×4 kino proves the ideal source to bring up the light coming through the windscreen, due to its shape and softness. As shooting progresses, the sky darkens. A storm is coming. We drop the kino down to one tube, quartering the amount of key light and therefore allowing me to turn off the Alexa Mini’s internal .6 ND, bringing up the background by 2 stops and re-balancing the overall exposure. But after one more take the rain begins, and we have to wrap. Fortunately we seem to have everything we need in the can.


Day 5 / Friday

After watching the news in shock over breakfast, and wondering just how badly Brexit is going to screw the UK film and TV industry, we head to Leon’s for some more scenes in his living room studio. This time it’s dressed as a Travel Inn, and my lighting is motivated by the bedside practicals on the back wall. (Lighting from the back first – always a good plan.) We put a dedo above each practical and a divalite between those to give us something softer and little wrappy. The only other sources are a third practical and a Mustard Yellow gelled 1×1 LED panel outside the window, representing a streetlight. For a morning scene in the same set we put a 2.5K HMI outside the window and let the closed curtains diffuse it, with no other sources.

The set is then reconfigured into reception, and I employ a cross-backlighting set-up, with an added LED panel to represent the glow from a computer monitor.


imageDay 6 / Saturday

Today’s location is a tiny little mechanic’s garage in the middle of nowhere. Most of the scenes take place in the doorway, so we are at the mercy of the weather, which is incredibly changeable. Bright sunshine, cloud and heavy showers alternate throughout the day.

On the first set-up I ask to wait for cloud on at least one take because I can see from the sky that is going to be the easiest thing to match to as the day goes on. Balancing the light inside and outside the garage will also be easier in cloud, even though the Alexa’s incredible dynamic range can handle it in bright sun too.

Aside from the weather, the big challenge for me is making the shots looking into the garage have depth. The best depth is normally achieved by having the brightest area of the frame be the background, and the darkest area the foreground. Looking into the garage though, the opposite is true. But there are other ways of creating depth. One is to make pools of light with practicals, so I leave on the location’s suitably grungy fluorescents. Another is smoke, so we pump a little in and use a 2.5K HMI through a window and a 4×4 kino tucked around a corner to pick it up.

image

After dinner we have a very brief night scene to do. The blocking suggests raking the 2.5K across the front of the building which will also three-quarter-backlight the talent. Extensive experience of doing this in the past warns me that the angle of incidence could cause a massive reflection of the lamp in the shiny garage door, so I choose the lamp position carefully, and push it through an 8×8 frame of full silent grid cloth to mitigate any glare. Also this particular film seems to call for a ‘softly, softly’ approach to moonlight. It’s not fantasy, it’s contemporary comedy, so most of the time my night sources will be streetlights to keep it feeling realistic, but when I have to use moonlight as motivation I don’t want it to be hard and draw attention to itself.

The diffusion looks great, and the door is glare free, but I failed to consider the window. Fortunately Rupert spots a way to flag it. Saved by a great team!

All in all, a very productive day and a good week.

“Above the Clouds”: Week 1

Poor Man’s Process II

Back in 2013 I wrote a blog about Poor Man’s Process, a low-tech method of faking shots inside a supposedly moving car, using lighting gags and camera movement to sell the illusion. But Poor Man’s Process doesn’t have to be limited to cars.

While gaffering for DP Paul Dudbridge on By Any Name, we had to tackle a nighttime scene in which the hero flees through a forest. Rather than trying to get close-ups with any kind of tracking rig, Paul decided to use a technique apparently favoured on Lost, whereby the actor and camera are stationary, and lights and branches are moved around them to create the impression of movement.

It worked a treat, so when faced with a very similar scene on Ren, I shamelessly ripped Paul off. The actors weren’t sure; they felt pretty silly running on the spot, but we persevered. My lighting set-up used the 2.5K HMI, already rigged for earlier shots, as a side key, and an LED panel as three-quarter backlight. Branches were waved in front of both to throw shadows, and I shook the camera a lot.

Poor Man’s Process was required a second time on the series, in the very last scene, on the very last day of the shoot.

Sophie Skelton (Ren) and Duran Fulton Brown (Hunter) ride Tony the Phony Pony. Photo: Miriam Spring Davies

By this time we were one big happy family and we were all having far too much fun. Gaffer Squish was singing “One Day More” from Les Miserables, actor Duran was riding Tony The Phony Pony like a rodeo champ, candy was being freely imbibed and marshmallows were being toasted. The Poor Man’s shot seemed more like an extension of us all just larking about than anything else.

Ren and Hunter were required to ride off into the moonlight on a single horse, but the horse in question was quite jumpy and not safe for the actors to ride. Designer Chris and production assistant Claire knocked up the highly impressive phony pony, which was used extensively, but moving it fast enough for the final shot was out of the question.

Claire Finn prepares for some arboreal lighting action. Photos: Miriam Spring Davies
Claire Finn prepares for some arboreal lighting action.

So Tony remained stationary while Claire, her sister Alex and producer Michelle threw dignity to the wind and ran around with bits of trees.

I was using the 2.5K HMI as backlight, and a 1.2K HMI bounced off Celotex as a side key. Claire, I think, was on the 2.5K, jiggling a branch about to create some nice dynamism cutting up the hard backlight. Alex, if I recall rightly, was doing a windmill action with her branch in front of the Celotex. Michelle, meanwhile, stood ready with her branch until director Kate called “Tree!”, at which point Michelle would run past at full pelt and Sophie (Ren) would duck under the branch she was supposedly riding by.

You can see some behind-the-scenes footage in Lensing Ren episode 5.

Aided by smoke, a wind machine and the obligatory camera shake, the whole thing was quite effective. Less so the Epping Forest shots, which didn’t make the final cut. Somehow the running-on-the-spot was never quite convincing. Not enough choppy shadows, maybe?

My last project was a $4 million feature, but even that called for Poor Man’s in one instance. A small train carriage set piece had to appear to be moving as our heroes jumped onto it, so in front of each light we placed a ‘branch-a-loris’, a kind of man-powered windmill made from scaff tube and branches. Again lots of smoke, wind and camera shake were employed to sell the illusion.

I think Poor Man’s Process is one of my favourite techniques. It doesn’t always work, but if there’s enough movement in the camera and the lighting, and it’s cut in with genuine wide shots, it can often be extremely effective.

If you’ve enjoyed this post, please do me a little favour and vote for Ren: The Girl with the Mark in the Melbourne Web Fest Audience Award Poll (find us in the drama section). It only takes a moment!

Poor Man’s Process II

4 Reasons to Use a Light Meter

lightmeterIn the celluloid era, light meters were essential to ensure proper exposure of the film negative. In today’s digital world, where you can immediately see your images on a monitor, it may seem like light meters are obsolete.

But these devices still have their place in modern cinematography. On a bigger production, when you may not be at the camera the whole time, they can be very useful. Interrupting your ACs (as they set up the sticks, swing the lens, put on the eyepiece extension, balance the fluid head, run cables to the monitors, etc.) in order to see if your image is correctly exposed on camera can be inefficient.

And having the reliable, hard number a light meter gives you can be more reassuring than judging false colours or histograms.

Here are four ways in which I used my brand new light meter on my last production, The Little Mermaid:

  1. To call ND filters. When shooting outdoors, I would take light readings in the sun and in the shade, and when then the sun was in, to understand the range of light levels I was dealing with. I could then pick an ND filter that would put me at a stop at where I would still have the room to adjust the iris a little either way if the light got brighter or darker. This was particularly important when we were shooting on water in a splash bag, when changing NDs or even just adjusting the iris was a longer process. (In my next post I’ll look deeper into stop maths and ND filters to demonstrate exactly how to select an ND filter based on a light reading.)
  2. To measure contrast ratios. The Alexa can handle up to seven stops of over-exposure and eight stops of under-exposure. Knowing this, I could use my meter to see if certain areas were going to blow out or crush, before the camera was even set up. I could also measure how many stops the key side of an actor’s face was above the fill side, and thus work out the key-to-fill ratio. At present this is still something I judge by eye on the monitor, but the more I get to know the numbers, the more I suspect I will start determining it in advance.
  3. To check green-screens are properly lit. The visual effects supervisor, Jafar, told me that green-screens should be exposed at key, or up to half a stop over key. So if I was shooting at T4, I would walk along the green-screen and take readings at various points to make sure the meter was generally giving me between f4 and f4½.
  4. To schedule a dusk shot. For a twilight scene on a beach, I needed to know in advance exactly what our window of opportunity was. Looking up the sunset time is all well and good, but it doesn’t help you figure out how long afterwards there will be enough ambient light left to shoot with. So while at location the day before, I went out onto the beach and took light readings every few minutes after sundown. These told me I had 20 minutes from sunset until the ambient light dropped below what the lenses could expose.

Do you use a light meter? And if so, how?

4 Reasons to Use a Light Meter

Lensing Ren – episode 5

Season one of Ren: The Girl with the Mark has come to an end, and to ease the pain a little, here’s one last video breakdown of the show’s cinematography. This week I talk about the exterior scenes from daylight through sunset to night.

Here is the lighting plan for the final scene:

Village-night-1080p

Check out the article I wrote during the shoot about the sunset scene if you’re still hungry for details. And here is an unpublished blog post I wrote during the shoot about the village night exteriors…

The 2.5K HMI backlight
The 2.5K HMI backlight. The dimmer board for the Cyclotron can be seen in the lower right.

The last two days of principal photography on Ren were actually night shoots. It was great to take the village set that I’d shot in natural light for five weeks and chuck some of my own light at it.

In his American Cinematographer interview about The Monuments Men (February 2014), Phedon Papamichael said, “My big night-exterior lighting setups usually have one source” – often a backlight, judging by the examples given in the article – “and then I use whatever practicals are in the shot.” My approach is much the same, though a big source for me is a 2.5K HMI, not an Arri T12, sadly!

One of the Urban Sodium-gelled 800W Arrilites beefing up the braziers

I knew our key shot was going to be Ren’s POV looking up the street to the Kah’Nath Master flanked by several archers, with Karn and Baynon in the background. I set up my 2.5K dead in the back of the shot, its stand hidden by the furthest house facade.

Another of the Urban Sodium-gelled 800W Arrilites beefing up the braziers
One of the Urban Sodium-gelled 800W Arrilites beefing up the braziers

The plan was for the archers to light their arrows from two braziers, one either side of the street, so Chris Dane and Amanda Stekly dressed these in accordingly. I set up an Arrilite 800 near each one, choosing Urban Sodium gel to give the “firelight” a grungy colour appropriate to the bad guys. (I was shooting on a tungsten white balance to turn the HMI moonlight blue.)

The dimmers controlling the Arrilites

Chris – by this time well-attuned to my lighting needs – also rigged a third brazier to act as the key light for himself (Karn) and James Malpas (Baynon), towards the back of the set. The Arrilite for this one I gelled with full CTO for a yellower, friendlier colour.

All three Arrilites were run through in-line dimmers, and various bystanders were co-opted to flicker them throughout the evening.

Bulbs
The Cyclotron

I rigged a Cyclotron behind the window of the background house – four 100W bulbs under a sheet of CTO, wired to Colin’s dimmer board so they too could be flickered, suggesting firelight inside the house.

The Celotex bounce board

I figured that the front of this house would still be very dark, being out of range of the Arrilites and facing away from the HMI, so I had gaffer Richard Roberts rig a Celotex board to bounce some of the HMI light back onto it. As it turned out, when it got dark and we fired everything up, there was lots of bounce off the set pieces closest to the HMI anyway. This was a nice bonus that gave us more options when blocking Karn and Baynon’s actions, without having to set up extra lamps.

A sunset view of the lighting set-up from roughly the master camera position. The LED panel on the right was used only as a work light.
A sunset view of the lighting set-up from roughly the master camera position. The LED panel on the left was used only as a work light.

When the braziers were lit and the Master and soldiers strode onto the set in their awesome costumes (courtesy of Miriam Spring Davies and stand-in wardrobe supervisor Claire Finn), we all felt we had a truly epic sequence in the can.

Ren archers

If you’ve missed any of Lensing Ren or Ren itself, here’s a playlist featuring every episode of the fantasy series, interspersed with the corresponding cinematography breakdowns:

Lensing Ren – episode 5

Lensing Ren – episode 4

On Tuesday the penultimate episode of Ren: The Girl with the Mark was released and so here’s my video breaking down the cinematography of that fourth episode. This week I cover lighting the guardroom and the prison cell, and demonstrate cross-backlighting.

Here are the lighting plans for the guardroom and the cell:

Guard-room-1080p Cell-1080p

You may also be interested to read the blog I wrote during the shoot about Lighting the Prison Cell, and my post explaining the technique of Cross-backlighting. And here is an unpublished post I wrote during the shoot about the guardroom….

33_GuardRoomWide1

The guard room shoot came at the end of a long and intense week of shooting interiors. By Sunday most of the lead actors had left, we had crested the hill and the end of principal photography was in sight. The atmosphere was even more relaxed and informal than usual, particularly as everyone’s favourite spouter of inappropriate comments, Richard “Squish” Roberts, was playing the lead jailor.

A behind-the-scenes view of the lighting set-up for the window and swords

Ren’s bedroom had been repainted and redressed to be the Kah’Nath guard room. This meant a single, small window again, and as usual I couldn’t resist blasting a 2.5K HMI through there for a shaft of hot, smoky sunlight.

The Window Wrap in action on the swords

I wanted to highlight the rack of swords next to the window, which the shaft of light wasn’t catching, so I used a variant on my Window Wrap technique. I put a 2′ 4-bank kinoflo outside the window at such an angle as to light up the swords without blocking any of the HMI light.

I was interested to find that the art team had done something a bit different with the room’s candles, hanging a cluster of them from an overhead beam. I asked for the “table” (actually a barrel) – where the guards would be playing a board game – to be placed directly under that.

The Dedos (left and right of the picture) and 100W globes used to enhance the light from the candles

The candles wouldn’t shed light directly down on the game in the classic single-light-source-coming-straight-down-onto-the-poker-table style, but I felt it would give me an excuse to cross-backlight. I clamped a Dedo to the top of each side of the set, each one spotted on one of the two characters who would face each other across the barrel.

A view of the finished lighting set-up from over the dimmer boards
A view of the finished lighting set-up from over the dimmer boards. On the floor to the right can be seen the shaft of light from the LED fresnel coming through the fake door (off right).

These Dedos couldn’t be flickered, being the kind which go into a single control box with only three discreet settings for brightness. So to introduce some dynamics, and soften the light a bit, I clipped a dimmable 100W bulb to either side of the beam from which the candles hung. This would also ensure that Hunter would be lit when he stood next to the barrel.

An additional light source in the set was a small brazier on the wall next to the dungeon door. This seemed bright enough to shed plenty of light by itself, particularly as Squish would be standing right next to it for a large part of the scene.

The final touch for lighting was to re-use the fake door to create the effect of daylight spilling in as characters exited and entered from off camera. This time I placed an LED fresnel behind it.

41_GuardsHunter

Check back next Saturday for another instalment of Lensing Ren, and meanwhile watch the next episode of Ren itself from Tuesday at 8pm GMT at rentheseries.com

Lensing Ren – episode 4