“The Little Mermaid”: A Tale of Two Cameras

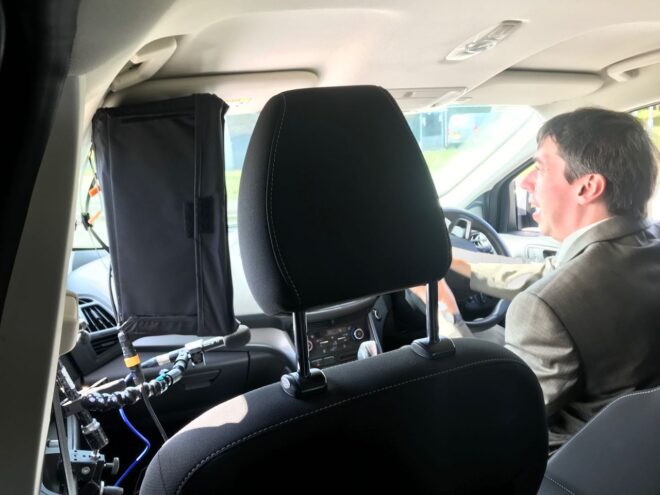
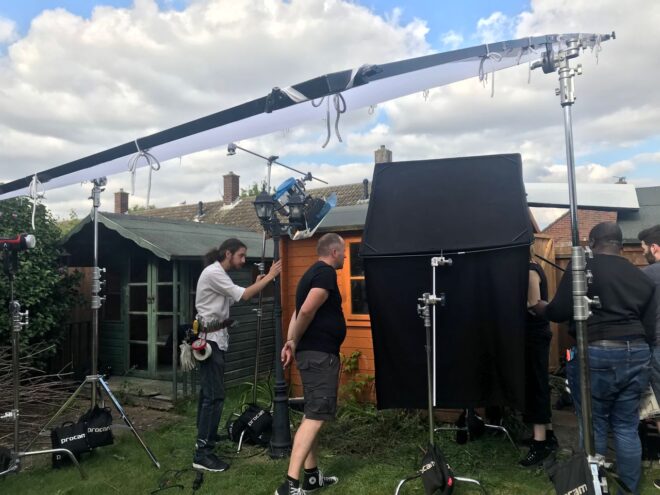
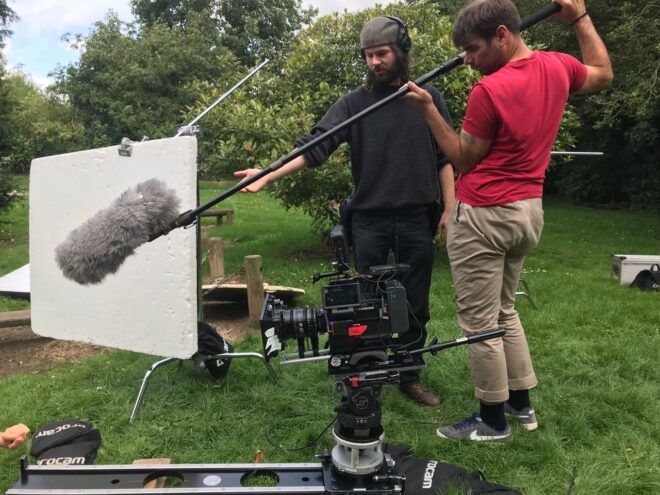
As The Little Mermaid is leaving Netflix next week, I decided to go back to my production diary from 2016 and see if there were any more extracts that might be of interest. Tying in with my recent post about shooting with two cameras, here are a number of extracts demonstrating how we used our Alexa Plus XR (operated by me) and Alexa Studio XR (operated by Tim Gill). I definitely won’t say that we made the most effective and efficient use of two cameras the whole time, but I certainly learnt a lot about the pros and cons of having a B-cam.


Day 1

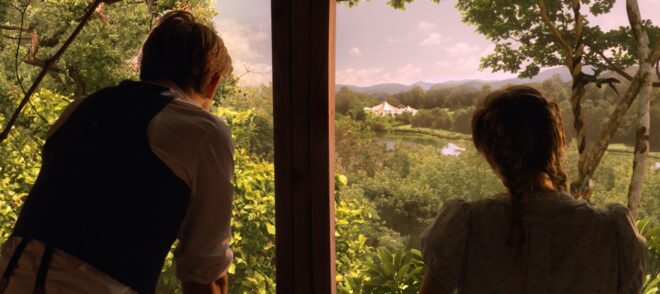
We start in a third floor bedroom… After we get the main coverage, we head out to the garden for the next scene, while the B-camera team steps in to pick up a couple of inserts.

As soon as we’re outside, the sun starts to dick around. Those clouds are scudding in and out faster than we can swap ND filters and fly in Ultrabounce to fill the shadows. Eventually we get the three-channel Preston (which only arrived this morning) hooked up so I can pull the iris remotely for our big jib shot. B-camera arrives and picks up alternate angles, and using the two cameras we’re able to wrap out the scenes by lunchtime.

Now we’re inside, on the first floor this time, in a beautiful little circular study. The electrical department have already set up the lamps, so it doesn’t take much tweaking to get us ready to go. Over the course of the afternoon we shoot out our scenes in the study, while B-camera gets various POVs out of windows and establishers of the house exterior. Although the G&E (grip and electric) crew are thinly stretched to support both camera crews, having that second camera is incredibly useful.


Day 2

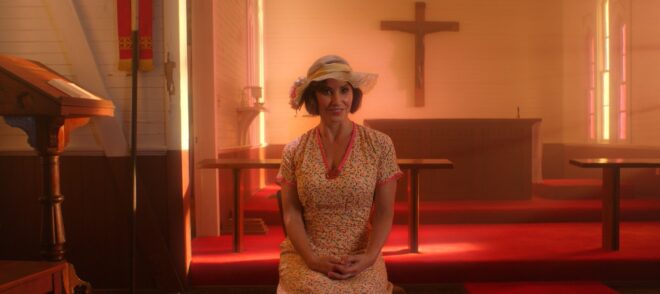
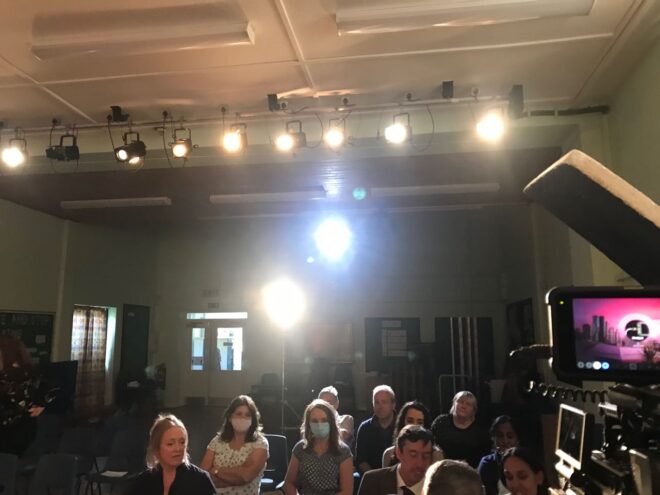
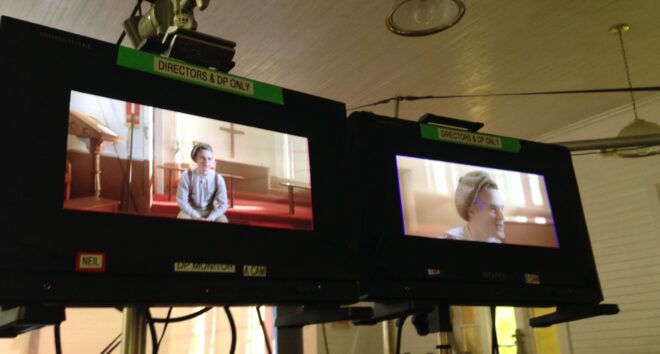
This morning we’re in a church, shooting a montage scene in which Cam interviews a number of locals. We use two cameras to capture a locked-off wide of the interviewee (which can be jump-cut between characters) and a roaming CU simultaneously. Since Tim’s B-camera is doing the roaming shot, I spend the morning at the monitors, keeping an eye on both feeds…


Day 3

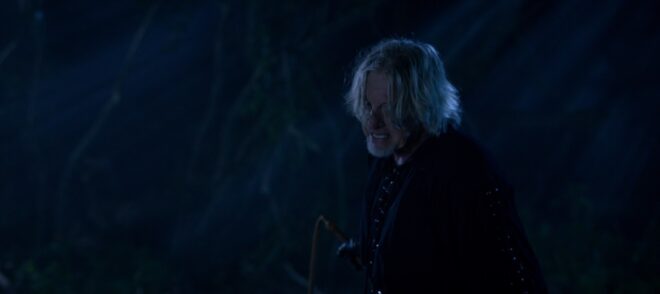
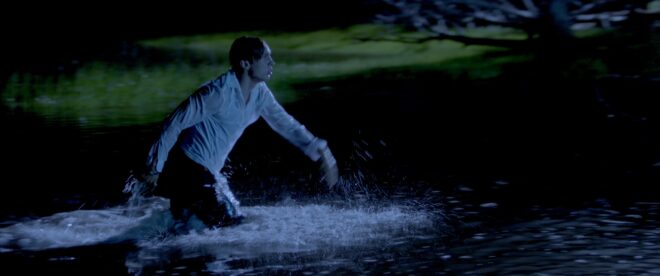
The forecast says cloudy all week, and we dearly want our exteriors at Lorene’s House to be sunny and beautiful. But actually the dark, overcast skies work in our favour when the AD has us spend the morning shooting a “sunset” exterior. Our 12K HMI, gelled with full CTS, has enough power to cut through the dim natural light and give the impression of a gentle sunset. Working with both cameras, we get a great tracking shot, a jib shot and some other coverage. Then we leave the B-camera team behind, under the direction of VFX supervisor Rich (for the above green-screen shot), while we move back inside to block and light other scenes…


Day 8

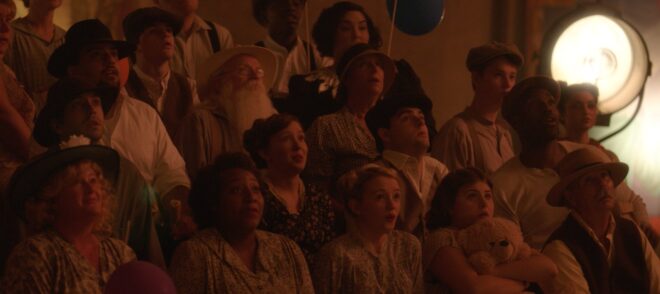
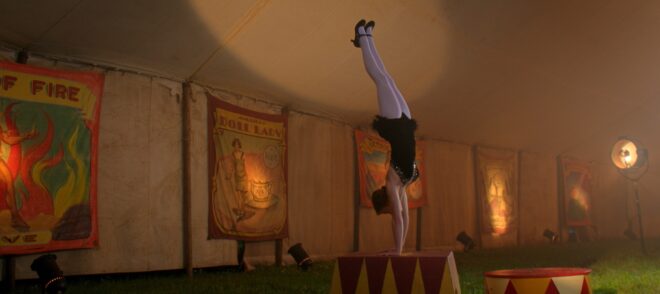
… We have planned our day to maximise our two cameras. We’ve only been getting about eight set-ups a day, and we knew that with the stunts and effects we have today we would be pushed to even get that many. So we planned six two-camera set-ups and an insert, and we stick closely to this plan. A-camera lives on the crane with the (Angenieux 19.5-94mm Optimo) zoom most of the day, getting the most out of the scale and height of the big top and the action, while B-camera – using the (Cooke S4/i) primes for a change – gets the closer shots. This leaves me free to look at the monitors, which is useful but often boring. (All the material from this day sadly hit the cutting room floor.)


Day 12

Our last day at the circus… For most of the day the B-camera is nearby shooting different stuff. This is great in principle, but in practice we tend to get in each others’ way, our lighting affecting their shots and vice versa.


Day 24

… After lunch we have a big fight scene to shoot, and the pace of work kicks up several gears. I light a small clearing so we can shoot 180 degrees with two cameras simultaneously. Some directions look better than others, but in an action scene no shot will be held for very long, so it’s not necessary to get every angle perfect.

Normally I open the Cooke S4s no wider than 2 and two thirds, as no lens performs at its best when wide open, but my resolve on this is slipping, and it’s really hard to get a decent amount of light through the dense trees at this location, so I go wide open (T2) for this sequence.


Day 25

Our last day on Tybee Island. We start with pick-ups in the woods for various scenes shot over the last few days, then move to the beach, a portion of which we’re cheating as a “river marsh” location. This is a night scene, so we have to go through the slow process of moving the condor (cherry-picker) around from the woods. This involves a police escort to get it across the highway…

Meanwhile B-camera are shooting a shot of a car driving along the road behind the beach. Since the G&E crew are all tied up, at (co-director) Chris Bouchard’s suggestion they use the location work-light and have to fiddle with the white balance to render it a reasonable colour on camera. More and more micro-budget cheats are being employed as the production goes on, and to most of the crew, who are used to big-budget stuff, it’s ridiculous. I don’t mind so much, but I feel bad for the B-camera team.


Day 26

We are back on the stage, in three different sets. I’ve lit them all before, but most of the lamps are gone and some require a new look because the time of day is different. Towards the end of the night we leap-frog from set to set, sending G&E and the B-camera ahead to set up while we’re still shooting. To my surprise it works. The sets are small enough that we have enough G&E crew to split up like that.
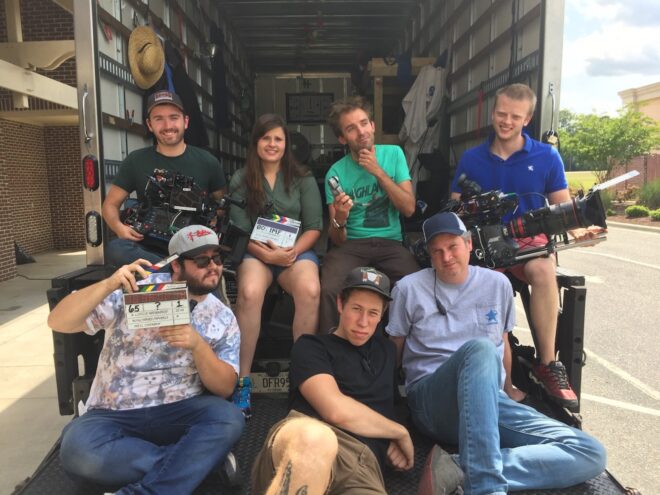
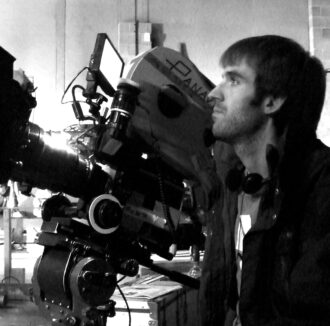
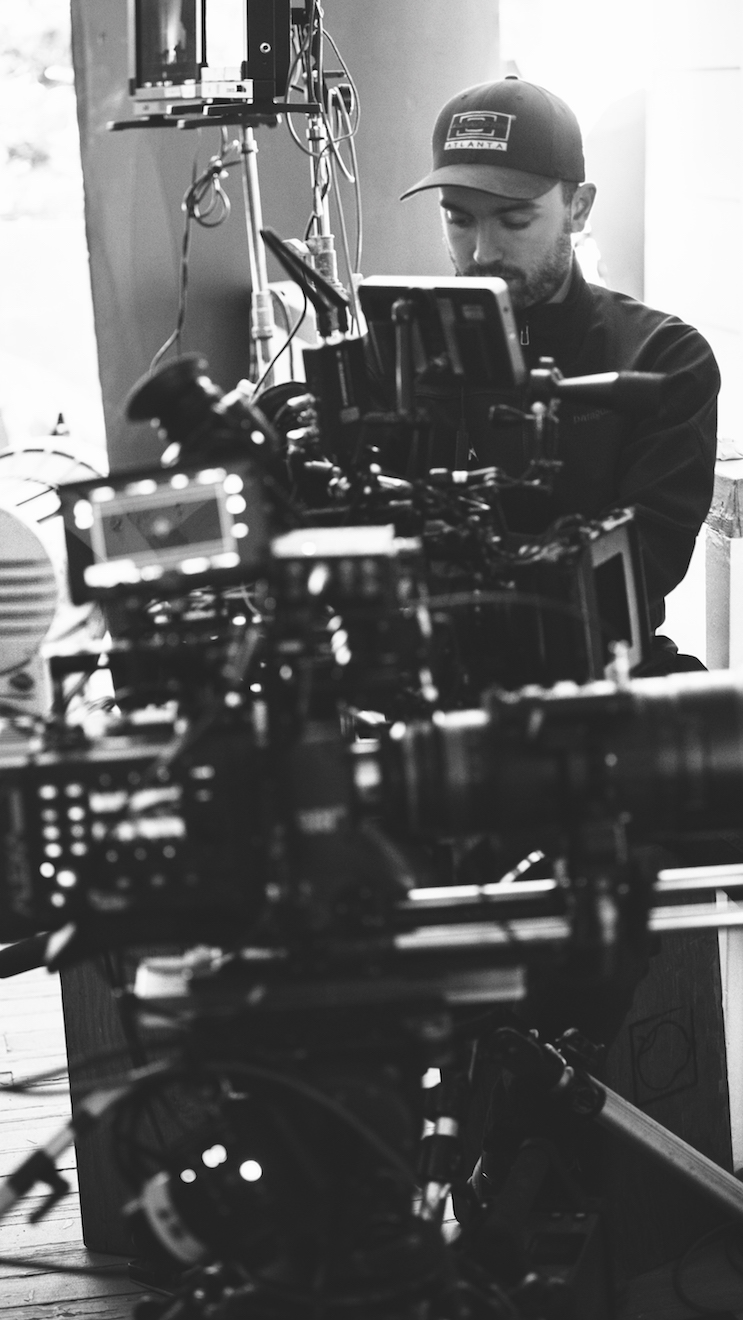
Top row: A-cam 1st AC Jonathan Klepfer, A-cam 2nd AC Kane Pearson, me, B-cam 1st AC Geran Daniels; bottom row: B-cam 2nd AC Matt Bradford Dixon, digital loader Alex Dubois, B-cam operator/2nd unit DP Tim Gill

For more extracts from my Little Mermaid diary, visit these links:

The Little Mermaid is currently available on Netflix in the UK – but hurry because it leaves on November 30th – and Showtime in the US.
“The Little Mermaid”: A Tale of Two Cameras

Why You Shouldn’t Shoot the Rehearsal

We’ve all been there. Schedules are tight. Sooner or later the 1st AD, a producer or even the director is going to want to save time by “shooting the rehearsal”. I strongly disagree with this and here’s why.

No matter how great an actor is, they have only a finite amount of performance energy. They can only do so many takes before the results start to go downhill. In my experience, most actors deliver their best performance on take one or two.

So those first takes need to be useable. They need to be in focus. The timing of the camera movement needs to be right. The boom needs to be out of frame. The prop in the drawer that the talent has to take out halfway through the scene needs to be in position, not still in the standby props person’s hand because they didn’t realise we were going that far. The view out of the door that the talent opens at the very end needs to have been dressed and lit. What, you didn’t know they were opening the door because they skipped that in the block-through and you didn’t get a rehearsal? Bummer.

The purpose of a camera rehearsal is to find all these problems without burning the actors’ performance energy. If you roll the camera on the “rehearsal” – and I use quote marks because it isn’t a rehearsal any more – the cast have to deliver a full performance. Maybe a great, spontaneous performance that can’t be repeated. The last thing you want is for a boom shadow to be hovering over their forehead for half the scene.

Things like boom positions and focus pulling especially can only be properly rehearsed with the camera up and the cast moving through their actual positions. And you can talk about a scene all you want, but a moving picture is worth a million words. There’s no substitute for everyone watching the monitor during that rehearsal and seeing exactly what’s required.

Is a camera rehearsal always necessary on every set-up? No, especially if the scene has already been shot from several other angles, or if everyone’s confident that they know how it’s going to unfold, or if the scene demands little emotional commitment from the cast. But it should be the default practice.

Will a camera rehearsal always throw up problems? Of course not. And if it goes perfectly, people will curse that you didn’t roll, and start asking why we bother with camera rehearsals anyway. That’s life.

Why You Shouldn’t Shoot the Rehearsal

How to Shoot Drama with Two Cameras

Shooting on one camera, getting the lighting and framing perfect for just one angle at a time, used to be a hallmark of quality in film and television. Nowadays many drama DPs are expected to achieve comparable quality while photographing two or more angles simultaneously, with all the attendant problems of framing out booms, lights and other cameras.

So what is the best way to tackle multi-camera shooting? Let’s consider a few approaches.

Photo: Brooks Patrick Allen


1. Two sizes

The most straightforward use of a B camera is to put it close to the A camera and point it in the same direction, just with a different lens. One disadvantage is that you’re sacrificing the ability to massage the lighting for the closer shot, perhaps bringing in a bounce board or diffusion frame that would flatter the actor a little more, but which would encroach on the wider frame.

Another limitation is that the talent’s eye-line will necessarily be further off axis on one of the shots. Typically this will be the wider camera, perhaps on a mid-shot including the shoulder of the foreground actor, while the other camera is tighter in terms of both framing and eye-line, lensing a close-up through the gap between the shoulder and the first camera.

The sound department must also be considered, especially if one camera is very wide and another is tight. Can the boom get close enough to capture the kind of close-miked audio required for the tight shot without entering the wide frame?

Some TV series are solving this problem by routinely painting out the boom in the wider shots. This is usually easy enough in a lock-off, but camera movement will complicate things. It’s an approach that needs to be signed off by all the major players beforehand, otherwise you’re going to get some panicked calls from a producer viewing the dailies.


2. Cross-shooting

This means filming a shot-reverse simultaneously: over character A’s shoulder onto character B, and over character B’s shoulder onto character A. This approach is an editor’s delight because there is no danger that the performance energies will be different when they cut from one person to the other, nor that arm or head positions will throw up continuity errors.

Keeping the cameras out of each other’s frames is of course an issue, one usually handled by backing them off and choosing tighter lenses. (Long lenses are an unavoidable side effect of multi-camera cinematography.) Two booms are required, and keeping their shadows out is four times as difficult.

Lighting can take twice as long too, since you now have two cast members who need to look their best, and you need to maintain mood, shape and contrast in the light in both directions simultaneously. Softer and toppier light is usually called for.

The performances in certain types of scene – comedy with a degree of improvisation, for example – really benefit from cross-shooting, but it’s by far the most technically challenging approach.


3. Inserts

Grabbing inserts, like close-ups of people’s hands dealing with props, is a quick and simple way of getting some use out of a second camera. Lighting on such shots is often not so critical, they don’t need to be close-miked, and it’s no hassle to shoot them at the same time as a two-shot or single.

There is a limit to how many inserts a scene needs though, so sooner or later you’ll have to find something else to do with the camera before the producer starts wondering what they’re paying all that extra money for.


4. Splinter unit

The idea of sending B camera off to get something completely separate from what A camera is doing can often appeal. This is fine for GVs (general views), establishing shots of the outside of buildings, cutaways of sunsets and so on, but anything much more complicated is really getting into the realm of a second unit.

Does the set or location in front of camera need to be dressed? Then someone from the art department needs to be present. Is it a pick-up of an actor? Well, then you’re talking about hair, make-up, costume, continuity, sound…

Photo: Brooks Patrick Allen

With the extra problems that a second camera throws up, it’s a fallacy to think it will always speed up your shoot; the opposite can easily happen. An experienced crew and a clear plan worked out by the director, DP, operators and gaffer is definitely required. However, when it’s done well, it’s a great way to increase your coverage and give your editor more options.

How to Shoot Drama with Two Cameras

6 Tips for Virtual Production

Part of the volume at ARRI Rental in Uxbridge, with the ceiling panel temporarily lowered

Virtual production technically covers a number of things, but what people normally mean by it is shooting on an LED volume. This is a stage where the walls are giant LED screens displaying real-time backgrounds for photographing the talent in front of. The background may be a simple 2D plate shot from a moving vehicle, for a scene inside a car, or a more elaborate set of plates shot with a 360° rig.

The most advanced set-ups do not use filmed backgrounds at all, but instead use 3D virtual environments rendered in real time by a gaming engine like Unreal. A motion-tracking system monitors the position of the camera within the volume and ensures that the proper perspective and parallax is displayed on the screens. Furthermore, the screens are bright enough that they provide most or all of the illumination needed on the talent in a very realistic way.

I have never done any virtual production myself, but earlier this year I was fortunate enough to interview some DPs who have, for British Cinematographer article. Here are some tips about VP shooting which I learnt from these pioneers.


1. Shoot large format

An ARRI Alexa Mini LF rigged with Mo-Sys for tracking its position within the volume

To prevent a moiré effect from the LED pixels, the screens need to be out of focus. Choosing an LF camera, with their shallower depth of field, makes this easier to accomplish. The Alexa Mini LF seems to be a popular choice, but the Sony Venice evidently works well too.


2. Keep your distance

To maintain the illusion, neither the talent nor the camera should get too close to the screens. A rule of thumb is that the minimum distance in metres should be no less than the pixel pitch of the screens. (The pixel pitch is the distance in millimetres between the centre of one pixel and the centre of the next.) So for a screen of 2.3mm pixel pitch, keep everything at least 2.3m away.


3. Tie it all together

Several DPs have found that the real foreground and the virtual background fit together more seamlessly if haze or a diffusion filter are used. This makes sense because both soften the image, blending light from nearby elements of the frame together. Other in-camera effects like rain (if the screens are rated weatherproof) and lens flares would also help.


4. Surround yourself

The back of ARRI’s main screen, composed of ROE LED panels

The most convincing LED volumes have screens surrounding the talent, perhaps 270° worth, and an overhead screen as well. Although typically only one of these screens will be of a high enough resolution to shoot towards, the others are important because they shed interactive light on the talent, making them really seem like they’re in the correct environment.


5. Match the lighting

If you need to supplement the light, use a colour meter to measure the ambience coming from the screens, then dial that temperature into an LED fixture. If you don’t have a colour meter you should conduct tests beforehand, as what matches to the eye may not necessarily match on camera.


6. Avoid fast camera moves

Behind the scenes at the ARRI volume, built in partnership with Creative Technology

It takes a huge amount of processing power to render a virtual background in real time, so there will always be a lag. The Mandalorian works around this by shooting in a very classical style (which fits the Star Wars universe perfectly), with dolly moves and jibs rather than a lot of handheld shots. The faster the camera moves, the more the delay in the background will be noticeable. For the same reason, high frame rates are not recommended, but as processing power increases, these restrictions will undoubtedly fall away.

6 Tips for Virtual Production

Shutter Maths: Flicker-free Screens and Exposure Compensation

An actor’s view by Alan Hay as I fiddle with a TV’s settings to reduce its flickering on camera

In last week’s post I mentioned the minor trouble we had on Harvey Greenfield is Running Late with a flickering TV screen in the background of shot. In today’s post I’m going to look at the underlying maths, find out why the 144° shutter angle I ultimately chose gave the best results and how to calculate the exposure compensation when you change your shutter angle like this.

If you haven’t already read my exposure series, particularly the posts about shutter and ISO, I suggest you look at those before diving into this one.


Working out the shutter interval

Harvey Greenfield was shot at 24fps here in the UK, where the mains current alternates at 50Hz (i.e. 50 cycles per second). To avoid certain light sources and any screens in shot from flickering, you generally want to match your shutter interval – the period of time during which light is allowed to charge the sensor’s photosites – to the AC frequency, i.e. 1/50th of a second in the UK. That works out to a shutter angle of 172.8° because…

frame rate x (360 ÷ shutter angle) = shutter interval denominator

… which can also be stated as…

frame rate x shutter interval x 360 = shutter angle

24 x (1 ÷ 50) x 360 = 172.8

So, as with all features I shoot in the UK, I captured most of Harvey at a shutter angle of 172.8°.

Going back to the TV problem, I scrolled through the Red Gemini’s available shutter angles until I found the one that gave the least flicker: 144°. With the twin wonders of hindsight and maths I can work out what frequency the TV was operating at, using the first version of the formula above.

24 x (360 ÷ 144) = 60

144° with a frame rate of 24 meant that the Red was capturing 1/60th of a second’s worth of light each frame. To produce (almost) no flickering at this camera setting, the TV was evidently operating at 60Hz.

The TV screen reflects in the Soft FX filter.


Working out the exposure compensation

Reducing your shutter angle reduces the amount of light captured by the sensor each frame, i.e. it reduces the exposure. I was happy with the depth of field and didn’t want to change the aperture, so instead I compensated by increasing the ISO from 800 to 1280. This was a guess made under time pressure on set, but now I can calculate the right exposure compensation at my leisure.

Fortunately, unlike f-stops, shutter angles and ISO are linear scales. Double the shutter angle or ISO and you double the exposure; halve the shutter angle or ISO and you halve the exposure. This makes the maths relatively easy.

172.8° was my original shutter angle. Let’s think of this as 100% exposure. When I went down to 144°, what percentage of the original exposure was that? I still remember the mantra from calculating maths workbook scores in secondary school: “What you got divided by what you could have got, times 100.”

(144 ÷ 172.8) x 100 = 83%

Now we turn to the ISO. At its original value, 800, the camera is only providing 83% of the desired exposure, thanks to the reduced shutter angle. What must we increase the ISO to in order to hit 100% again?

(800 ÷ ?) x 100 = 83%

800 ÷ ? = 0.83

800 ÷ 0.83 = ? = 960

So I should have been at ISO 960 ideally. The closest available setting on the Red is ISO 1000, not 1280 as I selected, so I was actually over-exposing by a third of a stop. Given that we were shooting in RAW, so the ISO is only metadata, and I could see from the false colours display that nothing was clipping, this is a very minor error indeed.

“The question we have to ask ourselves is: how many 83 percents are left? And the answer is: not many.”

Letting the meter do the maths

One more thing. My Sekonic L-758D light meter assumes a 180° shutter (so I set it to 25fps when I’m actually shooting 24fps at 172.8°, as both work out to 1/50th of a second). Another way I could have worked the correct exposure out, if I’d clocked the 60Hz frequency of the TV at the time, is to have set the meter to 30fps (1/60th of a second at 180°) and then changed the ISO until it gave me the stop I wanted.

Shutter Maths: Flicker-free Screens and Exposure Compensation

“Harvey Greenfield is Running Late”: Week 1

Day 1

The weather was dry and overcast, shedding a pleasantly soft light on the proceedings as the crew of Harvey Greenfield is Running Late set up for our first scene, in front of a small primary school in rural Cambridgeshire.

Then we started shooting and the weather went bananas.

One moment we had bright sunshine, the next we had heavy rain bordering on hail… sometimes in the same take. We had lots of fun and games dodging the showers, maneouvering a 12×12′ silk to soften the sun, keeping reflections and shadows out of shot, waiting for noisy trains to pass, and trying to get through takes without the light changing. But we got there in the end.

In the afternoon we moved into the school hall, which we were using as a makeshift studio. As well as numerous flashbacks, the film includes several imaginary sequences, including a spoof advert. This we shot against a black backdrop using dual backlights, one on either side, to highlight the talent. I totally stole this look from the Men in Black poster.

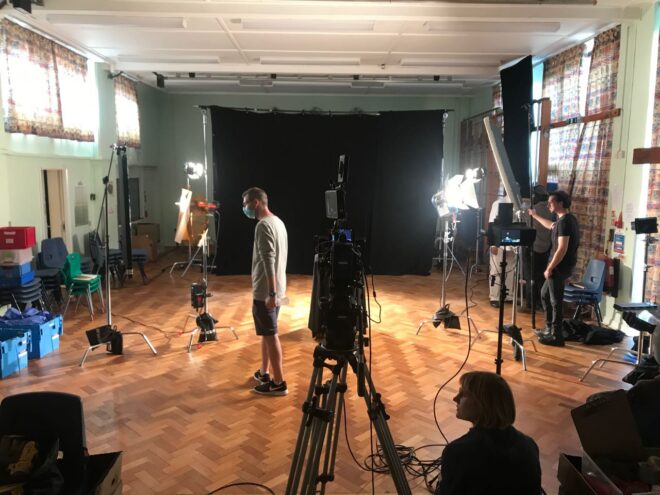
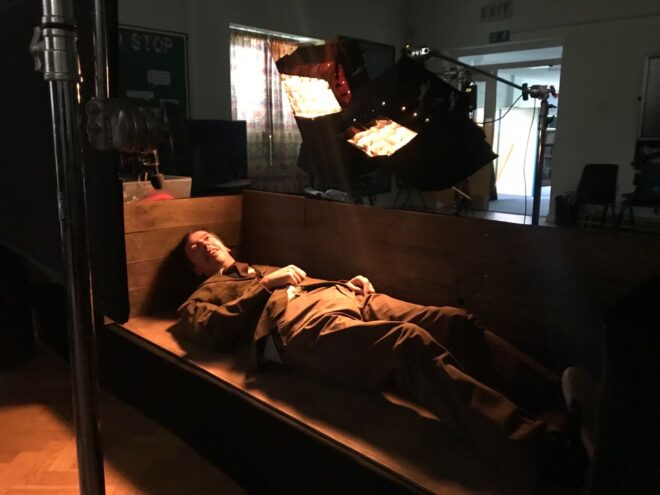
Our last shot of the day was Harvey’s first, and another imaginary scene, this time set in a coffin. To give the appearance of it being underground, the coffin (with no lid and one side missing) was placed on rostra with a black drape hanging below it. To create darkness above it, we simply set a flag in front of camera. Harvey (Paul Richards) lights a match to illuminate himself, which gaffer Stephen Allwright supplemented with two 1×1′ Aladdin Bi-flexes set to tungsten and gelled even more orange.


Day 2

One of the few occasions in my life when I’ve been able to walk to set from home: we started at the University Arms Hotel overlooking Parker’s Piece, one of Cambridge’s many green spaces (and, fact fans, the place where the rules of Association Football were first established).

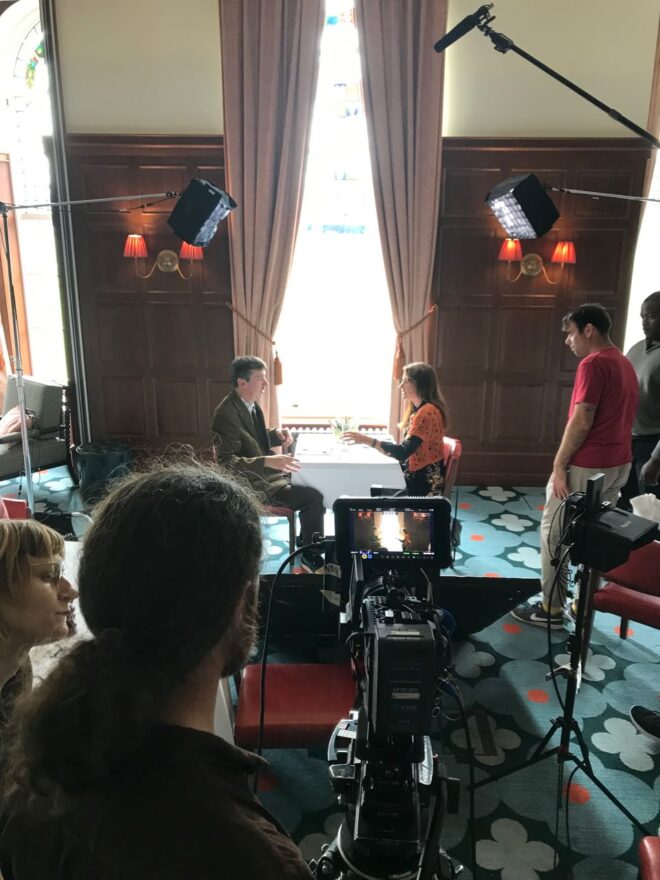
The hotel’s function room was dressed as an upmarket restaurant, where we captured Harvey’s first date with his girlfriend Alice (Liz Todd). We shot towards a window; putting your main light source in the background is always a good move, and it gave us the perfect excuse to do soft cross-backlight on the two characters. The room’s wood panelling and sconces looked great on camera too.

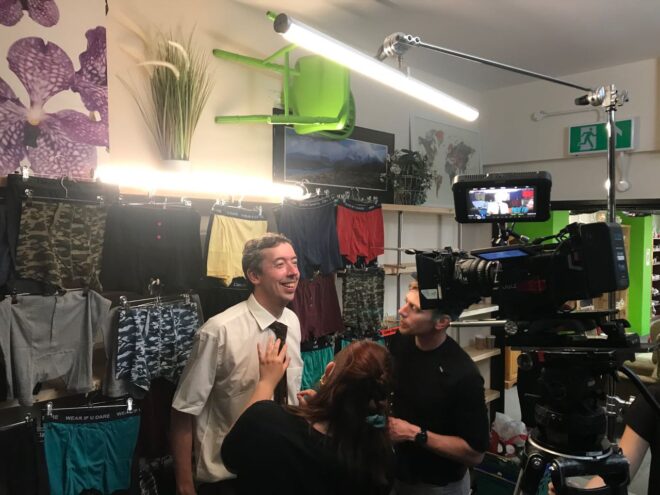
The unit then moved to Emmaus, a large charity shop north of the city, where we filmed a Wall of Pants and some tightly choreographed Sandwich Action. Here we broke out the Astera tubes for the fist time, using them as a toppy, fluorescent-style key-light and backlight.

By now we were getting into the visual rhythm of the film, embracing wide angles (our 18-35mm zoom gets heavy use), central framing (or sometimes short-siding), Wes Anderson-type pans/tilts, and a 14mm lens and/or handheld moves for crazier moments.


Day 3

We were based at Paul’s house for day 3, beginning in the street outside for a brief scene in his car. Shooting from the back, we mounted an Aladdin in the passenger seat to key Paul, and blacked out some of the rear windows to create negative fill, much like I did for the driving scenes in Above the Clouds.

The rest of the day was spent in and around Paul’s shed. Or, to be more specific, the middle one of his three sheds. This is Harvey’s “Happy Place” so I stepped up from the Soft FX 0.5 filter I’d been shooting with so far to the Soft FX 1, to diffuse the image a little more. We also used haze for the only time on the film.

Some shots through the shed window gave us the usual reflection challenges. Stephen rigged a 12×12 black solid to help with this, and we draped some bolton over the camera. Inside the shed we used an Aladdin to bring up the level, and once we stopped shooting through the window we fired a tungsten 2K in through there instead. This was gelled with just half CTB so that it would still be warm compared with the daylight, and Stephen swapped the solid for a silk to keep the natural light consistent and eliminate the real direct sun.

I made my first use of the Red Gemini’s low light mode today, switching to ISO 3200 to maintain the depth of field when filming in slow motion. (I have been shooting at T4-5.6 because a sharper, busier background feels more stressful for Harvey.)


Day 4

Back to the primary school. We spent the morning outside shooting flashbacks with some talented child actors from the Pauline Quirke Academy. We got some nice slider shots and comedy pans while dealing with the ever-changing cloud cover.

Inside in the afternoon we picked up a dropped scene from day 1, then moved on to one of the film’s biggest challenges: a six-minute dialogue scene travelling through a corridor and around a classroom, to be filmed in a single continuous Steadicam shot. This could easily have been a nightmare, but a number of factors worked in our favour. Firstly, we had rehearsed the scene on location with actors and a phone camera during pre-production. Secondly, we had the brilliant Rupert Peddle operating the Steadicam. Thirdly, it would have been so difficult to keep a boom and its shadows out of shot that mixer Filipe Pinheiro and his team didn’t even try, instead relying on lavaliers and a mic mounted on the camera.

For similar reasons, we didn’t do much lighting either; there were almost no areas of the rooms and their ceilings that didn’t come into shot at some point. In two places Stephen rigged blackout for negative fill. I then chose which of the existing ceiling lights to turn off and which to keep on, to get as much shape into the image as possible. We tried to rig a grid onto one of the ceiling lights to take it off a wall that was getting too hot, but after one take we realised that this was in frame, so instead we stuck a square of ND gel to it. We also rigged two Astera tubes in the corridor, but discovered that one of those came into frame too, so in the end a single Astera tube was the only additive lighting. The existing ceiling lights worked particularly well for a slow push-in to Alice near the end of the shot, providing her with both key and backlight from perfect angles.


Day 5

Today we shot a big scene based around a school play. Production designer Amanda Stekly had created a suitably cheesy, sparkly backdrop, and more PQA students dressed up in weird and wonderful costumes to enact snatches of a very random production called Spamlet (making it the second time this year I’ve shot “to be or not to be”, though this time was… er… a little different).

The school had a basic lighting rig already. We refocused and re-gelled some of the lights, keeping it very simple and frontal. Behind the set I put one of my old 800W Arri Lites as a backlight for the kids on stage. To one side, where Alice was standing, we used two Astera tubes, one to key her and one to backlight her. These were both set to a cool, slightly minty colour. My idea of using green for calming characters and moments hasn’t come to fruition quite as I’d planned, because it hasn’t fitted the locations and other design elements, but there’s a little hint of it here.

For the audience, Stephen rigged an Aputure 300D to the ceiling as a backlight, then we bounced the stage lighting back onto them using a silver board. We also used the school’s follow spot, which gave us some nice flares for the stressful moments later in the scene. It was daytime both in reality and in the story, but we closed the (thin) curtains and reduced the ambience outside with floppy flags so that the artificial lighting would have more effect.

We had to move at breakneck speed in the afternoon to get everything in the can before wrap time, but we managed it, finishing our first week on schedule. No mean feat.

“Harvey Greenfield is Running Late”: Week 1

The Cinematography of “Doctor Who”

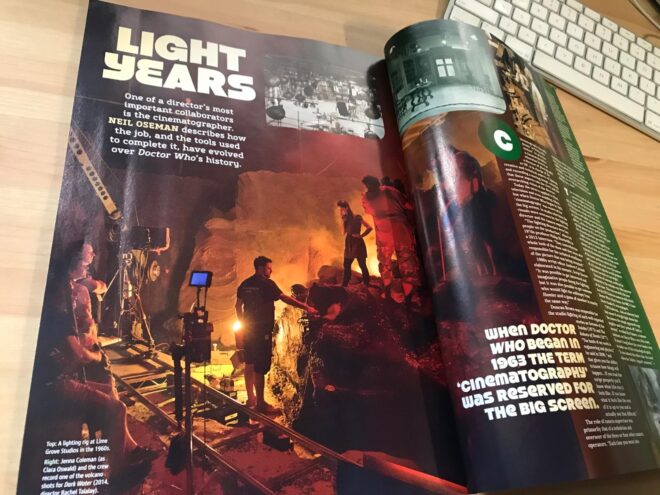
Just a quick post to say that the latest special edition of Doctor Who Magazine, out now, features an article I wrote about the history of the venerable series’ cinematography. From the cathode-ray tube multi-camera studio shoots of 1963 to the latest ARRI Alexa/Cooke Anamorphic photography, the technology and techniques of lighting and lensing Doctor Who encapsulate the history of TV making over the last six decades. I had a great time combining two subjects I know quite a bit about and was very excited to see the article in print. Look out for it in your local newsagent!

The Cinematography of “Doctor Who”

5 Ways to Use Astera Tubes

Astera Titan Tubes seem to be everywhere at the moment, every gaffer and DP’s favourite tool. Resembling fluorescent tubes, Asteras are wireless, flicker-free LED batons comprised of 16 pixels which can be individually coloured, flashed and programmed from an app to produce a range of effects.

Here are five ways in which I used Titan Tubes on my most recent feature, Hamlet. I’m not being sponsored by Astera to write this. I just know that loads of people out there are using them and I thought it would be interesting to share my own experiences.


1. Substitute fluorescents

We had a lot of scenes with pre-existing practical fluorescents in them. Sometimes we gelled these with ND or a colour to get the look we wanted, but other times it was easier to remove the fluorescent tube and cable-tie an Astera into the housing. As long as the camera didn’t get too close you were never going to see the ties, and the light could now be altered with the tap of an app.

On other occasions, when we moved in for close-ups, the real fluorescents weren’t in an ideal position, so we would supplement or replace them with an Astera on a stand and match the colour.


2. Hidden behind corners

Orientated vertically, Asteras are easy to hide behind pillars and doorways. One of the rooms we shot in had quite a dark doorway into a narrow corridor. There was just enough space to put in a vertical pole-cat with a tube on it which would light up characters standing in the doorway without it being seen by the camera.


3. Eye light

Ben Millar, Hamlet‘s gaffer, frequently lay an Astera on the floor to simulate a bit of floor bounce and put a sparkle in the talent’s eye. On other occasions when our key light was coming in at a very sidey angle, we would put an Astera in a more frontal position, to ping the eyes again and to wrap the side light very slightly.


4. rigged to the ceiling

We had a scene in a bathroom that was all white tiles. It looked very flat with the extant overhead light on. Our solution was to put up a couple of pole-cats, at the tops of the two walls that the camera would be facing most, and hang Asteras horizontally from them. Being tubes they have a low profile so it wasn’t hard to keep them out of the top of frame. We put honeycombs on them and the result was that we always had soft, wrappy backlight with minimal illumination of the bright white tiles.


5. Special effects

One of the most powerful things about Titan Tubes is that you can programme them with your own special effects. When we needed a Northern Lights effect, best boy Connor Adams researched the phenomenon and programmed a pattern of shifting greens into two tubes rigged above the set.

On War of the Worlds in 2019 we used the Asteras’ emergency lights preset to pick up some close-ups which were meant to have a police car just out of shot.

There are all kinds of other effects you could use the tubes for. There is a good example by DP Rowan Biddiscombe in this article I wrote for British Cinematographer.

5 Ways to Use Astera Tubes

Using Depth of Field Creatively

“The Handmaid’s Tale: Offred” (2017, DP: Colin Watkinson, ASC, BSC)

When DSLR video exploded onto the indie filmmaking scene a decade ago, film festivals were soon awash with shorts with ultra-blurry backgrounds. Now that we have some distance from that first novelty of large-sensor cinematography we can think more intelligently about how depth of field – be it shallow or deep – is best used to help tell our stories.

First, let’s recap the basics. Depth of field is the distance between the nearest and farthest points from camera that are in focus. The smaller the depth of field, the less the subject has to move before they go out of focus, and the blurrier any background and foreground objects appear. On the other hand, a very large depth of field may make everything from the foreground to infinity acceptably sharp.

Depth of field varying with aperture
Everyone’s favourite time machine at f/5 (left) and f/1.8 (right)

Depth of field is affected by four things: sensor (or film) size, focal length (i.e. lens length), focal distance, and aperture. In the days of tiny Mini-DV sensors, I was often asked by a director to zoom in (increase the focal length) to decrease the depth of field, but sometimes that was counter-productive because it meant moving the camera physically further away, thus increasing the focal distance, thus increasing the depth of field.

It was the large 35mm sensors of DSLRs, compared with the smaller 1/3” or 2/3” chips of traditional video cameras, that made them so popular with filmmakers. Suddenly the shallow depth of field seen in a Super-35 movie could be achieved on a micro-budget. It is worth noting for the purists, however, that a larger sensor technically makes for a deeper depth of field. The shallower depth of field associated with larger sensors is actually a product of the longer lenses required to obtain the same field of view.

Once a camera is selected and filming is underway, aperture is the main tool that DPs tend to use to control depth of field. A small aperture (large f- or T-number) gives a large depth of field; a large aperture (small f- or T-number) gives a narrow depth of field. What all those early DSLR filmmakers, high on bokeh, failed to notice is that aperture is, and always has been, a creative choice. Plenty of directors and DPs throughout the history of cinema have chosen deep focus when they felt it was the best way of telling their particular story.

“Citizen Kane” (1941, DP: Gregg Toland, ASC)

One of the most famous deep-focus films is 1941’s Citizen Kane, frequently voted the greatest movie ever made. First-time director Orson Welles came from a theatre background, and instructed DP Gregg Toland to keep everything in focus so that the audience could choose what to look at just as they could in a theatre. “What if they don’t look at what they’re supposed to look at?” Welles was apparently asked. “If that happens, I would be a very bad director,” was his reply.

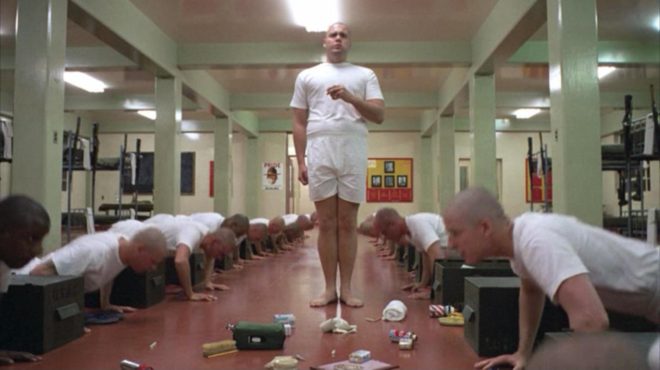
Stanley Kubrick was also fond of crisp backgrounds. The infamous f/0.7 NASA lenses used for the candlelight scenes in Barry Lyndon were a rare and extreme exception borne of low-light necessity. A typical Kubrick shot has a formal, symmetrical composition with a single-point perspective and everything in focus right into the distance. Take the barracks in Full Metal Jacket, for example, where the background soldiers are just as sharp as the foreground ones. Like Welles, Kubrick’s reasons may have lain in a desire to emulate traditional art-forms, in this case paintings, where nothing is ever blurry.

“Full Metal Jacket” (1987, DP: Douglas Milsome, ASC, BSC)

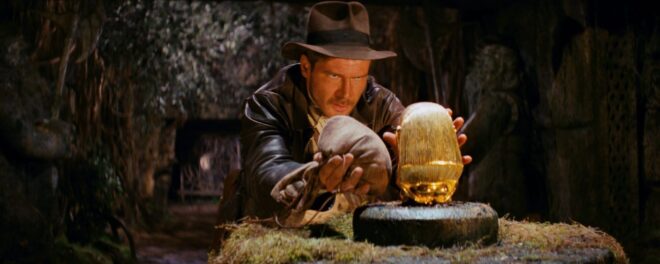
The Indiana Jones trilogy was shot at a surprisingly slow stop by the late, great Douglas Slocombe. “I prefer to work in the aperture range of T14-T14.5 when I am shooting an anamorphic film like Raiders,” he said at the time. “The feeling of depth contributed to the look.” Janusz Kamiński continued that deep-focus look, shooting at T8-T11 when he inherited the franchise for Kingdom of the Crystal Skull.

At the other end of the aperture scale, the current Hulu series The Handmaid’s Tale makes great creative use of a shallow depth of field, creating a private world for the oppressed protagonist which works in tandem with voiceovers to put the viewer inside her head, the only place where she is free.

A director called James Reynolds had a similar idea in mind when I shot his short film, Exile Incessant. He wanted to photograph closed-minded characters with shallow focus, and show the more tolerant characters in deep focus, symbolising their openness and connection with the world. (Unfortunately the tiny lighting budget made deep focus impossible, so we instead achieved the symbolism by varying the harshness of the lighting.)

“Ren: The Girl with the Mark” (2016, DP: Neil Oseman)

One production where I did vary the depth of field was Ren: The Girl with the Mark, where I chose f/4 as my standard working stop, but reduced it to as little as f/1.4 when the lead character was bonding with the mysterious spirit inside her. It was the same principle again of separating the subject from the world around her.

Depth of field is a fantastic creative tool, and one which we are lucky to have so much control over with today’s cameras. But it will always be most effective when it’s used expressively, not just aesthetically.

Using Depth of Field Creatively

“Raiders of the Lost Ark” Retrospective

Raiders of the Lost Ark, the first instalment in the blockbusting Indiana Jones franchise, burst onto our screens a scarcely-believable 40 years ago. But of course, it’s not the years, it’s the mileage…

The origin story of this legendary character is itself the stuff of Hollywood legend. Fleeing LA to escape the dreaded box office results of Star Wars (spoiler: he needn’t have worried), George Lucas and his friend Steven Spielberg were building a sandcastle on a Hawaiian beach when Lucas first floated the idea.

Like Star Wars, the tale of adventuring archaeologist Indiana Smith was inspired by adventure serials of the 1950s. Although Spielberg liked the first name (which came from Lucas’s dog, a reference that the third film would twist back on itself), he wasn’t so keen on Smith, and so Indiana Jones was born.

Rather than auditions, actors under consideration were invited to join Spielberg in baking bread. Tom Selleck was famously the first choice for the lead, but his contract with the TV series Magnum, P.I. precluded his involvement, and Spielberg instead suggested to a reluctant Lucas that they cast his regular collaborator Harrison Ford.

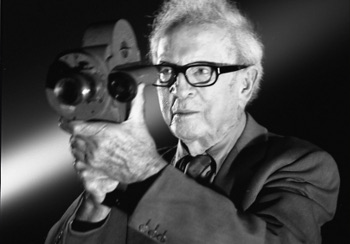
DP Douglas Slocombe, OBE, BSC, BSC

Raiders was shot at a breakneck pace, with Spielberg determined to reverse his reputation for going over schedule and over budget. Beginning in summer 1980, the animated red line of the film crew travelled across a map of the world from La Rochelle, France to England’s Elstree Studios (where Lucas had shot Star Wars) to Tunisia (ditto) to Hawaii, where it had all begun.

The film, and indeed the whole of the original trilogy, was photographed in glorious Panavision anamorphic by the late, great Douglas Slocombe, OBE, BSC, ASC. “Dougie is one of the few cinematographers I’ve worked with who lights with hard and soft light,” Spielberg commented. “Just the contrast between those styles within the framework of also using warm light and cool light and mixing the two can be exquisite.”

Location challenges included the removal of 350 TV aerials in the Tunisian town of Kairouan, so that views from Sallah’s balcony would look period-accurate, this being before the days of digital tinkering.

Digital tinkering was applied to the DVD release many years later, however, to remove a tell-tale reflection in a glass screen protecting Harrison Ford from a real cobra. Besides this featured reptile – which proved the value of the screen by spitting venom all over it – the production team initially sourced 2,000 snakes for the scene in which Indy and friends locate the Ark of the Covenant. But Spielberg found that “they hardly covered the set, so I couldn’t get wide shots.” 7,000 more snakes were shipped in to complete the sequence.

While the classic truck chase was largely captured by second unit director Michael Moore working to pre-agreed storyboards, Spielberg liked to improvise in the first unit. The fight on the Flying Wing, during which Ford tore a ligament after the plane’s wheel rolled over his leg, was made up as the filmmakers went along. When Indy uses the plane to gun down a troop of bad guys, the director requested a last-minute change from graphic blood sprays to more of a dusty look. Mechanical effects supervisor Kit West resorted to putting cayenne pepper in the squibs, which had the entire crew in sneezing fits.

“I would hear complaints,” said Kathleen Kennedy, who worked her way up the producer ranks during the trilogy, beginning as “associate to Mr. Spielberg”. “‘Well, Steven’s not shooting the sketches.’ But once you get into a scene and it’s suddenly right there in front of you, I only think that it can be better if changes are made then.”

Spielberg’s most famous improvisation, when a four-day sword-fight was thrown out and replaced with Indy simply shooting the swordsman dead, was prompted by the uncomfortable Tunisian heat and the waves of sickness that were sapping morale. “We couldn’t understand why the crew was getting ill, because we were all drinking bottled Evian water,” recalled Ford’s stunt double Vic Armstrong. “Until one day somebody followed the guy that collected the empties and saw him filling these Evian bottles straight out of the water truck.”

Production wrapped in early October, and effects house ILM, sound designer Ben Burtt and composer John Williams worked their world-class magic on the film. For the opening of the Ark, ILM shot ghost puppets underwater, while the demise of the Nazi Toht was accomplished with a likeness of actor Ronald Lacey sculpted out of dental alginate, which melted gorily when heated.

Amongst the sounds Burtt recorded were a free-wheeling Honda station wagon (the giant boulder), hands squelching in a cheese casserole (slithering snakes) and the cistern cover of his own toilet (the lid of the Ark). Williams initially composed two potential themes, both of which Spielberg loved, so one became the main theme and the other the bridge.

Although still great fun, and delivering a verisimilitude which only practical effects and real stunts can, some aspects of Raiders are problematic to the modern eye. The Welsh John Rhys Davies playing the Egyptian Sallah, and a female lead who is continually shoved around by both villains and heroes alike, make the film a little less of a harmless romp today than it was intended at the time.

Raiders was a box office hit, spawning two excellent sequels (and a third of which we shall not speak) plus a spin-off TV series, The Young Indiana Jones Chronicles, and even a shot-for-shot amateur remake filmed by a group of Mississippi teenagers over many years. It also won five Oscars in technical categories, and firmly established Steven Spielberg as the biggest filmmaker in Hollywood.

A fifth Indiana Jones film recently entered production, helmed by Logan director James Mangold with Spielberg producing. It is scheduled for release in July 2022.

See also: “Learning from the Masters: Raiders of the Lost Ark

“Raiders of the Lost Ark” Retrospective