This post first appeared on Ren’s Patreon page.
If you happened to be at the Season One wrap party, you’ll know that I’m a fan of Europe’s “The Final Countdown”. That is very much where Ren Season Two is right now.
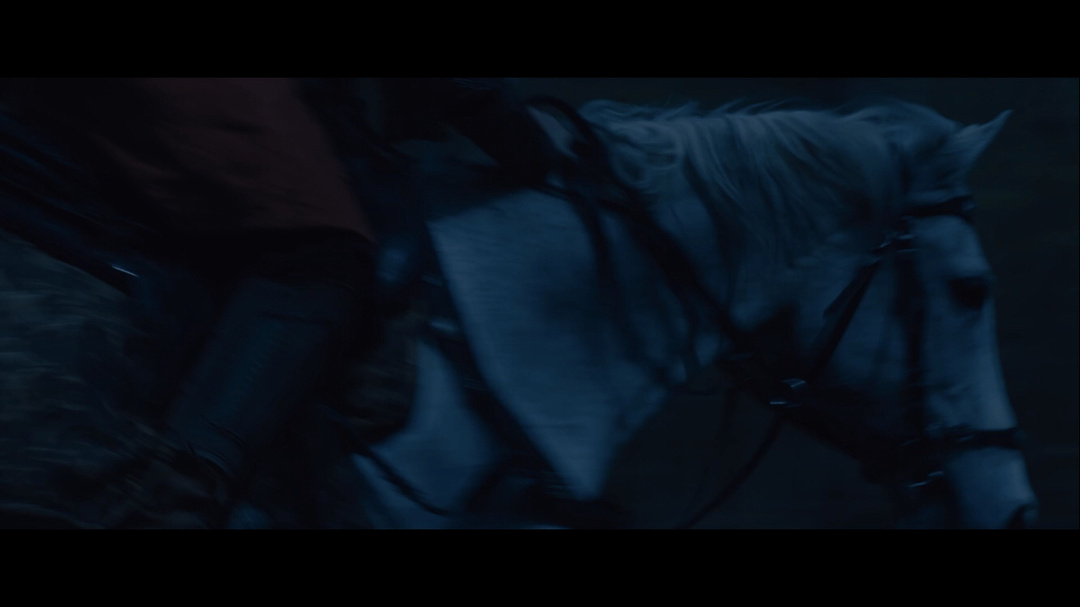
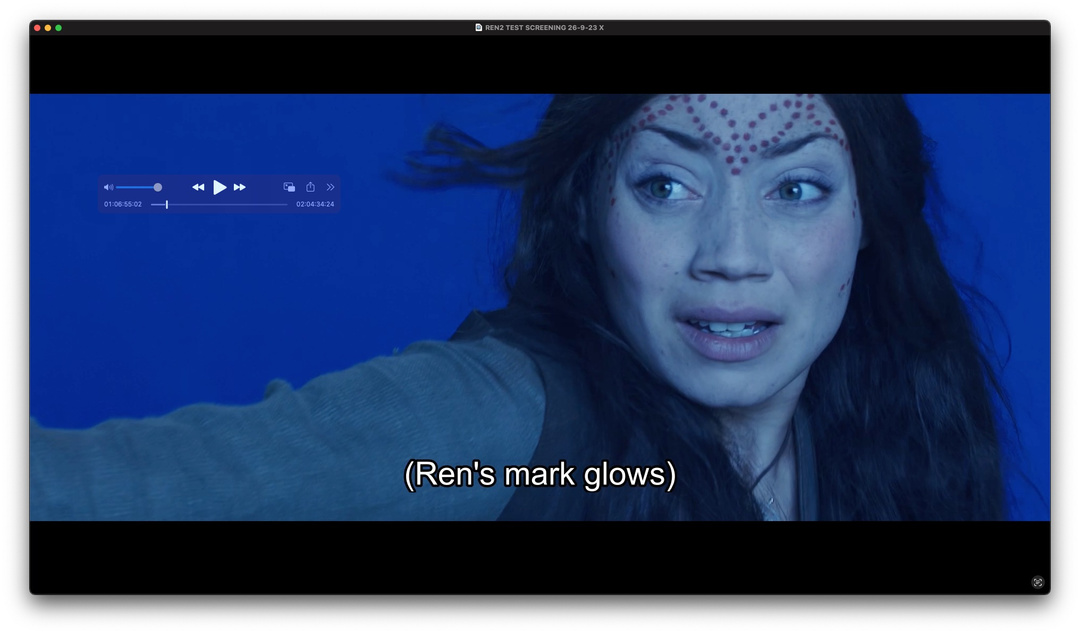
Rob Westwood has been hard at work finishing the music, the last of which has now been delivered. The action scenes I’ve been watching for so long finally have the proper scale with his score driving them along. The emotional moments now soar where they’re supposed to. My favourite bits are the travelling montage in 202 and the last scene of 204 where… Spoilers.
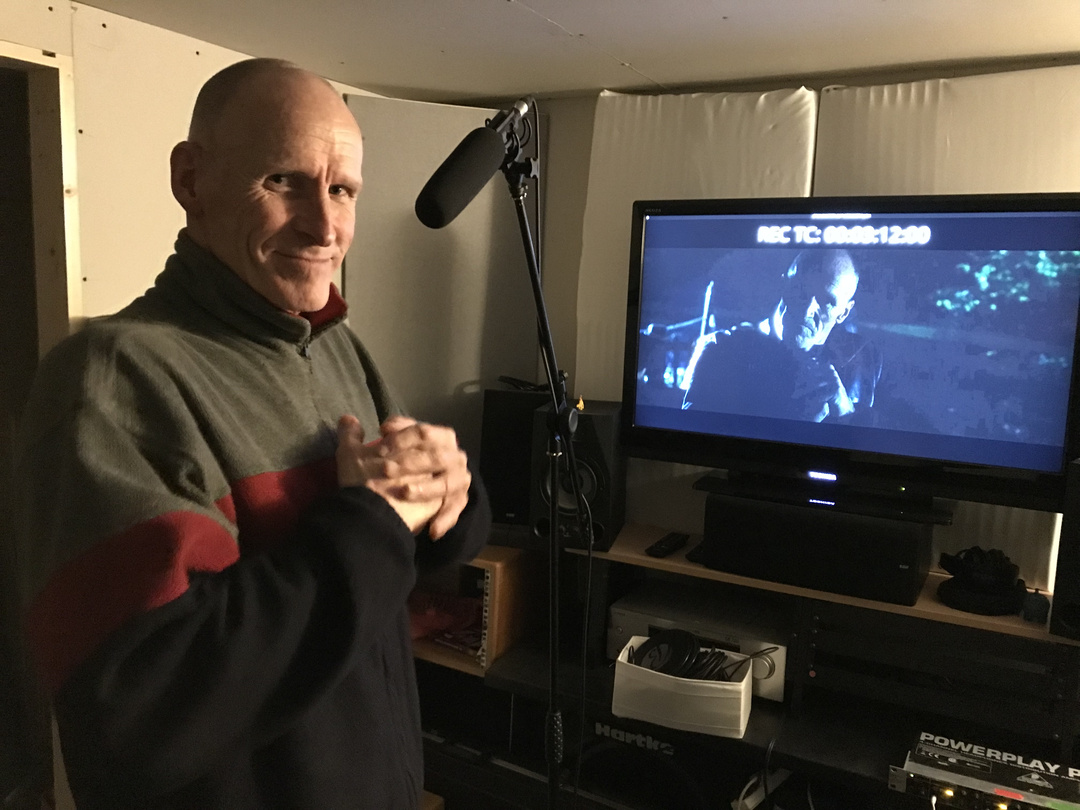
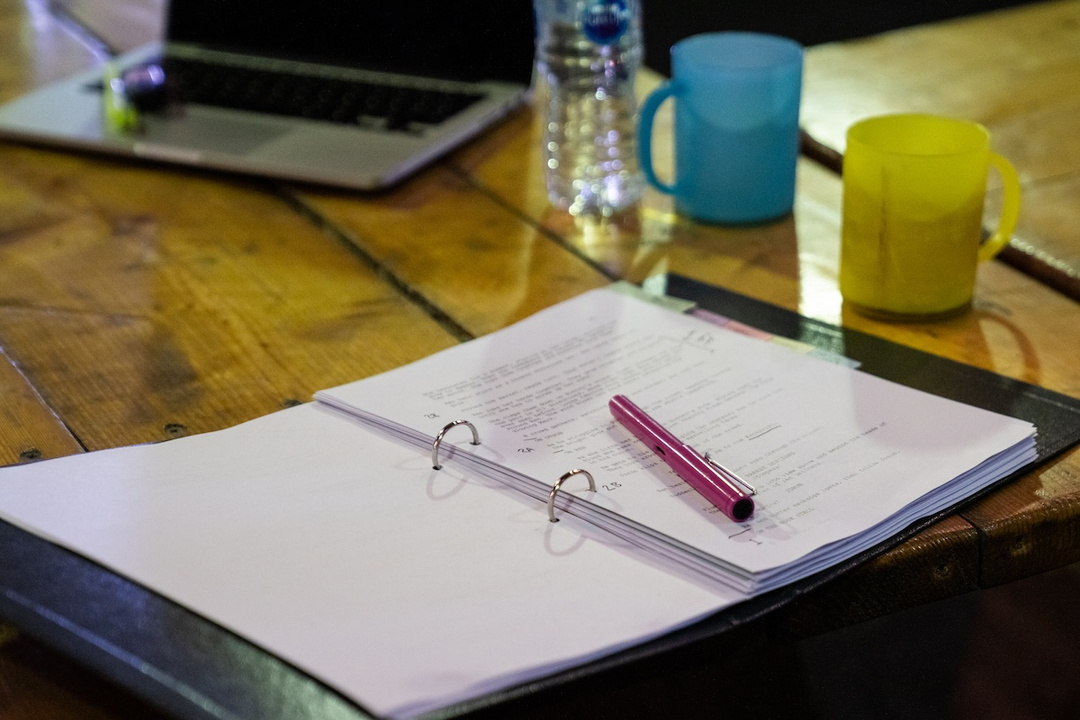
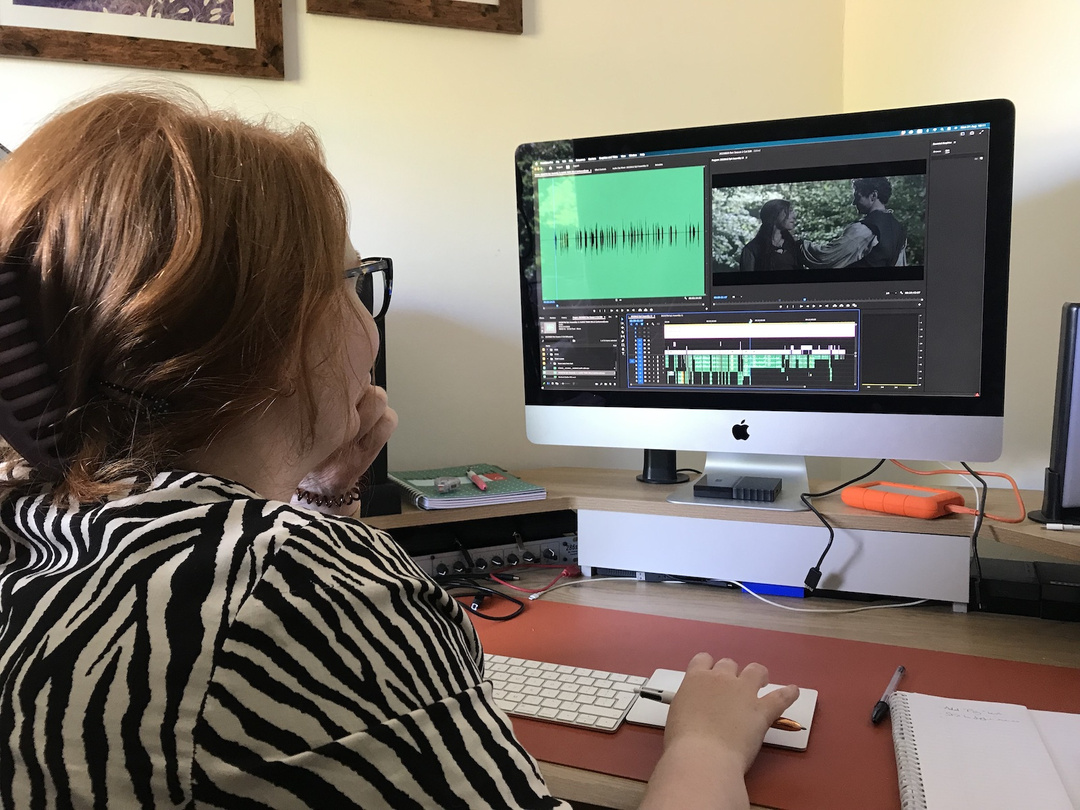
By the end of this coming weekend at latest, the sound mix will need to be finished, to give me time to make the DCP (Digital Cinema Package, a special file format which all cinema projectors use), get it to The Light, have them ingest it onto their system and check it, with a little contingency time left in case anything hasn’t come out correctly. This means that I’ll be spending a lot of time over the next few days in Dale’s back garden murder shed, which is where I’m writing from now.
Dale is adjusting the dynamics of the hoofbeats in the horse chase, while Jesse adds a last few sound effects elsewhere in 201. Dale’s set a timer and we have to be off this episode and onto 202 within half an hour. The countdown clock’s ticking.
11:35pm. Now well into 203, the three have us have got irrationally excited about a horrible scraping chair sound effect. Is it as great as we think or is it delirium? (Pretty sure it’s great.)
“I can feel the blood pooling in my knees from where I literally haven’t moved for so long,” says Dale.
We go outside to stretch our legs and regain some sanity. Back inside, we plough through to the end of 203. It’s getting better and better.
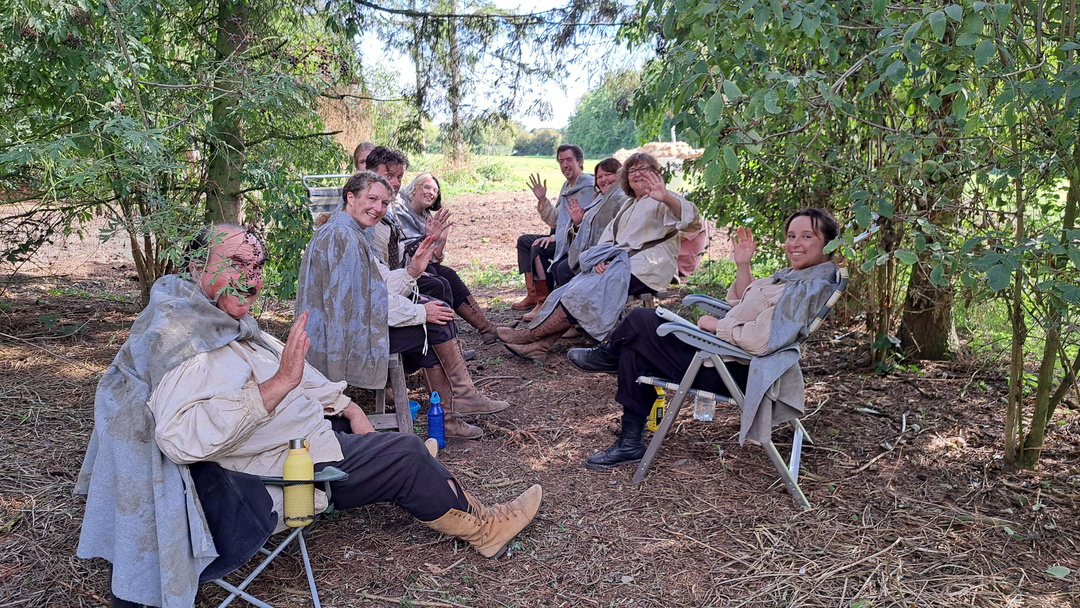
Excitement is building amongst the cast and crew for the premiere and release. Yesterday I sent out almost 100 press releases. The day before I was interviewed about Ren by Les Gaddis for his Capturing Light podcast (out on Monday). Today I have interest in another interview, this time for a geek culture website.
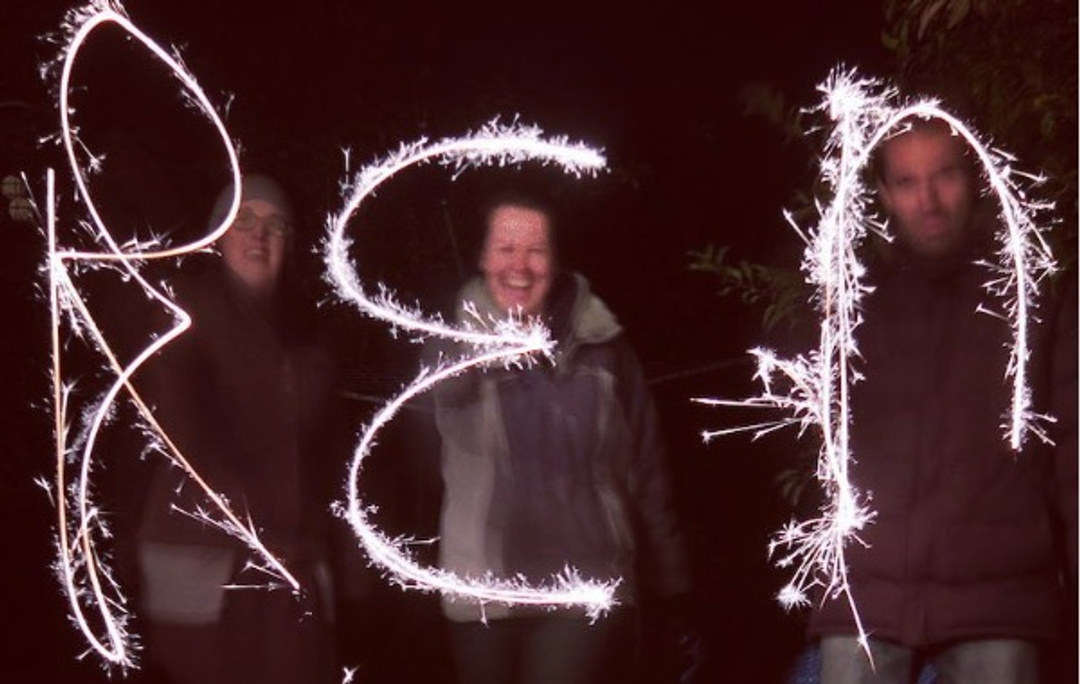
Today… well, yesterday, because it’s now gone midnight… was the eighth anniversary of the Season One premiere. As you can see from the video above, it was a fantastic evening, buzzing with excitement and pride at what we had all created.
It’s been a long time coming, but the premiere of Season Two is now just a week away, March 7th at The Light in Cambridge. Remember you can get your tickets with a special 50% Patreon discount here, or you can enter our giveaway to have the chance of winning a free pair of tickets. Do not miss this opportunity to see Season Two on the big screen!
Will things ever be the same again? It’s the final countdown.