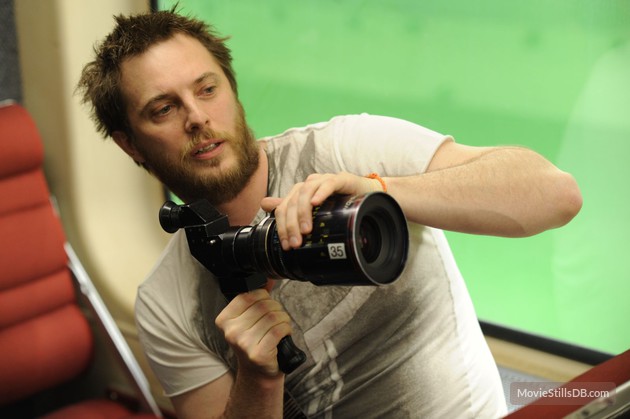
In August 2019 Jonnie Howard, director of The Knowledge, approached me about shooting an unusual short film with him. A Cliché for the End of the World is only two minutes long, but Jonnie wanted to shoot it as two unbroken takes which would be presented side by side. Each take would follow one character, starting and ending with them next to each other, but separating in the middle.
My first thought was that the two takes would have to be shot concurrently, but to squeeze two cameras into the small location and keep each out of the other’s frame would have been impossible. Instead, we settled on shooting with a single camera. After capturing 18 takes of the first side, Jonnie reviewed the footage with his editor Kat and selected one to use. We then shot the other side, with Kat calling out cues that would keep the actors in sync with the selected “master” take. (It took 18 takes to get this side in the can as well, partly because of getting the cues right and partly because of the difficulties Steadicam op Luke Oliver had in manoeuvring up the narrow staircase.)
The film had to be lit in a way that worked for both sides, with the camera starting in the living room looking towards the kitchen, moving up the stairs, through the landing and into the bedroom.
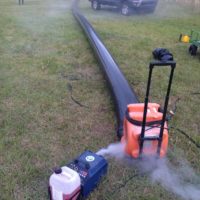
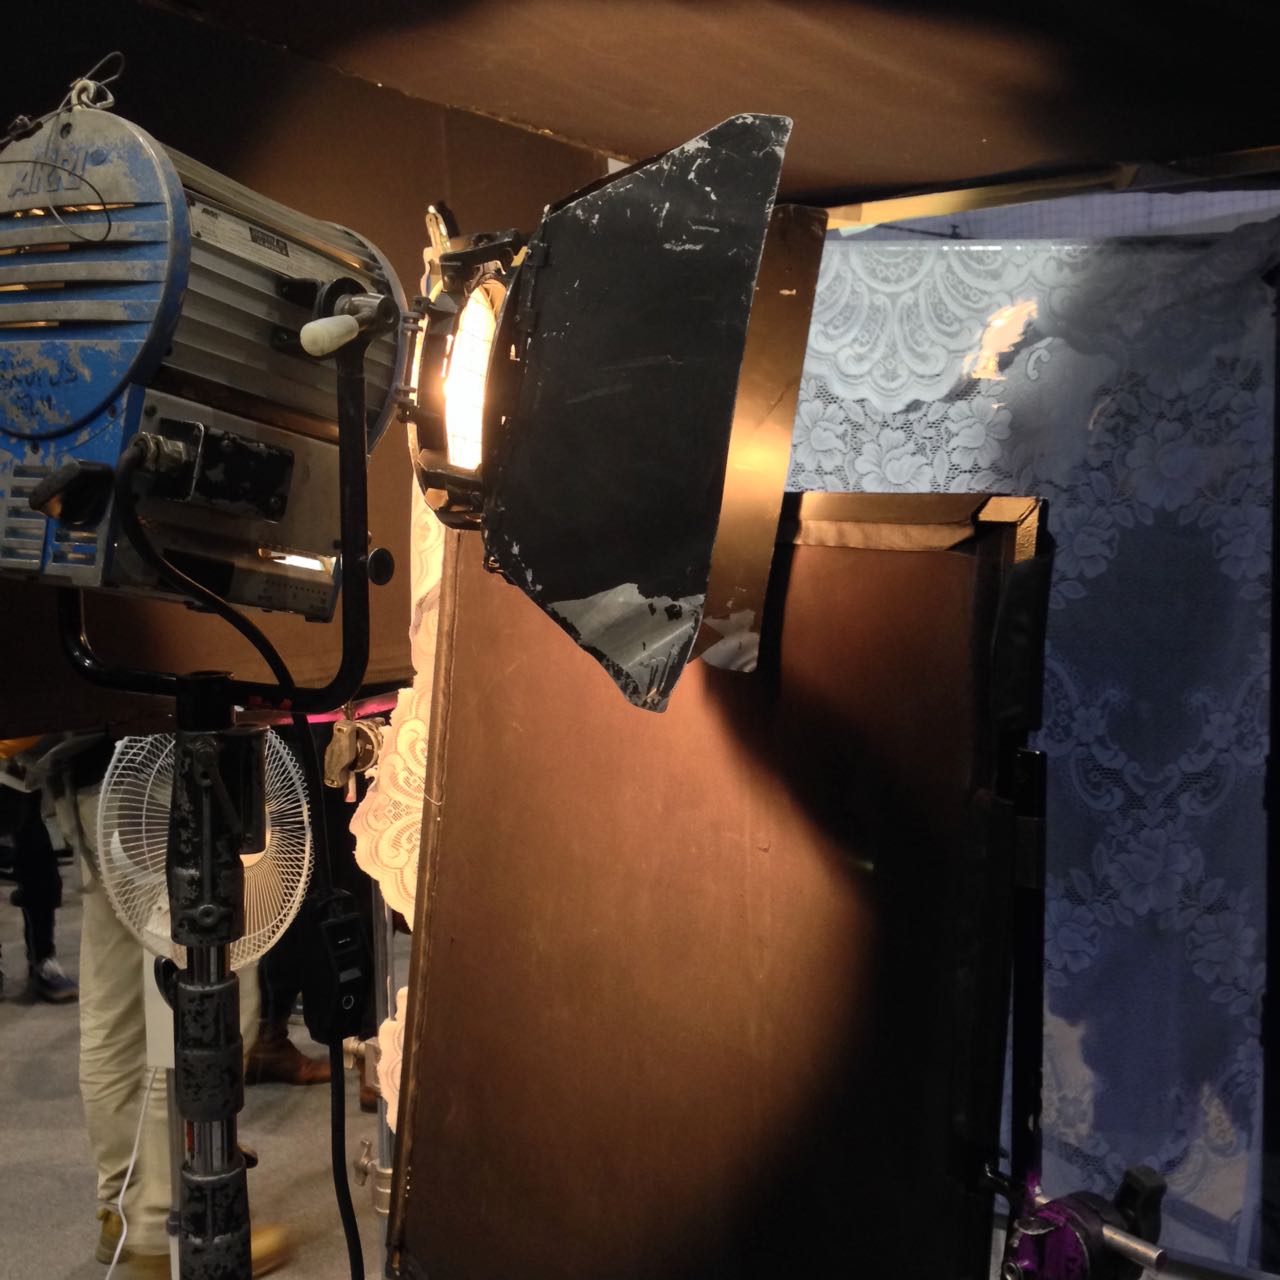
Working as usual to the general principle of lighting from the back, I set up a 2.5K HMI outside the kitchen window to punch a shaft of sunlight into the room. I angled this steeply so that it would not reach the actors directly, but instead bounce off the floor and light them indirectly. (See my article on lighting through windows.)
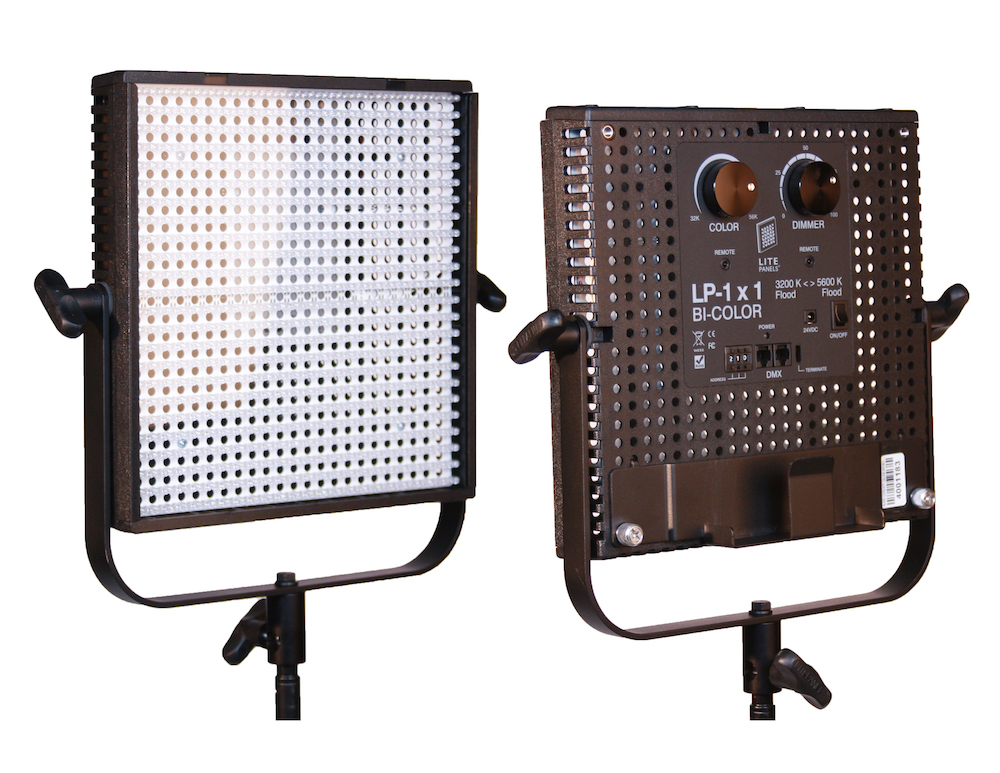
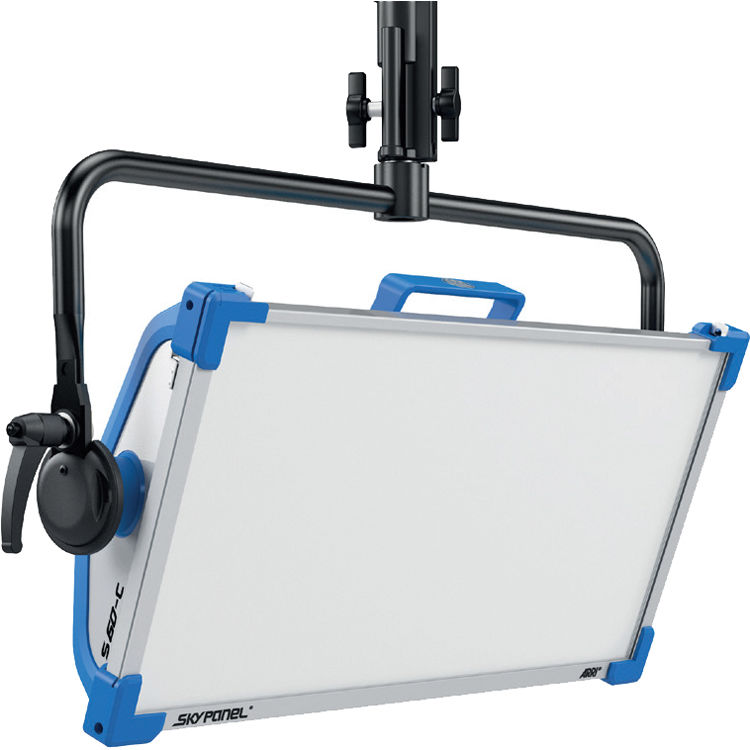
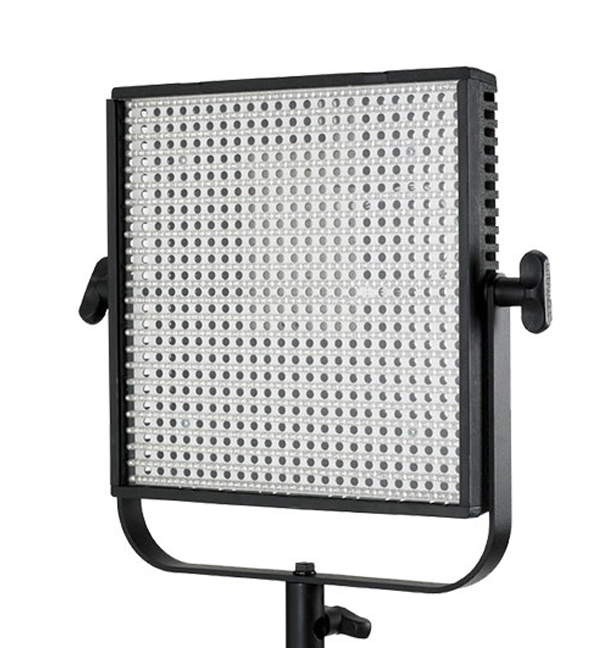
Gaffer Jeremy Dawson blacked out the living room windows to keep the foreground dark. He used an LED panel set to 6,600K (versus our camera’s white balance of 5,600K) to simulate an off-screen TV, waving a piece of black wrap in front of it to create dynamics.
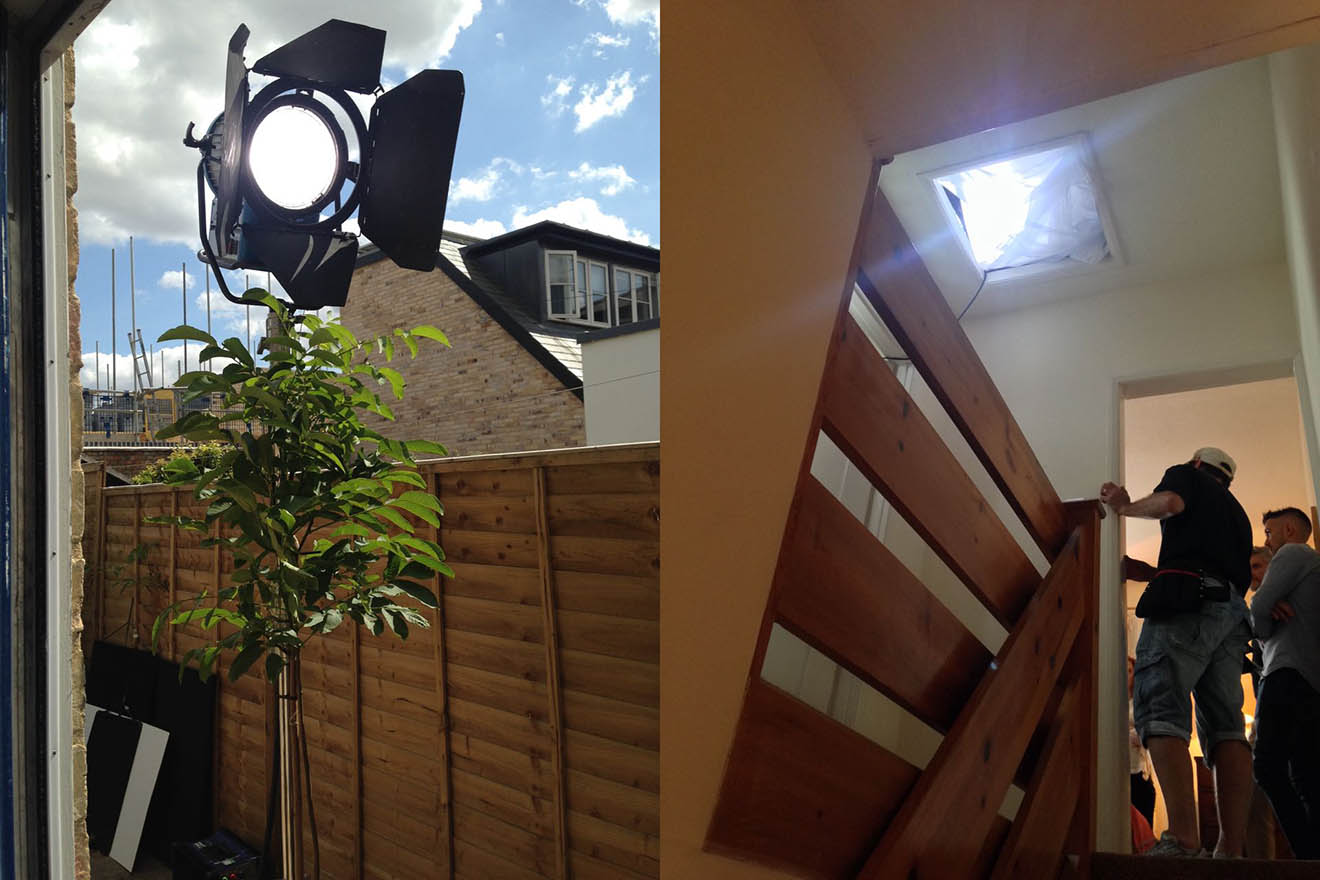
Next we needed to bring up the light levels for the actor’s journey up the stairs, which were naturally darker. Jeremy and spark Gareth Neal opened the loft hatch on the landing and rigged an LED Dedo inside, aimed at the darkest part of the staircase. They diffused this with some kind of net curtain I think.
To brighten the landing we set up a diffused 2×4 Kino Flo in the spare room and partially closed the door to give the light some shape. Both this and the loft Dedo were a couple of stops under key so as not to look too artificial.

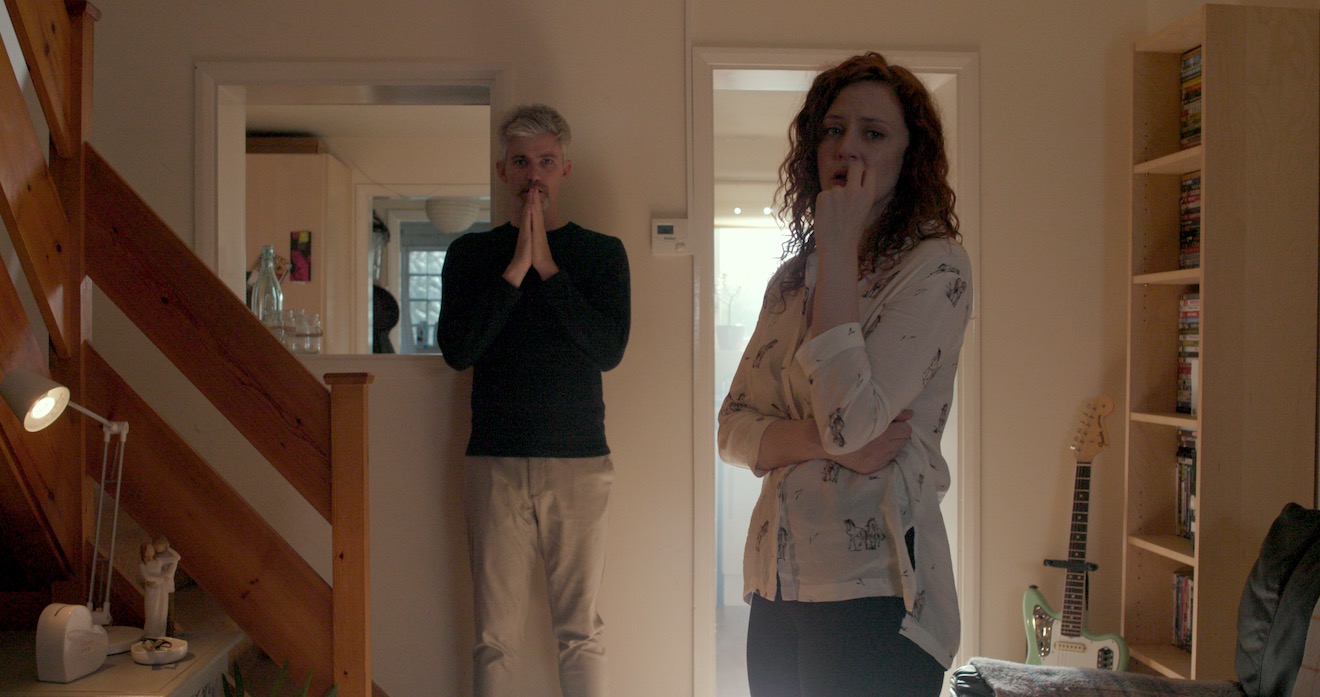
All that remained was the bedroom. The characters were to end up sitting on the bed facing the window. Originally the camera in both takes was to finish facing them, with the window behind it, but this would have meant shadowing the actors, not to mention that space between the bed and the window was very limited. After some discussion between me, Jonnie, Luke, the cast, and production designer Amanda Stekly, we ended up moving the bed so that the camera could shoot the actors from behind, looking towards the window. This of course made for much more interesting and dimensional lighting.
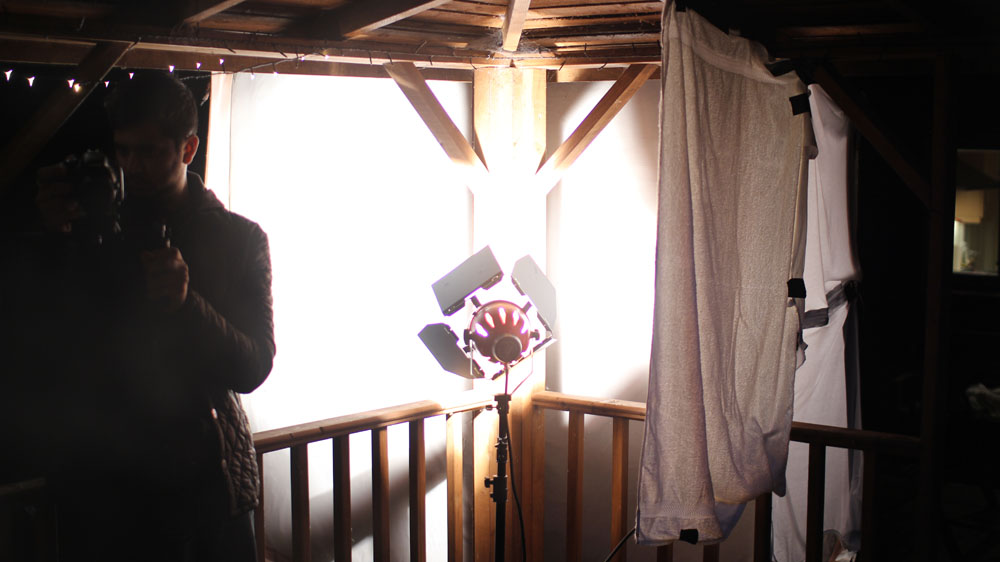
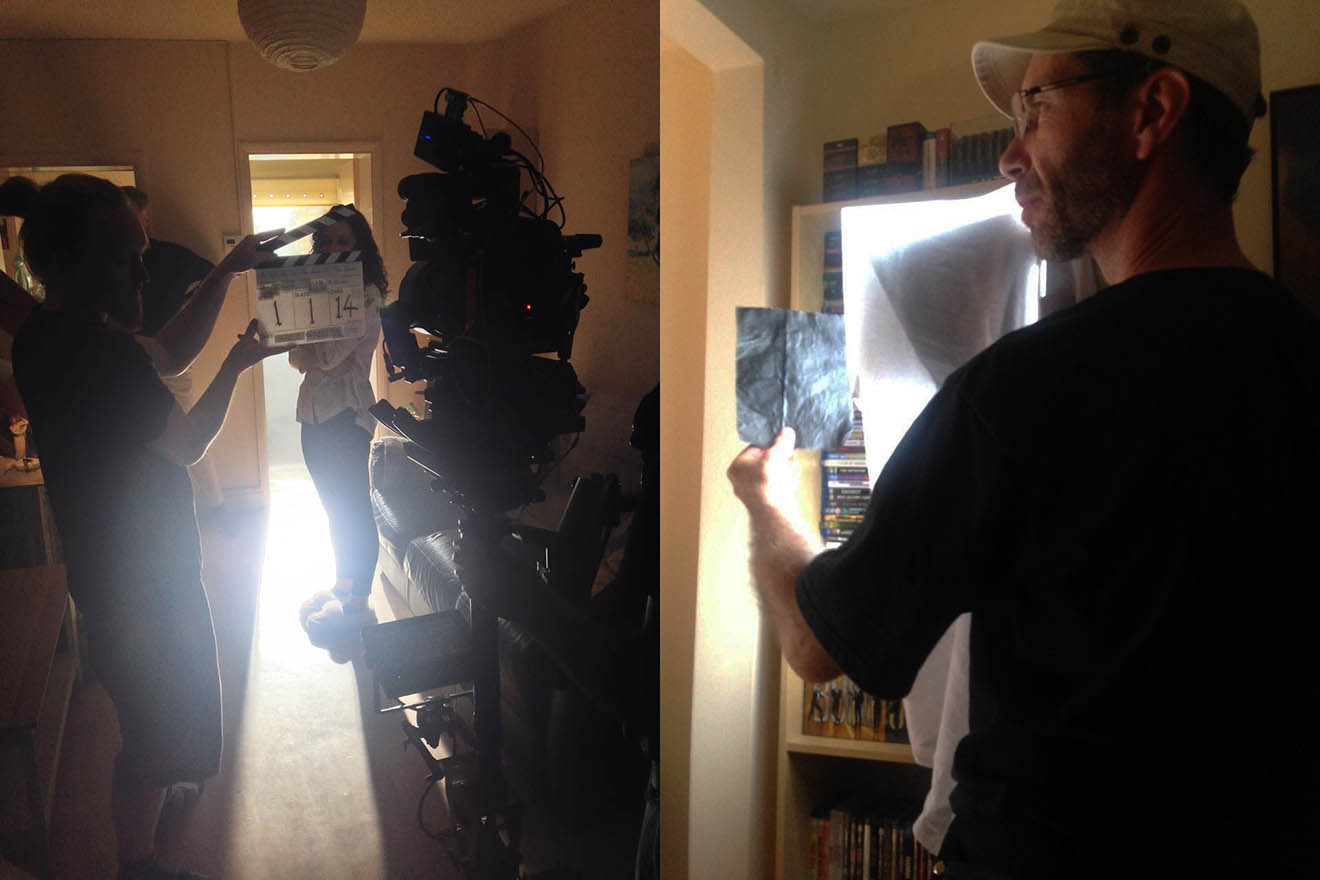
The window looked out onto the street, and with a narrow pavement and no permission from the council, rigging a light outside was out of the question. Furthermore, we knew that the sun was going to shine right into that window later in the day, seriously messing with our continuity. Unfortunately all we could do was ask Amanda to dress in a net curtain. This took the worst of the harshness out of any direct sun and hopefully disguised the natural changes in light throughout the day at least a little.
When the sun did blast in through the window at about 6pm, we added a layer of unbleached muslin behind the net curtain to soften it further. We doubled this as the angle of the sun got more straight-on, then removed it entirely when the sun vanished behind the rooftops opposite at 7pm. About 20 minutes later we rigged a daylight LED panel in the room, bouncing off the ceiling, as a fill to counteract the diminishing natural light. We wrapped just as it was becoming impossible to match to earlier takes.
We were shooting in RAW on a Canon C200, which should give some grading latitude to help match takes from different times of day. The split-screen nature of the film means that the match needs to be very close though!
As I write this, the film is still in postproduction, and I very much look forward to seeing how it comes out. I’ll leave you with the start and end frames from slate 2, take 17, with a very quick and dirty grade.

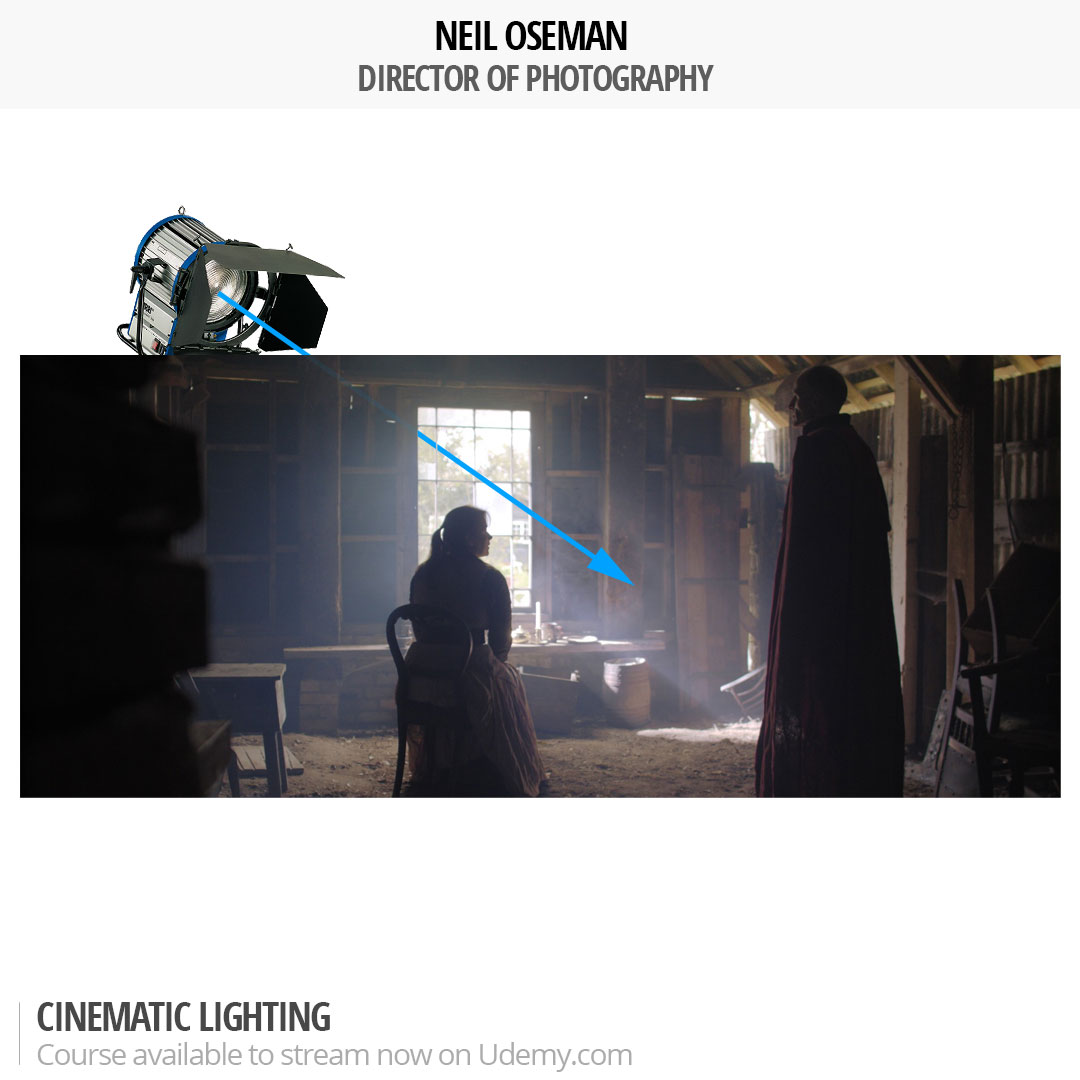
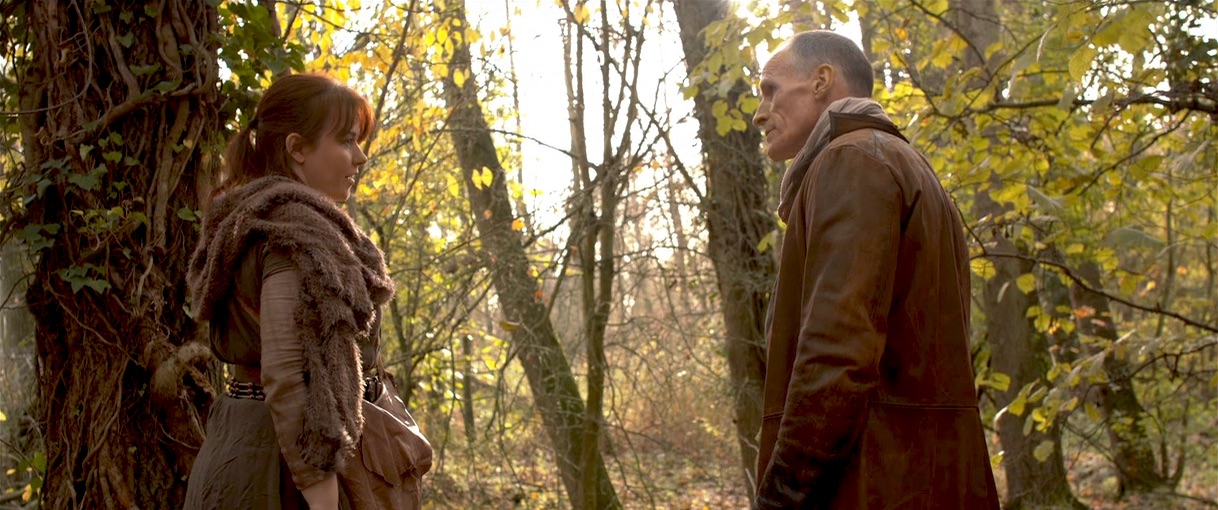

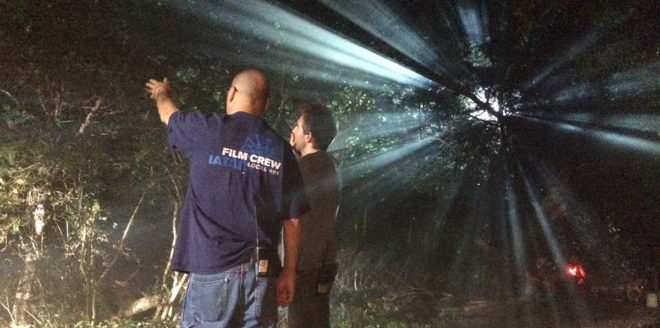
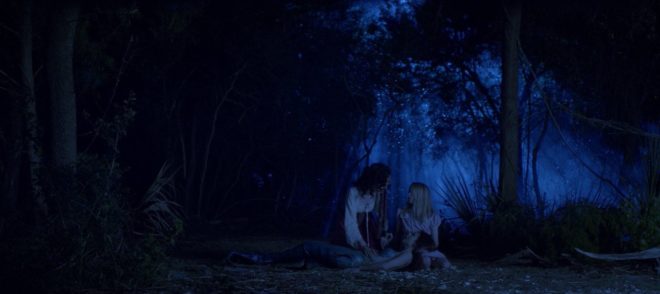
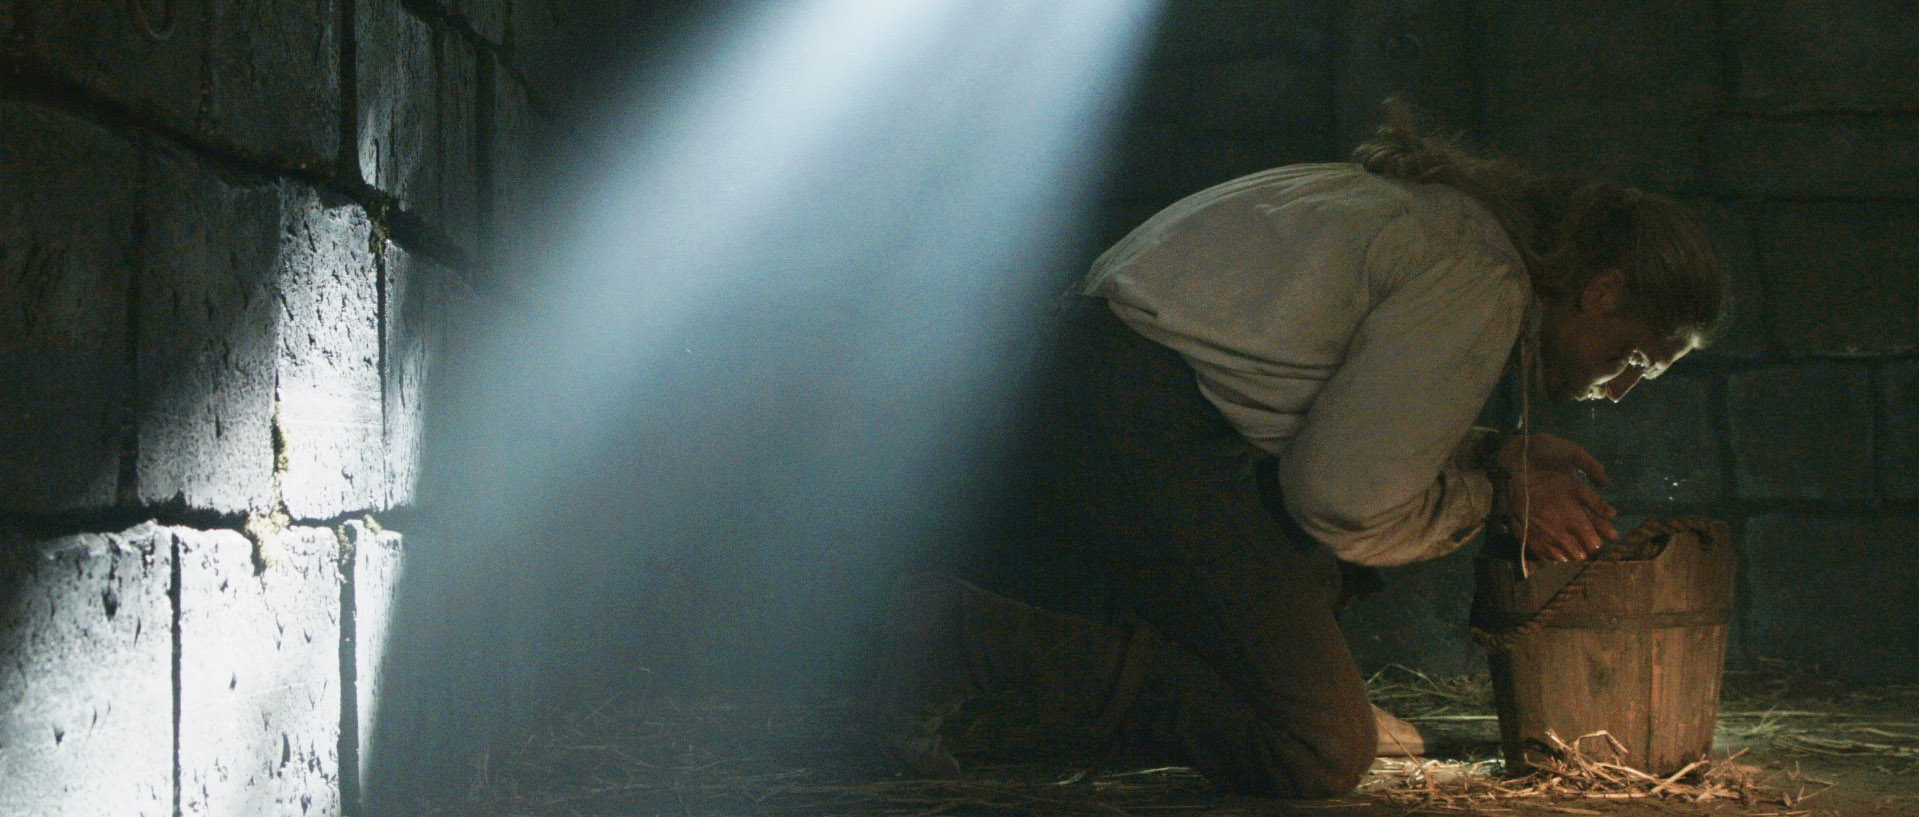
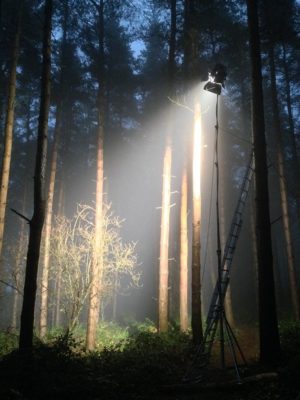 Forests typically have no artificial illumination, except perhaps practical torches carried by the cast. This means that the DP will primarily be simulating moonlight.