As The Little Mermaid is leaving Netflix next week, I decided to go back to my production diary from 2016 and see if there were any more extracts that might be of interest. Tying in with my recent post about shooting with two cameras, here are a number of extracts demonstrating how we used our Alexa Plus XR (operated by me) and Alexa Studio XR (operated by Tim Gill). I definitely won’t say that we made the most effective and efficient use of two cameras the whole time, but I certainly learnt a lot about the pros and cons of having a B-cam.
Day 1

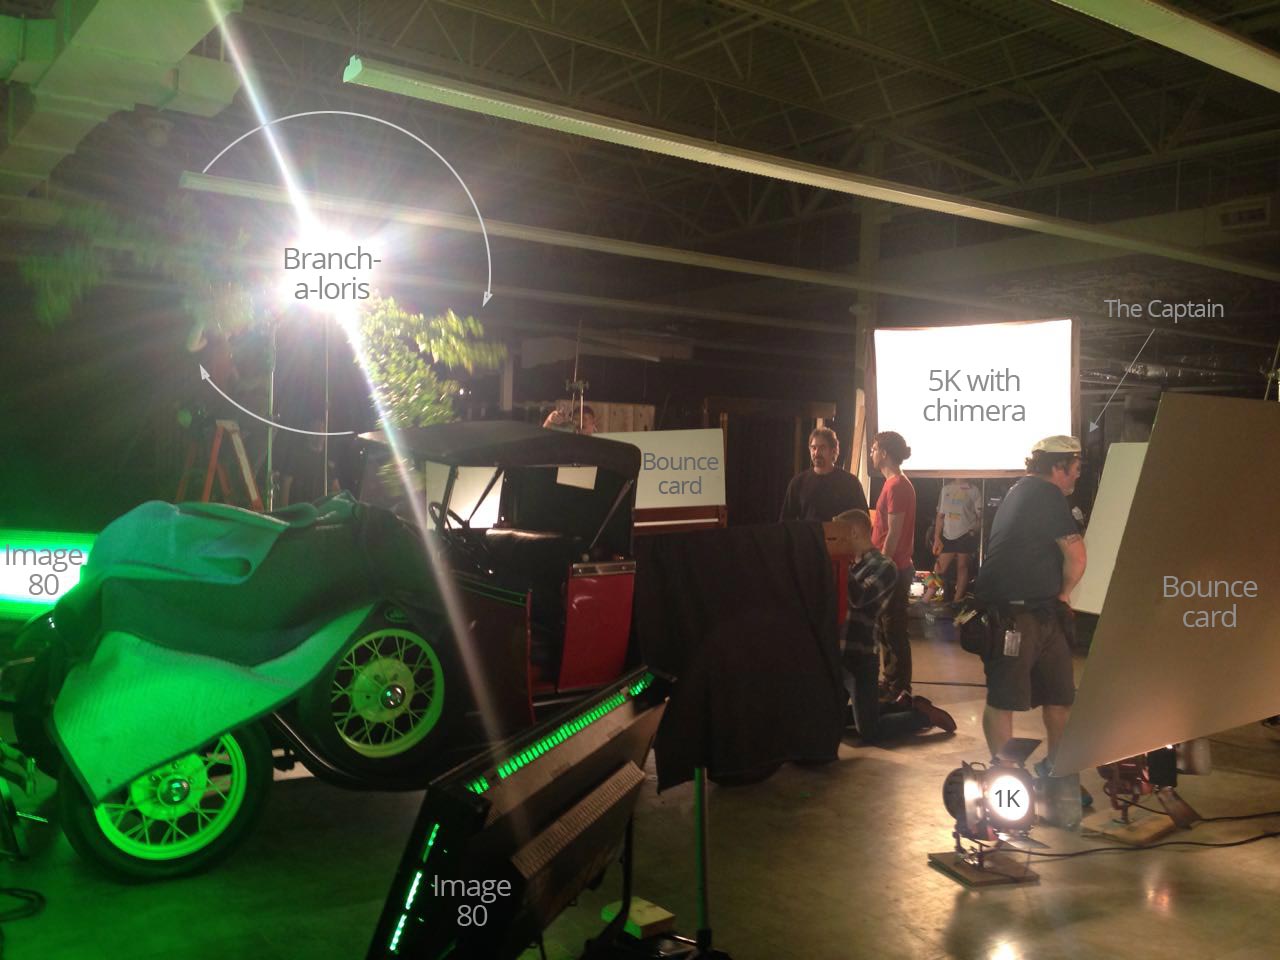
We start in a third floor bedroom… After we get the main coverage, we head out to the garden for the next scene, while the B-camera team steps in to pick up a couple of inserts.
As soon as we’re outside, the sun starts to dick around. Those clouds are scudding in and out faster than we can swap ND filters and fly in Ultrabounce to fill the shadows. Eventually we get the three-channel Preston (which only arrived this morning) hooked up so I can pull the iris remotely for our big jib shot. B-camera arrives and picks up alternate angles, and using the two cameras we’re able to wrap out the scenes by lunchtime.
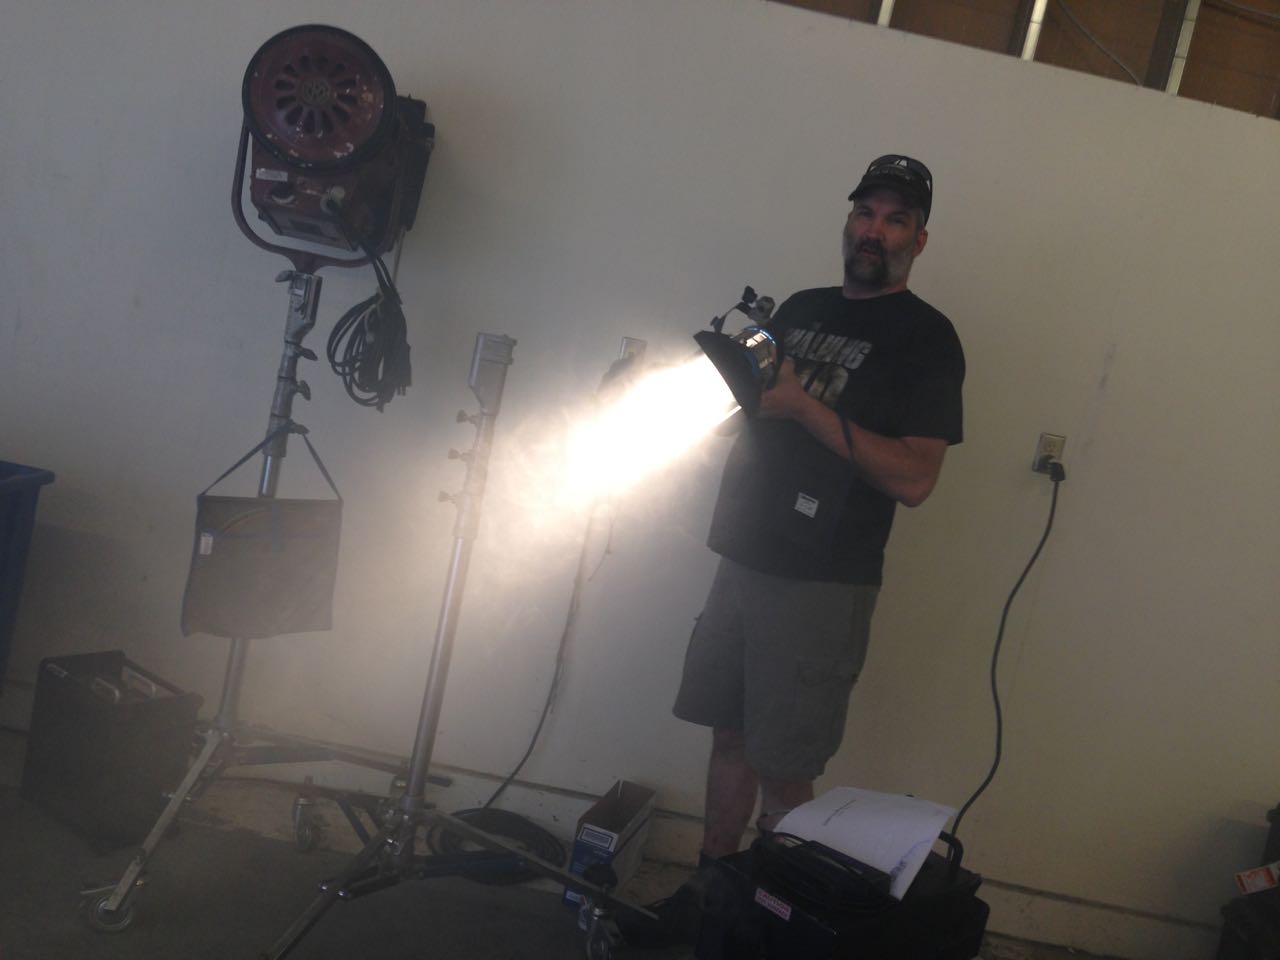
Now we’re inside, on the first floor this time, in a beautiful little circular study. The electrical department have already set up the lamps, so it doesn’t take much tweaking to get us ready to go. Over the course of the afternoon we shoot out our scenes in the study, while B-camera gets various POVs out of windows and establishers of the house exterior. Although the G&E (grip and electric) crew are thinly stretched to support both camera crews, having that second camera is incredibly useful.
Day 2
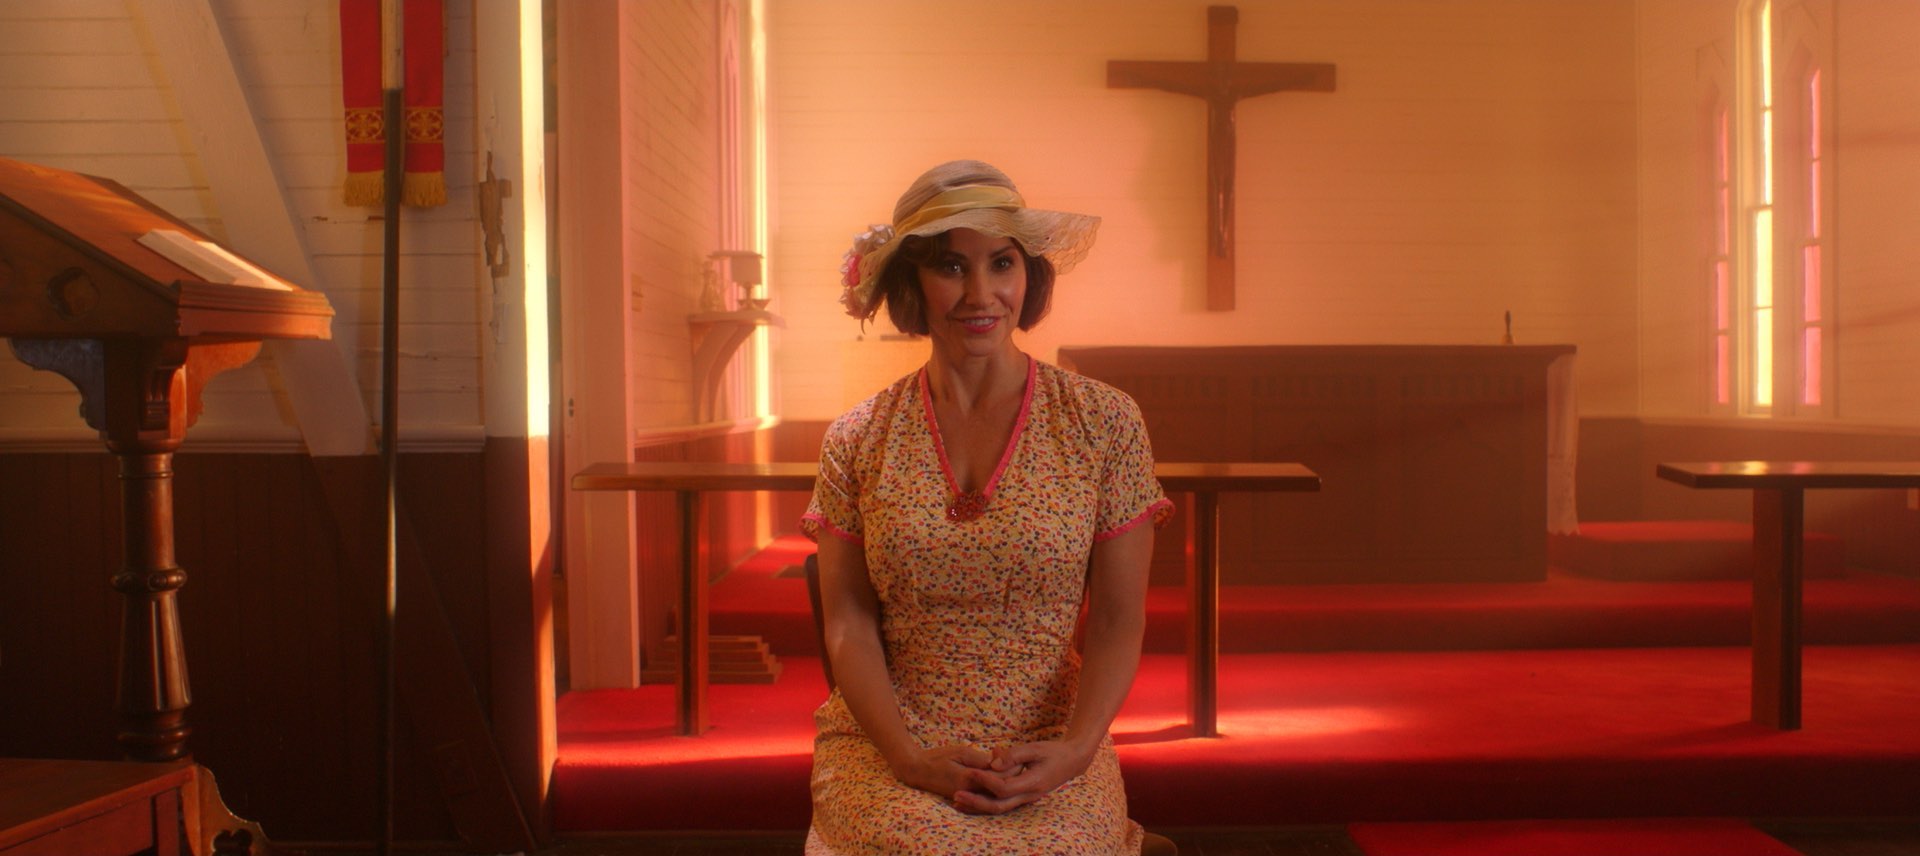
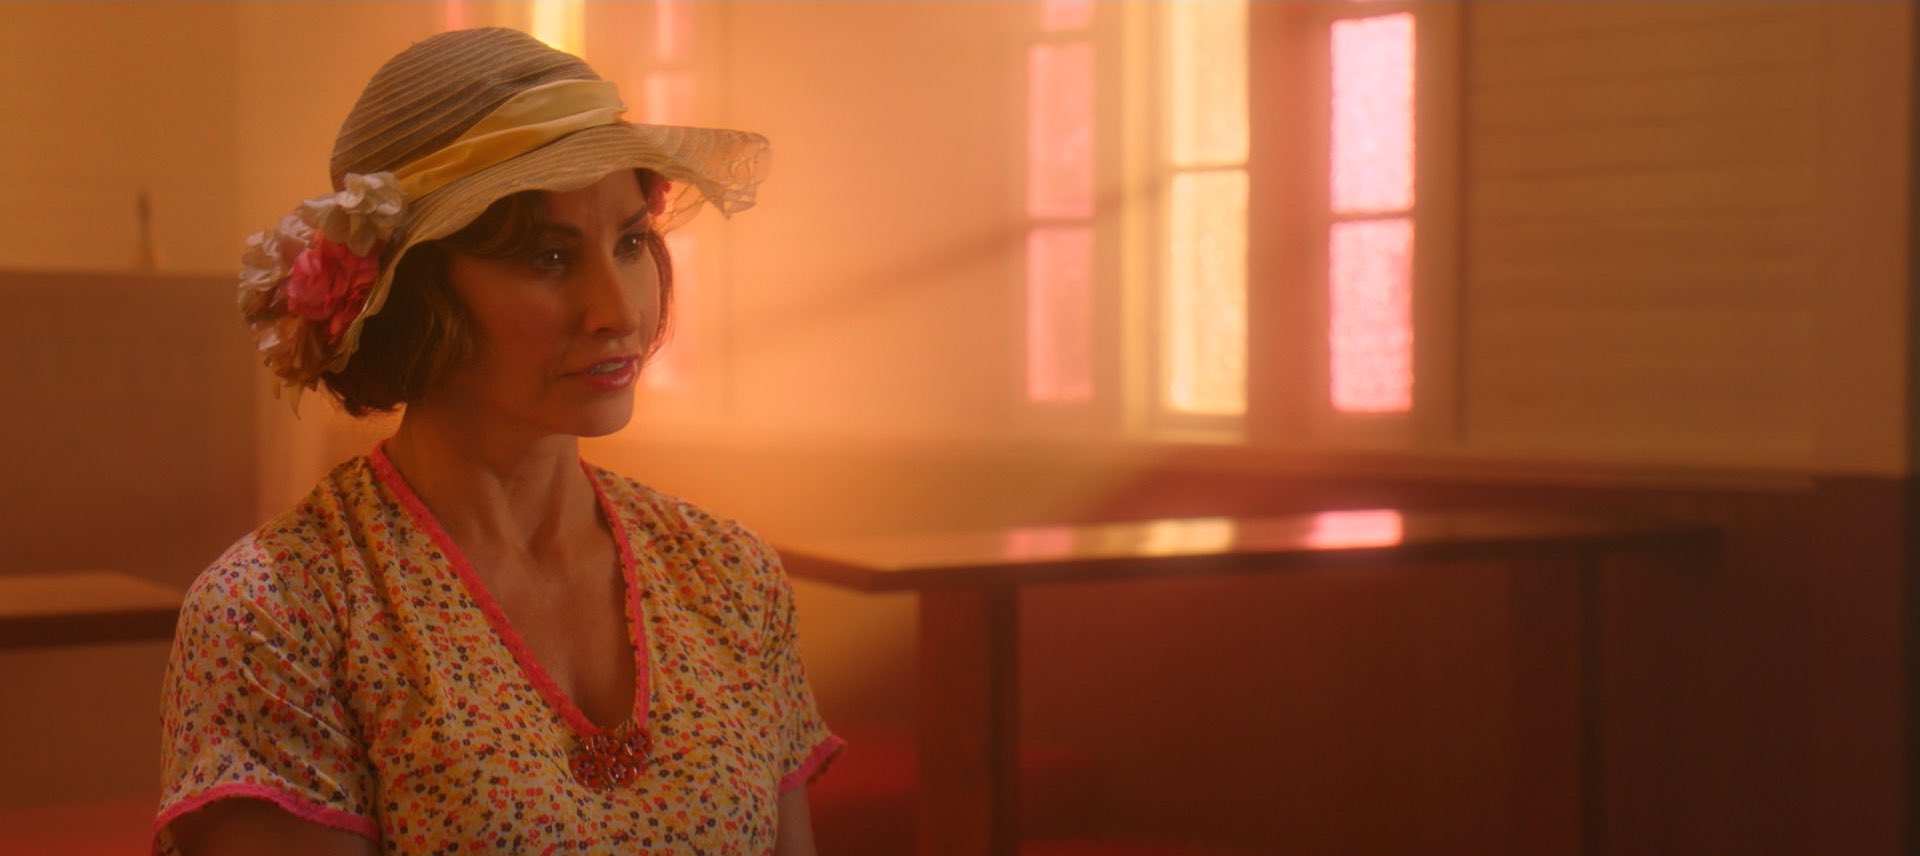
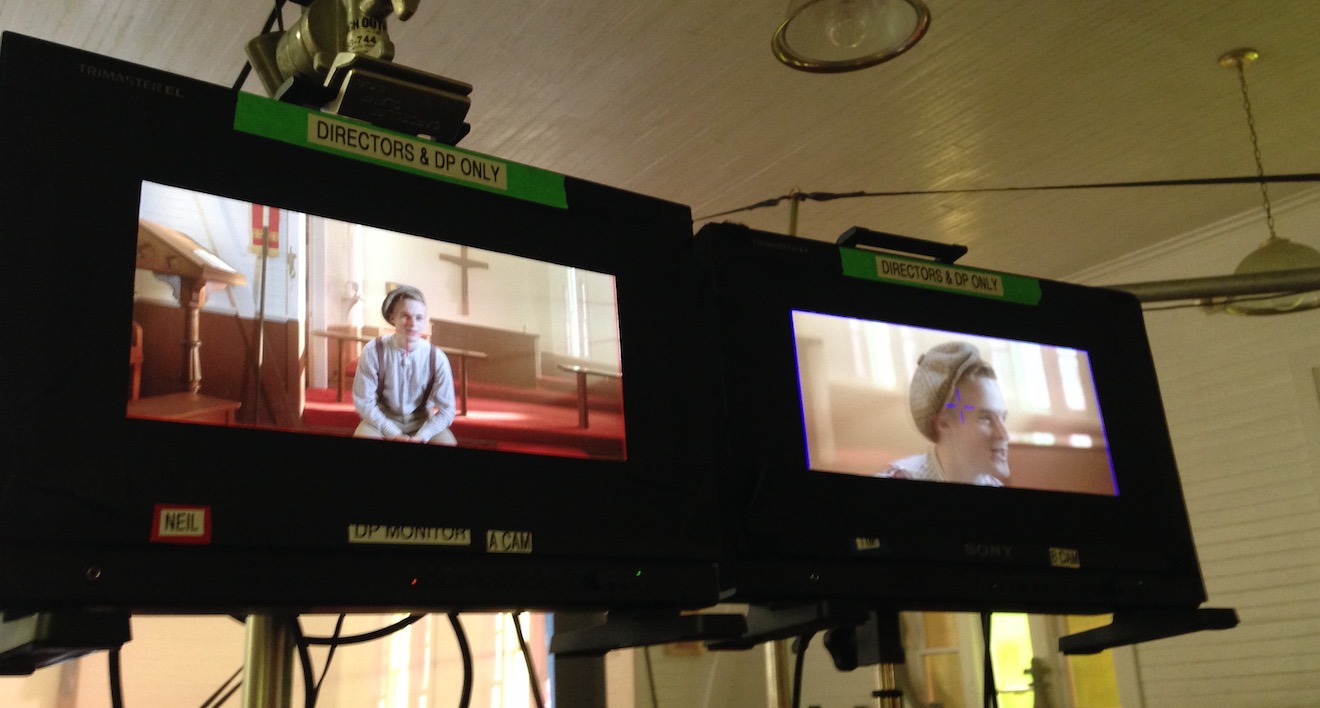
This morning we’re in a church, shooting a montage scene in which Cam interviews a number of locals. We use two cameras to capture a locked-off wide of the interviewee (which can be jump-cut between characters) and a roaming CU simultaneously. Since Tim’s B-camera is doing the roaming shot, I spend the morning at the monitors, keeping an eye on both feeds…
Day 3
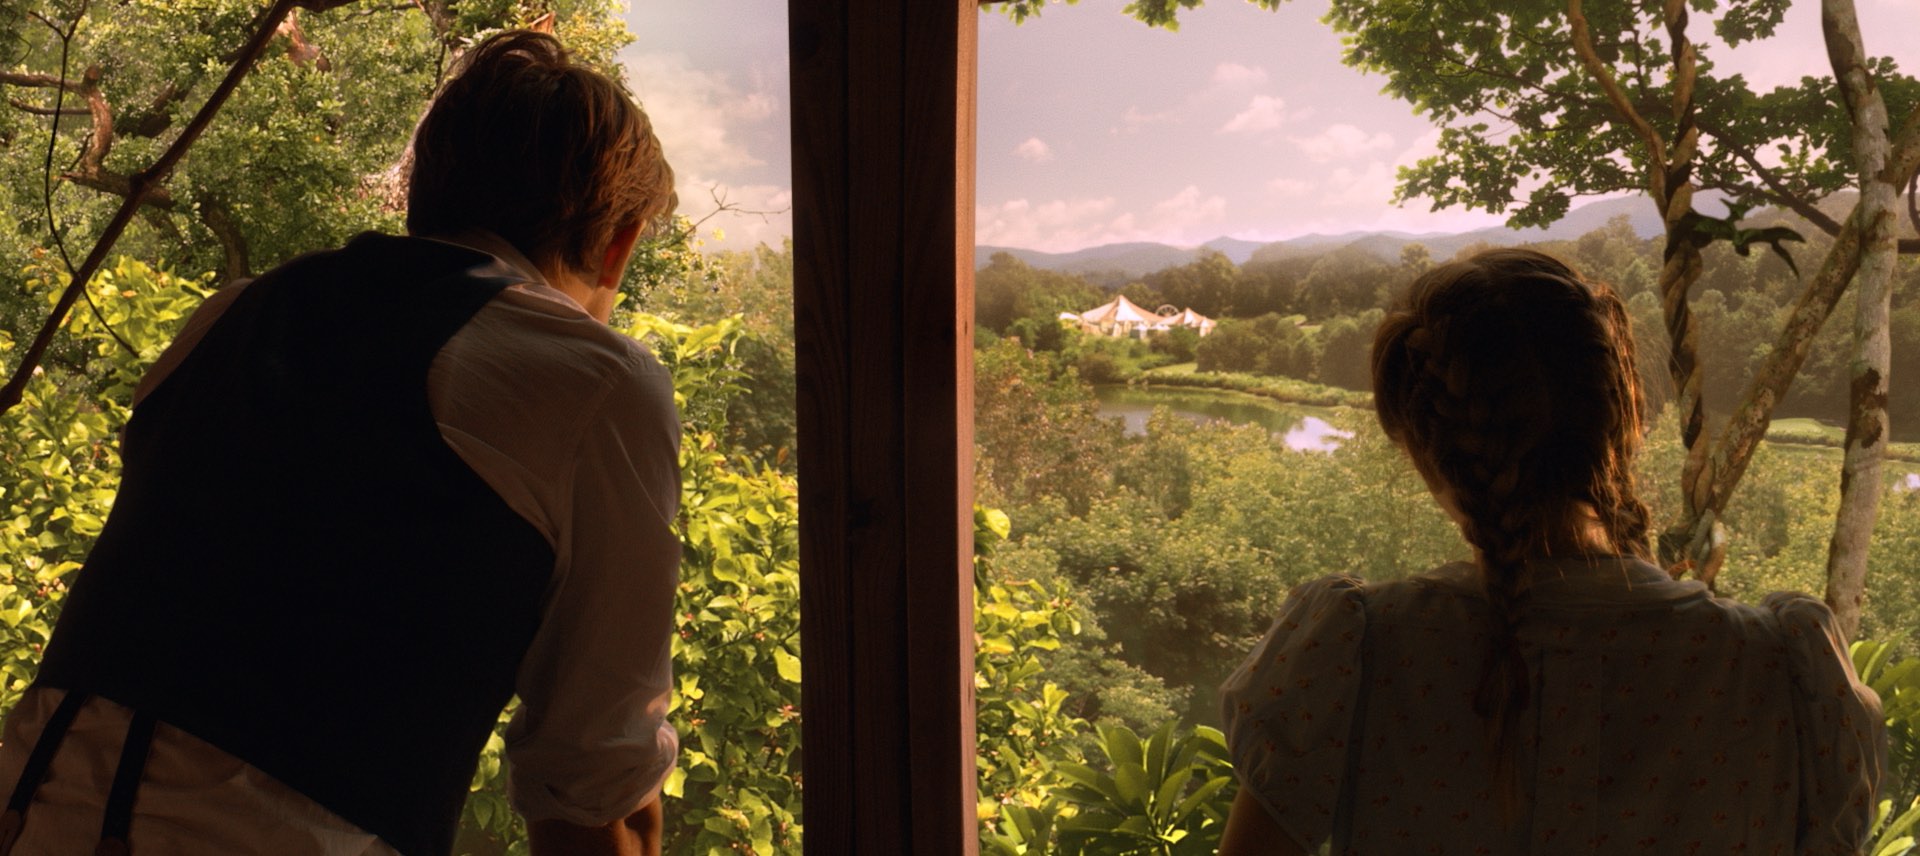
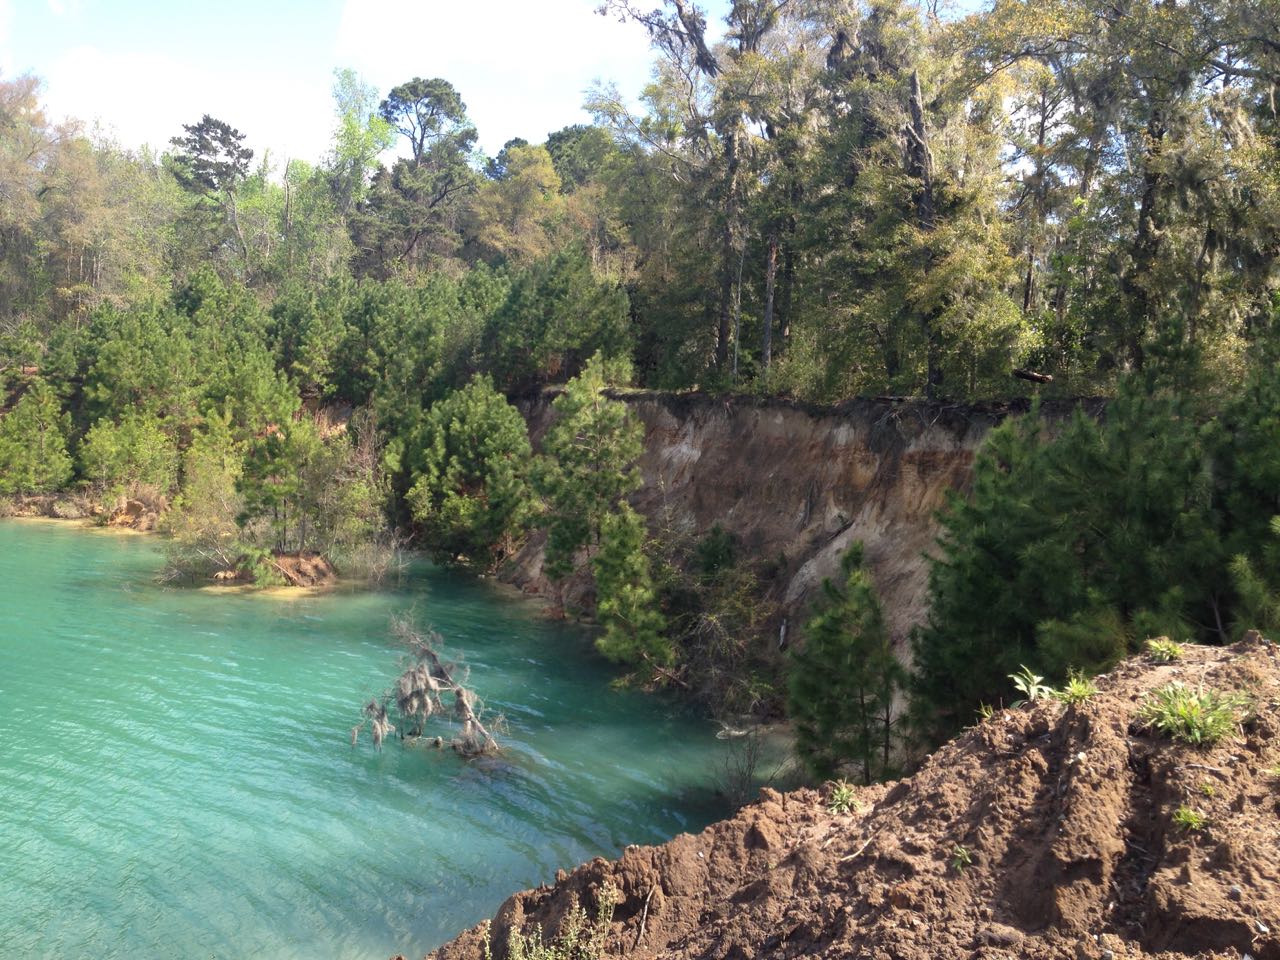
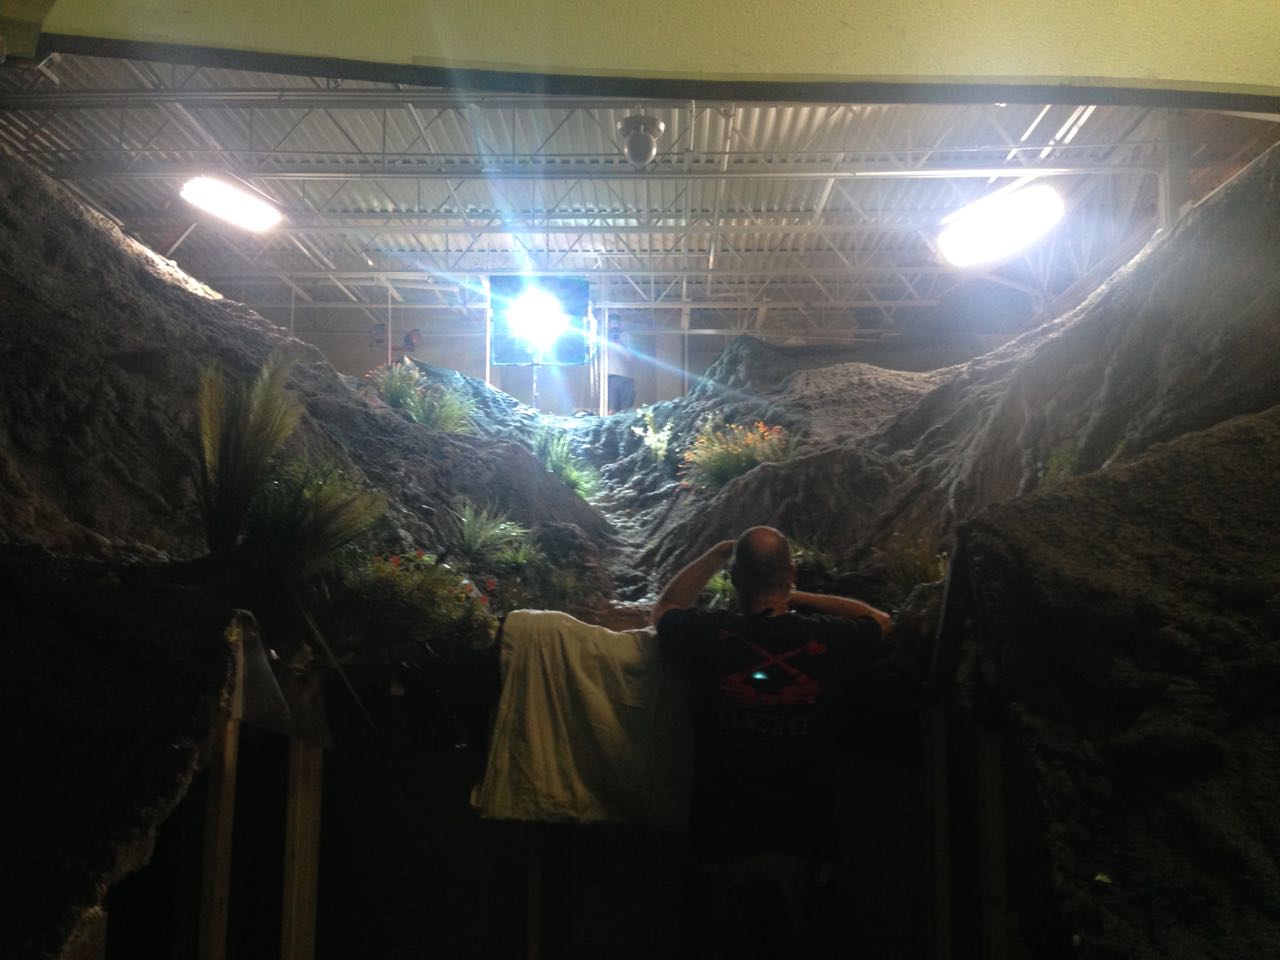
The forecast says cloudy all week, and we dearly want our exteriors at Lorene’s House to be sunny and beautiful. But actually the dark, overcast skies work in our favour when the AD has us spend the morning shooting a “sunset” exterior. Our 12K HMI, gelled with full CTS, has enough power to cut through the dim natural light and give the impression of a gentle sunset. Working with both cameras, we get a great tracking shot, a jib shot and some other coverage. Then we leave the B-camera team behind, under the direction of VFX supervisor Rich (for the above green-screen shot), while we move back inside to block and light other scenes…
Day 8

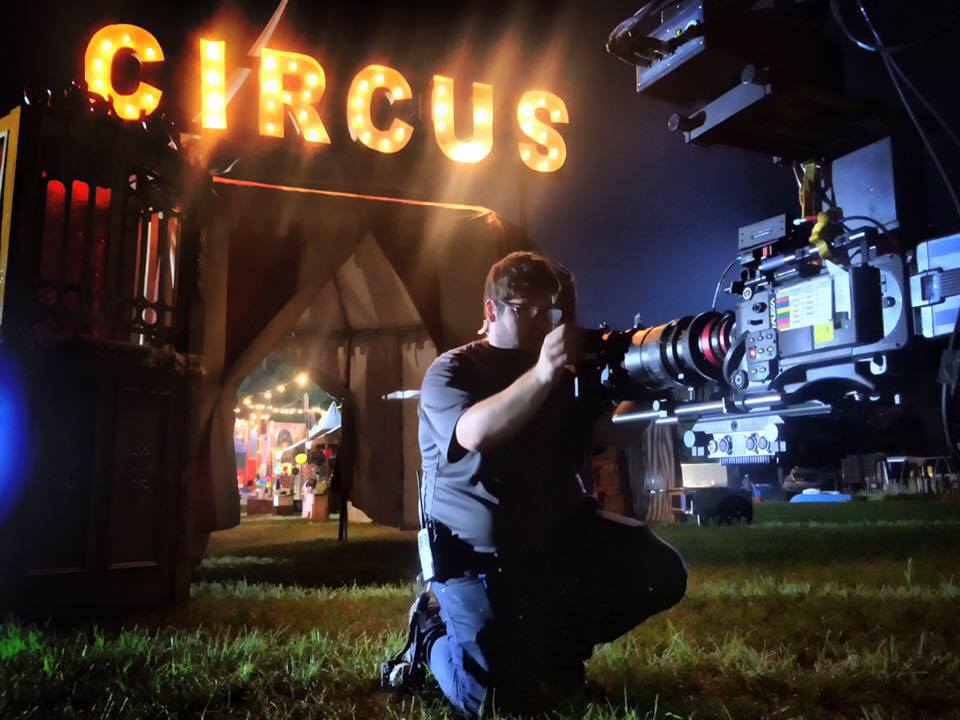
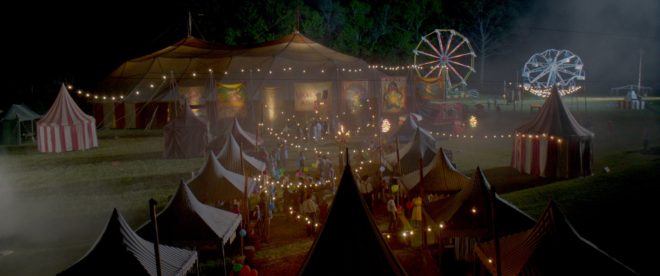
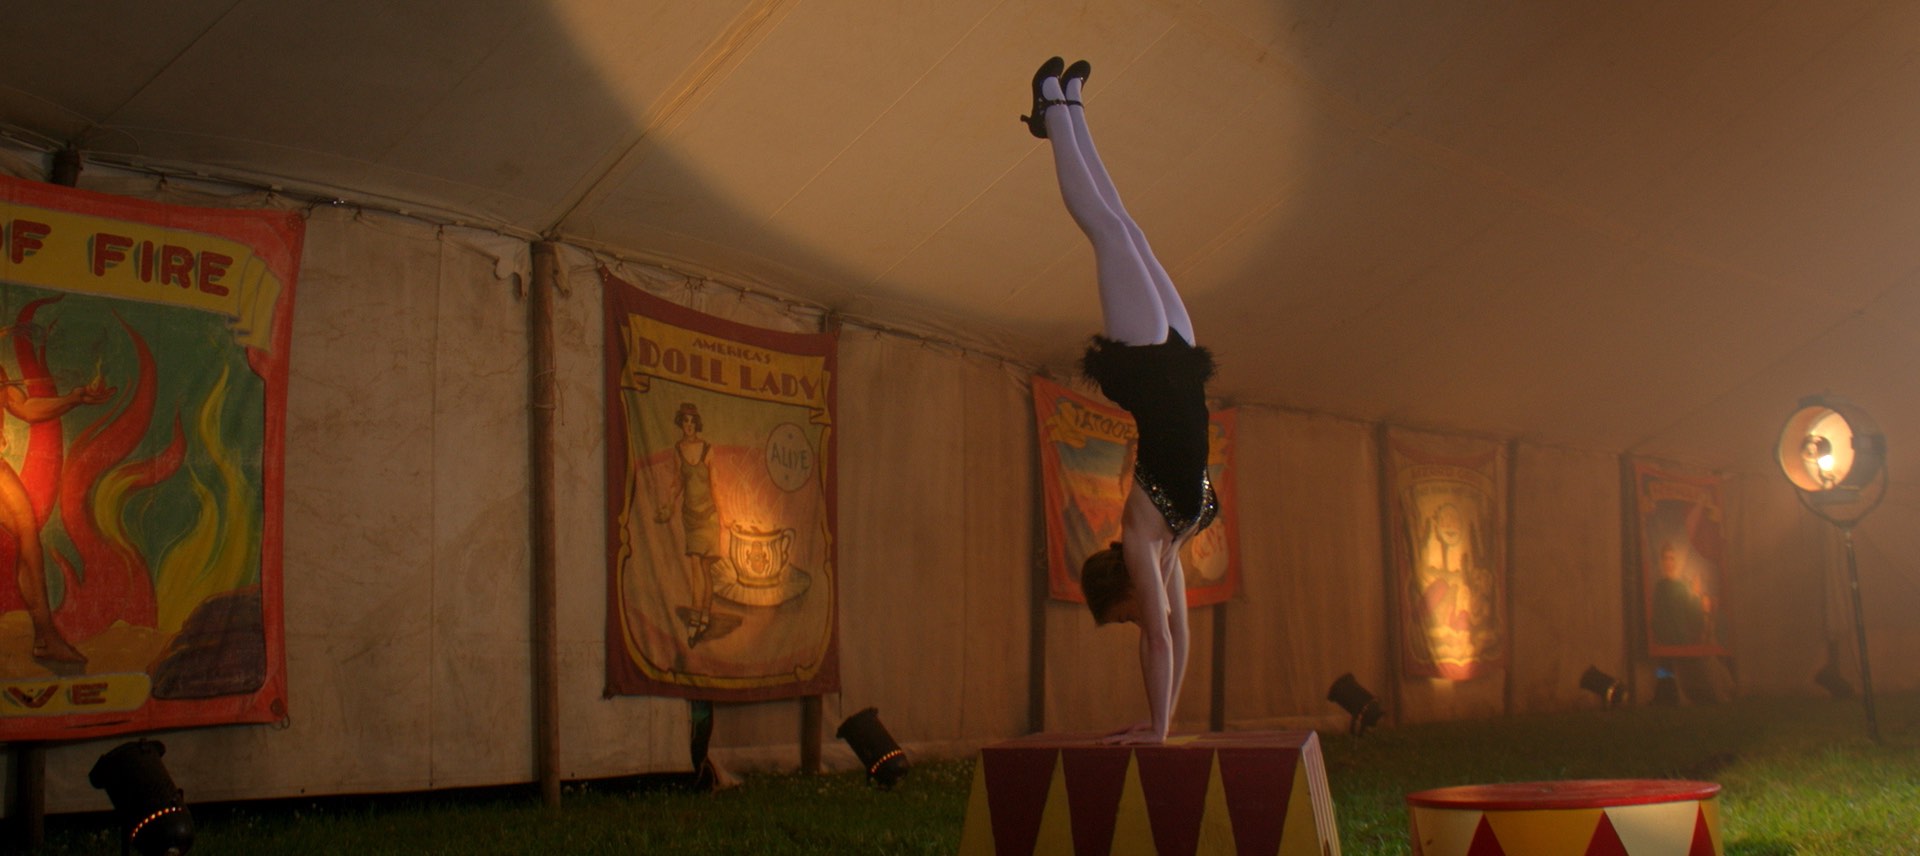
… We have planned our day to maximise our two cameras. We’ve only been getting about eight set-ups a day, and we knew that with the stunts and effects we have today we would be pushed to even get that many. So we planned six two-camera set-ups and an insert, and we stick closely to this plan. A-camera lives on the crane with the (Angenieux 19.5-94mm Optimo) zoom most of the day, getting the most out of the scale and height of the big top and the action, while B-camera – using the (Cooke S4/i) primes for a change – gets the closer shots. This leaves me free to look at the monitors, which is useful but often boring. (All the material from this day sadly hit the cutting room floor.)
Day 12
Our last day at the circus… For most of the day the B-camera is nearby shooting different stuff. This is great in principle, but in practice we tend to get in each others’ way, our lighting affecting their shots and vice versa.
Day 24

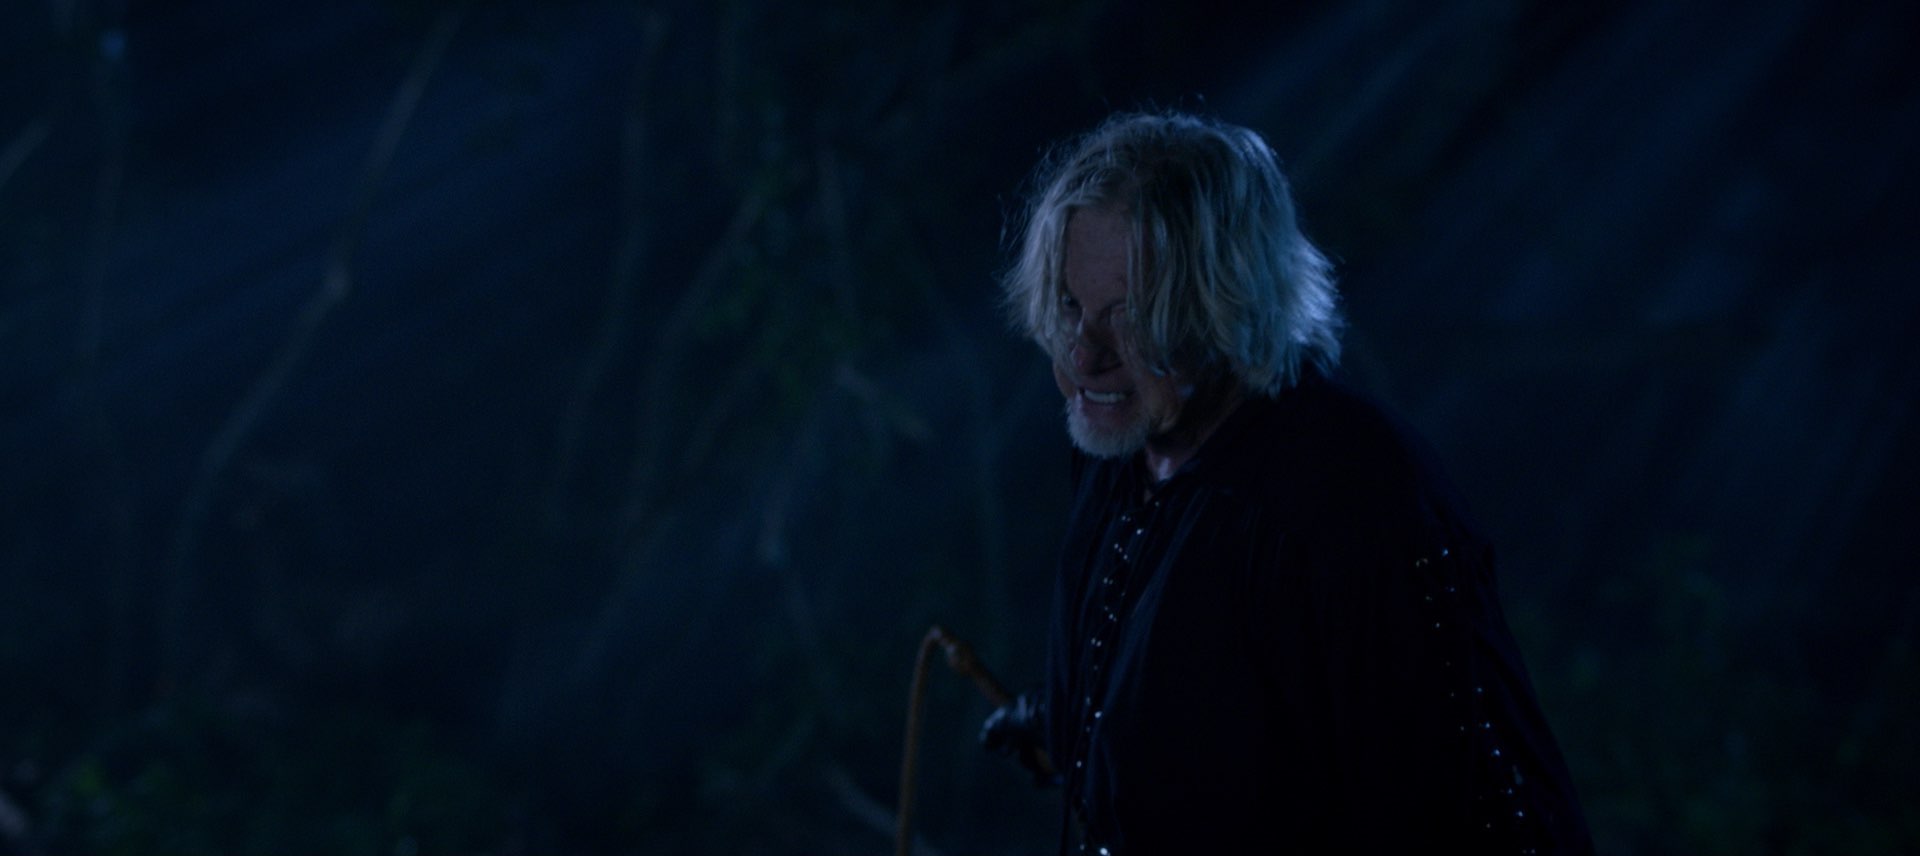
… After lunch we have a big fight scene to shoot, and the pace of work kicks up several gears. I light a small clearing so we can shoot 180 degrees with two cameras simultaneously. Some directions look better than others, but in an action scene no shot will be held for very long, so it’s not necessary to get every angle perfect.
Normally I open the Cooke S4s no wider than 2 and two thirds, as no lens performs at its best when wide open, but my resolve on this is slipping, and it’s really hard to get a decent amount of light through the dense trees at this location, so I go wide open (T2) for this sequence.
Day 25

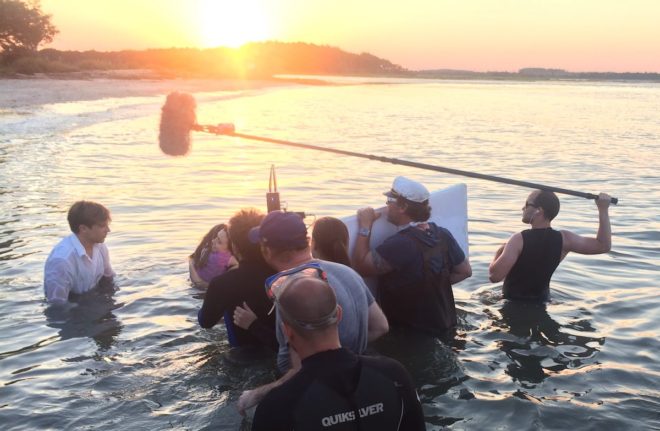
Our last day on Tybee Island. We start with pick-ups in the woods for various scenes shot over the last few days, then move to the beach, a portion of which we’re cheating as a “river marsh” location. This is a night scene, so we have to go through the slow process of moving the condor (cherry-picker) around from the woods. This involves a police escort to get it across the highway…
Meanwhile B-camera are shooting a shot of a car driving along the road behind the beach. Since the G&E crew are all tied up, at (co-director) Chris Bouchard’s suggestion they use the location work-light and have to fiddle with the white balance to render it a reasonable colour on camera. More and more micro-budget cheats are being employed as the production goes on, and to most of the crew, who are used to big-budget stuff, it’s ridiculous. I don’t mind so much, but I feel bad for the B-camera team.
Day 26
We are back on the stage, in three different sets. I’ve lit them all before, but most of the lamps are gone and some require a new look because the time of day is different. Towards the end of the night we leap-frog from set to set, sending G&E and the B-camera ahead to set up while we’re still shooting. To my surprise it works. The sets are small enough that we have enough G&E crew to split up like that.

For more extracts from my Little Mermaid diary, visit these links:
- “Prep Diary Part 1” – arriving in the US, crewing up and choosing gear
- “Shooting Shirley” – the pre-shoot with Hollywood legend Shirley MacLaine
- “Prep Diary Part 2” – scouting locations, and the page-turner
- “Circus Cinematography” – lighting the huge night exteriors
- “Pools of Light” – creating a watery, magical look for the mermaid’s scenes
- “Boats, Trains and Automobiles” – shooting in moving vehicles
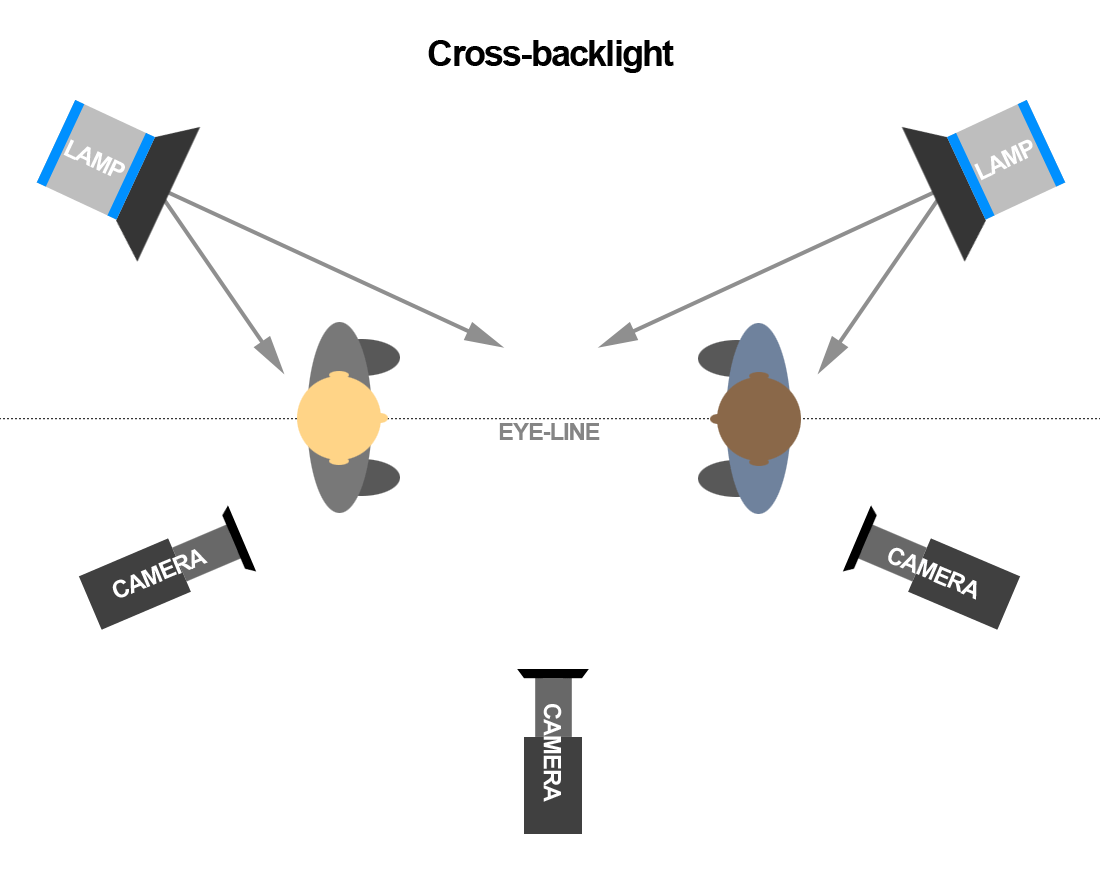
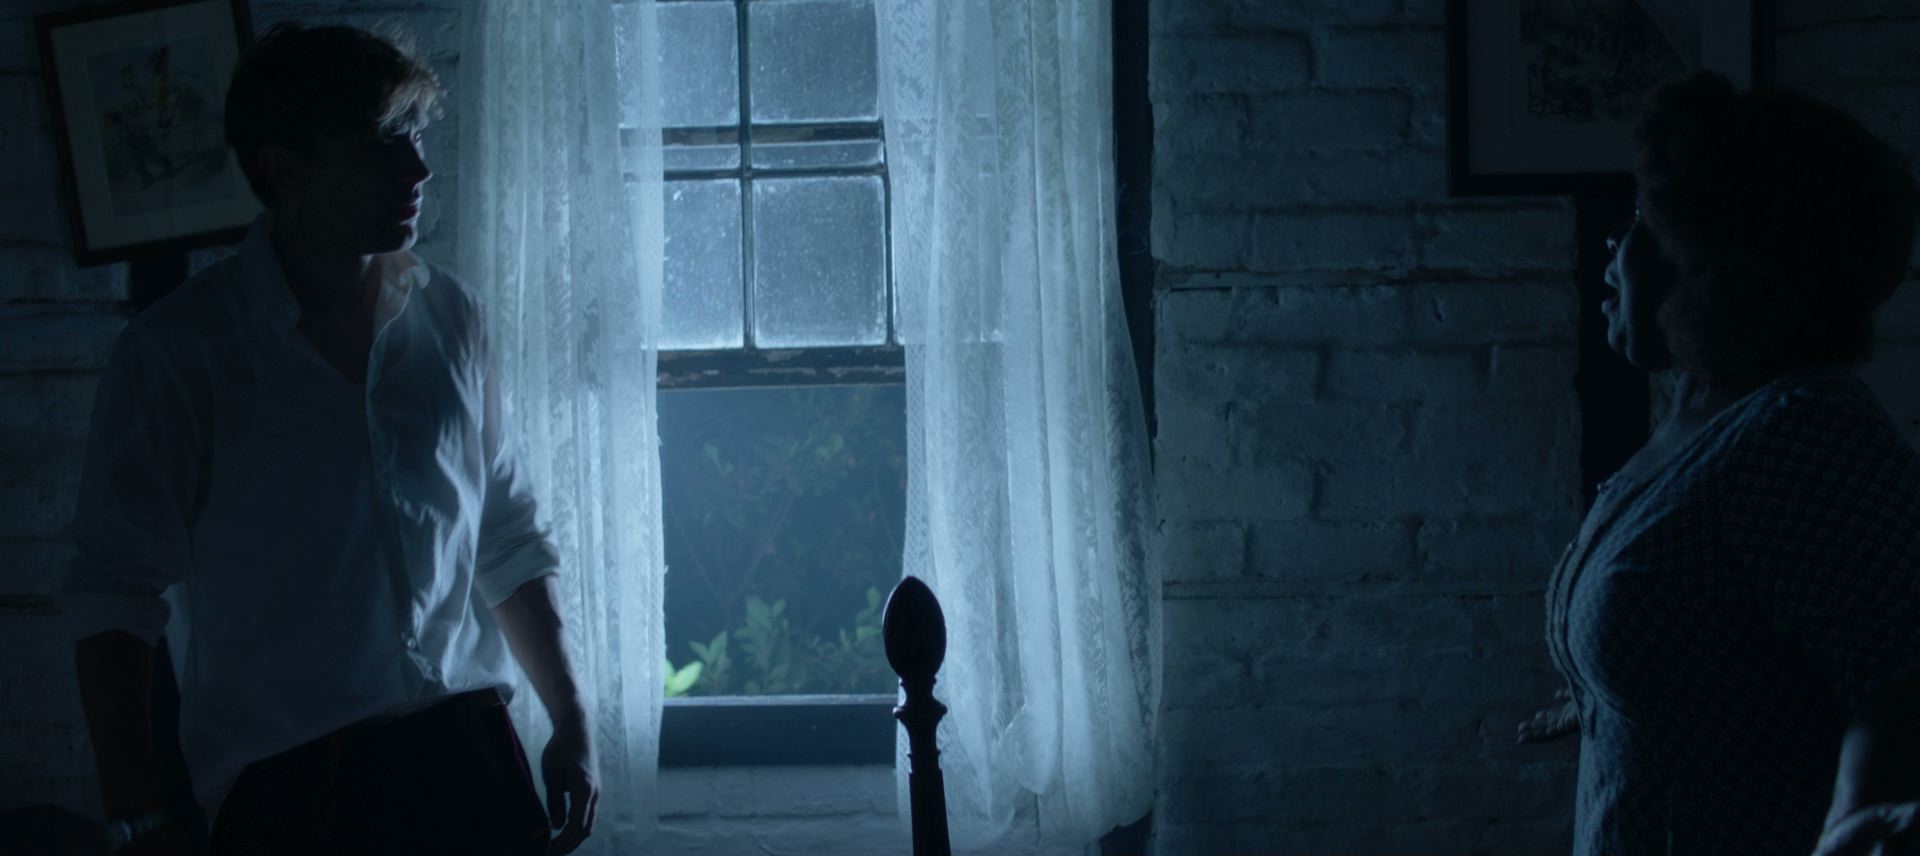
- “Lighting from the Back” – using cross-backlighting for cinematic dialogue scenes
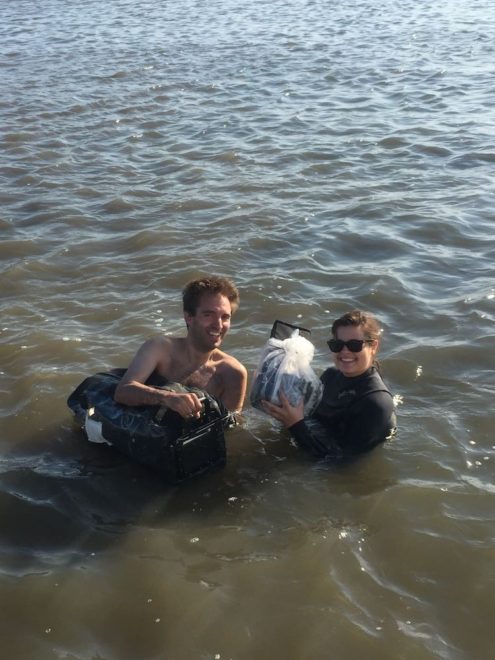
- “Sun, Sea and Cinematography” – filming in the ocean at sunset
The Little Mermaid is currently available on Netflix in the UK – but hurry because it leaves on November 30th – and Showtime in the US.