Undisclosed Project: Collaboration

Prep on the yet-to-be-announced Shakespearian feature continued last week. (Read the previous week’s post here.)

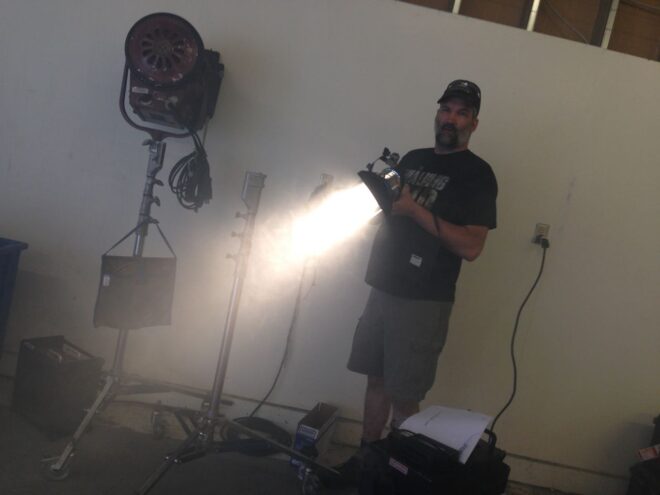
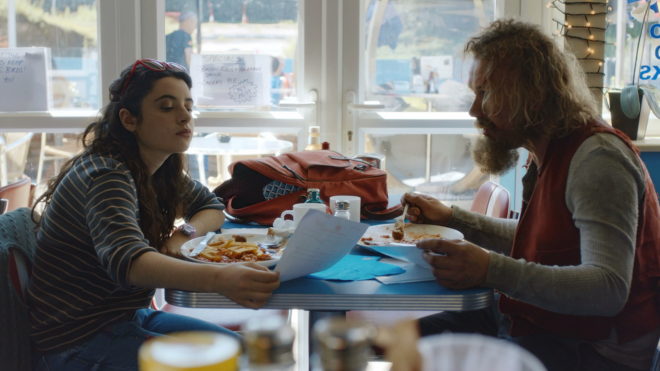
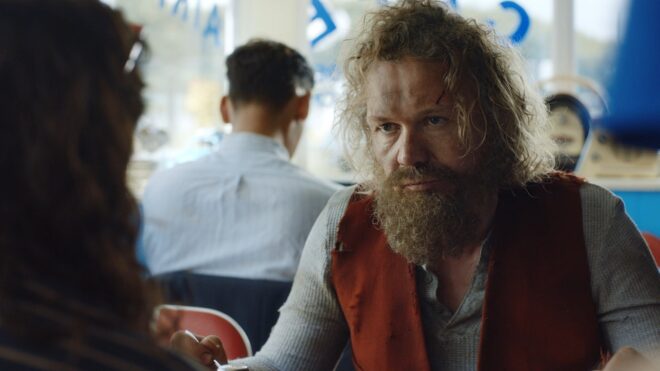
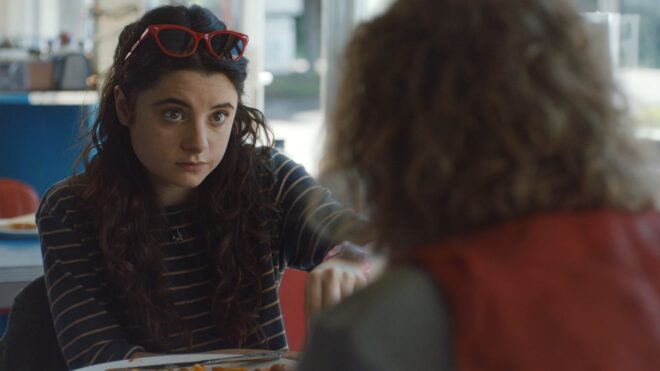
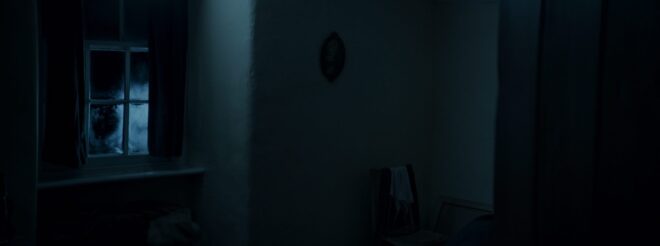
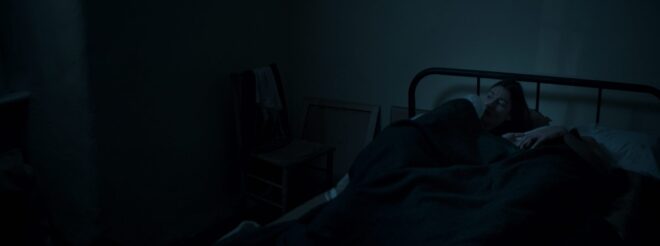
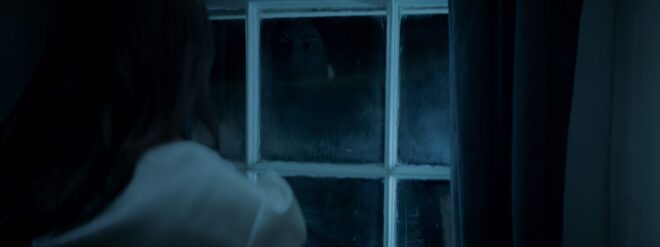
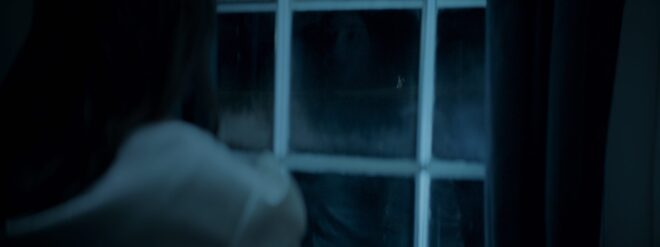
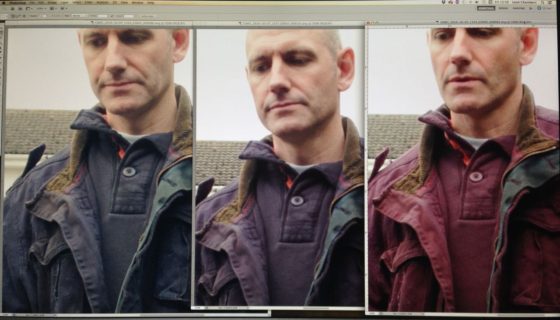
On Monday I went back to the location with the gaffer, someone I’ve worked with several times before, and looked at all the spaces we will be using. It is too early to start any lighting plans, but we talked in general terms about what sort of instruments we might want to use and roughly where. The gaffer had already seen my lighting mood board (above) and we had discussed the overall look on the journey to location, so we were already on the same page about what we are trying to achieve. He had some technical conversations with staff at the location about the existing lighting and power sources, and we finished the day by checking out one of the film’s few exteriors as it was getting dark, in order to see what existing sources there are for the night scene we will be shooting there.

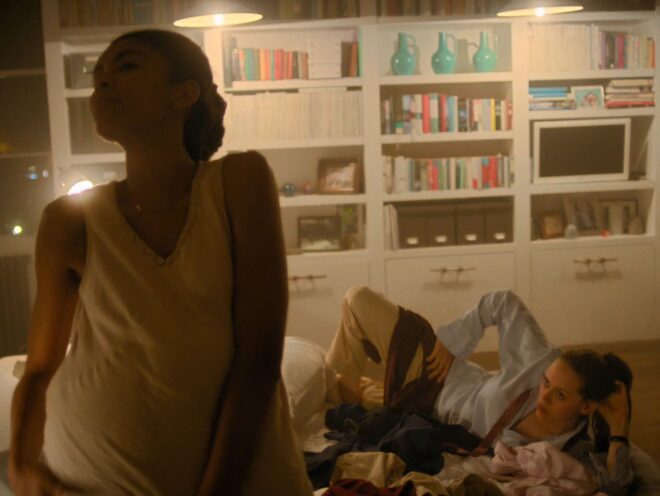
I spent a significant chunk of Wednesday on a Zoom call with the production designer, and a couple of other crew, going through each of the spaces again and finding out what changes the art department are planning to make to them. It was great to see the designer’s reference images and to show him some new ones of my own so that we can bounce off each others’ ideas and keep the film on a coherent track. This is especially important as we intend to rely heavily on practical lights for many of the rooms. The location has some already in place, but we will be adding lots more.

The designer mentioned The Shining as a useful reference for the project. To my shame, I had never seen it, a mistake I swiftly corrected. I immediately saw that the designer was right, as the film’s setting of a single, large, empty location lit almost entirely by tungsten practicals in the public areas and fluorescents in the service areas has a lot in common with our intended look for this project.

I lost no time in passing the reference on to the gaffer, and to the director, who I spoke with on Friday. We discussed a number of general topics – approaches I think is the best word – and he updated me on some changes to the script.

I’ve been developing a large spreadsheet breaking the script down scene by scene, with basic info like location, time of day and a brief summary of the action, as well as notes on character, camera and lighting, and a couple of the most relevant reference images. This will get more detailed and specific as prep progresses.

Watching reference material is a big part of the process at the moment. As well as The Shining, I’ve recently checked out Alfonso Cuarón’s Roma, M. Night Shyamalan’s Servant, Ingmar Berman’s Fanny and Alexander, and I have Francis Ford Coppola’s Godfather trilogy on my list too. Shoot for the moon and you might land on the roof, right?

Finally, with the help of my 1st AC, I put a very rough camera list together. My hope is that soon I can conduct tests to make a final decision on camera and lenses.

Undisclosed Project: Collaboration

Undisclosed Project: Exploration

Last week saw the start of prep for me on a new feature film. The project hasn’t officially been announced yet, so I’ll simply say that it’s an adaptation of a Shakespeare play.

Prepping a feature can seem a bit overwhelming sometimes, more so than actually shooting it. At least when you’re shooting, you only have to worry about one scene at a time. Where do you start when prepping 100 minutes of moving images?

Familiarity with the script is the first thing. I’m one of those people who was put off Shakespeare by being forced to study him at school, so – other than a few famous lines – I knew nothing about this play until I was hired a few weeks ago. Since then I’ve endeavoured to become as familiar as possible with the material, both the play and the film script.

The director wrote a 24-page treatment which makes very clear the themes he wishes to draw out of the play, but last week was my first opportunity to sit down with him and start to get inside his head. This was part of a two-day recce of the film’s single location: the first day exploring the space and seeing what was available; the second day starting to pin down exactly where we would shoot what.

This is an unusual adapation set in no particular period (the director says it should have “a feeling that’s not now”) so the possibilities are wide open. I have developed a mood board of 60-odd reference images, and last week was a chance to see what chimed with everyone else.

Also present at the recce were the production designer and other members of the team, and I began to see the directions they were going in with their own creative contributions. These of course inspired further ideas for my cinematography, as did a conversation I had with the lead actor. “The camera is a character,” he said as we discussed how to handle the soliloquys.

I always think about how camerawork can reflect and enhance character, but I’ve rarely thought of the camera as its own character. On a similar theme, the director’s treatment describes a “clever, all-seeing camera”. Actualising that idea is a fascinating challenge for me. What does the camera want? What is its relationship with the other characters? How do those relationships develop as the film goes on?

These are the kind of broad, over-arching ideas that must be grappled with in these early days of prep. Soon I will have to draft an equipment list and get into all kinds of other specifics, but it’s important to allow time for exploration.

Undisclosed Project: Exploration

“The Little Mermaid”: Prep Diary Part 2

This is the second part of my flashback to spring 2016 and the pre-production for The Little Mermaid. Part one is here.


Weeks 3 & 4

Nothing much seems to happen the third week of prep. After the Shirley shoot finishes on Monday, I take Tuesday off. I’m so exhausted I can barely move, which bodes ill for the 26-day slog of principal photography that’s coming up! Things are quiet in the office on Wednesday and Thursday, and Friday is Good Friday so it’s a holiday. The three-day weekend is enjoyable but also frustrating given how much prep there is still to do.

Next Monday I go scouting with Anthony, the new locations manager. He takes us to a quarry ten minutes down the road from the office, where we finally find the cliff we’ve been searching for since prep began. The location has a lot of potential for many scenes, so we’re very pleased. (Ultimately it went unused because of safety concerns.)

On Tuesday there’s a page turner, which is like a table read only without the cast. We spend five hours going through the script, asking questions and addressing issues that might come up. I try to clarify certain things in the script and make sure everyone knows how Chris, the director, wants to approach things. (He’s just a talking head on my iPad right now, due to visa delays.)

Gaffer Mike and key grip Jason have arrived in town for the page turner, and on Wednesday morning we get down to the business of writing a lighting list. It’s difficult for me to get my head around the crew structure here in the States. The gaffer is the head of the electrical department, so they only deal with lamps and distro. Flags, cutters, nets, black-out, bounce boards and so on are handled by the grip department, led of course by the key grip… who also handles the camera grip, like cranes and dollies.

Most of the rest of the week is spent visiting locations with Anthony, Mike and Jason, while the latter two finesse the list and get quotes. On Wednesday evening I convene the camera department to debrief from the Shirley shoot and discuss what can be done to improve the crew structure, equipment package and workflow.

By the weekend it stills feel like there is much to figure out, and there is only one week left before principal photography begins. Still, I won’t be sorry to say goodbye to office work and get back on set.


Week 5

It’s the last week of preproduction and we should be spending it doing tech scouts and production meetings. But unfortunately many HoDs have been hired late, and there are lots of locations left to find, so it’s a frustrating week for me, waiting for stuff to happen. I try to nail down the grip and electrical items which are only required on specific dates, but it looks like some of that will have to be done as we go along.

I spend more time location scouting with Anthony, during which I realise just how time-consuming it is to drive around, spot possible places, make friends with the owners and just get to the stage where any of the crew can check it out.

We visit a possible beach location, a nice little spot on the same island we did the Shirley Shoot on. Chris, still unable to enter the US, participates by video call. He wants me to roll up my trousers and test the water, because the principal cast will have to spend hours in it. It’s nice enough for a paddle, but I don’t think I’d want to spend a day up to my waist in it. (Actually, that’s exactly what I and several other cast and crew end up doing.)

As the week goes on I spend less and less time at the office, because there simply isn’t much left I can do. I occupy my evenings swimming in the pool and binge-watching season one of Outlander, which Starz have made free for a couple of weeks here in the US. The cinematography in the first couple of episodes is utterly stunning, in fact it’s the most beautiful cinematography I’ve ever seen. It’s very inspirational, and I have a couple of good ideas for lighting A Little Mermaid as I watch it. (Recently I had the exciting chance to ask David Higgs BSC about lighting the Outlander pilot, for an article in the January issue of British Cinematographer.)

Chris finally arrives on Saturday, two days before the shoot. In the evening there’s a “pre-game” party by the pool. It finally feels like we’re making a movie. The equipment has all arrived, and there are trucks and trailers parked outside the production office.

On Sunday we do the closest we’re going to get to a tech scout. It’s great to be able to walk around a location with the directors at last. (Writer Blake has joined Chris as a co-director.) I try to use Helios, a sun tracker app, to work out when the sun will hit the back of the house, but in the end I trust my own estimation better. I whip out my light meter to check the contrast ratio between sunlight and shade; it’s 8:1 (3 stops), well within the Alexa’s dynamic range, but setting up an ultrabounce to fill in the shadows, as the key grip suggests, will make the image much more pleasing to the eye.

I figure out the broad strokes of the lighting for the interiors and let the G&E (grip and electric) team know the plan. With Larry, the 1st AD, I discuss how we’re going to maximise our two cameras in order to make our day.

I can’t believe we’re about to start principal at last. Five weeks is by far the longest prep time I’ve ever had for a movie. It’s feels like I’ve been here forever! But I’m only halfway through my time in Savannah…

Here are links to my diary entries from the shoot:

The Little Mermaid is currently available on Netflix around the world.

“The Little Mermaid”: Prep Diary Part 2

“The Little Mermaid”: Prep Diary Part 1

I’ll soon be starting five weeks of prep for a feature, and it’s got me thinking about the five weeks I spent in the spring of 2016 prepping The Little Mermaid. I published a number of entries from my production diary when the film was released, but the entries from pre-production have gone unseen… until now…


JANuary 12th, 2016

It is four or five months since Chris, the director, first mentioned the project to me. In that time he has been developing the script with the writer and producers, and I’ve read a draft or two. Last week I was introduced to the producers by email, and today Chris and I get together to start chatting about the film.

It’s just broad strokes today, nothing structured, nothing firm. He talks me through the next round of script changes and we watch some bits of DVDs I’ve brought. I’m not thinking photographically yet, just tone and genre, so we watch parts of The Rocketeer and Big Fish. I start to get some basic ideas of what Chris does and doesn’t like.
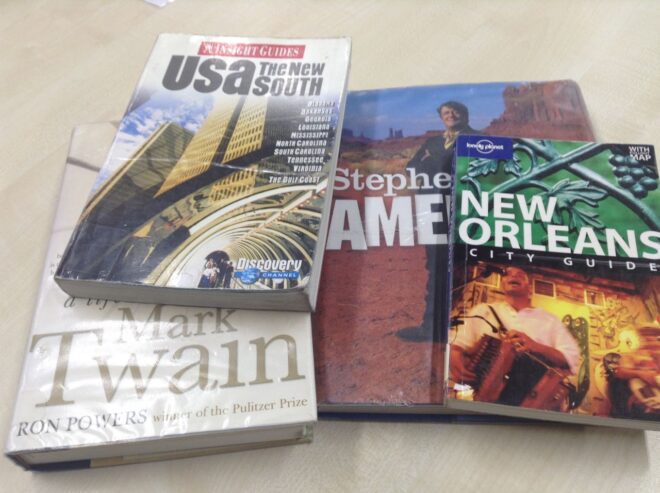
Yesterday I went to the library to get my head around the geography of the state our story is set in, and bit of the history and culture. I found a book called Photographing America and it has some interesting plates from the Deep South in the 30s and 40s. They set the stage for me in terms of architecture, landscape and clothing, but their gritty black and white photography is not appropriate for this film.

Chris and I Skype Fabio, the line producer, and later have a brief conference call with producers Armando and Rob. At this stage it is just about introductions. Chris enthuses about me to them, and curates some stills from Ren: The Girl with the Mark to wow them with. Armando responds positively – it’s just the look he’s after for this. Well, this is the second feature job Ren’s got me. Cheers, Kate!


Week 1

Since that day in London with Chris, I’ve done bits and pieces of prep around finishing up post on Ren. The script went through a few more drafts, I joined in a few conference calls with members of the team, and started a shot list.

But on March 5th I fly into Savannah, Georgia and I’m straight into full-time prep, living and breathing A Little Mermaid.

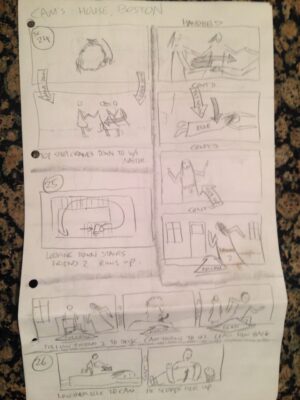
On Sunday I wake early, my body still five hours ahead of US East Coast Time. After talking to Chris, who’s still in the UK due to visa delays, I take a ten-minute walk through the sunny streets of Savannah to meet David, the storyboard artist. We eat blueberry pancakes with maple syrup and he shows me his boards for the movie’s finale. Chris Skypes in and we discuss the priorities. We need about 15 more sequences boarded – at least key frames – ASAP so that production designer Jay can be sure to accommodate our needs in the sets he is already starting to build.

At noon I head over to an apartment complex where Jay and line producer Fabio are staying. This place has a pool so I’m getting myself moved here as soon as I can. We spend seven or eight hours, with Chris on Skype, going through the schedule line by line, making sure everything is doable and everything is in the most efficient order.

Poppy Drayton is playing our mermaid. Back at the apartment I watch a trailer for The Shannara Chronicles and screen-capture all her close-ups. I analyse the lighting in each one, labelling them accordingly in a folder. Her time on this production is limited so I probably won’t get to camera-test her; I need to figure out how to light her based on what other DPs have done.
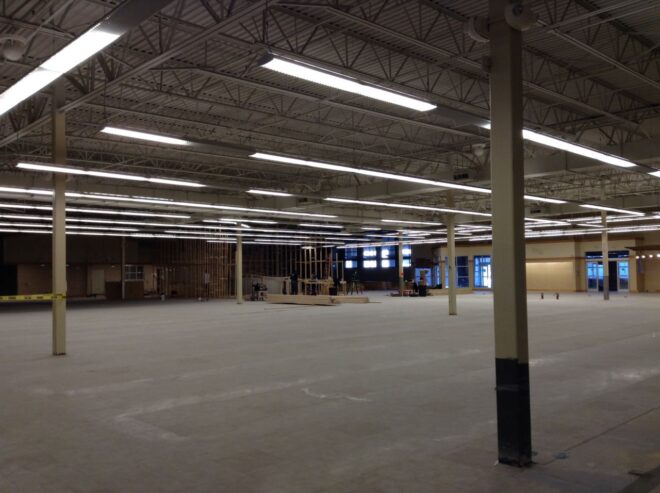
Monday is my first day at the warehouse. It’s an old supermarket that’s been gutted. There are four or five small offices and then a huge open space, part of which is occupied by the bones of the “rocky pool” set.

The week soon settles into a blur of video calls with Chris, interviews with potential camera assistants and gaffers, and lots of discussions about sets and locations. It’s really exciting to be shown around the space by Jay as he describes all the sets he’s going to build. For some scenes there is a lot of back and forth about whether they should be studio or location. We are working with a child actress and Chris is very keen to get the best performances, so the level of control we could get in the studio is very appealing, but that must be balanced against our art department budget.
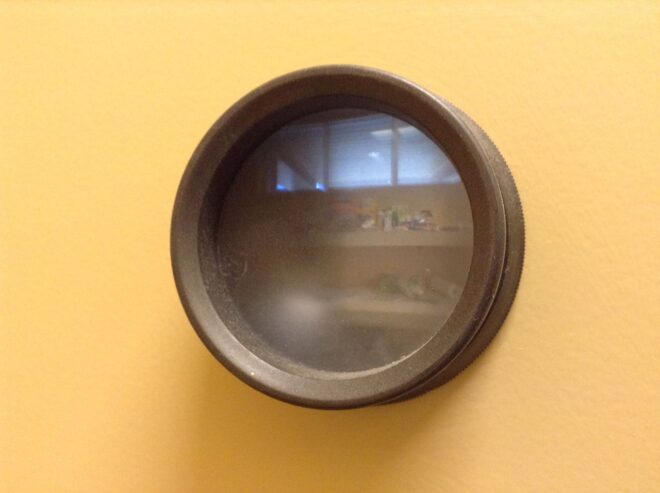
I’m assigned an office that’s just 6ft square but is very cool because it has a sort of camera obscura in the door so I can see a little projection of what’s outside. Of course the door doesn’t really close properly (particularly once I’ve run an extension cable in to compensate for the lack of functioning power sockets in the room) but never mind. By mid-week I have a monitor to hook my Mac Mini up to and I’m properly in business.

I task the PAs with printing out the script and taping it in a long line of pages along a wall along with the corresponding storyboards. Eventually we will add reference images and concept art, if I can ever get access to a functioning colour printer!

A little bit of location scouting takes place during the week. We check out a nice rustic field behind the studio where we’ll set up our circus, we visit a fort in the hope that it might work for a scene near the finale (it doesn’t) and I take a look around the beach house we’ll be shooting the film’s present-day book-ends in on March 20th and 21st. (Principal photography starts April 11th.)

Another issue to be decided is which camera to shoot on. Initially we discussed having lots of cameras, which meant going with Reds for budgetary reasons. The Panasonic Varicam is suggested, and I’m almost flown to Atlanta to test it, but in the end we decide to go with Alexas, thank God. (With hindsight, I really should have gone and tested that Varicam. I was irrationally against all non-Alexa cameras at this time.) We’ll have two bodies, one for me and one for a B camera operator who will sometimes splinter off into a 2nd unit. The glass will be Cooke S4s with a half Soft FX filter, the exact same recipe as Heretiks. I know this will give me the organic, period feel that A Little Mermaid needs, as well as the magical quality. We’ll also have a couple of Optimo zooms in the kit, a luxury we couldn’t afford on Heretiks.

By the end of the week I’ve pretty much locked down the camera kit, finished the shot list for the whole movie, and hired 1st and 2nd ACs and a 2nd Unit DP. We still don’t have a gaffer, which is worrying. The crew pool in Savannah is not huge and we’re struggling to find people with enough experience.

On Saturday, aside from a couple of hours in the studio, I chill out. I’ve now moved to the same apartment complex as the rest of the crew, and I’ve just had a very nice dip in the pool. I think I might just have the best job in the world.


Week 2
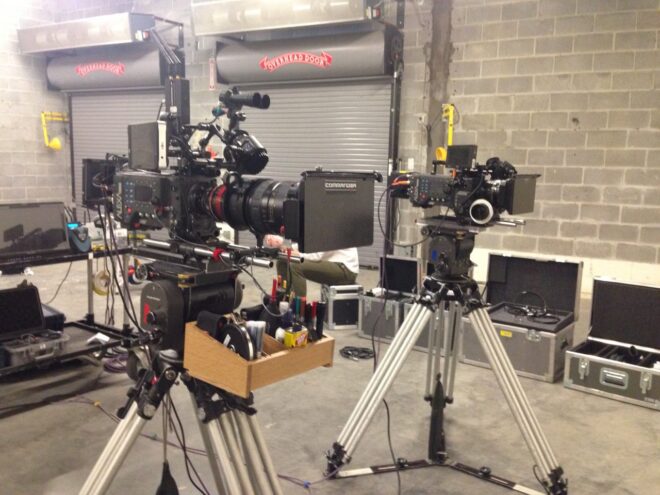
At the end of this week we have our two-day “pre-shoot” with Shirley MacLaine, to capture the contemporary bookends to what is otherwise a 1930s story. Peter Falk’s scenes in The Princess Bride are an inevitable reference for these.

Director Chris is still having visa issues, so writer Blake will be on helming duty for the pre-shoot. He gives me Maggie Smith’s storytelling scene in Hook as a reference. I haven’t seen the movie in ages, so I rent it and watch the whole thing, delighting in the beautiful cinematography. I love the candy blues and hot pinks of Wendy’s London home, and will aim to emulate them.

A lot of this week is taken up with locking down equipment and personnel for the pre-shoot. The biggest issue as the week opens is that I still don’t have a gaffer. With my options limited – and despite a brief panic during which flying my UK gaffer out here seems like a very real possibility – I pick someone on a trial basis. If they do a good job for the pre-shoot they’ll get hired for principal.

Because the gaffer is hired so late, putting together a lighting list is my responsibility. I hate doing this, because I always forget stuff and piss everyone off at the last minute by making additions or changes. Like forgetting to check whether the HMIs are pars or fresnels. (I always want fresnels because they produce better shafts of light.)
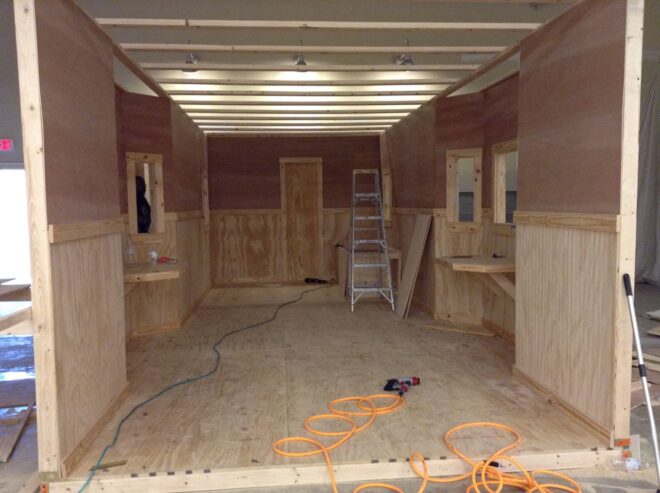
With equipment and crew in place, my attention turns towards principal for a little while. The VFX supervisor, Rich, has flown in from LA, and together we scout some locations. Unfortunately none of the locations are locked yet and the options we are given to look at are far from ideal. But we have a good session going through the shot list together, checking that there aren’t any VFX requirements that he missed in his breakdown.

We also discuss shooting format, which is generally going to be 2K ProRes 4444. He wants me to shoot green-screen shots in Arri Raw, but after he’s gone I realise that we don’t have the right Codex on our cameras for that. 3.2K ProRes will have to do. Another good tip Rich gave me is to expose the green-screen at key (i.e. the same light reading on the green-screen as on the talent’s face) or up to half a stop over.

I’m glad I invested in a light meter, which arrived at the studio this week. It also comes in handy during another scout of the pre-shoot location. We have some night shots on the beach, which will have to be shot at dusk because it’s too big an area to light artificially. During the scout I take light readings on the beach at dusk, and determine that we have until 7:50pm, 20 minutes after sunset, before it is too dark to shoot.

If you want to follow the chronology, my diary entries about the “pre-shoot” are here.

Tune in next week for my diary entries from the remaining three weeks of prep. The Little Mermaid is still on Netflix if you fancy checking it out.

“The Little Mermaid”: Prep Diary Part 1

What is Negative Fill and How Do You Use It?

The 4×4 flags and matt silver bounce board used to shape the “Heretiks” shot later in the article.

If you’ve ever learnt anything about lighting, you’ll have heard of the Three Point System: key, backlight and fill. That last one is a soft light which raises the shadows and reduces contrast in the image.

As you might expect, negative fill is the exact opposite. It brings the shadows down, increasing contrast. It’s a big part of cinematography today because the dynamic range of digital cameras is so wide and their light sensitivity is so high that taking away light has become just as important as adding it.

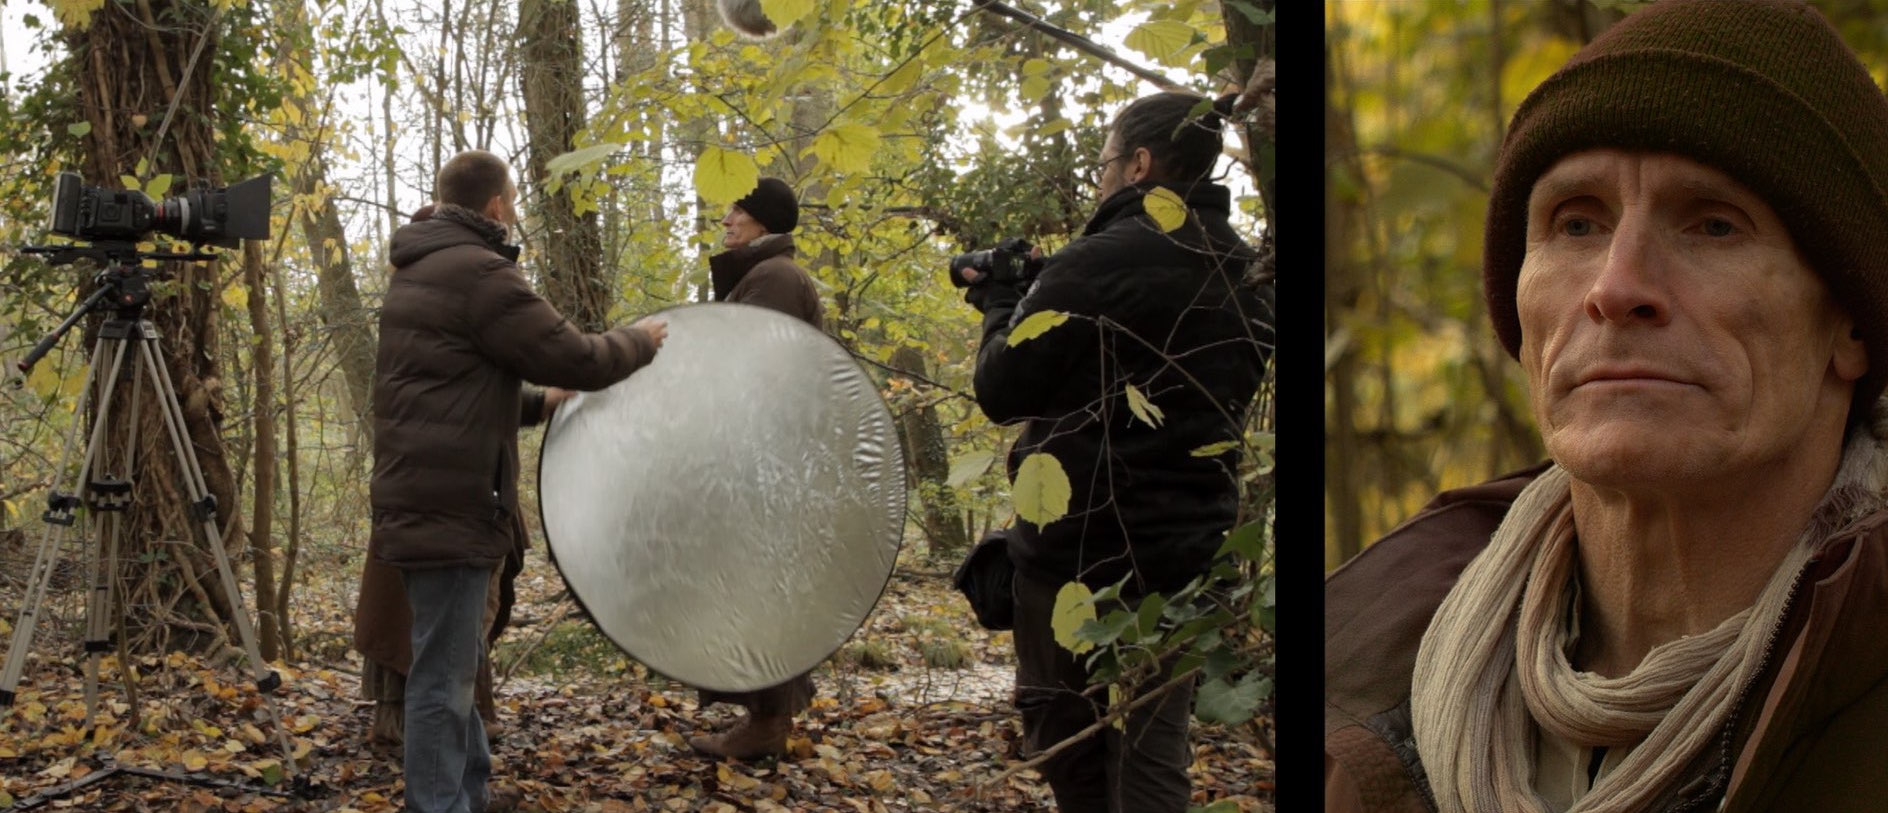
Negative fill – neg fill or just neg for short – can be accomplished with anything black, most commonly a polystyrene board (American name: bead-board), blackout material (usually bolton in the UK or duvetyne in the US) or a flag. 5-in-1 reflectors have a black side that can be used for neg fill too. The term solids or black solids can be applied to any of these tools, indicating that they are completely opaque, as opposed to nets.

When DPs talk about neg fill you often hear the word “shape” come up in their reasoning. Neg fill is typically applied to the camera side (broad side) of the talent, allowing their other side (short side) to remain bright. This has the effect of making the face – or any other object – look more three-dimensional. Hence “shape”. (This is all part of the theory of short key lighting, which I’ve covered in detail before.)

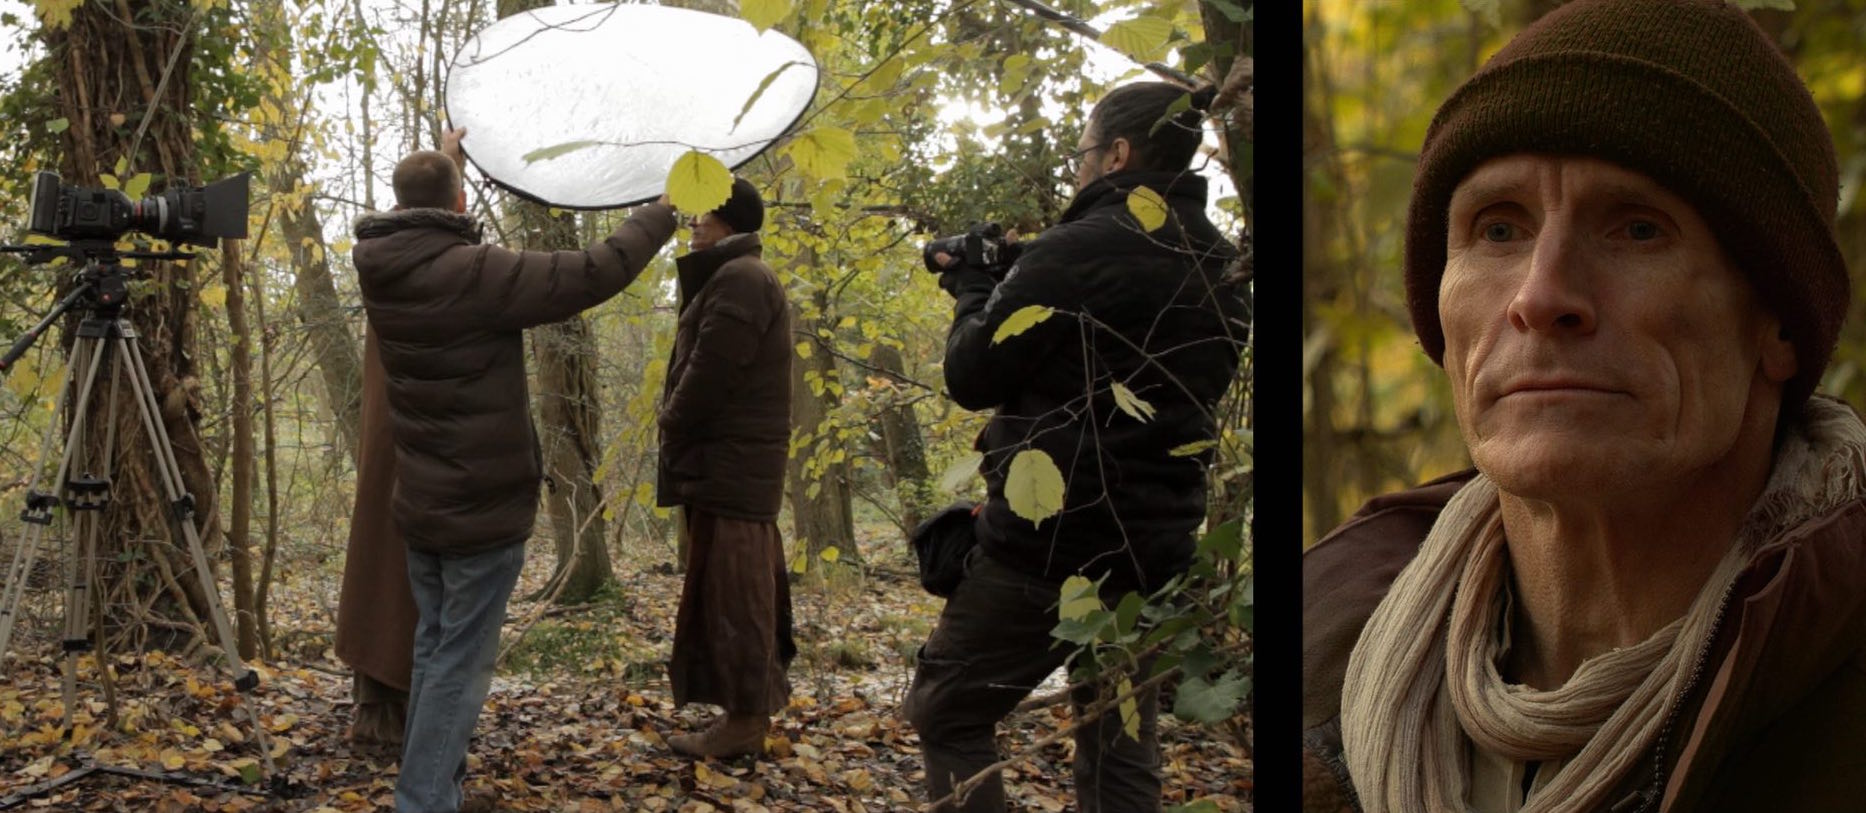
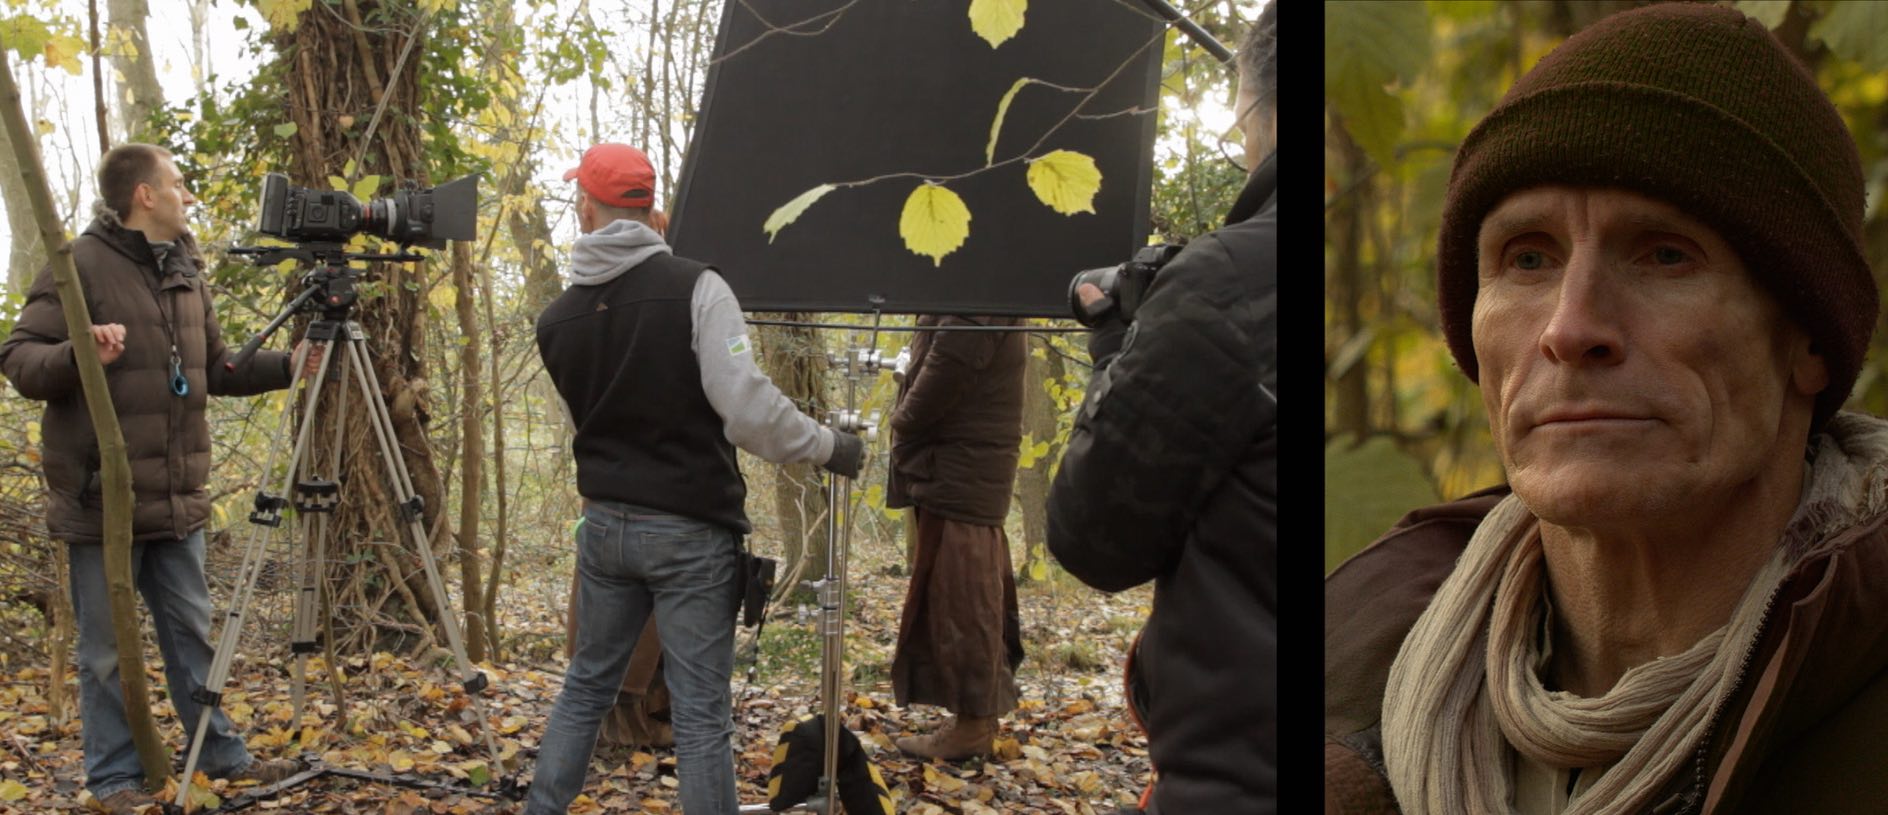
Below is an example from my online course, Cinematic Lighting. In these before and after shots, I use the black side of a 5-in-1 reflector (though you see silver facing camera) to neg-fill Ivan’s short side, adding mood and contrast.

We made it more permanent by replacing the reflector with a 4×4′ floppy flag on a C-stand.

Here’s an example from Heretiks where I chose to put a glint of light back into the darkness created by the neg fill, by using a matt silver reflector to create a rim-light. (There are many more diagrams like this on my Instagram feed.)

Neg fill is most commonly used outdoors, but it can be desirable indoors too, for example when white walls are bouncing light around everywhere. For the shot below from Exit Eve, I had the white wall behind camera covered with bolton so that the light would all be coming from behind the talent. (See my article on lighting from the back.)

In the café scene from Above the Clouds we shot towards the windows, but there was still too much ambience (mainly from skylights in the roof) on the camera sides of the actors for my taste. We only had a limited supply of flags, so we pressed the sides of the Easy-Up tent into service too!

I’ll leave you with this extreme example of negative fill from Instagram.


View this post on Instagram


A post shared by Shane Ellis (@gameoverman47)

What is Negative Fill and How Do You Use It?

“A Cliché for the End of the World”

Photo: Catherine Ashenden

In August 2019 Jonnie Howard, director of The Knowledge, approached me about shooting an unusual short film with him. A Cliché for the End of the World is only two minutes long, but Jonnie wanted to shoot it as two unbroken takes which would be presented side by side. Each take would follow one character, starting and ending with them next to each other, but separating in the middle.

My first thought was that the two takes would have to be shot concurrently, but to squeeze two cameras into the small location and keep each out of the other’s frame would have been impossible. Instead, we settled on shooting with a single camera. After capturing 18 takes of the first side, Jonnie reviewed the footage with his editor Kat and selected one to use. We then shot the other side, with Kat calling out cues that would keep the actors in sync with the selected “master” take. (It took 18 takes to get this side in the can as well, partly because of getting the cues right and partly because of the difficulties Steadicam op Luke Oliver had in manoeuvring up the narrow staircase.)

The film had to be lit in a way that worked for both sides, with the camera starting in the living room looking towards the kitchen, moving up the stairs, through the landing and into the bedroom.

The HMI skips off the floor (left); Jeremy creates the dynamic look of TV light (right)

Working as usual to the general principle of lighting from the back, I set up a 2.5K HMI outside the kitchen window to punch a shaft of sunlight into the room. I angled this steeply so that it would not reach the actors directly, but instead bounce off the floor and light them indirectly. (See my article on lighting through windows.)

Gaffer Jeremy Dawson blacked out the living room windows to keep the foreground dark. He used an LED panel set to 6,600K (versus our camera’s white balance of 5,600K) to simulate an off-screen TV, waving a piece of black wrap in front of it to create dynamics.

The HMI outside (left); the diffused Dedo in the loft (right)

Next we needed to bring up the light levels for the actor’s journey up the stairs, which were naturally darker. Jeremy and spark Gareth Neal opened the loft hatch on the landing and rigged an LED Dedo inside, aimed at the darkest part of the staircase. They diffused this with some kind of net curtain I think.

To brighten the landing we set up a diffused 2×4 Kino Flo in the spare room and partially closed the door to give the light some shape. Both this and the loft Dedo were a couple of stops under key so as not to look too artificial.

Luke Oliver balances Jonnie’s C200 on his Steadicam rig.

All that remained was the bedroom. The characters were to end up sitting on the bed facing the window. Originally the camera in both takes was to finish facing them, with the window behind it, but this would have meant shadowing the actors, not to mention that space between the bed and the window was very limited. After some discussion between me, Jonnie, Luke, the cast, and production designer Amanda Stekly, we ended up moving the bed so that the camera could shoot the actors from behind, looking towards the window. This of course made for much more interesting and dimensional lighting.

The window looked out onto the street, and with a narrow pavement and no permission from the council, rigging a light outside was out of the question. Furthermore, we knew that the sun was going to shine right into that window later in the day, seriously messing with our continuity. Unfortunately all we could do was ask Amanda to dress in a net curtain. This took the worst of the harshness out of any direct sun and hopefully disguised the natural changes in light throughout the day at least a little.

When the sun did blast in through the window at about 6pm, we added a layer of unbleached muslin behind the net curtain to soften it further. We doubled this as the angle of the sun got more straight-on, then removed it entirely when the sun vanished behind the rooftops opposite at 7pm. About 20 minutes later we rigged a daylight LED panel in the room, bouncing off the ceiling, as a fill to counteract the diminishing natural light. We wrapped just as it was becoming impossible to match to earlier takes.

We were shooting in RAW on a Canon C200, which should give some grading latitude to help match takes from different times of day. The split-screen nature of the film means that the match needs to be very close though!

As I write this, the film is still in postproduction, and I very much look forward to seeing how it comes out. I’ll leave you with the start and end frames from slate 2, take 17, with a very quick and dirty grade.
“A Cliché for the End of the World”

The Hardest Shot I’ve Ever Done

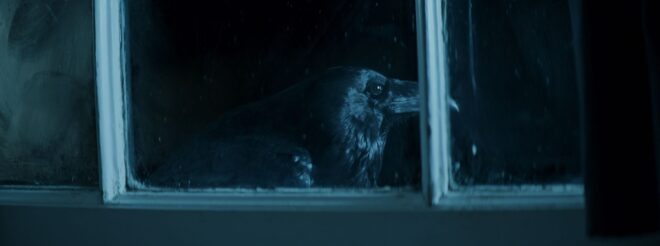
It is night. We Steadicam into a moonlit bedroom, drifting across a window – where a raven is visible on the outside ledge, tapping at the glass with its beak – and land on a sleeping couple. The woman, Annabel, wakes up and goes to the window, causing the bird to flee. Crossing over to her far shoulder, we rest on Annabel’s reflection for a moment, before racking focus to another woman outside, maybe 200ft away, running towards a cliff. All in one shot.

Such was the action required in a scene from Annabel Lee, the most ambitious short I’ve ever been involved with. Based on Edgar Allen Poe’s poem, the film was the brainchild of actor Angel Parker, who plays the titular character. It was directed by Amy Coop, who had already to decided to shoot on an Alexa Mini with Cooke Anamorphics before I was even hired.

Working with animals has its own difficulties, but for me as director of photography the challenges of this particular shot were:

  1. Making the bedroom appear moonlit by the single window, without any lamps being visible at any point in the Steadicam move.
  2. Lighting the view outside.
  3. Ensuring the live raven read on camera even though the shot was quite wide.
  4. Making Annabel bright enough that her reflection would read, without washing out the rest of the scene.
  5. Blocking the camera in concert with Annabel’s move so that its reflection would not be seen.

I left that last one in the capable hands of Steadicam op Rupert Peddle, along with Angel and Amy. What they ended up doing was timing Angel’s move so that she would block the window from camera at the moment that the camera’s reflection would have appeared.

Meanwhile, I put my head together with gaffer Bertil Mulvad to tackle the other four challenges. We arrived at a set-up using only three lights:

  1. A LiteMat 1 above the window (indoors) which served to light Annabel and her reflection, as well as reaching to the bed.
  2. Another LED source outside the window to one side, lighting the raven.
  3. A nine-light Maxibrute on a cherry-picker, side-lighting the woman outside and the cliffs. This was gelled with CTB to match the daylight LEDs.

Unfortunately the outside LED panel backlit the window glass, which was old and kept fogging up, obscuring the raven. With hindsight that panel might have been better on the other side of the window (left rather than right, but still outside), even though it would have created some spill problems inside. (To be honest, this would have made the lighting direction more consistent with the Maxibrute “moonlight” as well. It’s so easy to see this stuff after the fact!)

Everything else worked very well, but editor Jim Page did have to cut in a close-up of the raven, without which you’d never have known it was there.

The Hardest Shot I’ve Ever Done

Exposure Part 4: ISO

So far in this series we have seen how we can adjust exposure using aperture, which affects depth of field, ND filters, which can help us retain the depth of field we want, and shutter angle, which affects motion blur and flickering of certain light sources. In this final part we’ll look at ISO, perhaps the most misunderstood element of exposure, if indeed we can technically classify it as part of exposure at all!


What is ISO?

The acronym stands for International Organization for Standardization, the body which in 1974 combined the old ASA (American Standards Association) units of film speed with the German DIN standard. That’s why you’ll often hear the terms ISO and ASA used interchangeably.

Two different cameras filming the same scene with the same filters, aperture and shutter settings will not necessarily produce an image of equal brightness, because the ways that their electronics convert light into video signals are different. That is why we need ISO, which defines the relationship between the amount of light reaching the sensor (or film) and the brightness of the resulting image.

For example, a common ISO to shoot at today is 800. One way of defining ISO 800 is that it’s the setting required to correctly expose a key-light of 12 foot-candles with a lens set to T2.8 and a 180° shutter at 24fps (1/48th of a second).

If we double the ISO we double the effective sensitivity of the camera, or halve the amount of light it requires. So at ISO 1600 we would only need 6 foot-candles of light (all the other settings being the same), and at ISO 3200 we would need just 3 foot-candles. Conversely, at ISO 400 we would need about 25 foot-candles, or 50 at ISO 200.


A Flawed Analogy

Note that I said “effective” sensitivity. This is an important point. In the photochemical world, ISO indeed denotes the light sensitivity of the film stock. It is tempting to see digital ISO as representing the sensitivity of the sensor, and changing the ISO as analogous to loading a different film stock. But in reality the sensitivity of a digital sensor is fixed, and the ISO only determines the amount of gain applied to the sensor data before it is processed (which may happen in camera if you’re shooting linear or log, or in post if you’re shooting RAW).

So a better analogy is that altering the ISO is like altering how long the lab develops the exposed film negative for. This alters the film’s exposure index (EI), hence some digital cameras using the term EI in their menus instead of ISO or ASA.

We can take this analogy further. Film manufacturers specify a recommended development time, an arbitrary period designed to produce the optimal image. If you increase (push) or decrease (pull) the development time you will get a lighter or darker image respectively, but the quality of the image will be reduced in various ways. Similarly, digital camera manufacturers specify a native ISO, which is essentially the recommended amount of gain applied to the sensor data to produce what the manufacturer feels is the best image, and if you move away from that native ISO you’ll get a subjectively “lower quality” image.

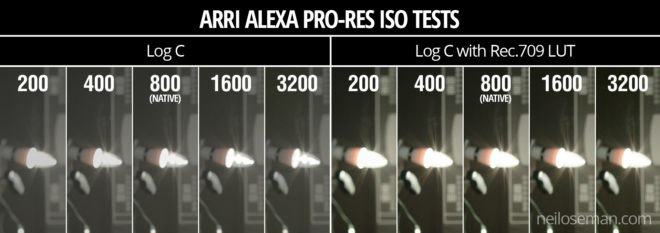
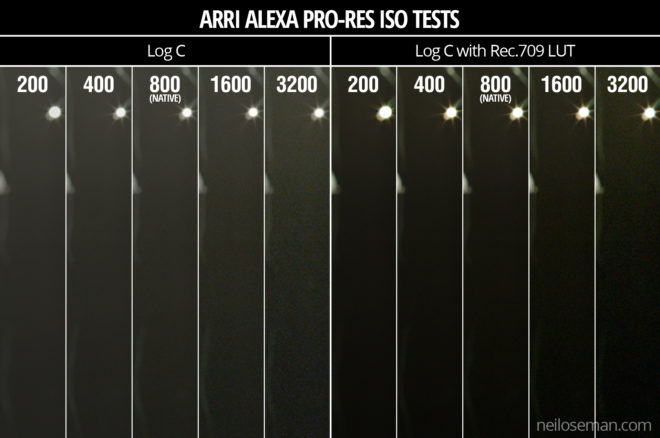
Compare the graininess/smoothness of the blacks in these images from my 2017 tests. Click to enlarge.

The most obvious side effect of increasing the ISO is more noticeable noise in the image. It’s exactly the same as turning up the volume on an amplifier; you hear more hiss because the noise floor is being boosted along with the signal itself.

I remember the days of Mini-DV cameras, which instead of ISO had gain; my Canon XL1 had gain settings of -3dB, +6dB and +12dB. It was the exact same thing, just with a different name. What the XL1 called 0dB of gain was what we call the native ISO today.


ISO and Dynamic range

At this point we need to bring in the concept of dynamic range. Let’s take the Arri Alexa as an example. This camera has a dynamic range of 14 stops. At its native ISO of 800, those 14 stops of dynamic range are equally distributed above and below “correct” exposure (known as middle grey), so you can overexpose by up to seven stops, and underexpose by up to seven stops, without losing detail.

If you change the Alexa’s ISO, those limits of under- and overexposure still apply, but they’re shifted around middle grey. For example, at 400 ISO you have eight stops of detail below middle grey, but only six above it. This means that, assuming you adjust your iris, shutter or filters to compensate for the change in ISO, you can trade-off highlight detail for shadow detail, or vice versa.

Imagine underexposing a shot by one stop and bringing it back up in post. You increase the highlight detail, because you’re letting half the light through to the sensor, reducing the risk of clipped whites, but you also increase the noise when you bring it up in post. This is basically what you’re doing when you increase your ISO, except that if you’re recording in linear or log then the restoration of brightness and increase in gain happen within the camera, rather than in post with RAW.

Note the increased detail in the bulb at higher ISOs. Click to enlarge..

We can summarise all this as follows:

Doubling the ISO…

  • increases overall brightness by one stop, and
  • increases picture noise.

Then adjusting the exposure to compensate (e.g. closing the iris one stop)…

  • restores overall brightness to its original value,
  • gives you one more stop of detail in the highlights, and
  • gives you one less stop of detail in the shadows.

Alternatively, halving the ISO…

  • decreases overall brightness by one stop, and
  • decreases picture noise.

Then adjusting the exposure to compensate (e.g. opening the iris one stop)…

  • restores overall brightness to its original value,
  • gives you one less stop of detail in the highlights, and
  • gives you one more stop of detail in the shadows.


Conclusion

This brings me to the end of my exposure series. We’ve seen that choosing the “correct” exposure is a balancing act, taking into account not just the intended brightness of the image but also the desired depth of field, bokeh, lens flares, motion blur, flicker prevention, noise and dynamic range. I hope this series has helped you to make the best creative decisions on your next production.

See also: “6 Ways to Judge Exposure”

Exposure Part 4: ISO

Exposure Part 3: Shutter

In the first two parts of this series we saw how exposure can be controlled using the lens aperture – with side effects including changes to the depth of field – and neutral density (ND) filters. Today we will look at another means of exposure control: shutter angle.


The Physical Shutters of Film Cameras

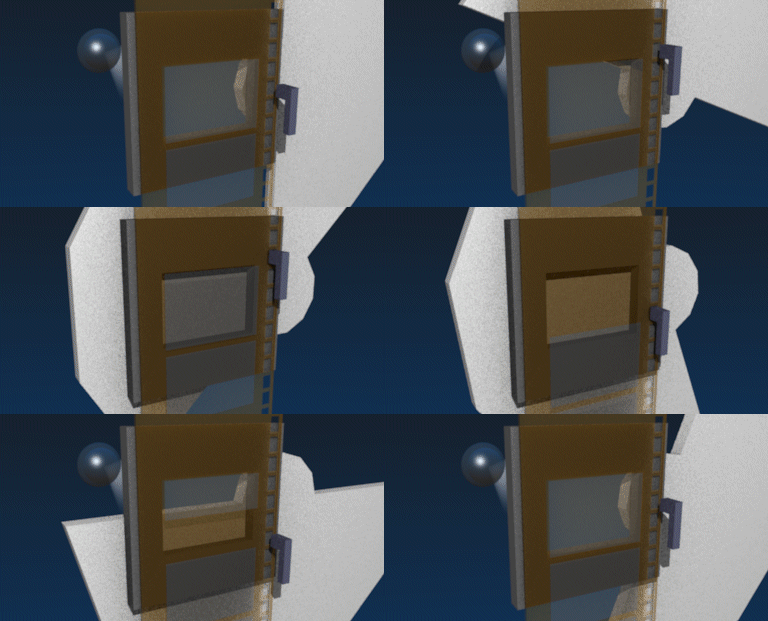
As with aperture, an understanding of what’s going on under the hood is useful, and that begins with celluloid. Let’s imagine we’re shooting on film at 24fps, the most common frame rate. The film can’t move continuously through the gate (the opening behind the lens where the focused light strikes the film) or we would end up recording just a long vertical streak of light. The film must remain stationary long enough to expose an image, before being moved on by a distance of four perforations (the standard height of a 35mm film frame) so that the next frame can be exposed. Crucially, light must not hit the film while it is being moved, or vertical streaking will occur.

Joram van Hartingsveldt, CC BY-SA 3.0

This is where the shutter comes in. The shutter is a portion of a disc that spins in front of the gate. The standard shutter angle is 180°, meaning that the shutter is a semi-circle. We always describe shutter angles by the portion of the disc which is missing, so a 270° shutter (admitting 1.5x the light of a 180° shutter) is a quarter of a circle, and a 90° shutter (admitting half the light of a 180° shutter) is three-quarters.

The shutter spins continuously at the same speed as the frame rate – so at 24fps the shutter makes 24 revolutions per second. So with a 180° shutter, each 24th of a second is divided into two halves, i.e. 48ths of a second:

  • During one 48th of a second, the missing part of the shutter is over the gate, allowing the light to pass through and the stationary film to be exposed.
  • During the other 48th of a second, the shutter blocks the gate to prevent light hitting the film as it is advanced. The shutter has a mirrored surface so that light from the lens is reflected up the viewfinder, allowing the camera operator to see what they’re shooting.


Intervals vs. Angles

If you come from a stills or ENG background, you may be more used to talking about shutter intervals rather than angles. The two things are related as follows:

Frame rate x (360 ÷ shutter angle) = shutter interval denominator

For example, 24 x (360 ÷ 180) = 48 so a film running at 24fps, shot with a 180° shutter, shows us only a 48th of a second’s worth of light on each frame. This has been the standard frame rate and shutter angle in cinema since the introduction of sound in the late 1920s. The amount of motion blur captured in a 48th of a second is the amount that we as an audience have been trained to expect from motion pictures all our lives.

A greater (larger shutter angle, longer shutter interval) or lesser (smaller shutter angle, shorter shutter interval) amount of motion blur looks unusual to us and thus can be used to creative effect. Saving Private Ryan features one of the best-known examples of a small shutter angle in its D-day landing sequence, where the lack of motion blur creates a crisp, hyper-real effect that draws you into the horror of the battle. The effect has been endlessly copied since then, to the point that it now feels almost mandatory to shoot action scenes with a small shutter angle.

Large shutter angles are less common, but the extra motion blur can imply a drugged, fatigued or dream-like state.

In today’s digital environment, only the Arri Alexa Studio has a physical shutter. In other cameras, the sensor’s photo-sites are allowed to charge with light over a certain period of time – still referred to as the shutter interval, even though no actual shutter is involved. The same principles apply and the same 180° angle of the virtual shutter is standard. The camera will allow you to select a shutter angle/interval from a number of options, and on some models like the Canon C300 there is a menu setting to switch between displaying the shutter setting as an angle or an interval.


When to Change the Shutter Angle

Sometimes it is necessary to change the shutter angle to avoid flickering. Some luminous devices, such as TV screens and monitors, or HMI lighting not set to flicker-free mode, will appear to strobe, pulse or roll on camera. This is due to them turning on and off multiple times per second, in sync with the alternating current of the mains power supply, but not necessarily in sync with the shutter. For example, if you shoot a domestic fluorescent lamp in the UK, where the mains AC cycles at 50Hz, your 1/48th (180° at 24fps) shutter will be out of sync and the lamp will appear to throb or flicker on camera. The solution is to set the shutter to 172.8° (1/50th), which is indeed what most DPs do when shooting features in the UK. Round multiples of the AC frequency like 1/100th will also work.

You may notice that I have barely mentioned exposure so far in this article. This is because, unlike stills photographers, DPs rarely use the shutter as a means of adjusting exposure. An exception is that we may increase the shutter angle when the daylight is fading, to grab an extra shot. By doubling the shutter angle from 172.8° to 345.6° we double the light admitted, i.e. we gain one stop. As long as there isn’t any fast movement, the extra motion blur is likely to go unnoticed by the audience.

One of the hallmarks of amateur cinematography is that sunny scenes have no motion blur, due to the operator (or the camera’s auto mode) decreasing the shutter interval to avoid over-exposure. It is preferable to use ND filters to cut light on bright days, as covered in part two of this series.

For the best results, the 180° (or thereabouts) shutter angle should be retained when shooting slow motion as well. If your camera displays intervals rather than angles, ideally your interval denominator should be double the frame rate. So if you want to shoot at 50fps, set the shutter interval to 1/100th. For 100fps, set the shutter to 1/200th, and so on.

If you do need to change the shutter angle for creative or technical reasons, you will usually want to compensate with the aperture. If you halve the time the shutter is open for, you must double the area of the aperture to maintain the same exposure, and vice versa. For example, if your iris was set to T4 and you change the shutter from 180° to 90° you will need to stop up to T2.8. (Refer back to my article on aperture if you need to refresh your memory about T-stops.)

In the final part of this series we’ll get to grips with ISO.

Learn more about exposure in my online course, Cinematic Lighting. Until this Thursday (19/11/20) you can get it for the special price of £15.99 by using the voucher code INSTA90.

Exposure Part 3: Shutter

Exposure Part 2: Neutral Density (ND) Filters

In the first part of this series, I explained the concepts of f-stops and T-stops, and looked at how aperture can be used to control exposure. We saw that changing the aperture causes side effects, most noticeably altering the depth of field.

How can we set the correct exposure without compromising our depth of field? Well, as we’ll see later in this series, we can adjust the shutter angle and/or ISO, but both of those have their own side effects. More commonly a DP will use neutral density (ND) filters to control the amount of light reaching the lens. These filters get their name from the fact that they block all wavelengths of light equally, so they darken the image without affecting the colour.


When to use an ND Filter

Let’s look at an example. Imagine that I want to shoot at T4; this aperture gives a nice depth of field, on the shallow side but not excessively so. My subject is very close to a bright window and my incident light meter is giving me a reading of f/11. (Although I’m aiming for a T-stop rather an f-stop, I can still use the f-number my meter gives me; in fact if my lens were marked in f-stops then my exposure would be slightly off because the meter does not know the transmission efficiency of my lens.) Let’s remind ourselves of the f-stop/T-stop series before we go any further:

1      1.4      2      2.8      4      5.6      8      11      16      22     32

By looking at this series, which can be found printed on any lens barrel or permanently displayed on a light meter’s screen, I can see that f/11 (or T11) is three stops down from f/4 (or T4) – because 11 is three numbers to the right of 4 in the series. To achieve correct exposure at T4 I’ll need to cut three stops of light. I can often be seen on set counting the stops like this on my light meter or on my fingers. It is of course possible to work it out mathematically or with an app, but that’s not usually necessary. You quickly memorise the series of stops with practice.


What Strength of filter to choose

Some ND filters are marked in stops, so I could simply select a 3-stop ND and slide it into my matte box or screw it onto my lens. Other times – the built-in ND filters on the Sony FS7, for example – they’re defined by the fraction of light they let through. So the FS7’s 1/4 ND cuts two stops; the first stop halves the light – as we saw in part of one of this series – and the second stop halves it again, leaving us a quarter of the original amount. The 1/16 setting cuts four stops.

However, most commonly, ND filters are labelled in optical density. A popular range of ND filters amongst professional cinematographers are those made by Tiffen, and a typical set might be labelled as follows:

.3      .6      .9      1.2

That’s the optical density, a property defined as the natural logarithm of the ratio of the quantity of light entering the filter to the quantity of light exiting it on the other side. A .3 ND reduces the light by half because 10 raised to the power of -0.3 is about 0.5, and reducing light by half, as we’ve previously established, means dropping one stop.

If that maths is a bit much for you, don’t worry. All you really need to do is multiply the number of stops you want to cut by 0.3 to find the filter you need. So, going back to my example with the bright window, to get from T11 to T4, i.e. to cut three stops, I’ll pick the .9 ND.

It’s far from intuitive at first, but once you get your head around it, and memorise the f-stops, it’s not too difficult. Trust me!

Here are a couple more examples:

  • Light meter reads f/8 and you want to shoot at T5.6. That’s a one stop difference. (5.6 and 8 are right next to each other in the stop series, as you’ll see if you scroll back to the top.) 1 x 0.3 = 0.3 so you should use the .3 ND.
  • Light meter reads f/22 and you want to shoot at T2.8. That’s a six stop difference (scroll back up and count them), and 6 x 0.3 = 1.8, so you need a 1.8 ND filter. If you don’t have one, you need to stack two NDs in your matte box that add up to 1.8, e.g. a 1.2 and a .6.


Variations on a Theme

Variable ND filters are also available. These consist of two polarising filters which can be rotated against each other to progressively lighten or darken the image. They’re great for shooting guerilla-style with a small crew. You can set your iris where you want it for depth of field, then expose the image by eye simply by turning the filter. On the down side, they’re hard to use with a light meter because there is often little correspondence between the markings on the filter and stops. They can also have a subtle adverse effect on skin tones, draining a person’s apparent vitality, as some of the light which reflects off human skin is polarised.

IR pollution increases with successively stronger ND filters (left to right) used on a Blackmagic Micro Cinema Camera. The blue dyes in this costume evidently reflect a large amount of IR.

Another issue to look out for with ND filters is infra-red (IR). Some filters cut only the visible wavelengths of light, allowing IR to pass through. Some digital sensors will interpret this IR as visible red, resulting in an image with a red colour cast which can be hard to grade out because different materials will be affected to different degrees. Special IR ND filters are available to eliminate this problem.

These caveats aside, ND filters are the best way to adjust exposure (downwards at least) without affecting the image in any other way.

In the next part of this series I’ll look at shutter angles, what they mean, how they affect exposure and what the side effects are.

Learn how to use ND filters practically with my Cinematic Lighting online couse. Enter voucher code INSTA90 for an amazing 90% off.

Exposure Part 2: Neutral Density (ND) Filters