A thorough plan for shots and lighting can save lots of time on set, but no battle plan survives contact with the enemy. To what extent should a DP prepare?
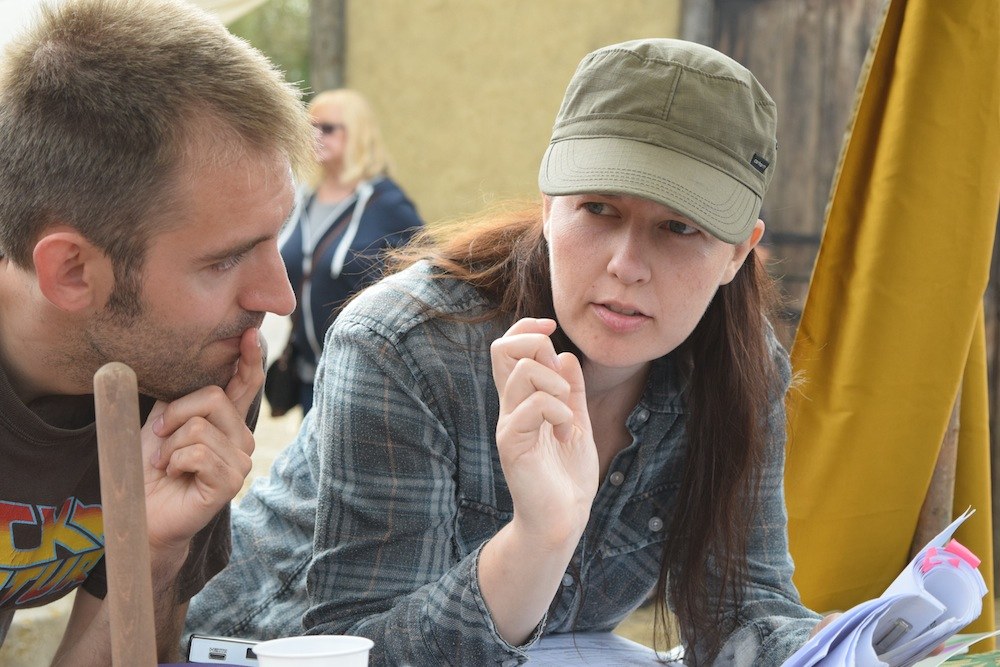
How much camera angles are planned – and by whom – varies tremendously in my experience. Some directors will prepare a complete shot-list or storyboard and send it to the DP for feedback; others will keep it close to their chest until the time of shooting. Some don’t do one at all, either preferring to improvise on the day in collaboration with the DP, or occasionally asking the DP to plan all the shots alone.
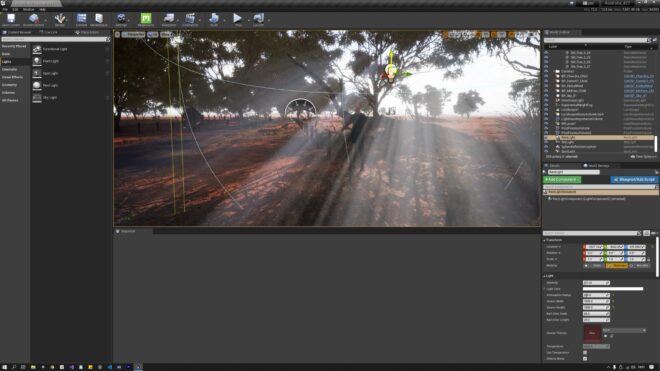
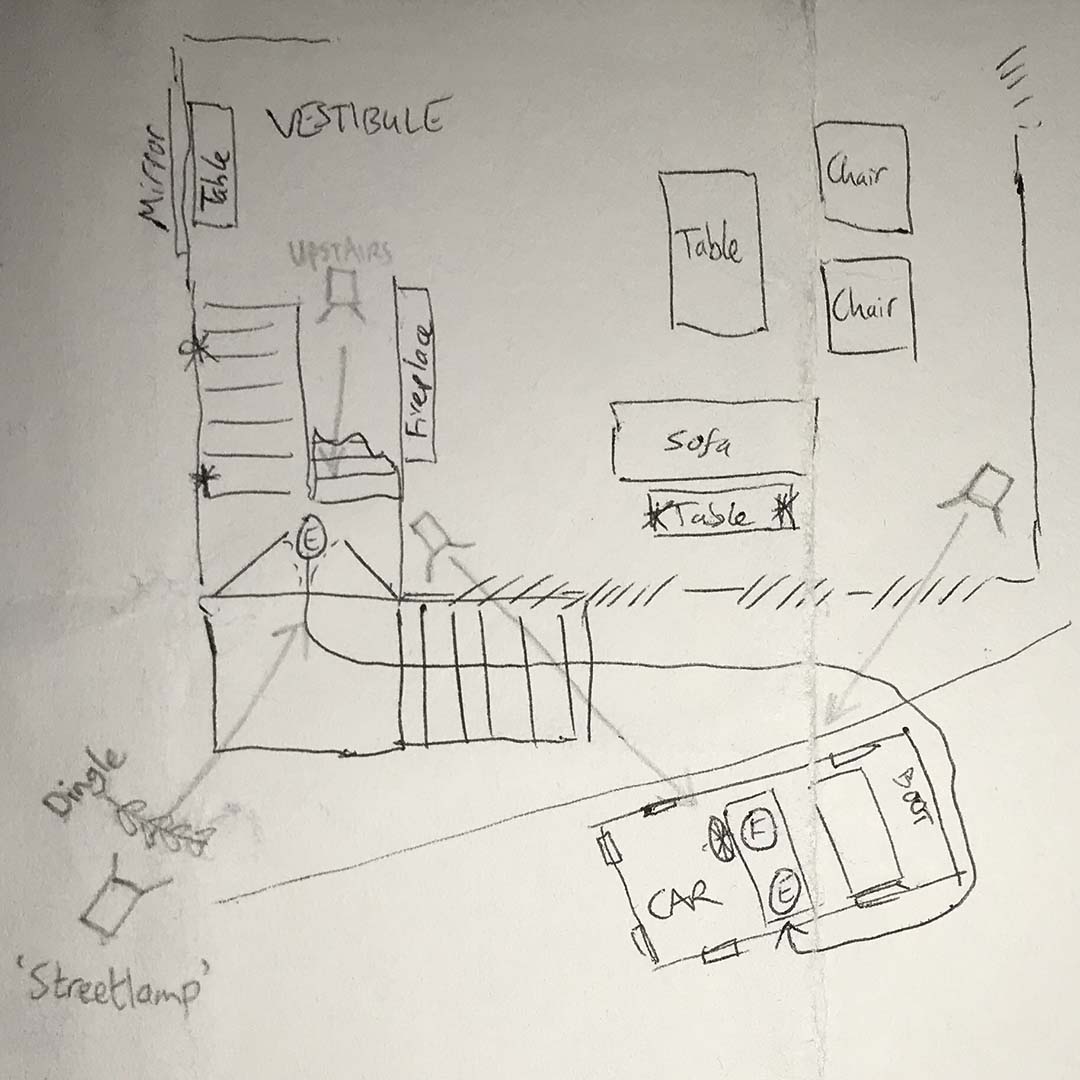
A shot-list can be hard to interpret by itself, particularly if there’s a lot of camera movement. Overhead blocking diagrams, perhaps done in Shot Designer or a general graphics app, make things a lot clearer. Storyboards are very useful too, be they beautifully and time-consumingly drawn, or hastily scribbled thumbnails.

On a feature I shot last year, we were afforded the luxury of extensive rehearsals with the cast on location. I spent the time snapping photos with Artemis Pro, the viewfinder app, and ultimately output PDF storyboards of every scene; the 1st AD distributed these with the call-sheets every morning. That level of preparedness is rare unless complex stunts or VFX are involved, but it’s incredibly useful for all the departments. The art department in particular were able to see at a glance what they did and didn’t need to dress.

Beware though: being prepared can kill spontaneity if you’re not careful. Years ago I directed a film that had a scene supposedly set at the top of a football stadium’s lighting tower; we were going to cheat it on a platform just a few feet high, and I storyboarded it accordingly. When we changed the location to a walkway in a brewery – genuinely 20ft off the ground – I stuck to the storyboards and ended up without any shots that showcased the height of the setting.
If the various departments have prepared based on your storyboards, not keeping to them can make you unpopular. So storyboards are a double-edged sword, and expectations should be carefully managed regarding how closely they will be adhered to.
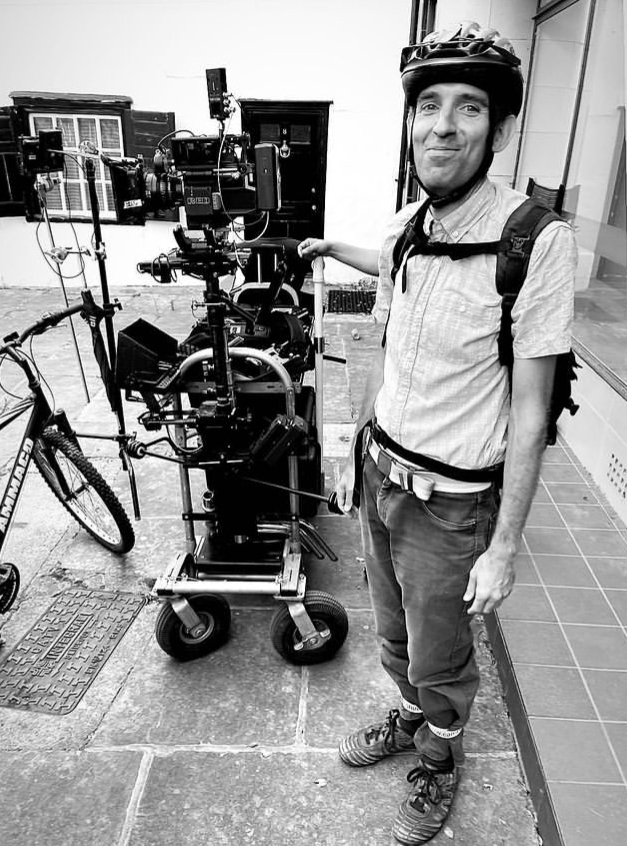
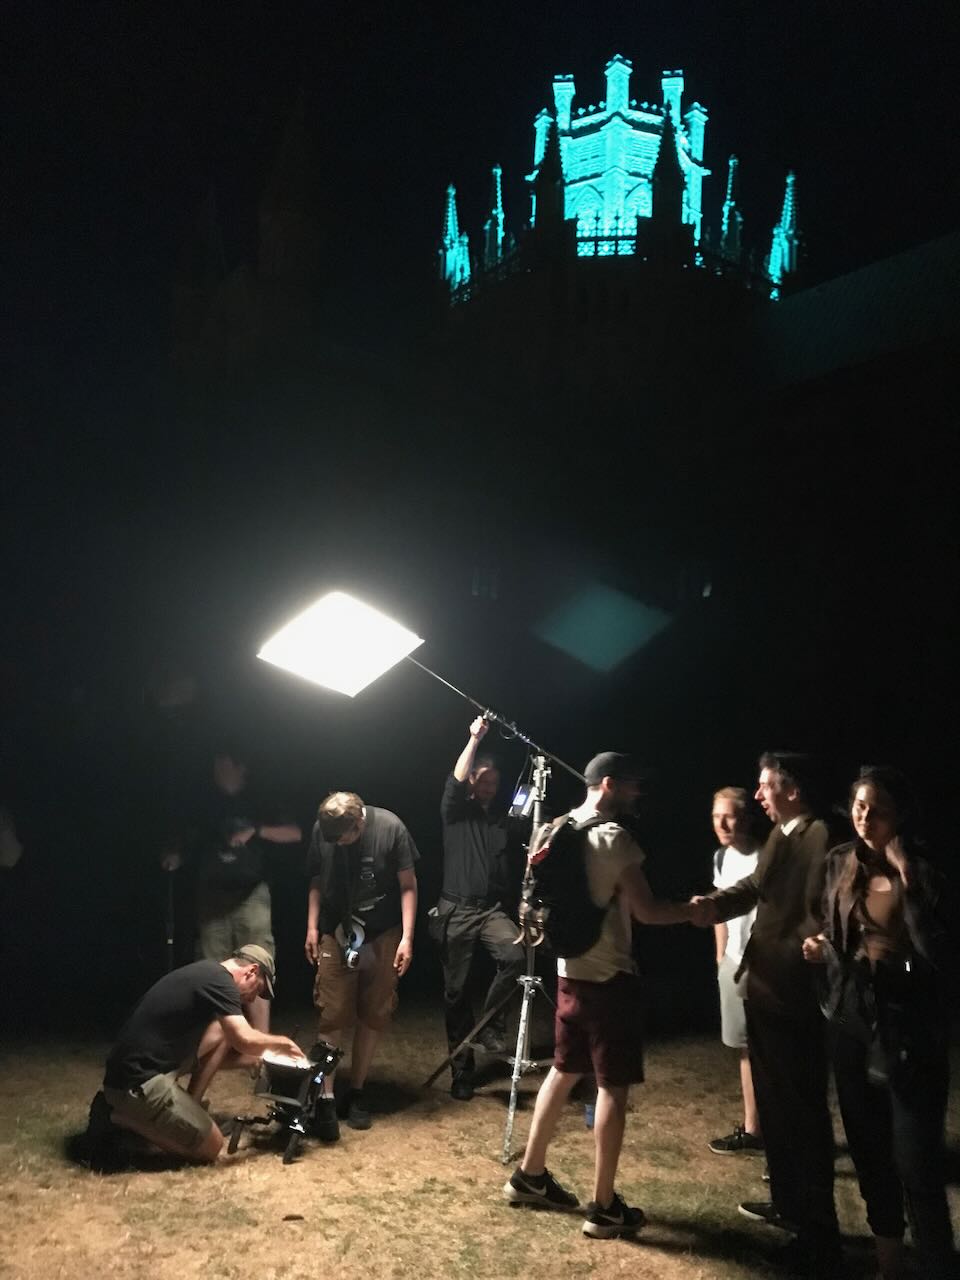
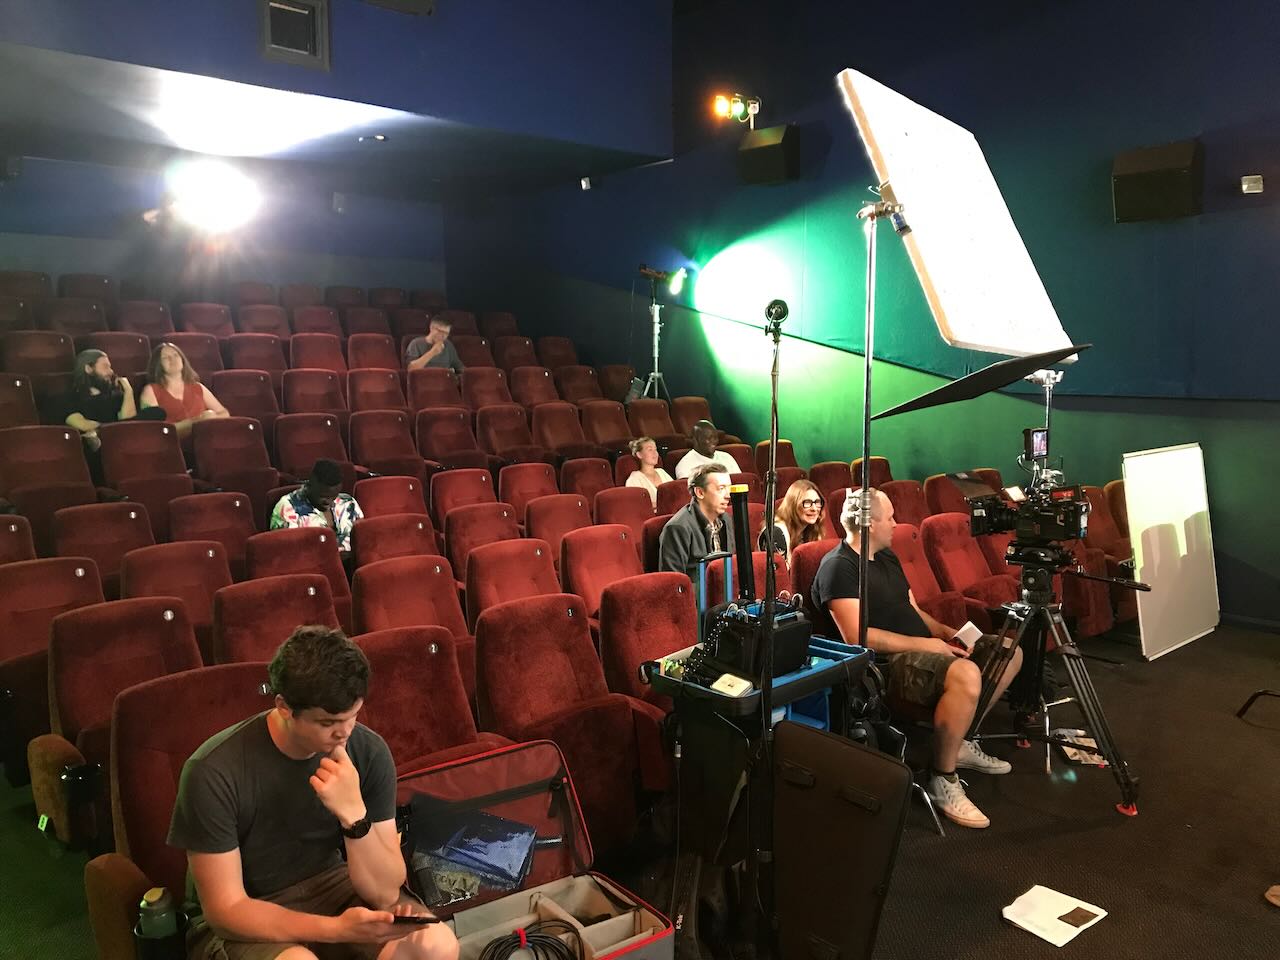
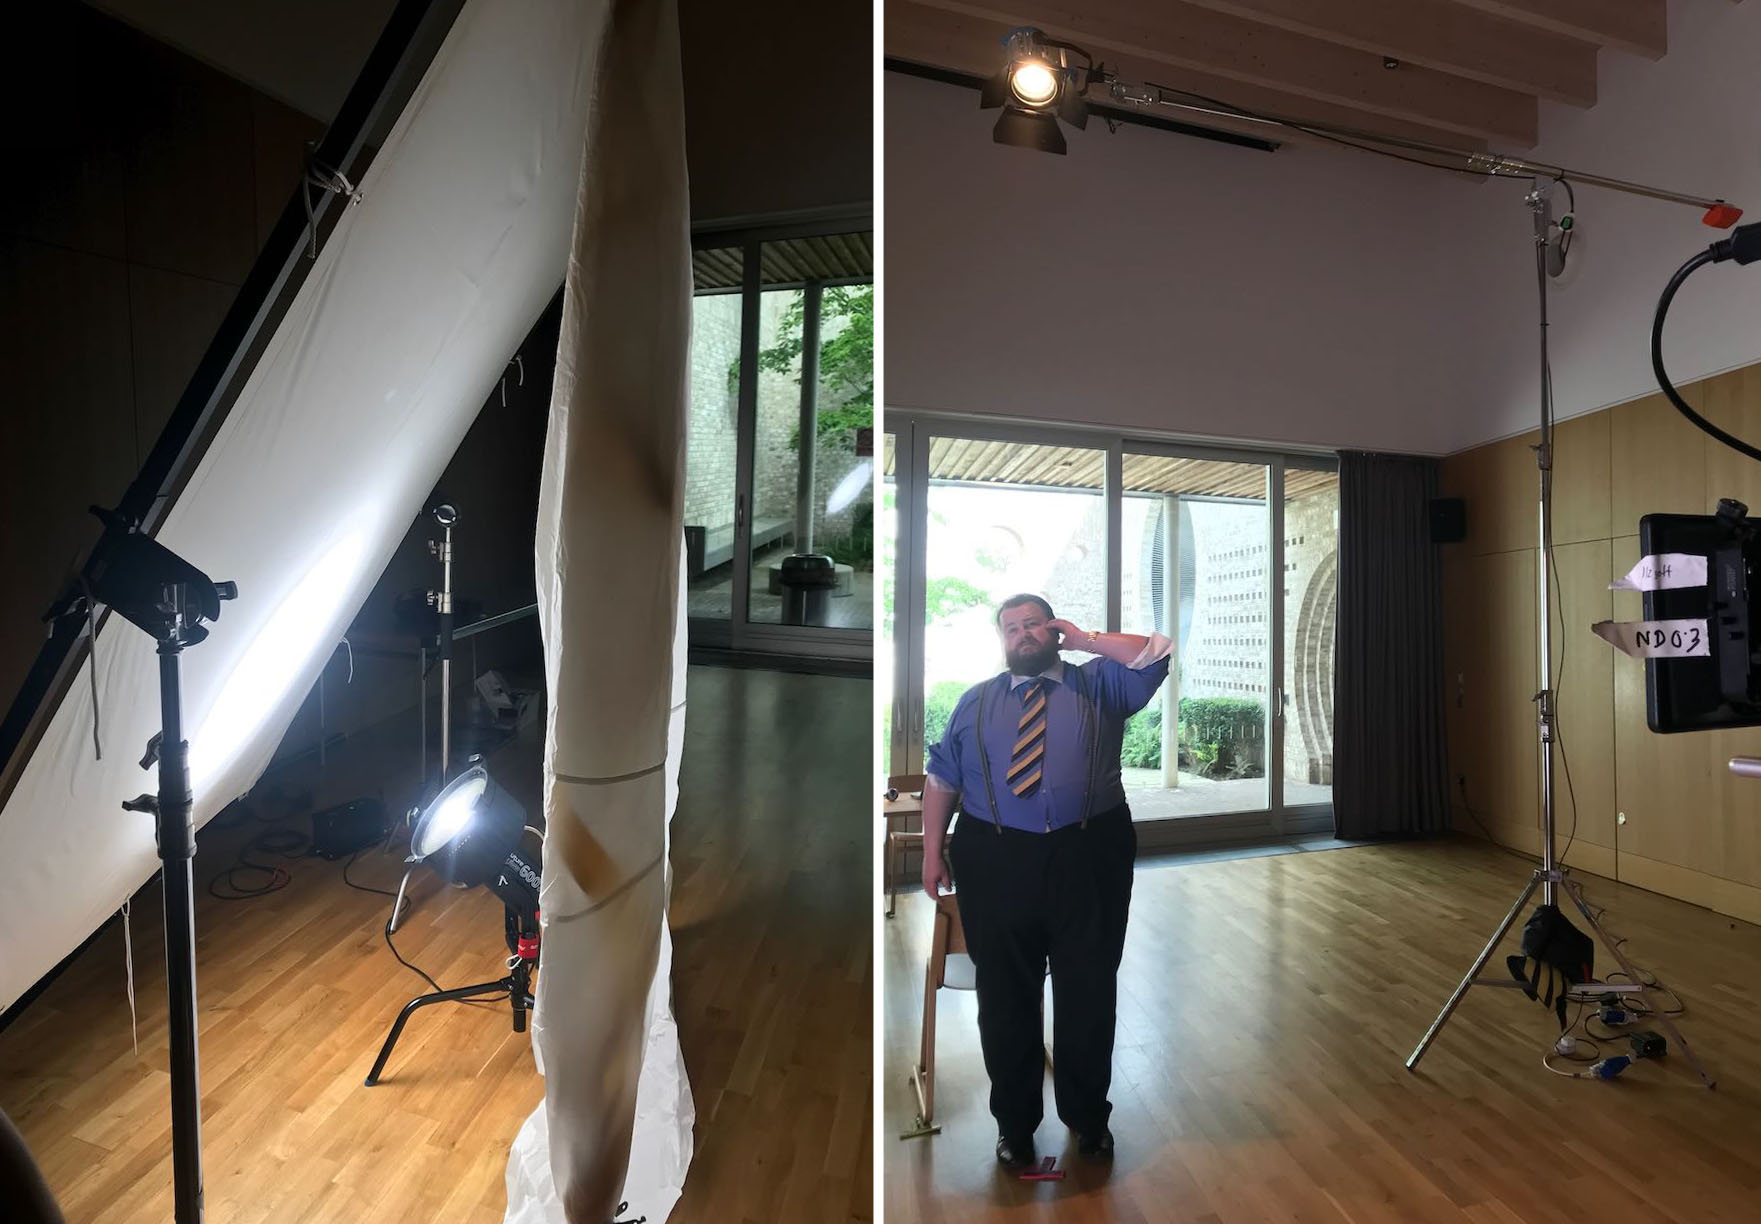
The amount of planning that the DP puts into lighting will vary greatly with budget. On a micro-budget film – or a daytime soap like Doctors – you may not see the location until the day you shoot there. But on a high-end production shooting in a large soundstage you may have to agree a detailed lighting plot with the gaffer and pre-rigging crew days or weeks in advance.
Having enough crew to pre-rig upcoming scenes is one of the first things you benefit from as a DP moving up the ladder of budgets. Communicating to the gaffer what you want to achieve then becomes very important, so that when you walk onto the set with the rest of the cast and crew the broad strokes of the lighting are ready to go, and just need tweaking once the blocking has been done.
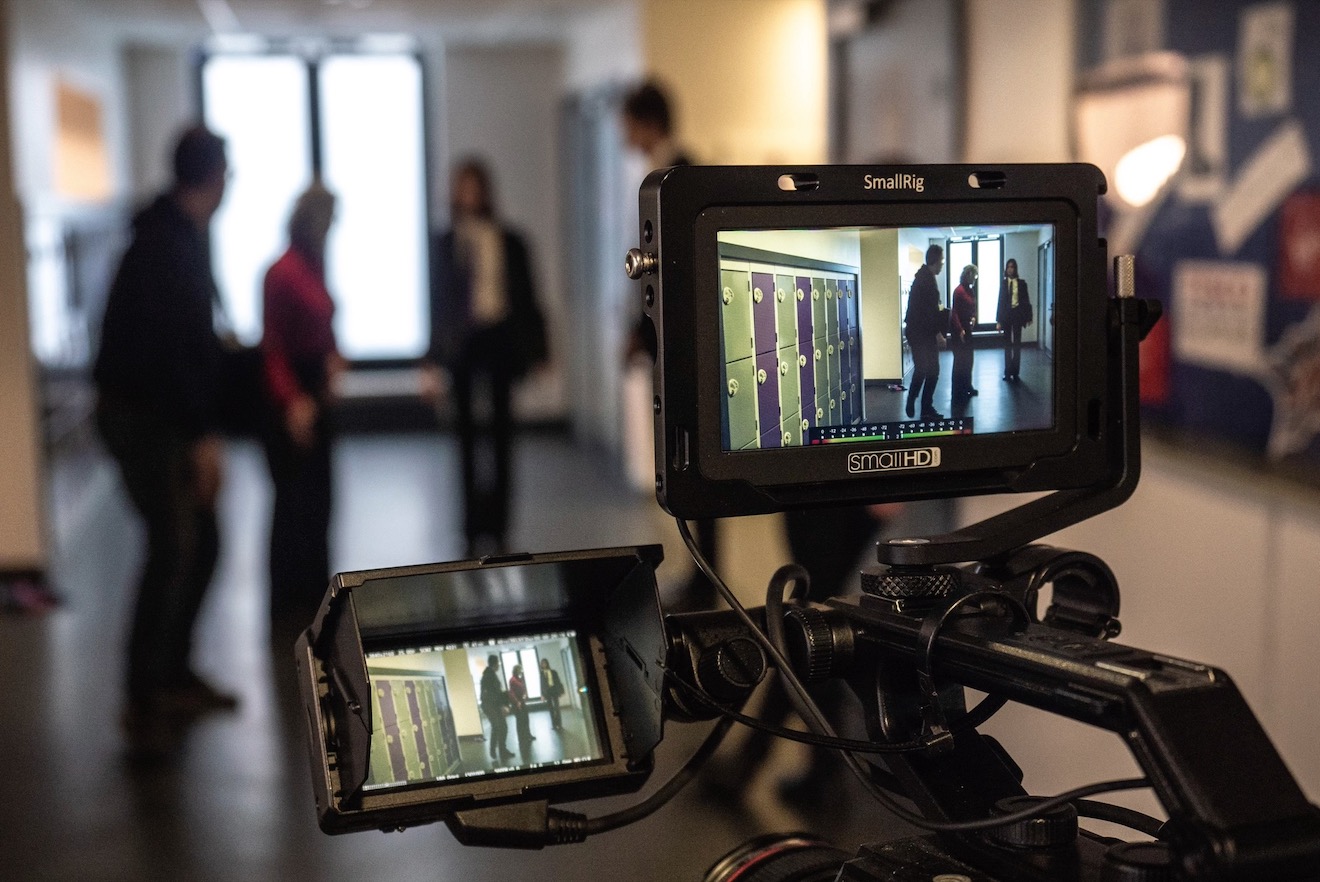
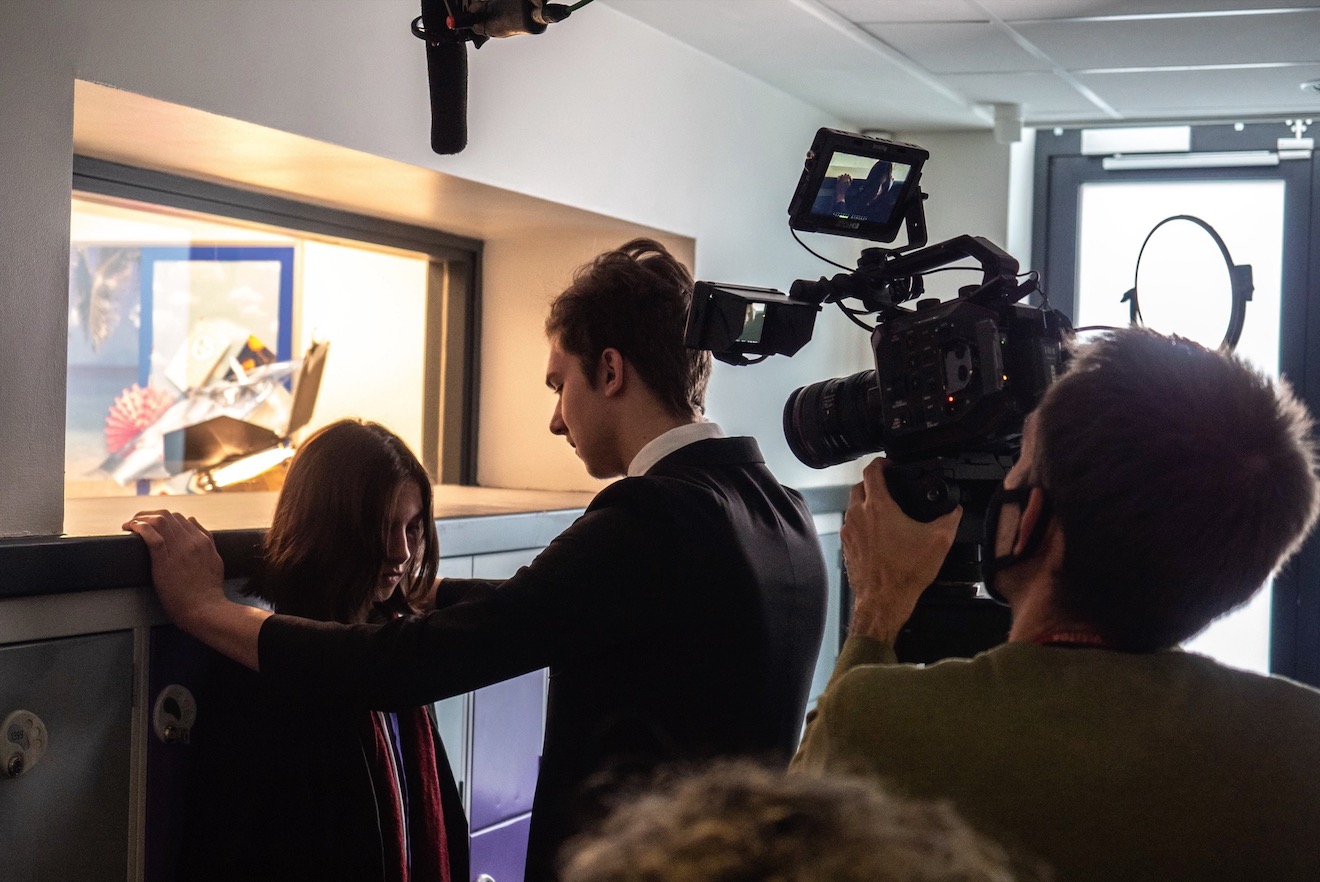
Blocking is usually the biggest barrier to preparedness. Most films have no rehearsals before the shoot begins, so you can never quite know where the actors will feel it is best to stand until they arrive on set on the day. So a lighting plan must be more about lighting the space than anything else, just trying to make sure there are sources in roughly the right places to cover any likely actor positions suggested by the script, director or layout of the set.
Whether a detailed lighting plan needs to be drawn up or not depends on the size and complexity of the set-up, but also how confident you feel that the gaffer understands exactly what you want. I often find that a few recces and conversations along with some brief written notes are enough, but the more money that’s being spent, the more crucial it is to leave no room for misunderstandings.
Again, Shot Designer is a popular solution for creating lighting plans, but some DPs use less specialised apps like Notability, and there’s nothing wrong with good old pencil and paper.
Overall, the best approach is to have a good plan, but to keep your eyes and mind open to better ideas on the day.
For more about apps that DPs can use to help them prep and shoot, see my article “Tools of the Trade” on britishcinematographer.co.uk.