“The Little Mermaid”: Prep Diary Part 1

I’ll soon be starting five weeks of prep for a feature, and it’s got me thinking about the five weeks I spent in the spring of 2016 prepping The Little Mermaid. I published a number of entries from my production diary when the film was released, but the entries from pre-production have gone unseen… until now…


JANuary 12th, 2016

It is four or five months since Chris, the director, first mentioned the project to me. In that time he has been developing the script with the writer and producers, and I’ve read a draft or two. Last week I was introduced to the producers by email, and today Chris and I get together to start chatting about the film.

It’s just broad strokes today, nothing structured, nothing firm. He talks me through the next round of script changes and we watch some bits of DVDs I’ve brought. I’m not thinking photographically yet, just tone and genre, so we watch parts of The Rocketeer and Big Fish. I start to get some basic ideas of what Chris does and doesn’t like.
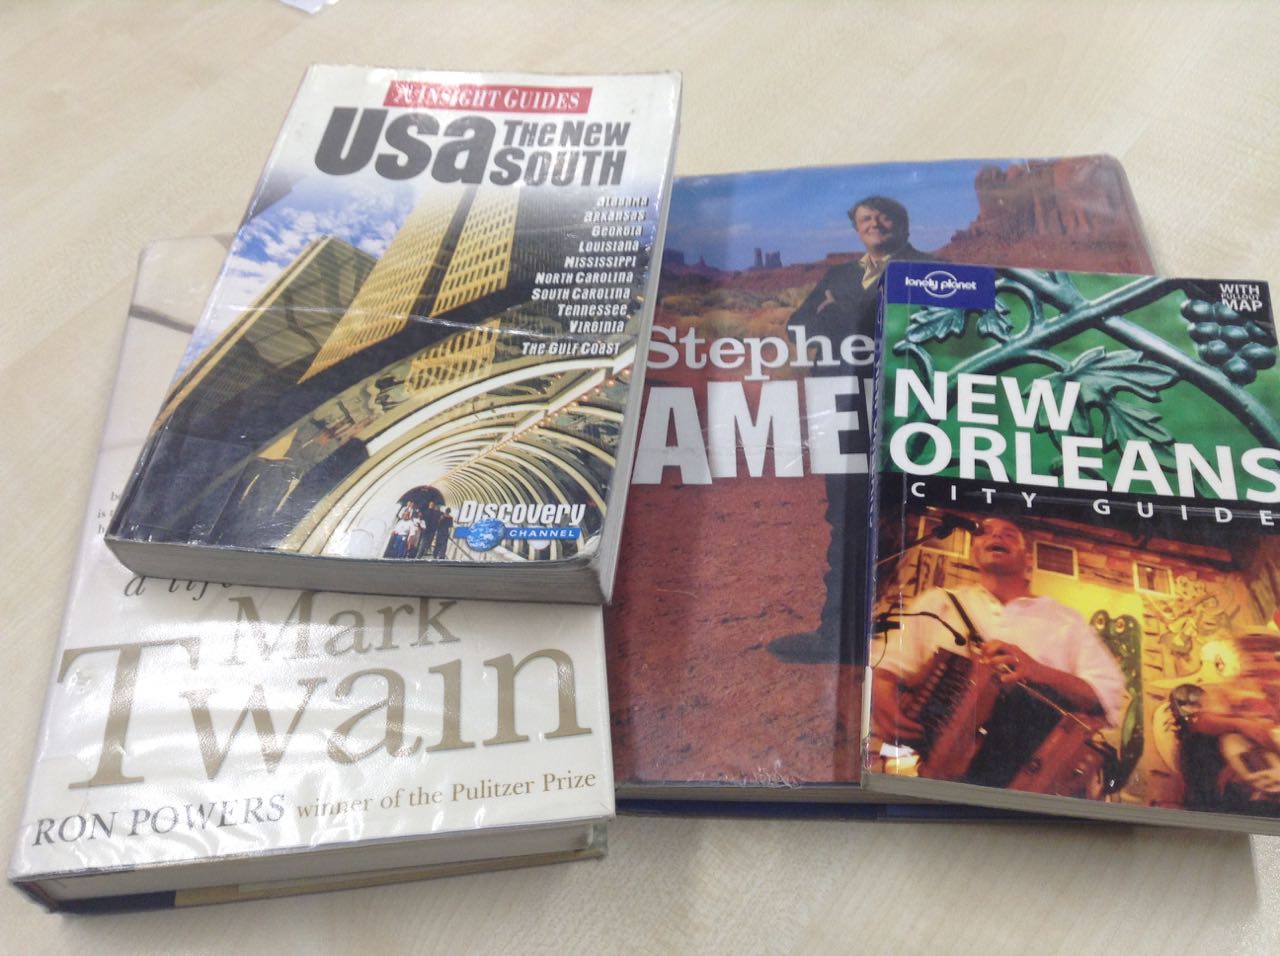
Yesterday I went to the library to get my head around the geography of the state our story is set in, and bit of the history and culture. I found a book called Photographing America and it has some interesting plates from the Deep South in the 30s and 40s. They set the stage for me in terms of architecture, landscape and clothing, but their gritty black and white photography is not appropriate for this film.

Chris and I Skype Fabio, the line producer, and later have a brief conference call with producers Armando and Rob. At this stage it is just about introductions. Chris enthuses about me to them, and curates some stills from Ren: The Girl with the Mark to wow them with. Armando responds positively – it’s just the look he’s after for this. Well, this is the second feature job Ren’s got me. Cheers, Kate!


Week 1

Since that day in London with Chris, I’ve done bits and pieces of prep around finishing up post on Ren. The script went through a few more drafts, I joined in a few conference calls with members of the team, and started a shot list.

But on March 5th I fly into Savannah, Georgia and I’m straight into full-time prep, living and breathing A Little Mermaid.

On Sunday I wake early, my body still five hours ahead of US East Coast Time. After talking to Chris, who’s still in the UK due to visa delays, I take a ten-minute walk through the sunny streets of Savannah to meet David, the storyboard artist. We eat blueberry pancakes with maple syrup and he shows me his boards for the movie’s finale. Chris Skypes in and we discuss the priorities. We need about 15 more sequences boarded – at least key frames – ASAP so that production designer Jay can be sure to accommodate our needs in the sets he is already starting to build.

At noon I head over to an apartment complex where Jay and line producer Fabio are staying. This place has a pool so I’m getting myself moved here as soon as I can. We spend seven or eight hours, with Chris on Skype, going through the schedule line by line, making sure everything is doable and everything is in the most efficient order.

Poppy Drayton is playing our mermaid. Back at the apartment I watch a trailer for The Shannara Chronicles and screen-capture all her close-ups. I analyse the lighting in each one, labelling them accordingly in a folder. Her time on this production is limited so I probably won’t get to camera-test her; I need to figure out how to light her based on what other DPs have done.

Monday is my first day at the warehouse. It’s an old supermarket that’s been gutted. There are four or five small offices and then a huge open space, part of which is occupied by the bones of the “rocky pool” set.

The week soon settles into a blur of video calls with Chris, interviews with potential camera assistants and gaffers, and lots of discussions about sets and locations. It’s really exciting to be shown around the space by Jay as he describes all the sets he’s going to build. For some scenes there is a lot of back and forth about whether they should be studio or location. We are working with a child actress and Chris is very keen to get the best performances, so the level of control we could get in the studio is very appealing, but that must be balanced against our art department budget.

I’m assigned an office that’s just 6ft square but is very cool because it has a sort of camera obscura in the door so I can see a little projection of what’s outside. Of course the door doesn’t really close properly (particularly once I’ve run an extension cable in to compensate for the lack of functioning power sockets in the room) but never mind. By mid-week I have a monitor to hook my Mac Mini up to and I’m properly in business.

I task the PAs with printing out the script and taping it in a long line of pages along a wall along with the corresponding storyboards. Eventually we will add reference images and concept art, if I can ever get access to a functioning colour printer!

A little bit of location scouting takes place during the week. We check out a nice rustic field behind the studio where we’ll set up our circus, we visit a fort in the hope that it might work for a scene near the finale (it doesn’t) and I take a look around the beach house we’ll be shooting the film’s present-day book-ends in on March 20th and 21st. (Principal photography starts April 11th.)

Another issue to be decided is which camera to shoot on. Initially we discussed having lots of cameras, which meant going with Reds for budgetary reasons. The Panasonic Varicam is suggested, and I’m almost flown to Atlanta to test it, but in the end we decide to go with Alexas, thank God. (With hindsight, I really should have gone and tested that Varicam. I was irrationally against all non-Alexa cameras at this time.) We’ll have two bodies, one for me and one for a B camera operator who will sometimes splinter off into a 2nd unit. The glass will be Cooke S4s with a half Soft FX filter, the exact same recipe as Heretiks. I know this will give me the organic, period feel that A Little Mermaid needs, as well as the magical quality. We’ll also have a couple of Optimo zooms in the kit, a luxury we couldn’t afford on Heretiks.

By the end of the week I’ve pretty much locked down the camera kit, finished the shot list for the whole movie, and hired 1st and 2nd ACs and a 2nd Unit DP. We still don’t have a gaffer, which is worrying. The crew pool in Savannah is not huge and we’re struggling to find people with enough experience.

On Saturday, aside from a couple of hours in the studio, I chill out. I’ve now moved to the same apartment complex as the rest of the crew, and I’ve just had a very nice dip in the pool. I think I might just have the best job in the world.


Week 2

At the end of this week we have our two-day “pre-shoot” with Shirley MacLaine, to capture the contemporary bookends to what is otherwise a 1930s story. Peter Falk’s scenes in The Princess Bride are an inevitable reference for these.

Director Chris is still having visa issues, so writer Blake will be on helming duty for the pre-shoot. He gives me Maggie Smith’s storytelling scene in Hook as a reference. I haven’t seen the movie in ages, so I rent it and watch the whole thing, delighting in the beautiful cinematography. I love the candy blues and hot pinks of Wendy’s London home, and will aim to emulate them.

A lot of this week is taken up with locking down equipment and personnel for the pre-shoot. The biggest issue as the week opens is that I still don’t have a gaffer. With my options limited – and despite a brief panic during which flying my UK gaffer out here seems like a very real possibility – I pick someone on a trial basis. If they do a good job for the pre-shoot they’ll get hired for principal.

Because the gaffer is hired so late, putting together a lighting list is my responsibility. I hate doing this, because I always forget stuff and piss everyone off at the last minute by making additions or changes. Like forgetting to check whether the HMIs are pars or fresnels. (I always want fresnels because they produce better shafts of light.)

With equipment and crew in place, my attention turns towards principal for a little while. The VFX supervisor, Rich, has flown in from LA, and together we scout some locations. Unfortunately none of the locations are locked yet and the options we are given to look at are far from ideal. But we have a good session going through the shot list together, checking that there aren’t any VFX requirements that he missed in his breakdown.

We also discuss shooting format, which is generally going to be 2K ProRes 4444. He wants me to shoot green-screen shots in Arri Raw, but after he’s gone I realise that we don’t have the right Codex on our cameras for that. 3.2K ProRes will have to do. Another good tip Rich gave me is to expose the green-screen at key (i.e. the same light reading on the green-screen as on the talent’s face) or up to half a stop over.

I’m glad I invested in a light meter, which arrived at the studio this week. It also comes in handy during another scout of the pre-shoot location. We have some night shots on the beach, which will have to be shot at dusk because it’s too big an area to light artificially. During the scout I take light readings on the beach at dusk, and determine that we have until 7:50pm, 20 minutes after sunset, before it is too dark to shoot.

If you want to follow the chronology, my diary entries about the “pre-shoot” are here.

Tune in next week for my diary entries from the remaining three weeks of prep. The Little Mermaid is still on Netflix if you fancy checking it out.
“The Little Mermaid”: Prep Diary Part 1

What is Negative Fill and How Do You Use It?

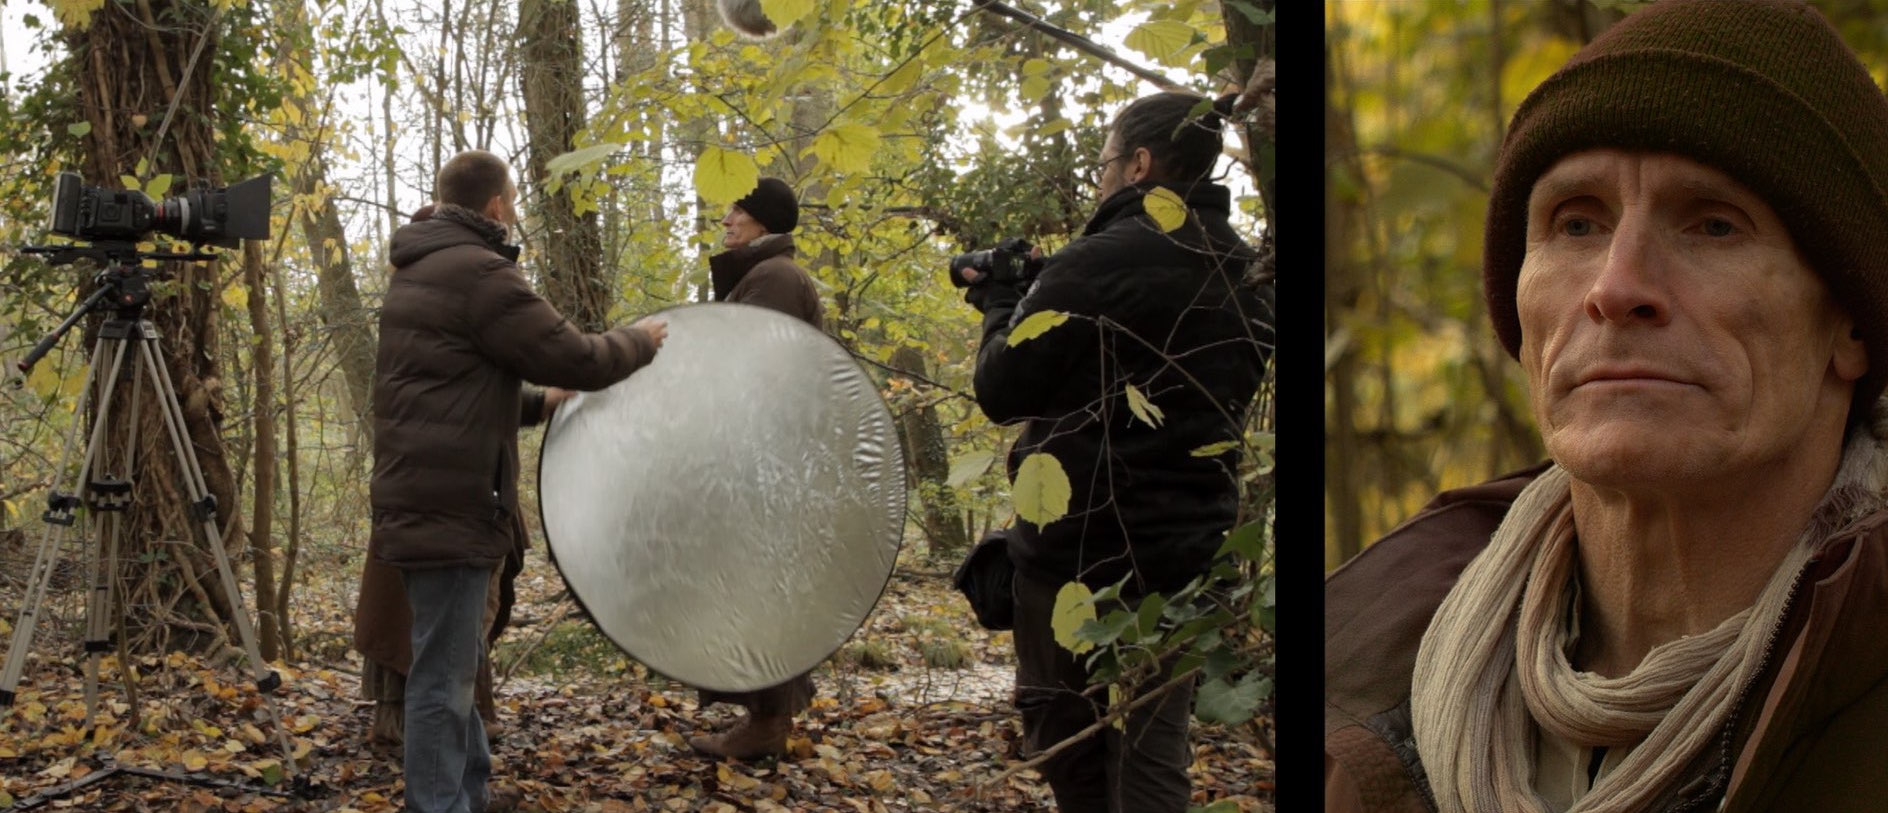
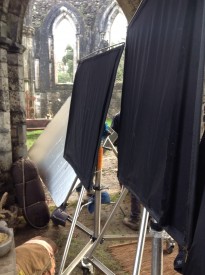
The 4×4 flags and matt silver bounce board used to shape the “Heretiks” shot later in the article.

If you’ve ever learnt anything about lighting, you’ll have heard of the Three Point System: key, backlight and fill. That last one is a soft light which raises the shadows and reduces contrast in the image.

As you might expect, negative fill is the exact opposite. It brings the shadows down, increasing contrast. It’s a big part of cinematography today because the dynamic range of digital cameras is so wide and their light sensitivity is so high that taking away light has become just as important as adding it.

Negative fill – neg fill or just neg for short – can be accomplished with anything black, most commonly a polystyrene board (American name: bead-board), blackout material (usually bolton in the UK or duvetyne in the US) or a flag. 5-in-1 reflectors have a black side that can be used for neg fill too. The term solids or black solids can be applied to any of these tools, indicating that they are completely opaque, as opposed to nets.

When DPs talk about neg fill you often hear the word “shape” come up in their reasoning. Neg fill is typically applied to the camera side (broad side) of the talent, allowing their other side (short side) to remain bright. This has the effect of making the face – or any other object – look more three-dimensional. Hence “shape”. (This is all part of the theory of short key lighting, which I’ve covered in detail before.)

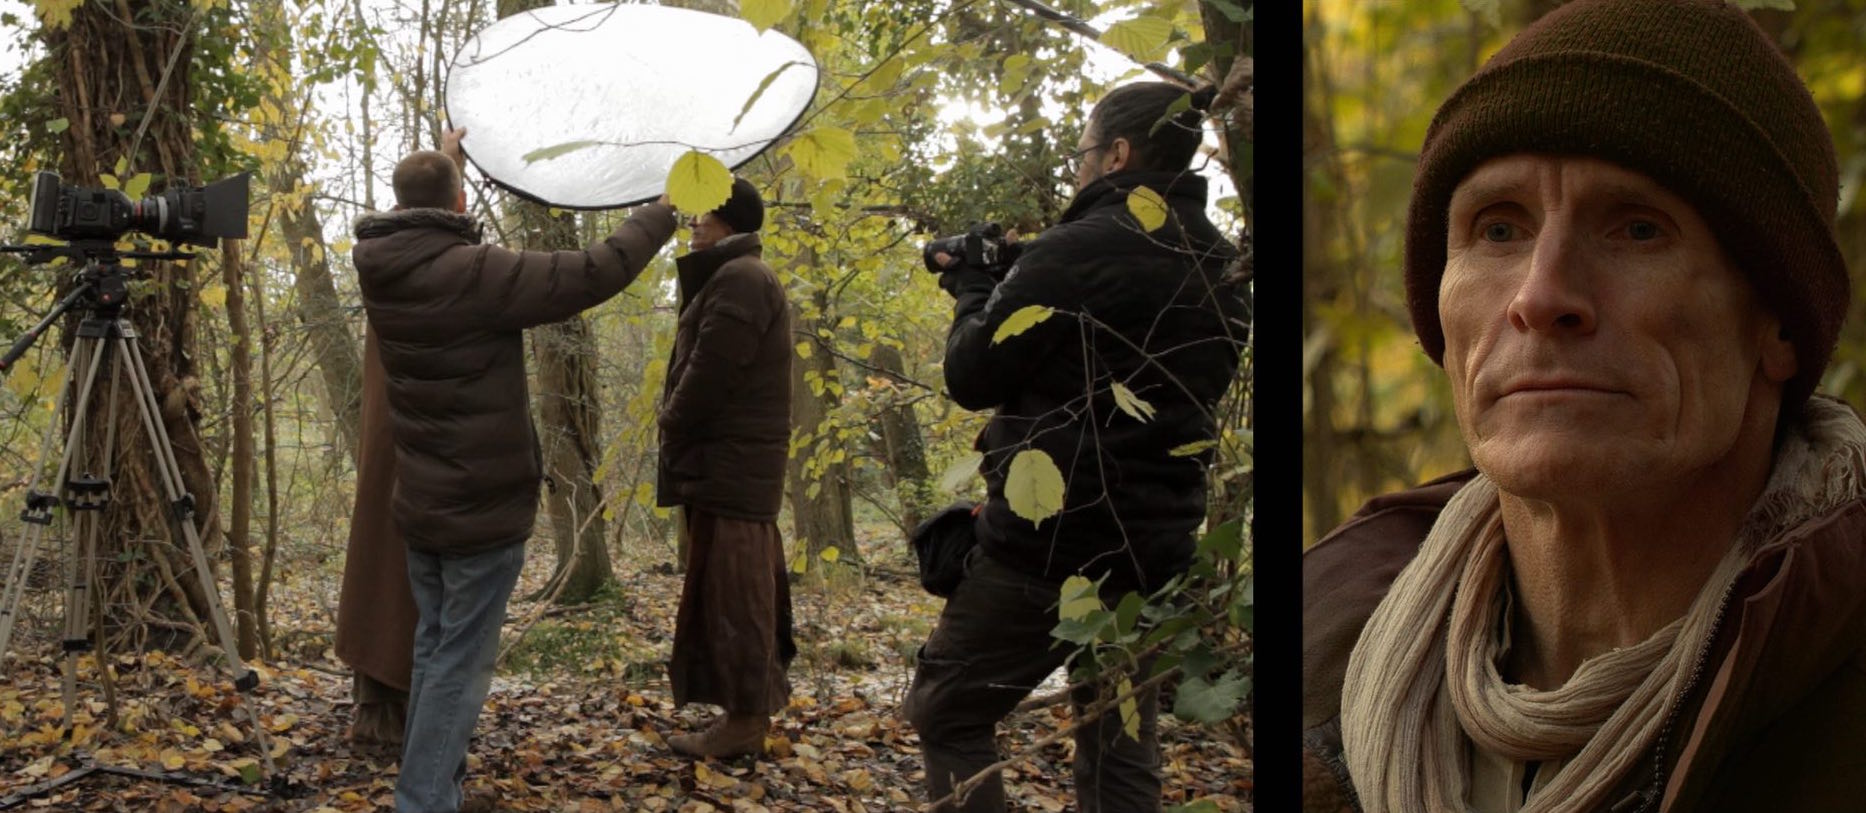
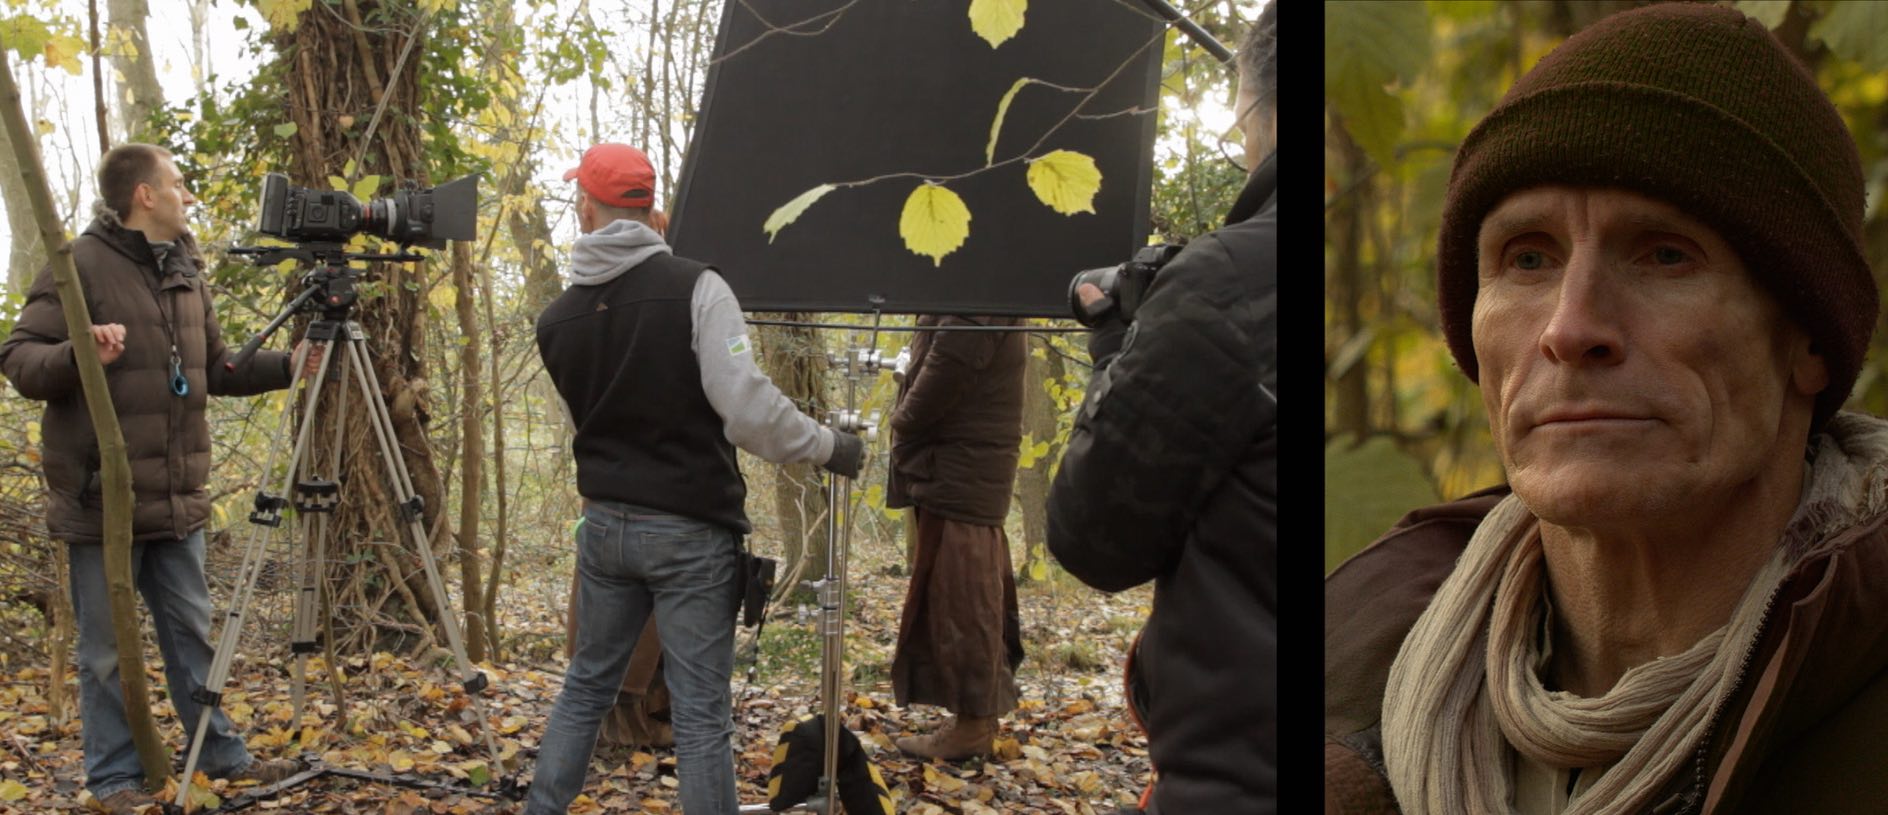
Below is an example from my online course, Cinematic Lighting. In these before and after shots, I use the black side of a 5-in-1 reflector (though you see silver facing camera) to neg-fill Ivan’s short side, adding mood and contrast.

We made it more permanent by replacing the reflector with a 4×4′ floppy flag on a C-stand.

Here’s an example from Heretiks where I chose to put a glint of light back into the darkness created by the neg fill, by using a matt silver reflector to create a rim-light. (There are many more diagrams like this on my Instagram feed.)

Neg fill is most commonly used outdoors, but it can be desirable indoors too, for example when white walls are bouncing light around everywhere. For the shot below from Exit Eve, I had the white wall behind camera covered with bolton so that the light would all be coming from behind the talent. (See my article on lighting from the back.)

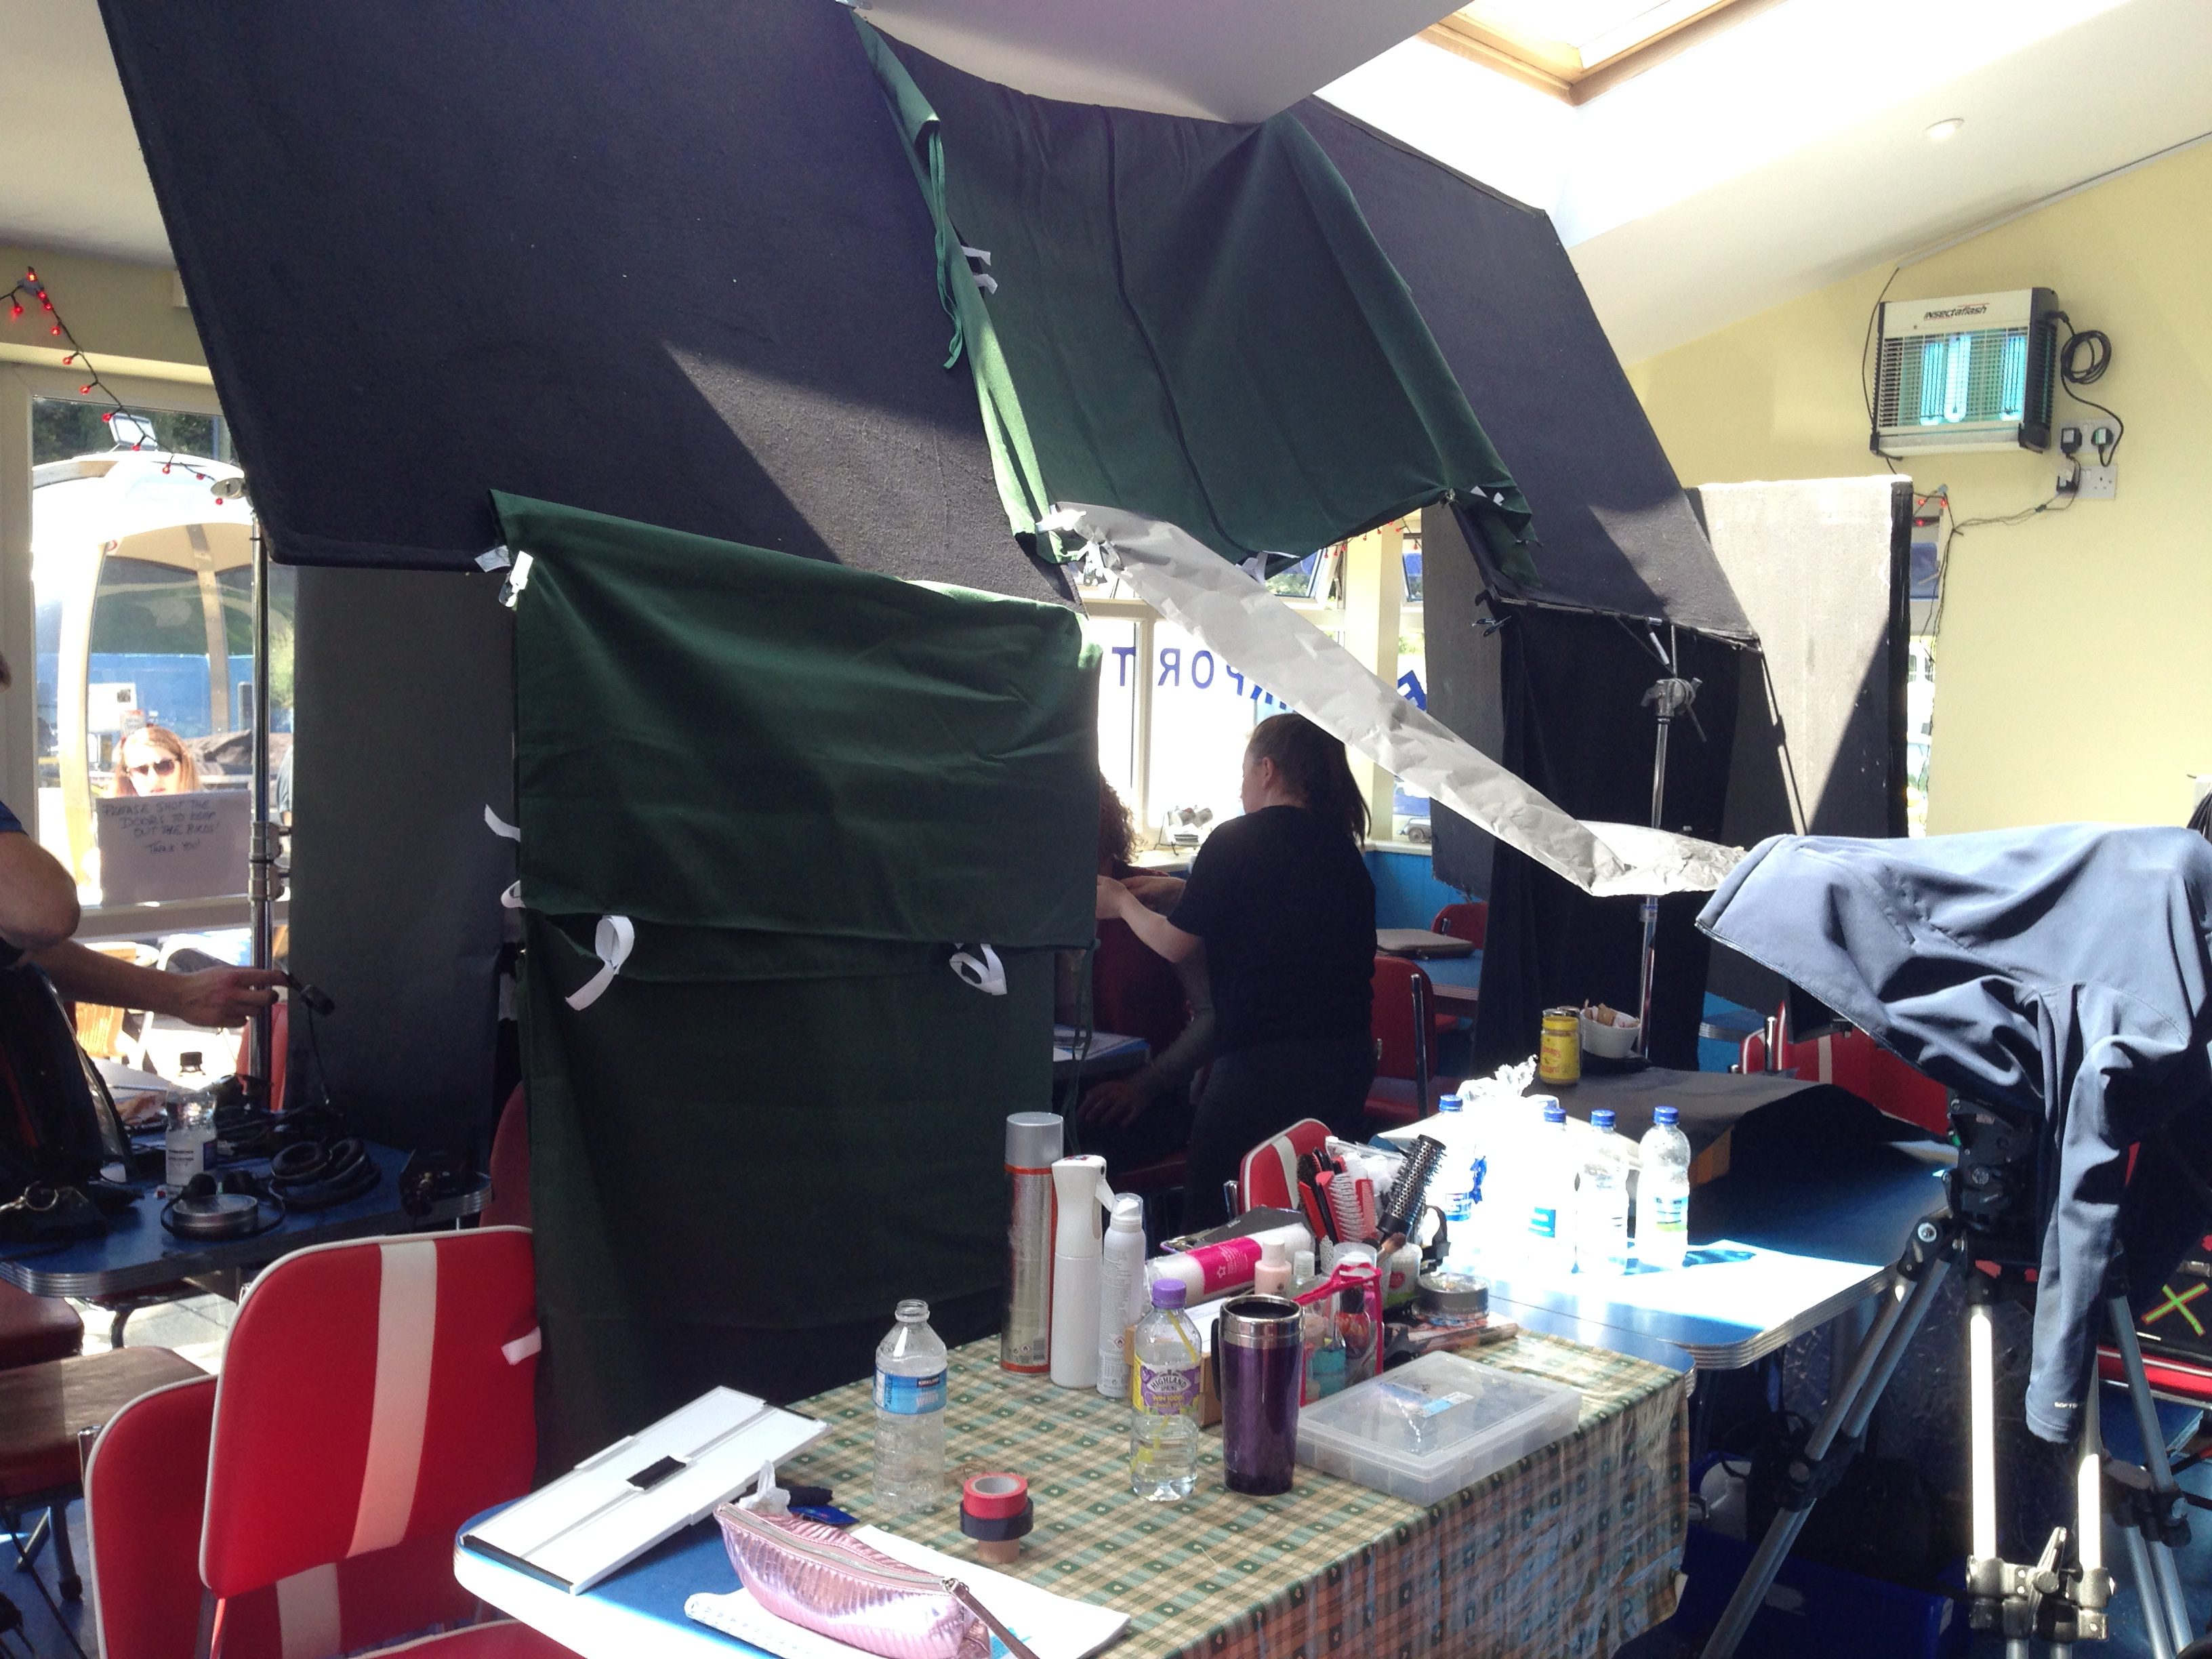
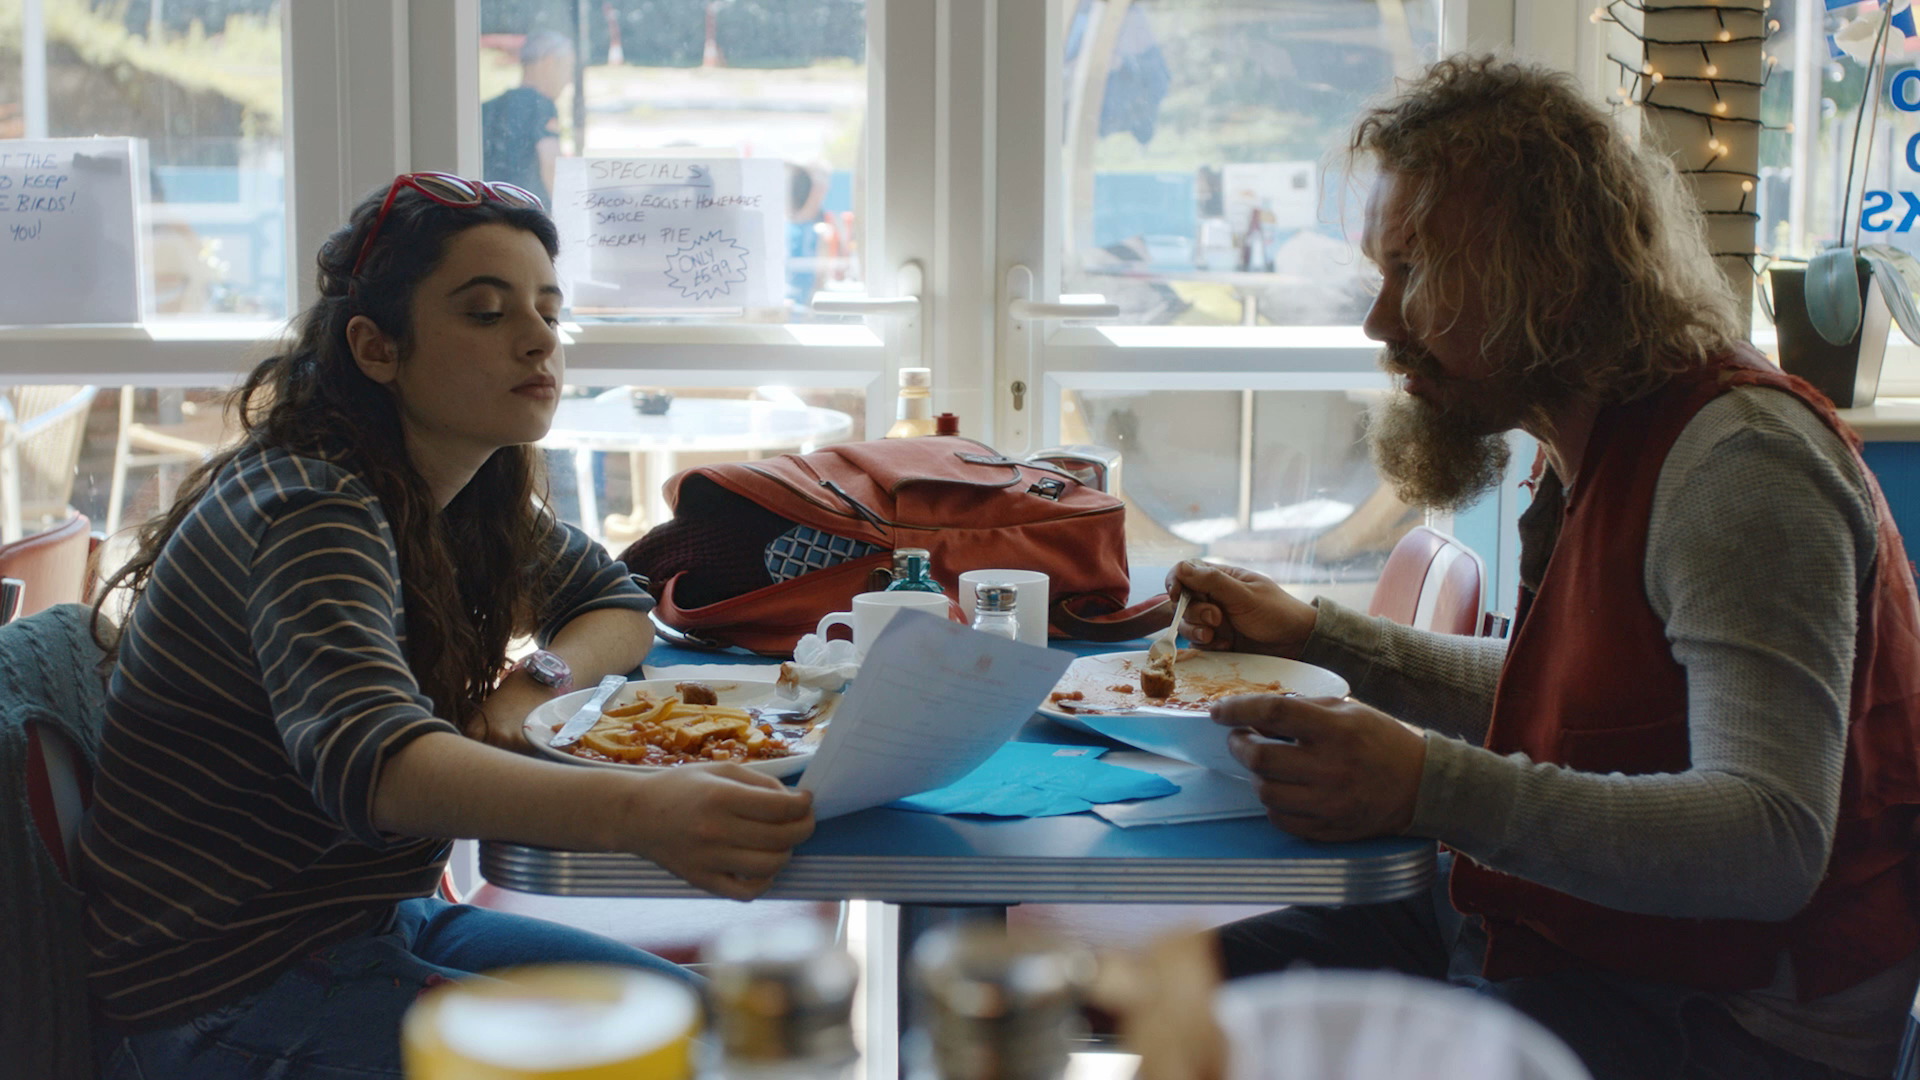
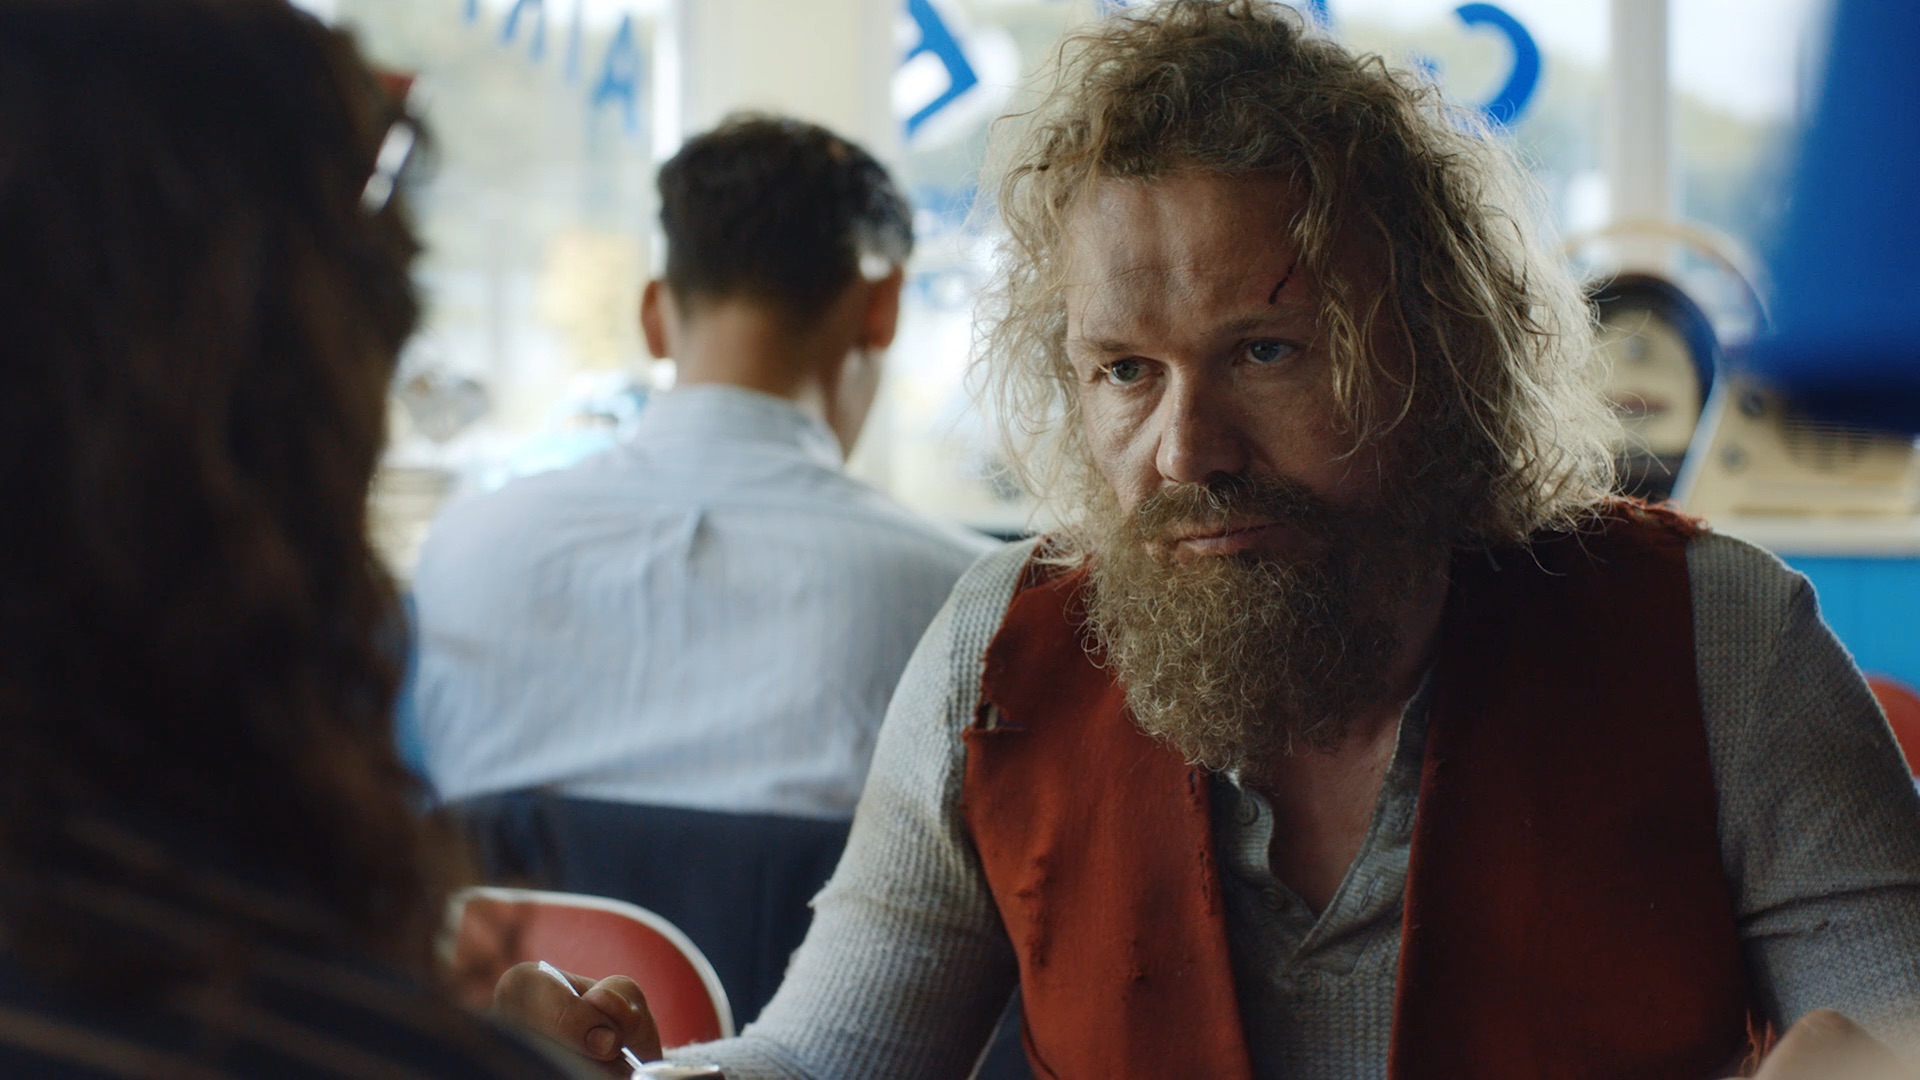
In the café scene from Above the Clouds we shot towards the windows, but there was still too much ambience (mainly from skylights in the roof) on the camera sides of the actors for my taste. We only had a limited supply of flags, so we pressed the sides of the Easy-Up tent into service too!

I’ll leave you with this extreme example of negative fill from Instagram.


View this post on Instagram


A post shared by Shane Ellis (@gameoverman47)

What is Negative Fill and How Do You Use It?

A Cinematographer’s Guide to Looking Good on a Webcam

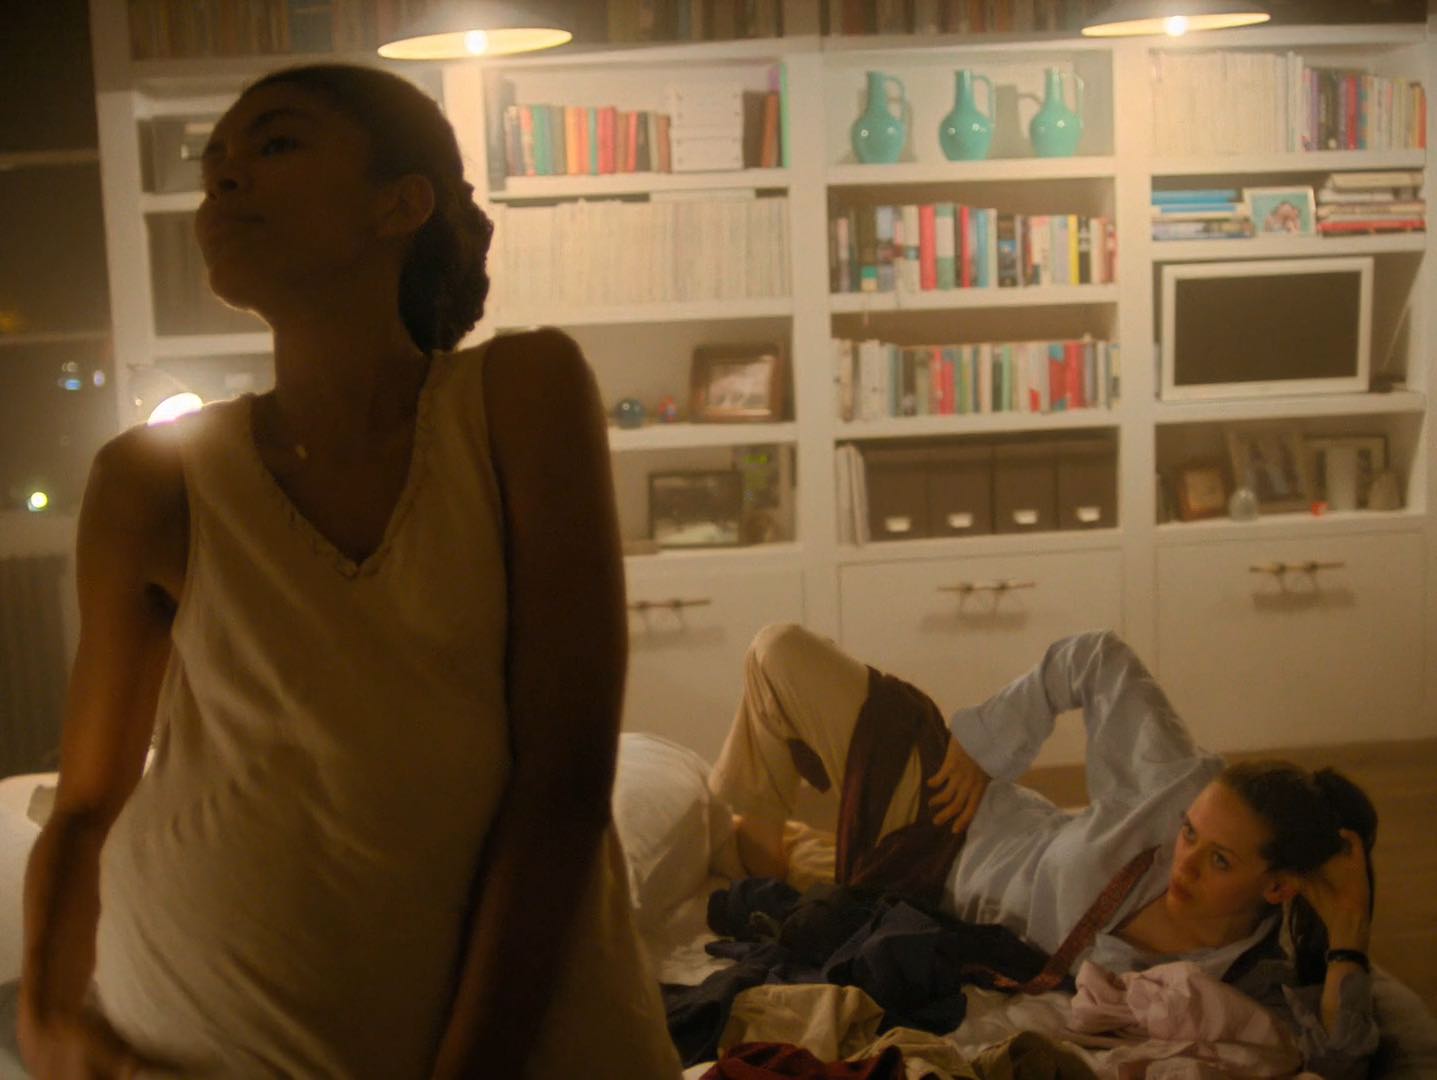
This night shot is lit by a desk-lamp bounced off the wall behind and to the left of camera, plus the monitor light and the Christmas lights you can see at frame left. The background is lit by a reading lamp bounced off the ceiling (just out of frame right) and more Christmas lights.

It may be the beginning of the end for Covid-19, but it doesn’t look like home working and video calls are going away any time soon. We’re very lucky that we have such technology in the midst of a global pandemic, but let’s be honest: webcams don’t always make us look our best. Having lit and photographed movies for 20 years, I’d like to share a few tips to improve your image on Zoom, WhatsApp, Google Meet or whatever your video call software of choice is.

Firstly, low camera angles are not flattering to many people. Wherever possible, set up your webcam so that it’s at eye-level or a little above. If you’re using a laptop, this might mean stacking a few books under the device. Consider investing in a laptop stand that will raise the monitor and camera up if you’re going to be doing this a lot.

Avoid placing the camera too close yourself. A medium close-up works best for most video calls, head and shoulders at the closest, or down to your waist if you like to gesticulate a lot. Follow the classic rules of composition and make the most of your camera’s resolution by framing your head near the top of the shot, rather than leaving a lot of empty headroom above yourself.

It’s important to be aware of automatic exposure if you want to look your best on a webcam. Your camera and/or software continually assess the average luminance in the frame and alter the shutter speed or electronic gain to achieve what they think is the correct exposure. Since webcams have very poor dynamic range – they can’t handle a great deal of contrast within the frame – you should think carefully about what elements in your shot could sway the auto-exposure.

For example, a bright white wall, window or table lamp in the background will cause the camera to reduce its exposure, darkening the overall image and perhaps turning you into a silhouette. Even the colour of top you’re wearing can be a factor. If you have a pale skin tone and you’re wearing a black top – prompting the camera to increase its exposure – you might well find that your face bleaches out.

The black hoodie causes the automatic exposure to rise, bleaching out my face.
The lighter tone of this t-shirt enables the automatic exposure to produce a balanced image.

This brings us to lighting. Most of us are used to lighting our homes and workspaces so that we can see what we’re doing comfortably, rather than worrying about how the light is falling on our own faces.

The clearest and most flattering type of lighting is generally a large, soft source roughly in front of and slightly above us, so if possible position your computer or webcam in front of a window. If direct sunlight comes in through this window, that is less ideal; try to cut it off with your curtains. The indirect light of sky and clouds is much softer and less likely to confuse the auto-exposure.

If you have little or no natural light to work with, the main source of light on your face might well be the monitor you’re looking at. In this case, what you have on your screen can make a huge difference. A blank white Word document is going to light you much more effectively than a paused Netflix frame from a horror movie.

Monitor light can leave you looking blue and ghostly, so consider placing a strategic window of pale orange colour on your virtual desktop to warm up your skin tone. Try adjusting the monitor’s brightness or switching to a darker desktop theme if your monitor is bleaching your face out completely.

Of course, your screen is not just a light source. You need to be able to use it for actually viewing things too, so a better solution is not to rely on it for light. Instead, create another soft source in front of and slightly above you by pointing a desk-lamp at the wall above your monitor. (If the wall is a dark or saturated colour, pin up something white to reflect the light.) The larger the patch of wall the lamp illuminates, the more softly your face will be lit.

You may find that your background now looks very dim, because little of the light from your monitor – or bouncing off the wall behind your monitor – is reaching it. Worse still, the auto-exposure might react to this dim background by over-exposing your face. In this case, use a second lamp to illuminate the background.

Often the room’s main ceiling light will do the job here, though it will likely result in an image that has an overall flat look to it. That might be just what you need for a professional video call, but if not, feel free to get creative with your background. Use table lamps to pick out certain areas, string up fairy lights, or whatever you feel best reflects your personality and profession.

The main thing is to get your “key light” right first – that’s the soft source in front of you that keeps you lit nicely. Everything after that is just icing on the cake.

This moodier shot has the much the same set-up as the image at the top of this post, but with a brighter light in the background and a dimmer light in the foreground.
A Cinematographer’s Guide to Looking Good on a Webcam

“A Cliché for the End of the World”

Photo: Catherine Ashenden

In August 2019 Jonnie Howard, director of The Knowledge, approached me about shooting an unusual short film with him. A Cliché for the End of the World is only two minutes long, but Jonnie wanted to shoot it as two unbroken takes which would be presented side by side. Each take would follow one character, starting and ending with them next to each other, but separating in the middle.

My first thought was that the two takes would have to be shot concurrently, but to squeeze two cameras into the small location and keep each out of the other’s frame would have been impossible. Instead, we settled on shooting with a single camera. After capturing 18 takes of the first side, Jonnie reviewed the footage with his editor Kat and selected one to use. We then shot the other side, with Kat calling out cues that would keep the actors in sync with the selected “master” take. (It took 18 takes to get this side in the can as well, partly because of getting the cues right and partly because of the difficulties Steadicam op Luke Oliver had in manoeuvring up the narrow staircase.)

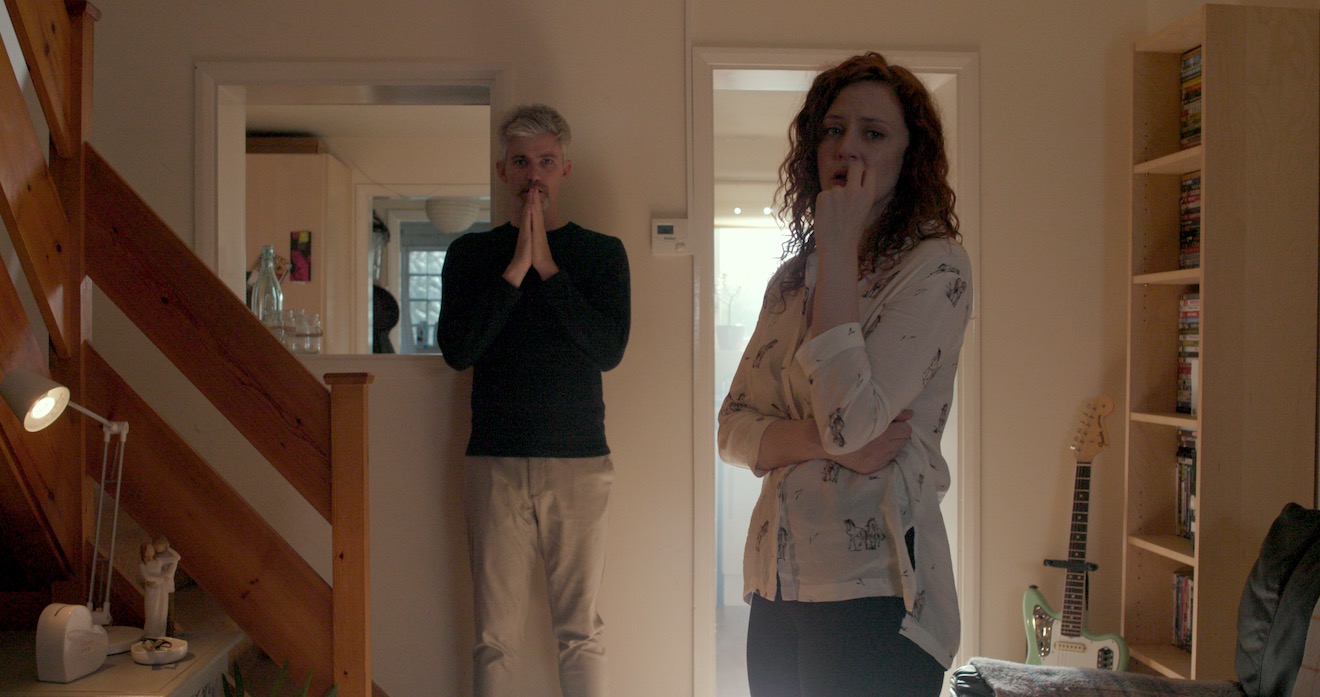
The film had to be lit in a way that worked for both sides, with the camera starting in the living room looking towards the kitchen, moving up the stairs, through the landing and into the bedroom.

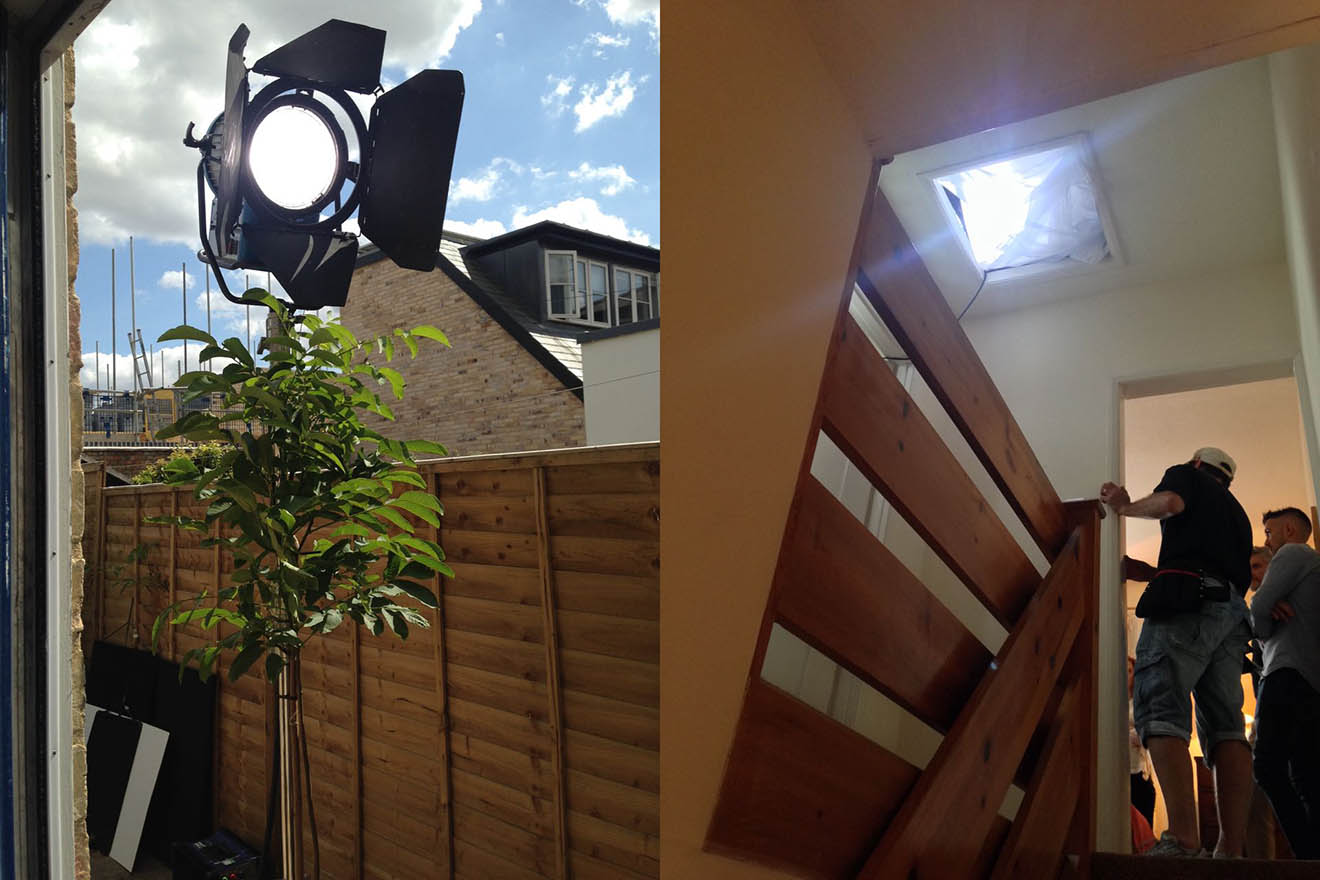
The HMI skips off the floor (left); Jeremy creates the dynamic look of TV light (right)

Working as usual to the general principle of lighting from the back, I set up a 2.5K HMI outside the kitchen window to punch a shaft of sunlight into the room. I angled this steeply so that it would not reach the actors directly, but instead bounce off the floor and light them indirectly. (See my article on lighting through windows.)

Gaffer Jeremy Dawson blacked out the living room windows to keep the foreground dark. He used an LED panel set to 6,600K (versus our camera’s white balance of 5,600K) to simulate an off-screen TV, waving a piece of black wrap in front of it to create dynamics.

The HMI outside (left); the diffused Dedo in the loft (right)

Next we needed to bring up the light levels for the actor’s journey up the stairs, which were naturally darker. Jeremy and spark Gareth Neal opened the loft hatch on the landing and rigged an LED Dedo inside, aimed at the darkest part of the staircase. They diffused this with some kind of net curtain I think.

To brighten the landing we set up a diffused 2×4 Kino Flo in the spare room and partially closed the door to give the light some shape. Both this and the loft Dedo were a couple of stops under key so as not to look too artificial.

Luke Oliver balances Jonnie’s C200 on his Steadicam rig.

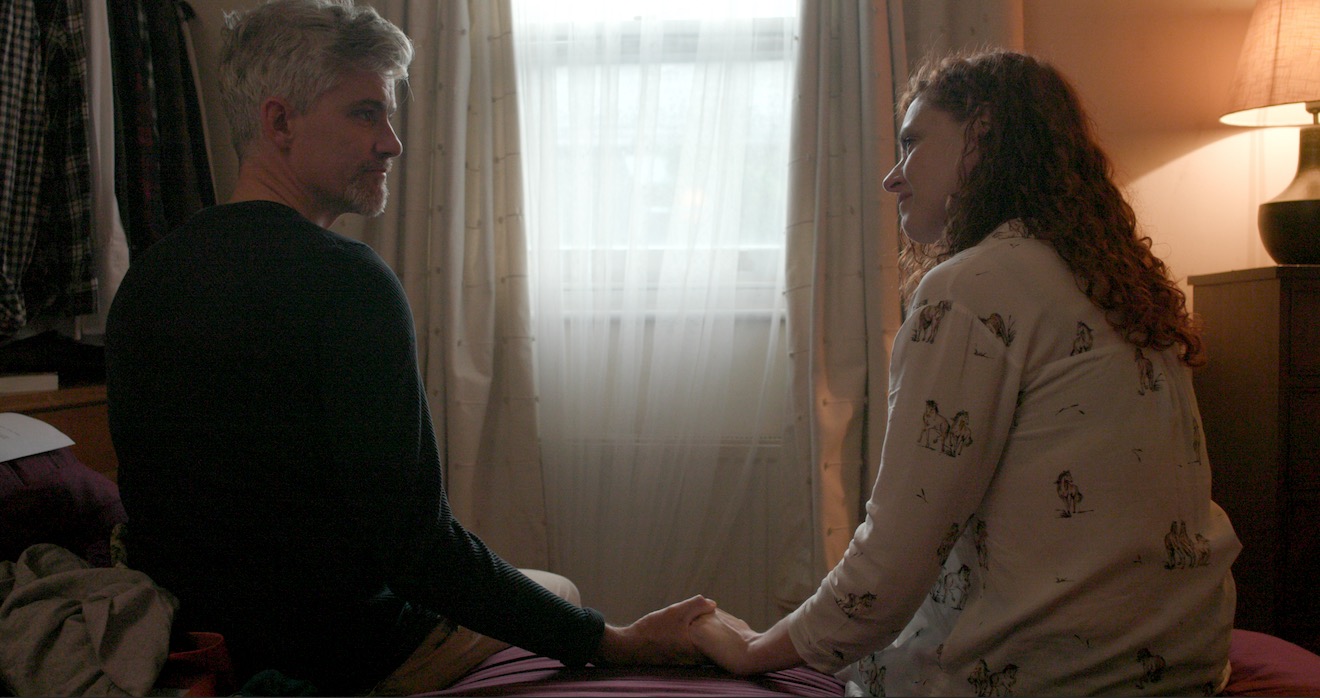
All that remained was the bedroom. The characters were to end up sitting on the bed facing the window. Originally the camera in both takes was to finish facing them, with the window behind it, but this would have meant shadowing the actors, not to mention that space between the bed and the window was very limited. After some discussion between me, Jonnie, Luke, the cast, and production designer Amanda Stekly, we ended up moving the bed so that the camera could shoot the actors from behind, looking towards the window. This of course made for much more interesting and dimensional lighting.

The window looked out onto the street, and with a narrow pavement and no permission from the council, rigging a light outside was out of the question. Furthermore, we knew that the sun was going to shine right into that window later in the day, seriously messing with our continuity. Unfortunately all we could do was ask Amanda to dress in a net curtain. This took the worst of the harshness out of any direct sun and hopefully disguised the natural changes in light throughout the day at least a little.

When the sun did blast in through the window at about 6pm, we added a layer of unbleached muslin behind the net curtain to soften it further. We doubled this as the angle of the sun got more straight-on, then removed it entirely when the sun vanished behind the rooftops opposite at 7pm. About 20 minutes later we rigged a daylight LED panel in the room, bouncing off the ceiling, as a fill to counteract the diminishing natural light. We wrapped just as it was becoming impossible to match to earlier takes.

We were shooting in RAW on a Canon C200, which should give some grading latitude to help match takes from different times of day. The split-screen nature of the film means that the match needs to be very close though!

As I write this, the film is still in postproduction, and I very much look forward to seeing how it comes out. I’ll leave you with the start and end frames from slate 2, take 17, with a very quick and dirty grade.
“A Cliché for the End of the World”

The Hardest Shot I’ve Ever Done

It is night. We Steadicam into a moonlit bedroom, drifting across a window – where a raven is visible on the outside ledge, tapping at the glass with its beak – and land on a sleeping couple. The woman, Annabel, wakes up and goes to the window, causing the bird to flee. Crossing over to her far shoulder, we rest on Annabel’s reflection for a moment, before racking focus to another woman outside, maybe 200ft away, running towards a cliff. All in one shot.
Such was the action required in a scene from Annabel Lee, the most ambitious short I’ve ever been involved with. Based on Edgar Allen Poe’s poem, the film was the brainchild of actor Angel Parker, who plays the titular character. It was directed by Amy Coop, who had already to decided to shoot on an Alexa Mini with Cooke Anamorphics before I was even hired.

Working with animals has its own difficulties, but for me as director of photography the challenges of this particular shot were:

  1. Making the bedroom appear moonlit by the single window, without any lamps being visible at any point in the Steadicam move.
  2. Lighting the view outside.
  3. Ensuring the live raven read on camera even though the shot was quite wide.
  4. Making Annabel bright enough that her reflection would read, without washing out the rest of the scene.
  5. Blocking the camera in concert with Annabel’s move so that its reflection would not be seen.

I left that last one in the capable hands of Steadicam op Rupert Peddle, along with Angel and Amy. What they ended up doing was timing Angel’s move so that she would block the window from camera at the moment that the camera’s reflection would have appeared.

Meanwhile, I put my head together with gaffer Bertil Mulvad to tackle the other four challenges. We arrived at a set-up using only three lights:

  1. A LiteMat 1 above the window (indoors) which served to light Annabel and her reflection, as well as reaching to the bed.
  2. Another LED source outside the window to one side, lighting the raven.
  3. A nine-light Maxibrute on a cherry-picker, side-lighting the woman outside and the cliffs. This was gelled with CTB to match the daylight LEDs.

Unfortunately the outside LED panel backlit the window glass, which was old and kept fogging up, obscuring the raven. With hindsight that panel might have been better on the other side of the window (left rather than right, but still outside), even though it would have created some spill problems inside. (To be honest, this would have made the lighting direction more consistent with the Maxibrute “moonlight” as well. It’s so easy to see this stuff after the fact!)

Everything else worked very well, but editor Jim Page did have to cut in a close-up of the raven, without which you’d never have known it was there.

The Hardest Shot I’ve Ever Done

Exposure Part 3: Shutter

In the first two parts of this series we saw how exposure can be controlled using the lens aperture – with side effects including changes to the depth of field – and neutral density (ND) filters. Today we will look at another means of exposure control: shutter angle.


The Physical Shutters of Film Cameras

As with aperture, an understanding of what’s going on under the hood is useful, and that begins with celluloid. Let’s imagine we’re shooting on film at 24fps, the most common frame rate. The film can’t move continuously through the gate (the opening behind the lens where the focused light strikes the film) or we would end up recording just a long vertical streak of light. The film must remain stationary long enough to expose an image, before being moved on by a distance of four perforations (the standard height of a 35mm film frame) so that the next frame can be exposed. Crucially, light must not hit the film while it is being moved, or vertical streaking will occur.

Joram van Hartingsveldt, CC BY-SA 3.0

This is where the shutter comes in. The shutter is a portion of a disc that spins in front of the gate. The standard shutter angle is 180°, meaning that the shutter is a semi-circle. We always describe shutter angles by the portion of the disc which is missing, so a 270° shutter (admitting 1.5x the light of a 180° shutter) is a quarter of a circle, and a 90° shutter (admitting half the light of a 180° shutter) is three-quarters.

The shutter spins continuously at the same speed as the frame rate – so at 24fps the shutter makes 24 revolutions per second. So with a 180° shutter, each 24th of a second is divided into two halves, i.e. 48ths of a second:

  • During one 48th of a second, the missing part of the shutter is over the gate, allowing the light to pass through and the stationary film to be exposed.
  • During the other 48th of a second, the shutter blocks the gate to prevent light hitting the film as it is advanced. The shutter has a mirrored surface so that light from the lens is reflected up the viewfinder, allowing the camera operator to see what they’re shooting.


Intervals vs. Angles

If you come from a stills or ENG background, you may be more used to talking about shutter intervals rather than angles. The two things are related as follows:

Frame rate x (360 ÷ shutter angle) = shutter interval denominator

For example, 24 x (360 ÷ 180) = 48 so a film running at 24fps, shot with a 180° shutter, shows us only a 48th of a second’s worth of light on each frame. This has been the standard frame rate and shutter angle in cinema since the introduction of sound in the late 1920s. The amount of motion blur captured in a 48th of a second is the amount that we as an audience have been trained to expect from motion pictures all our lives.

A greater (larger shutter angle, longer shutter interval) or lesser (smaller shutter angle, shorter shutter interval) amount of motion blur looks unusual to us and thus can be used to creative effect. Saving Private Ryan features one of the best-known examples of a small shutter angle in its D-day landing sequence, where the lack of motion blur creates a crisp, hyper-real effect that draws you into the horror of the battle. The effect has been endlessly copied since then, to the point that it now feels almost mandatory to shoot action scenes with a small shutter angle.

Large shutter angles are less common, but the extra motion blur can imply a drugged, fatigued or dream-like state.

In today’s digital environment, only the Arri Alexa Studio has a physical shutter. In other cameras, the sensor’s photo-sites are allowed to charge with light over a certain period of time – still referred to as the shutter interval, even though no actual shutter is involved. The same principles apply and the same 180° angle of the virtual shutter is standard. The camera will allow you to select a shutter angle/interval from a number of options, and on some models like the Canon C300 there is a menu setting to switch between displaying the shutter setting as an angle or an interval.


When to Change the Shutter Angle

Sometimes it is necessary to change the shutter angle to avoid flickering. Some luminous devices, such as TV screens and monitors, or HMI lighting not set to flicker-free mode, will appear to strobe, pulse or roll on camera. This is due to them turning on and off multiple times per second, in sync with the alternating current of the mains power supply, but not necessarily in sync with the shutter. For example, if you shoot a domestic fluorescent lamp in the UK, where the mains AC cycles at 50Hz, your 1/48th (180° at 24fps) shutter will be out of sync and the lamp will appear to throb or flicker on camera. The solution is to set the shutter to 172.8° (1/50th), which is indeed what most DPs do when shooting features in the UK. Round multiples of the AC frequency like 1/100th will also work.

You may notice that I have barely mentioned exposure so far in this article. This is because, unlike stills photographers, DPs rarely use the shutter as a means of adjusting exposure. An exception is that we may increase the shutter angle when the daylight is fading, to grab an extra shot. By doubling the shutter angle from 172.8° to 345.6° we double the light admitted, i.e. we gain one stop. As long as there isn’t any fast movement, the extra motion blur is likely to go unnoticed by the audience.

One of the hallmarks of amateur cinematography is that sunny scenes have no motion blur, due to the operator (or the camera’s auto mode) decreasing the shutter interval to avoid over-exposure. It is preferable to use ND filters to cut light on bright days, as covered in part two of this series.

For the best results, the 180° (or thereabouts) shutter angle should be retained when shooting slow motion as well. If your camera displays intervals rather than angles, ideally your interval denominator should be double the frame rate. So if you want to shoot at 50fps, set the shutter interval to 1/100th. For 100fps, set the shutter to 1/200th, and so on.

If you do need to change the shutter angle for creative or technical reasons, you will usually want to compensate with the aperture. If you halve the time the shutter is open for, you must double the area of the aperture to maintain the same exposure, and vice versa. For example, if your iris was set to T4 and you change the shutter from 180° to 90° you will need to stop up to T2.8. (Refer back to my article on aperture if you need to refresh your memory about T-stops.)

In the final part of this series we’ll get to grips with ISO.

Learn more about exposure in my online course, Cinematic Lighting. Until this Thursday (19/11/20) you can get it for the special price of £15.99 by using the voucher code INSTA90.

Exposure Part 3: Shutter

The First Light a Cinematographer Should Put Up

Where do you start, as a director of photography lighting a set? What should be the first brushstroke when you’re painting with light?

I believe the answer is backlight, and I think many DPs would agree with me.

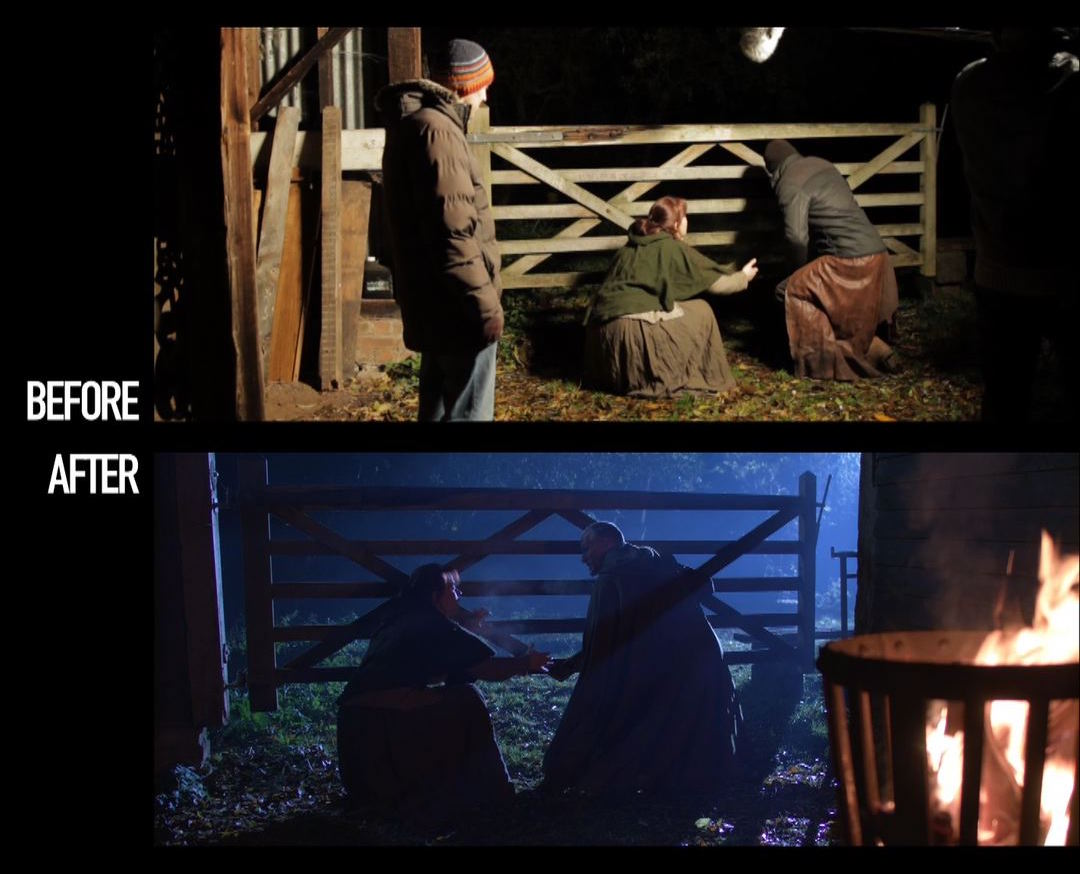
Let’s take the example of a night exterior in a historical fantasy piece, as featured in my online course, Cinematic Lighting. The main source of light in such a scene would be the moon. Where am I going to put it? At the back.

The before image is lit by an LED panel serving purely as a work-light while we rehearsed. It’s not directly above the camera, but off to the right, so the lighting isn’t completely flat, but there is very little depth in the image. Beyond the gate is a boring black void.

The after image completely transforms the viewer’s understanding of the three-dimensional space. We get the sense of a world beyond the gate, an intriguing world lighter than the foreground, with a glimpse of trees and space. Composing the brazier in the foreground has added a further plane, again increasing the three-dimensional impression.

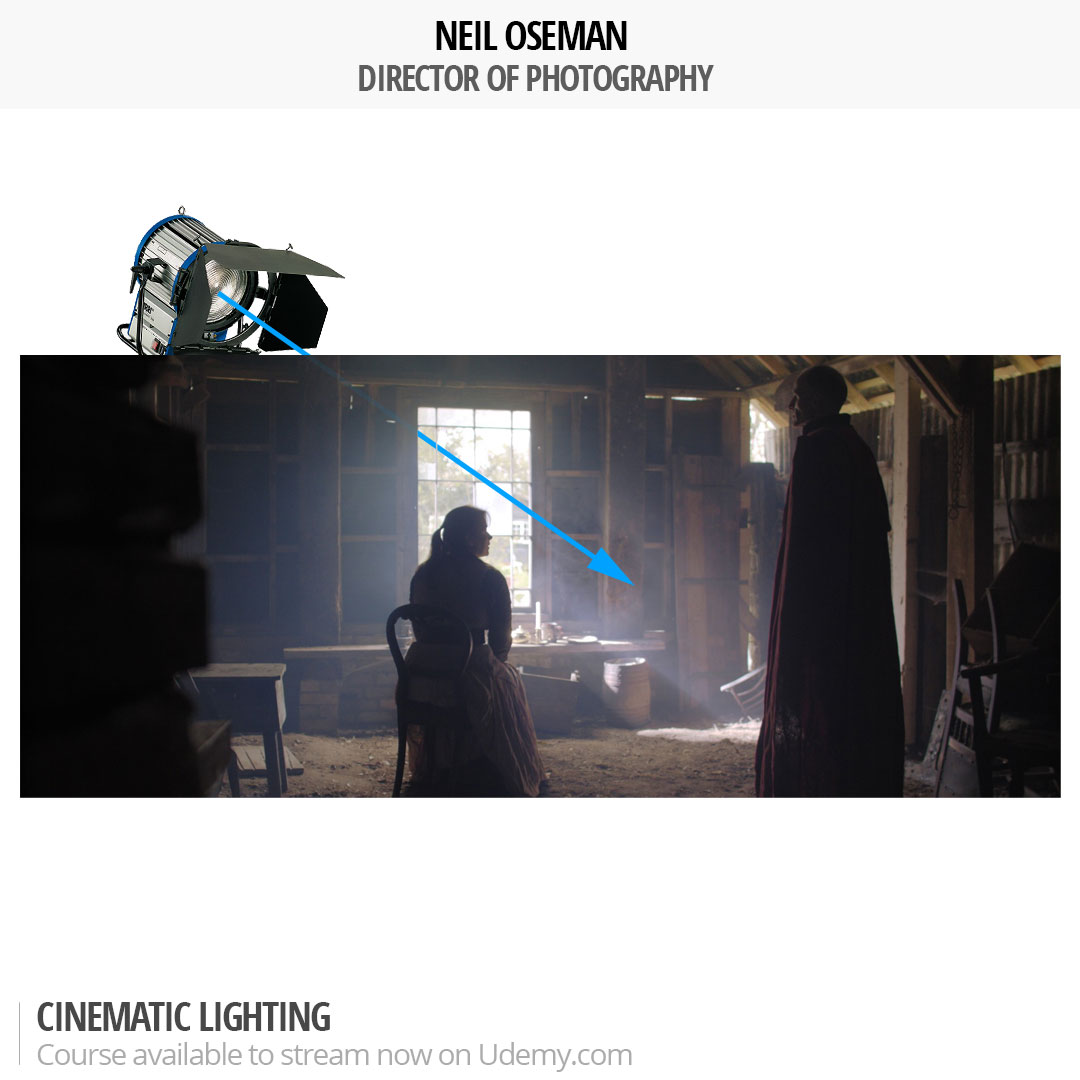
Here is the lighting diagram for the scene. (Loads more diagrams like this can be seen on my Instagram feed.)

The “moon” is a 2.5KW HMI fresnel way back amongst the trees, hidden from camera by the wall on the right. This throws the gate and the characters into silhouette, creating a rim of light around their camera-right sides.

To shed a little light on Ivan’s face as he looks camera-left, I hid a 4×4′ Kino Flo behind the lefthand wall, again behind the actors.

The LED from the rehearsal, a Neewer 480, hasn’t moved, but now it has an orange gel and is dimmed very low to subtly enhance the firelight. Note how the contrasting colours in the frame add to the depth as well.

So I’ll always go into a scene looking at where to put a big backlight, and then seeing if I need any additional sources. Sometimes I don’t, like in this scene from the Daylight Interior module of the course.

Backlight for interior scenes is different to night interiors. You cannot simply put it where you want it. You must work with the position of the windows. When I’m prepping interiors, I always work with the director to try to block the scene so that we can face towards the window as much as possible, making it our backlight. If a set is being built, I’ll talk to the production designer at the design stage to get windows put in to backlight the main camera positions whenever possible.

In the above example, lit by just the 2.5K HMI outside the window, I actually blacked out windows behind camera so that they would not fill in the nice shadows created by the backlight.

Daylight exteriors are different again. I never use artificial lights outdoors in daytime any more. I prefer to work with the natural light and employ reflectors, diffusion or negative fill to mould it where necessary.

So it’s very important to block the scene with the camera facing the sun whenever possible. Predicting the sun path may take a little work, but it will always be worth it.

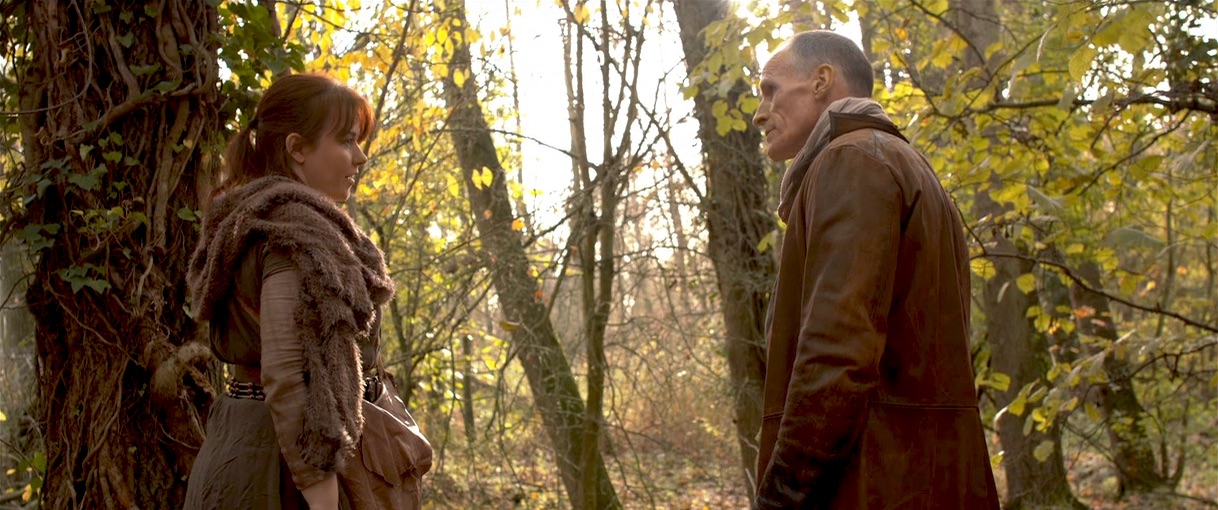
Here I’ve shot south, towards the low November sun, and didn’t need to modify the light at all.

Shooting in the opposite direction would have looked flat and uninteresting, not to mention causing potential problems with the cast squinting in the sunlight, and boom and camera shadows being cast on them.

You can learn much more about the principles and practice of cinematic lighting by taking my online course on Udemy. Currently you can get an amazing 90% off using the voucher code INSTA90 until November 19th.

For more examples of building a scene around backlight, see my article “Lighting from the Back”.

The First Light a Cinematographer Should Put Up

5 Ways to Fake Firelight

Real SFX run a fishtail on the set of “Heretiks”

Firelight adds colour and dynamism to any lighting set-up, not to mention being essential for period and fantasy films. But often it’s not practical to use real firelight as your source. Even if you could do it safely, continuity could be a problem.

A production that can afford an experienced SFX crew might be able to employ fishtails, V-shaped gas outlets that produce a highly controllable bar of flame, as we did on Heretiks. If such luxuries are beyond your budget, however, you might need to think about simulating firelight. As my gaffer friend Richard Roberts once said while operating an array of flickering tungsten globes (method no. 3), “There’s nothing like a real fire… and this is nothing like a real fire.”


1. Waving Hands

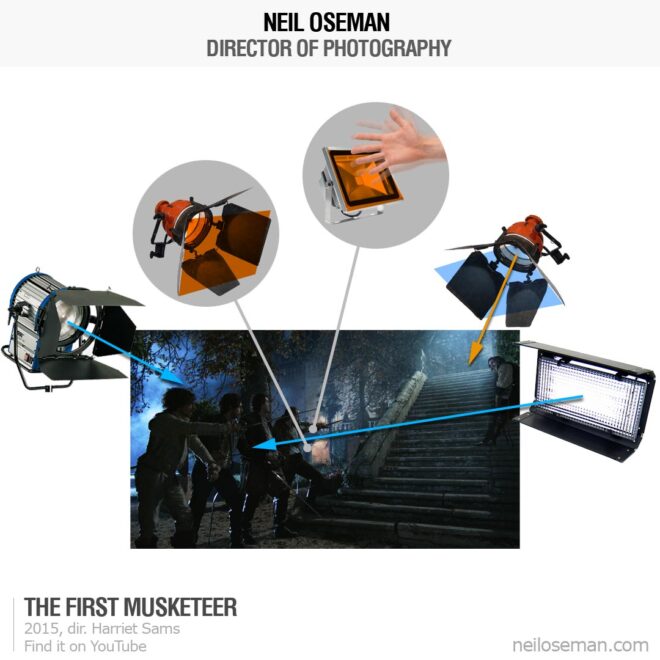
The simplest way to fake firelight is to wave your hands in front of a light source. This will work for any kind of source, hard or soft; just experiment with movements and distances and find out what works best for you. A layer of diffusion on the lamp, another in a frame, and the waving hands in between, perhaps?

Visit my Instagram feed for loads more diagrams like this.

One of my favourite lighting stories involves a big night exterior shot from The First Musketeer which was done at the Chateau de Fumel in the Lot Valley, France. We were just about to turnover when a bunch of automatic floodlights came on, illuminating the front of the chateau and destroying the period illusion of our scene. We all ran around for a while, looking for the off switch, but couldn’t find it. In the end I put orange gel on the floodlights and had someone crouch next to each one, wiggling their hands like a magician, and suddenly the chateau appeared to be lit by burning braziers.


2. Wobbling Reflector

This is my go-to technique – quick, easy and effective. It’s demonstrated in my Cinematic Lighting course on Udemy and also in this episode of Lensing Ren:

All you need is a collapsible reflector with a gold side, and an open-face tungsten fixture. Simply point the latter at the former and wobble the reflector during the take to create the flickering effect.


3. Tungsten Array

If you want to get more sophisticated, you can create a rig of tungsten units hooked up to a dimmer board. Electronic boxes exist to create a flame-like dimming pattern, but you can also just do it by pushing the sliders up and down randomly. I’ve done this a lot with 100W tungsten globes in simple pendant fittings, clipped to parts of the set or to wooden battens. You can add more dynamics by gelling the individual lamps with different colours – yellows, oranges and reds.

John Higgins’ 2MW firelight rig from “1917”

Larger productions tend to use Brutes, a.k.a. Dinos, a.k.a. 9-lights, which are banks of 1K pars. The zenith of this technique is the two megawatt rig built by gaffer John Higgins for Roger Deakins, CBE, BSC, ASC on 1917.


4. Programmed L.E.D.

Technological advances in recent years have provided a couple of new methods of simulating firelight. One of these is the emergence of LED fixtures with built-in effects programmes like police lights, lightning and flames. These units come in all shapes, sizes and price-ranges.

Philip Bloom’s budget fire-effect rig on location for “Filmmaking for Photographers”

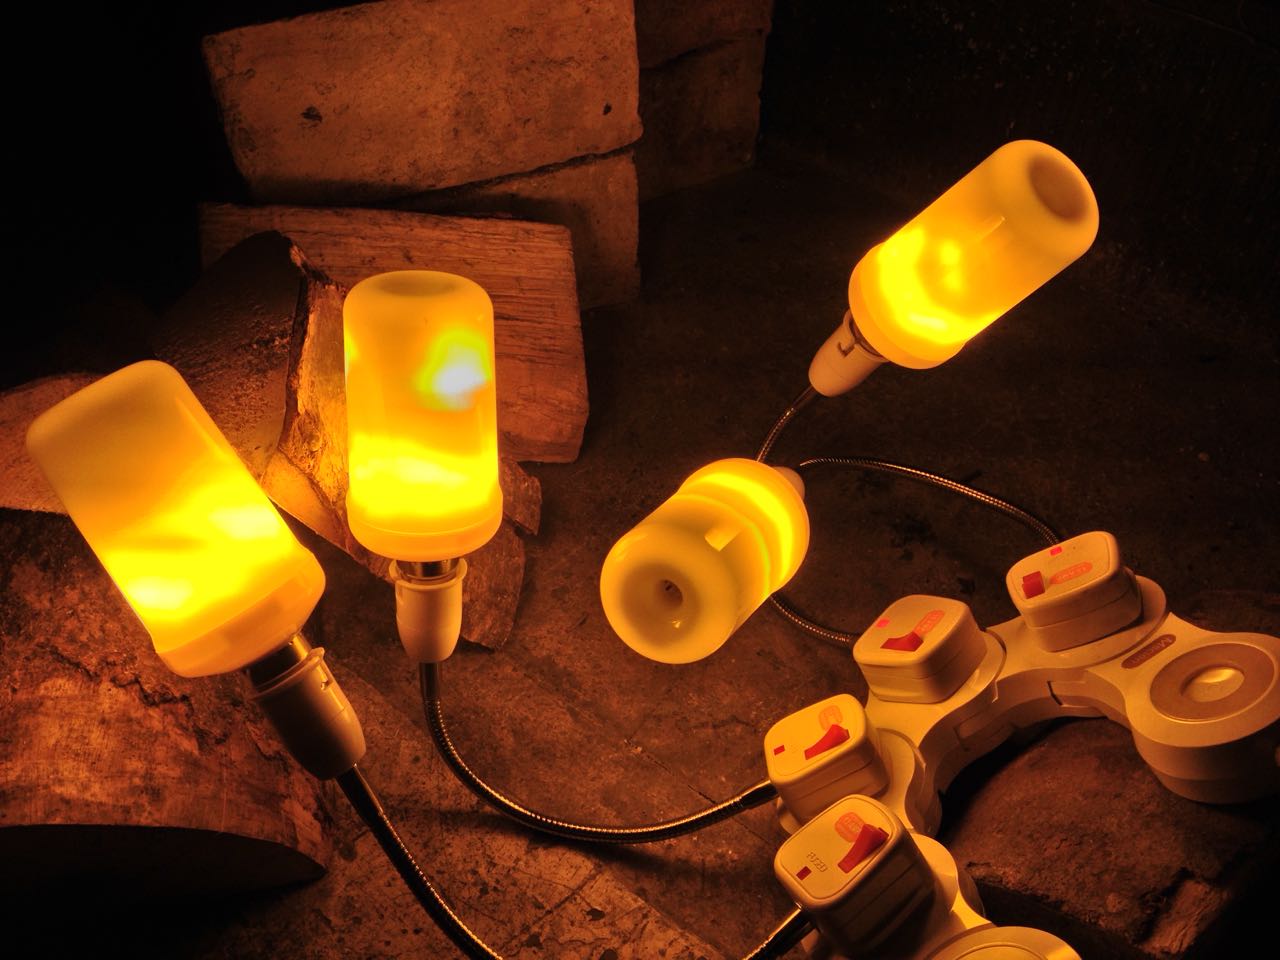
On War of the Worlds: The Attack last year, gaffer Callum Begley introduced me to Astera tubes, and we used their flame effect for a campfire scene in the woods when we were having continuity problems with the real fire. For the more financially challenged, domestic fire-effect LED bulbs are cheap and screw into standard sockets. Philip Bloom had a few of these on goose-neck fittings which we used extensively in the fireplaces of Devizes Castle when shooting a filmmaking course for Mzed.


5. L.e.D. Screen

A logical extension of an LED panel or bulb that crudely represents the pattern of flames is an LED screen that actually plays video footage of a fire. The oil rig disaster docu-drama Deep Horizon and Christoper Nolan’s Dunkirk are just two films that have used giant screens to create the interactive light of off-camera fires. There are many other uses for LED screens in lighting, which I’ve covered in detail before, with the ultimate evolution being Mandalorian-style virtual volumes.

You don’t necessarily need a huge budget to try this technique. What about playing one of those festive YouTube videos of a crackling log fire on your home TV? For certain shots, especially given the high native ISOs of some cameras today, this might make a pretty convincing firelight effect. For a while now I’ve been meaning to try fire footage on an iPad as a surrogate candle. There is much here to explore.

So remember, there may be no smoke without fire, but there can be firelight without fire.

5 Ways to Fake Firelight

Will “The Mandalorian” Revolutionise Filmmaking?

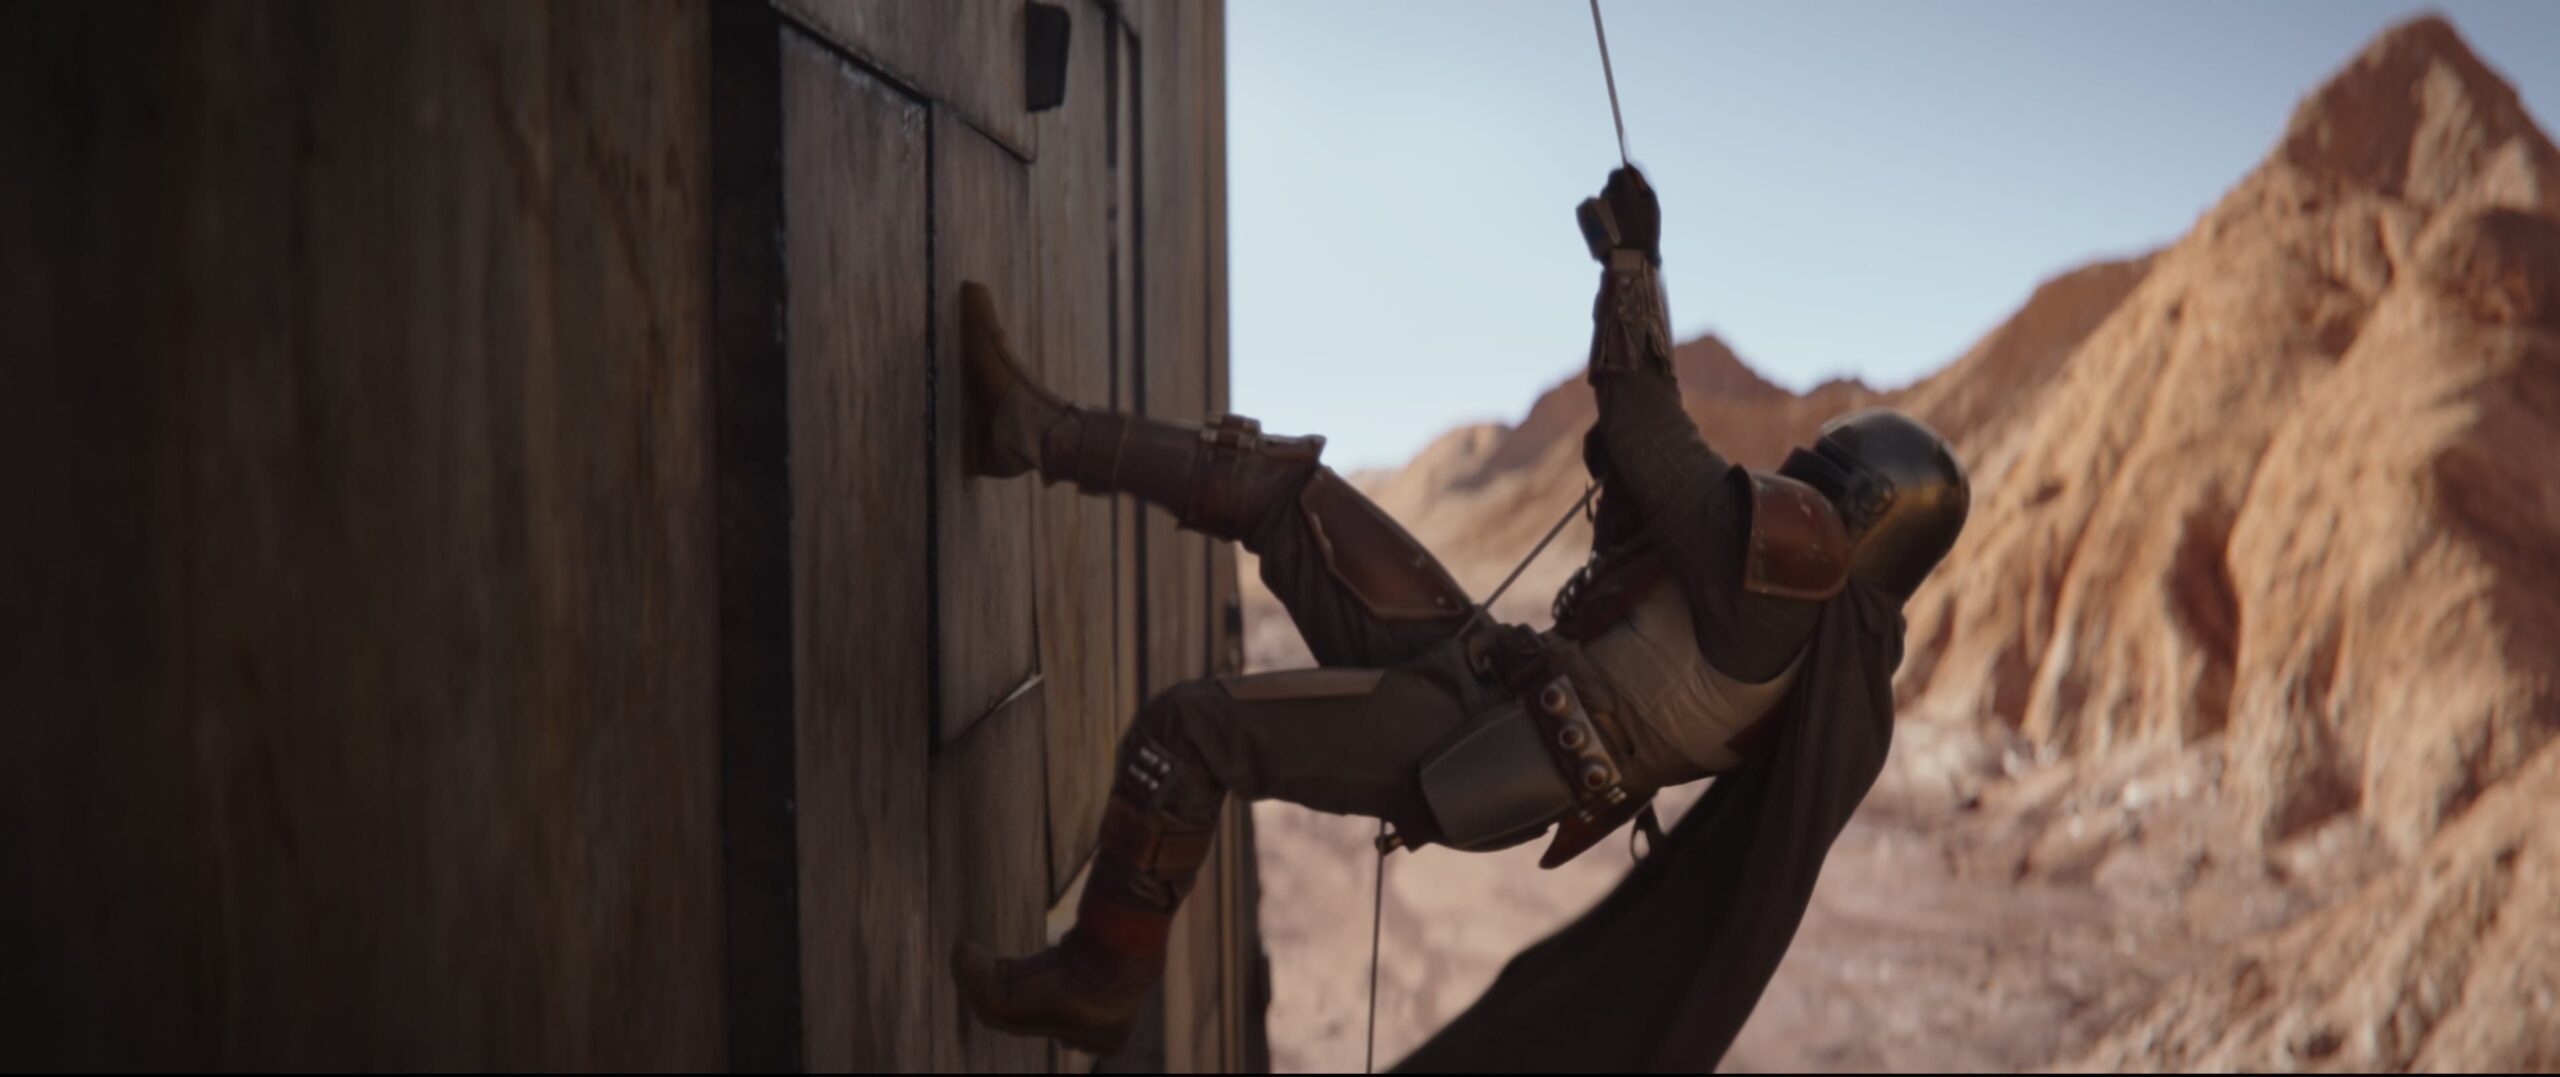
Last week, Greig Fraser, ASC, ACS and Baz Idoine were awarded the Emmy for Outstanding Cinematography for a Single-camera Series (Half-hour) for The Mandalorian. I haven’t yet seen this Star Wars TV series, but I’ve heard and read plenty about it, and to call it a revolution in filmmaking is not hyperbole.

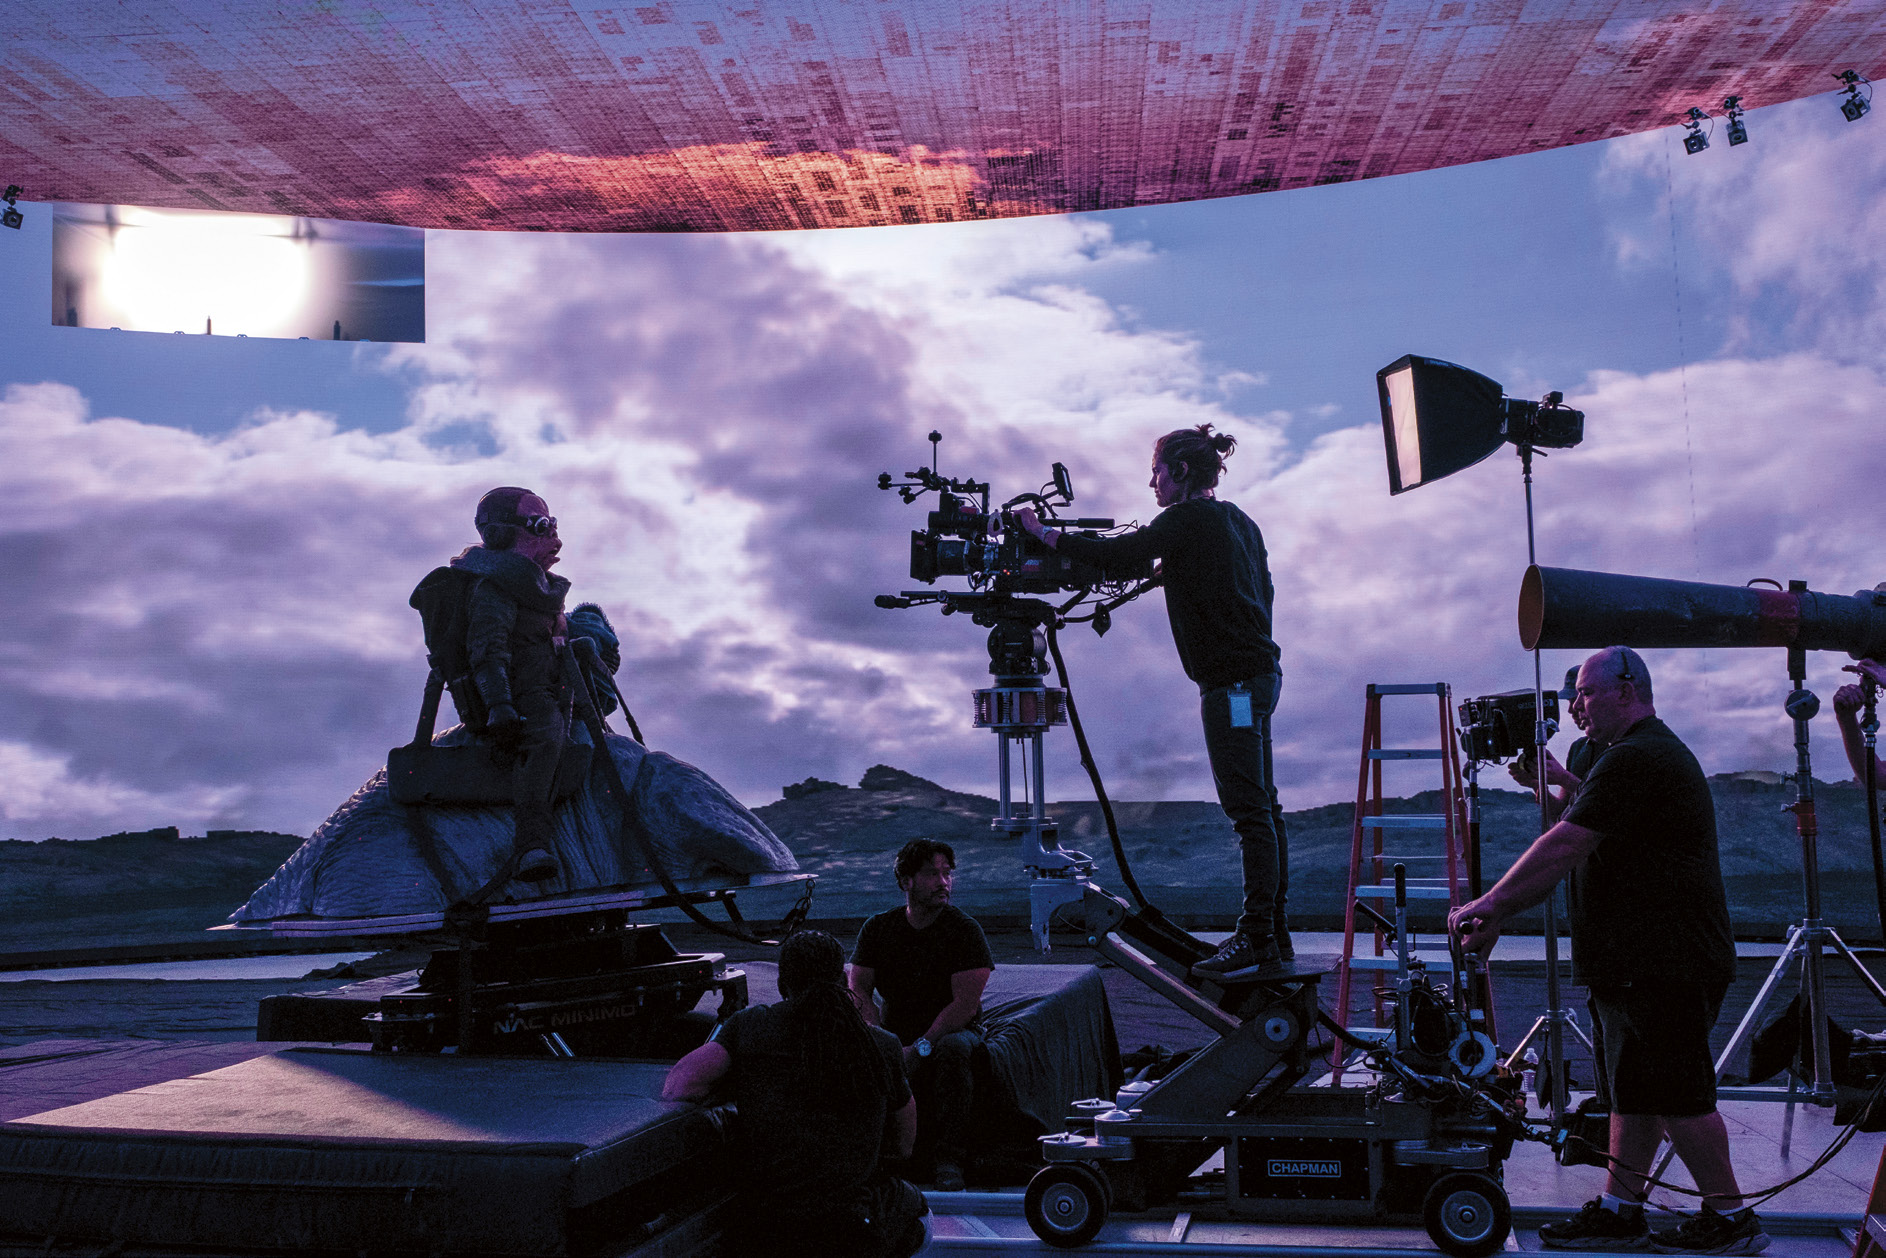
Half of the series was not shot on location or on sets, but on something called a volume: a stage with walls and ceiling made of LED screens, 20ft tall, 75ft across and encompassing 270° of the space. I’ve written before about using large video screens to provide backgrounds in limited aways, outside of train windows for example, and using them as sources of interactive light, but the volume takes things to a whole new level.

In the past, the drawback of the technology has been one of perspective; it’s a flat, two-dimensional screen. Any camera movement revealed this immediately, because of the lack of parallax. So these screens tended to be kept to the deep background, with limited camera movement, or with plenty of real people and objects in the foreground to draw the eye. The footage shown on the screens was pre-filmed or pre-rendered, just video files being played back.

The Mandalorian‘s system, run by multiple computers simultaneously, is much cleverer. Rather than a video clip, everything is rendered in real time from a pre-built 3D environment known as a load, running on software developed for the gaming industry called Unreal Engine. Around the stage are a number of witness cameras which use infra-red to monitor the movements of the cinema camera in the same way that an actor is performance-captured for a film like Avatar. The data is fed into Unreal Engine, which generates the correct shifts in perspective and sends them to the video walls in real time. The result is that the flat screen appears, from the cinema camera’s point of view, to have all the depth and distance required for the scene.

The loads are created by CG arists working to the production designer’s instructions, and textured with photographs taken at real locations around the world. In at least one case, a miniature set was built by the art department and then digitised. The scene is lit with virtual lights by the DP – all this still during preproduction.

The volume’s 270° of screens, plus two supplementary, moveable screens in the 90° gap behind camera, are big enough and bright enough that they provide most or all of the illumination required to film under. The advantages are obvious. “We can create a perfect environment where you have two minutes to sunset frozen in time for an entire ten-hour day,” Idoine explains. “If we need to do a turnaround, we merely rotate the sky and background, and we’re ready to shoot!”

Traditional lighting fixtures are used minimally on the volume, usually for hard light, which the omni-directional pixels of an LED screen can never reproduce. If the DPs require soft sources beyond what is built into the load, the technicians can turn any off-camera part of the video screens into an area of whatever colour and brightness are required –  a virtual white poly-board or black solid, for example.

A key reason for choosing the volume technology was the reflective nature of the eponymous Mandalorian’s armour. Had the series been shot on a green-screen, reflections in his shiny helmet would have been a nightmare for the compositing team. The volume is also much more actor- and filmmaker-friendly; it’s better for everyone when you can capture things in-camera, rather than trying to imagine what they will look like after postproduction. “It gives the control of cinematography back to the cinematographer,” Idoine remarks. VR headsets mean that he and the director can even do a virtual recce.

The Mandalorian shoots on the Arri Alexa LF (large format), giving a shallow depth of field which helps to avoid moiré problems with the video wall. To ensure accurate chromatic reproduction, the wall was calibrated to the Alexa LF’s colour filter array.

Although the whole system was expensive to set up, once up and running it’s easy to imagine how quickly and cheaply the filmmakers can shoot on any given “set”. The volume has limitations, of course. If the cast need to get within a few feet of a wall, for example, or walk through a door, then that set-piece has to be real. If a scene calls for a lot of direct sunlight, then the crew move outside to the studio backlot. But undoubtedly this technology will improve rapidly, so that it won’t be long before we see films and TV episodes shot entirely on volumes. Perhaps one day it could overtake traditional production methods?

For much more detailed information on shooting The Mandalorian, see this American Cinematographer article.

Will “The Mandalorian” Revolutionise Filmmaking?

5 Things Bob Ross Can Teach Us About Cinematography

I’m certainly glad you could join me today. It’s a fantastic day here and I hope it is wherever you’re at. Are you ready to read a fantastic little blog post? Good, then let’s get started.

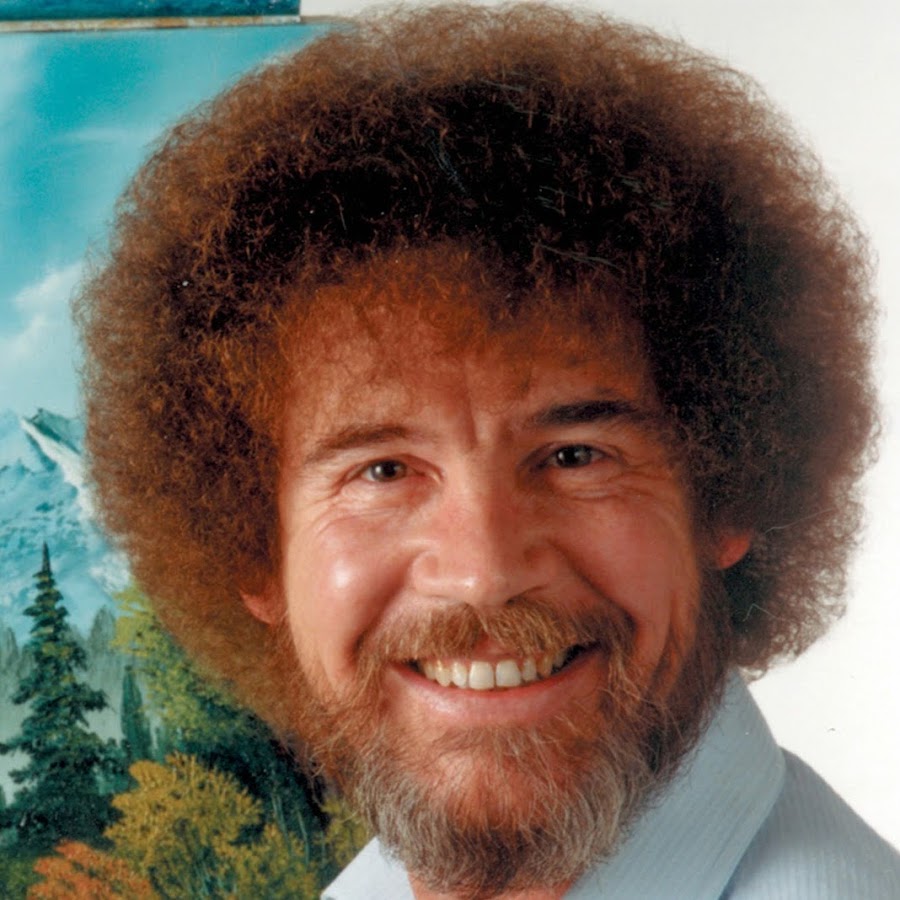
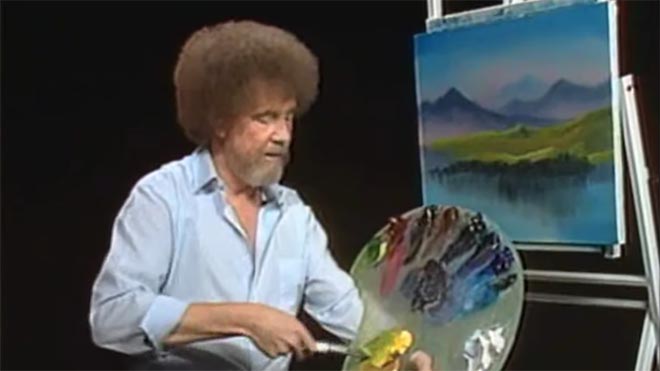
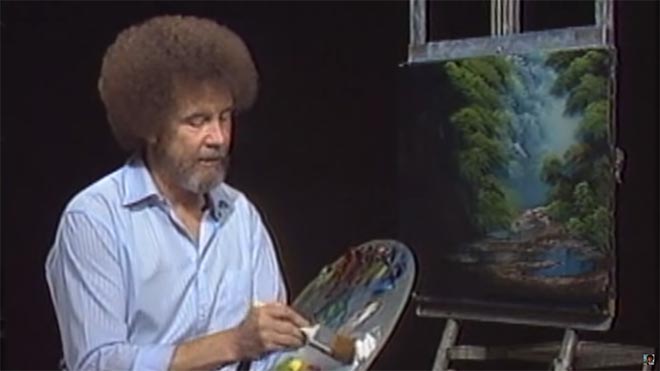
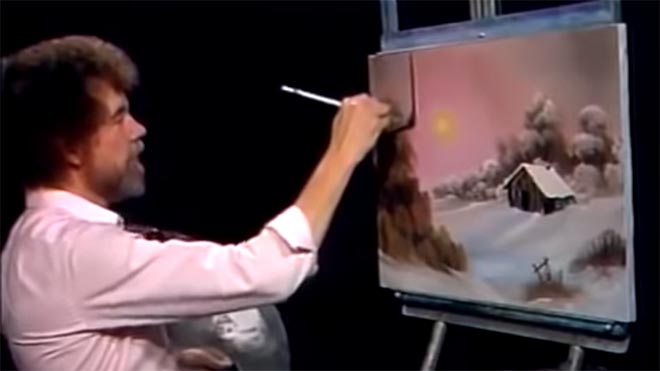
For twelve years, across 400 episodes, Bob Ross entertained all generations of Americans with his public access TV series, The Joy of Painting. Although he floated up to join the happy little clouds in 1995, in recent years YouTube and Twitch have brought his shows to a new audience, of which I am a humble member. Bob’s hypnotic, soft-spoken voice, his unfailingly positive attitude, and the magical effects of his wet-on-wet oil-painting technique make his series calming, comforting and captivating in equal measure.

Having watched every episode at least twice now, I’ve noticed several nuggets of Bob Ross wisdom that apply just as well to cinematography as they do to painting.


1. “The more plains you have in your painting, the more depth it has… and that’s what brings the happy buck.”

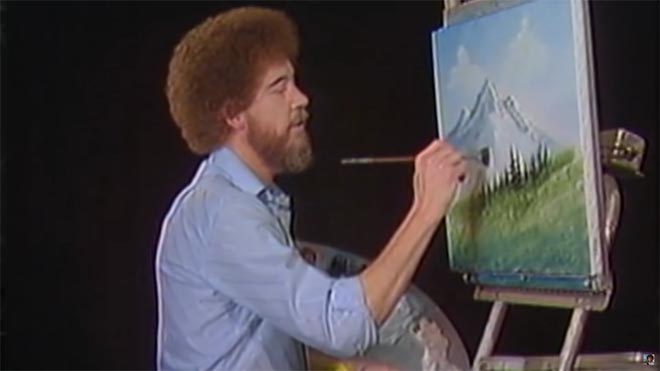
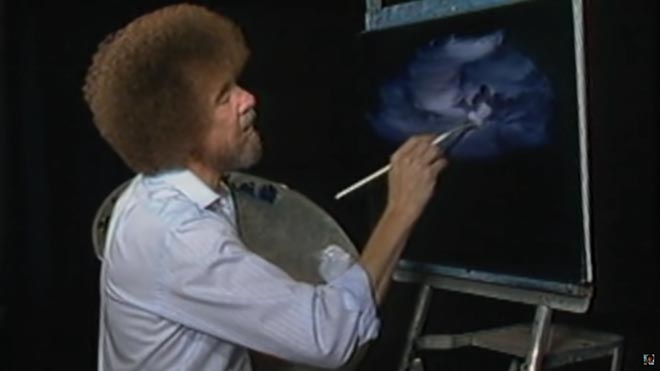
Bob always starts with the background of his scene and paints forward: first the sky with its happy little clouds; then often some almighty mountains; then the little footy hills; some trees way in the distance, barely more than scratches on the canvas; then perhaps a lake, its reflections springing forth impossibly from Bob’s brush; the near bank; and some detailed trees and bushes in the foreground, with a little path winding through them.

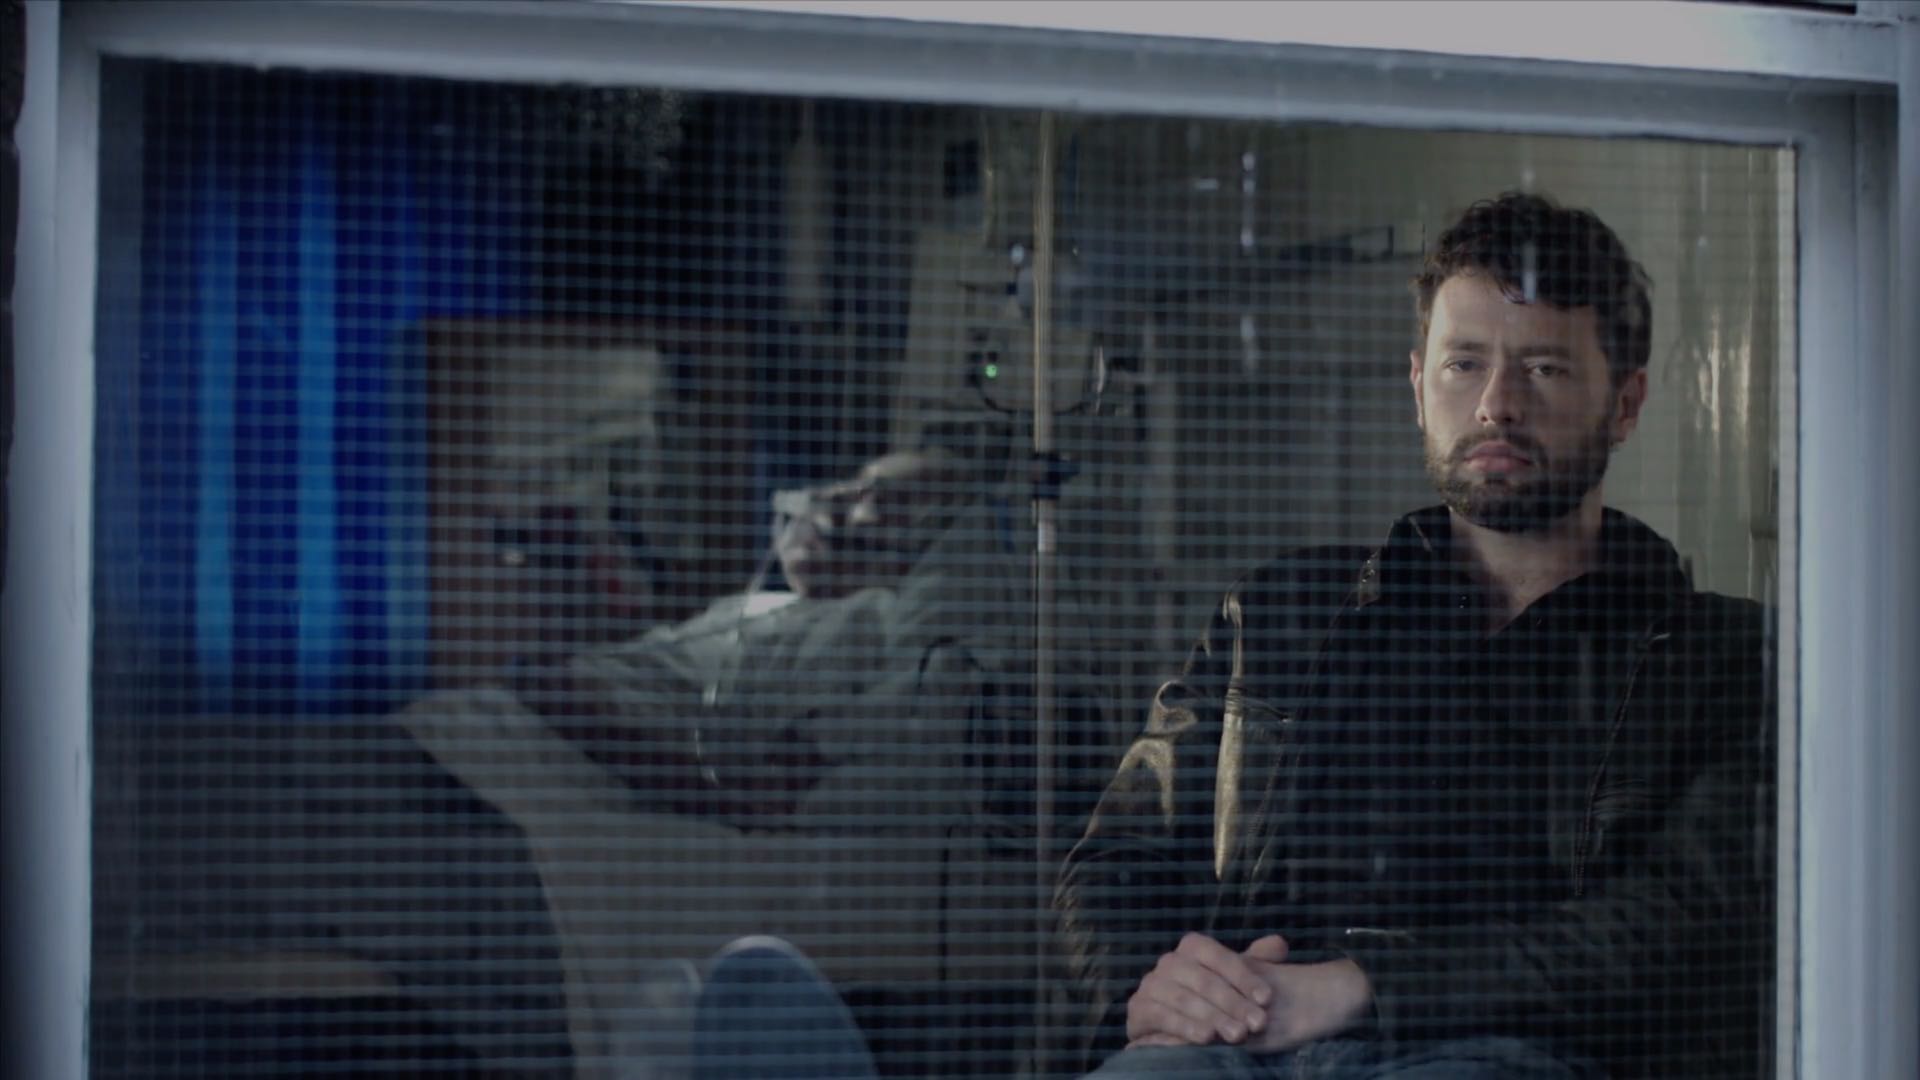
“Exile Incessant” (dir. James Reynolds)

Just as with landscape painting, depth is tremendously important in cinematography. Creating a three-dimensional world with a monoscopic camera is a big part of a DP’s job, which starts with composition – shooting towards a window, for example, rather than a wall – and continues with lighting. Depth increases production value, which makes for a happy producer and a happy buck for you when you get hired again.


2. “As things get further away from you in a landscape, they get lighter in value.”

Regular Joy of Painting viewers soon notice that the more distant layers of Bob’s paintings use a lot more Titanium White than the closer ones. Bob frequently explains that each layer should be darker and more detailed than the one behind it, “and that’s what creates the illusion of depth”.

“The Gong Fu Connection” (dir. Ted Duran)

Distant objects seem lighter and less contrasty because of a phenomenon called aerial perspectivebasically atmospheric scattering of light. As a DP, you can simulate this by lighting deeper areas of your frame brightly, and keeping closer areas dark. This might be achieved by setting up a flag to provide negative fill to an object in the foreground, or by placing a battery-powered LED fixture at the end of a dark street. The technique works for night scenes and small interiors, just as well as daytime landscapes, even though aerial perspective would never occur there in real life. The viewer’s brain will subconsciously recognise the depth cue and appreciate the three-dimensionality of the set much more.


3. “Don’t kill the little misty area; that’s your separator.”

After completing each layer, particularly hills and mountains, Bob takes a clean, dry brush and taps gently along the bottom of it. This has a blurring and fading effect, giving the impression that the base of the layer is dissolving into mist. When he paints the next layer, he takes care to leave a little of this misty area showing behind it.

“Heretiks” (dir. Paul Hyett)

We DPs can add atmos (smoke) to a scene to create separation. Because there will be more atmos between the lens and a distant object than between the lens and a close object, it really aids the eye in identifying different plains. That makes the image both clearer and more aesthetically pleasing. Layers can also be separated with backlight, or a differentiation of tones or colours.


4. “You need the dark in order to show the light.”

Hinting at the tragedy in his own life, Bob often underlines the importance of playing dark tones against light ones. “It’s like in life. Gotta have a little sadness once in a while so you know when the good times come,” he wisely remarks, as he taps away at the canvas with his fan-brush, painting in the dark rear leaves of a tree. Then he moves onto the lighter foreground leaves, “but don’t kill your dark areas,” he cautions.

“Closer Each Day” promo (dir. Oliver Park)

If there’s one thing that makes a cinematic image, it’s contrast. It can be very easy to over-light a scene, and it’s often a good idea to try turning a fixture or two off to see if the mood is improved. However bright or dark your scene is, where you don’t put light is just as important as where you do. Flagging a little natural light, blacking out a window, or removing the bubble from a practical can often add a nice bit of shape to the image.


5. “Maybe… maybe… maybe… Let’s DROP in an almighty tree.”

As the end of the episode approaches, and the painting seems complete, Bob has a habit of suddenly adding a big ol’ tree down one or both sides of the canvas. Since this covers up background layers that have been carefully constructed earlier in the show, Bob often gets letters complaining that he has spoilt a lovely painting. “Ruined!” is the knowing, light-hearted comment of the modern internet viewer.

“Synced” (dir. Devon Avery)

The function of these trees is to provide a foreground framing element which anchors the side of the image. I discussed this technique in my article on composing a wide shot. A solid, close object along the side or base of the frame makes the image much stronger. It gives a reason for the edge of the frame to be there rather than somewhere else. As DPs, we may not be able to just paint a tree in, but there’s often a fence, a pillar, a window frame, even a supporting artist that we can introduce to the foreground with a little tweaking of the camera position.

The ol’ clock on the wall tells me it’s time to go, so until next time: happy filming, and God bless, my friend.

If you’re keen to learn more about cinematography, don’t forget I have an in-depth course available on Udemy.

5 Things Bob Ross Can Teach Us About Cinematography